manuals.online logo
Brands
  1. Home
  2. •
  3. Brands
  4. •
  5. Haier
  6. •
  7. Cell Phone
  8. •
  9. Haier D200 User manual

Haier D200 User manual

Other Haier Cell Phone manuals

Haier HG-Z1600 User manual

Haier

Haier HG-Z1600 User manual

Haier M170 User manual

Haier

Haier M170 User manual

Haier M101 User manual

Haier

Haier M101 User manual

Haier L51 User manual

Haier

Haier L51 User manual

Haier U69 User manual

Haier

Haier U69 User manual

Haier C6000 User manual

Haier

Haier C6000 User manual

Haier D1200P User manual

Haier

Haier D1200P User manual

Haier C200 User manual

Haier

Haier C200 User manual

Haier C6200 User manual

Haier

Haier C6200 User manual

Haier U56 User manual

Haier

Haier U56 User manual

Haier C1100 SKYLINK User manual

Haier

Haier C1100 SKYLINK User manual

Haier U50 User manual

Haier

Haier U50 User manual

Haier W757 User manual

Haier

Haier W757 User manual

Haier C1000 User manual

Haier

Haier C1000 User manual

Haier C2010 User manual

Haier

Haier C2010 User manual

Haier C2000 User manual

Haier

Haier C2000 User manual

Haier P-867 User manual

Haier

Haier P-867 User manual

Haier M350 User manual

Haier

Haier M350 User manual

Haier Smart Phone User manual

Haier

Haier Smart Phone User manual

Haier CG300 Assembly instructions

Haier

Haier CG300 Assembly instructions

Haier G32 User manual

Haier

Haier G32 User manual

Haier V3 User manual

Haier

Haier V3 User manual

Haier SG71204HC-C380 User manual

Haier

Haier SG71204HC-C380 User manual

Haier V280 User manual

Haier

Haier V280 User manual

Popular Cell Phone manuals by other brands

Nokia 6700 classic user guide

Nokia

Nokia 6700 classic user guide

LG L34C user guide

LG

LG L34C user guide

Ericsson T60d manual

Ericsson

Ericsson T60d manual

Zte Score M user manual

Zte

Zte Score M user manual

Sony Xperia Z1 Compact Startup guide

Sony

Sony Xperia Z1 Compact Startup guide

AT AT-Q5 user manual

AT

AT AT-Q5 user manual

Vingtor ACM-M-A-V2 Installation/configuration

Vingtor

Vingtor ACM-M-A-V2 Installation/configuration

Olitech EasyFlip 2 Quick setup guide

Olitech

Olitech EasyFlip 2 Quick setup guide

Zte Atrium Z793C user manual

Zte

Zte Atrium Z793C user manual

Alcatel IDEAL manual

Alcatel

Alcatel IDEAL manual

Zte BLADE A520 quick start guide

Zte

Zte BLADE A520 quick start guide

switel M222 user manual

switel

switel M222 user manual

LG LG-P503 user guide

LG

LG LG-P503 user guide

LG F2410 user guide

LG

LG F2410 user guide

Argom E500 manual

Argom

Argom E500 manual

Hisense U30 user manual

Hisense

Hisense U30 user manual

Argom Tech E401 user manual

Argom Tech

Argom Tech E401 user manual

Nokia 3595 - Cell Phone - GSM Manual Del Usuario

Nokia

Nokia 3595 - Cell Phone - GSM Manual Del Usuario

manuals.online logo
manuals.online logoBrands
  • About & Mission
  • Contact us
  • Privacy Policy
  • Terms and Conditions

Copyright 2025 Manuals.Online. All Rights Reserved.

Your Phone
Keys and Functions
1
Earpiece
Display
Fourways Navigation Key
Right Soft Key
Power/End Key
OK/HotkeytoWAP
Keypad
Microphone
Charging Port
Front View
Send Key
Left Soft Key
Volume Side Key
2
Screen Icons
Installing the Battery
1) Aim the protruding part at the bottom of the battery
at the groove of the phone.
2) Push the top part of the battery to the phone and
3
press down the lock until it is locked.
Switch off the phone, push up the lock at the top of the
battery to uplift the top of the battery and separate it
with the main board.
1) Make sure to switch off your phone before taking
out the battery.
2) Make the metal face of the RUIM card down and
put it conferring the level of the card.
3) Reinstall the battery.
1) Remove the battery after switching off your phone.
2) Remove the RUIM card.
3) Reinstall the battery.
Removing the Battery
Installing the RUIM Card
Removing the RUIM Card
4
Charging the Battery
Using the Function Menu
Menu
Making a call
1)Plug the charger transformer into a standard outlet.
2)Insert the charger output plug into charging
connector of the bottom of the phone.
3)The rolling of the electric quantity bar indicates that
the phone begins to charge.
4) When the battery level full and stop rolled, the
phone will display 'Battery full'.
5)After charging is complete, switch off the electric
supply and pull out the charger's jack.
1.In idle mode, press to display the interface.
2.Press to scroll to a menu item.
3.Press to display the menu.
4.Display the submenu in either of the ways:
Press to scroll to a submenu item and press
to display the submenu.
Press the number key corresponding to the number
of a submenu to display it.
5.Press to return to the previous menu or quit the
function menu.
Press to return to the idle screen.
1.Dialing
Select a desired entry from the names list or directly
type in the phone number in idle mode, press key
to dial.
2. Making an international call
5
Press and hold key until ‘+’ appears on screen.
3.Ending a call
You can end a call at any time by holding down the
key till the call has been terminated.
1.Press key or any key (need setting) to answer the
call.
Or press key [Silence] once to close incoming
ringer, press [Accept] again to receive the incoming
call.
2.Press key twice to reject the incoming call.
The phone lock code is used to protect your phone
from unauthorized use.
It can be set automatically to lock your phone each
time it is switched on or when in idle mode. In this
condition, you can only dial emergency call.
You must press key to enter correct phone lock
code, and then access the phone menu (The default
code is 000000).
You can set protection code (PIN code) in order to
prevent random using of your phone by others. Each
time you restart your phone, the phone will prompt you
Enter the country code, area code (without prefix
zero) and phone number.
Press key to dial.
Receiving a call
Phone Lock
PIN and PUK
6
to enter PIN code. You can get PIN code from your
mobile phone service provider. In this condition, press
Key to dial emergency call.
Note:
If you have entered the PIN code incorrectly
continuously for max retry limits, the RUIM card will be
automatically locked. In this condition, the phone will
prompt for PUK (PIN Unlocking key). You can get the
PUK from your mobile phone service provider.
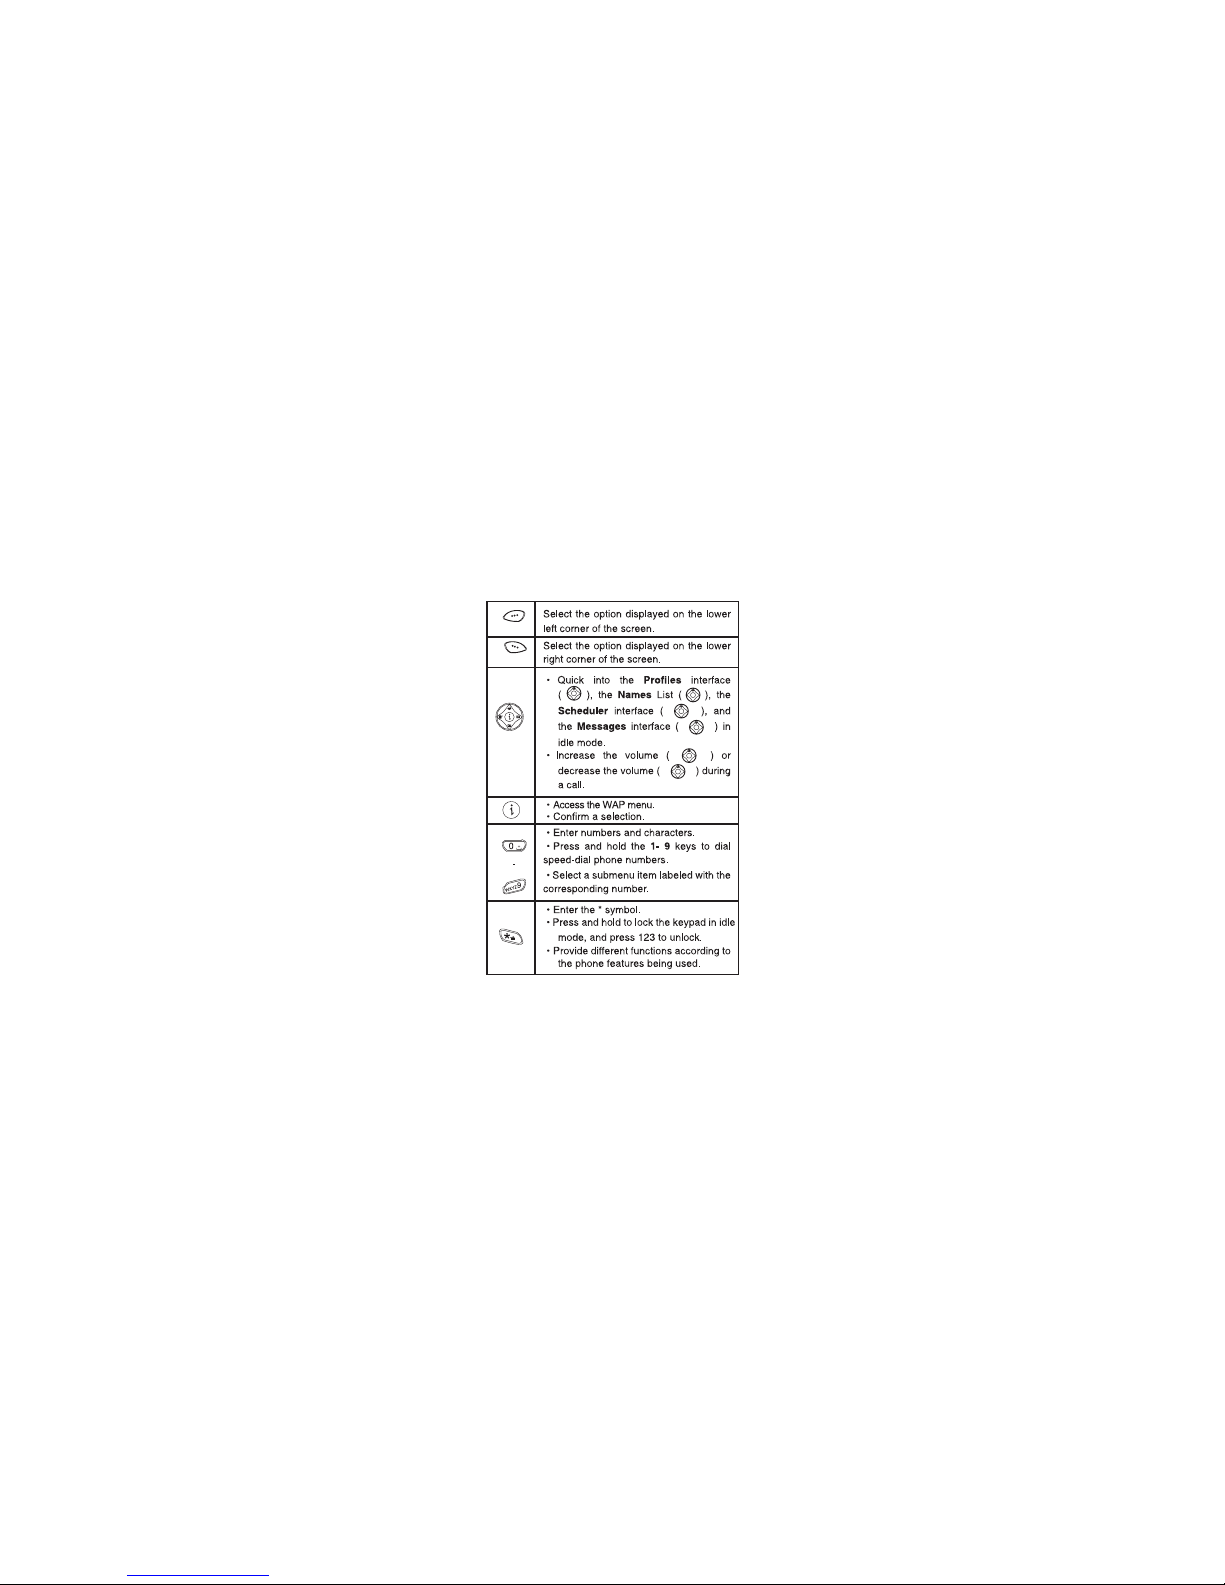
Your phone supports WAP 2.0. You can use this facility
to connect to selected services on the mobile Internet.
This menu option allows you to download a host of
exciting content with WAP browser.
Simply browse on the web page and download from a
wide selection of Ringtones, Wallpapers, and other
applications such as BSE Stock Portfolio tracker, Faith
and many more.
For short access to WAP menu, you can directly press
Key in idle mode.
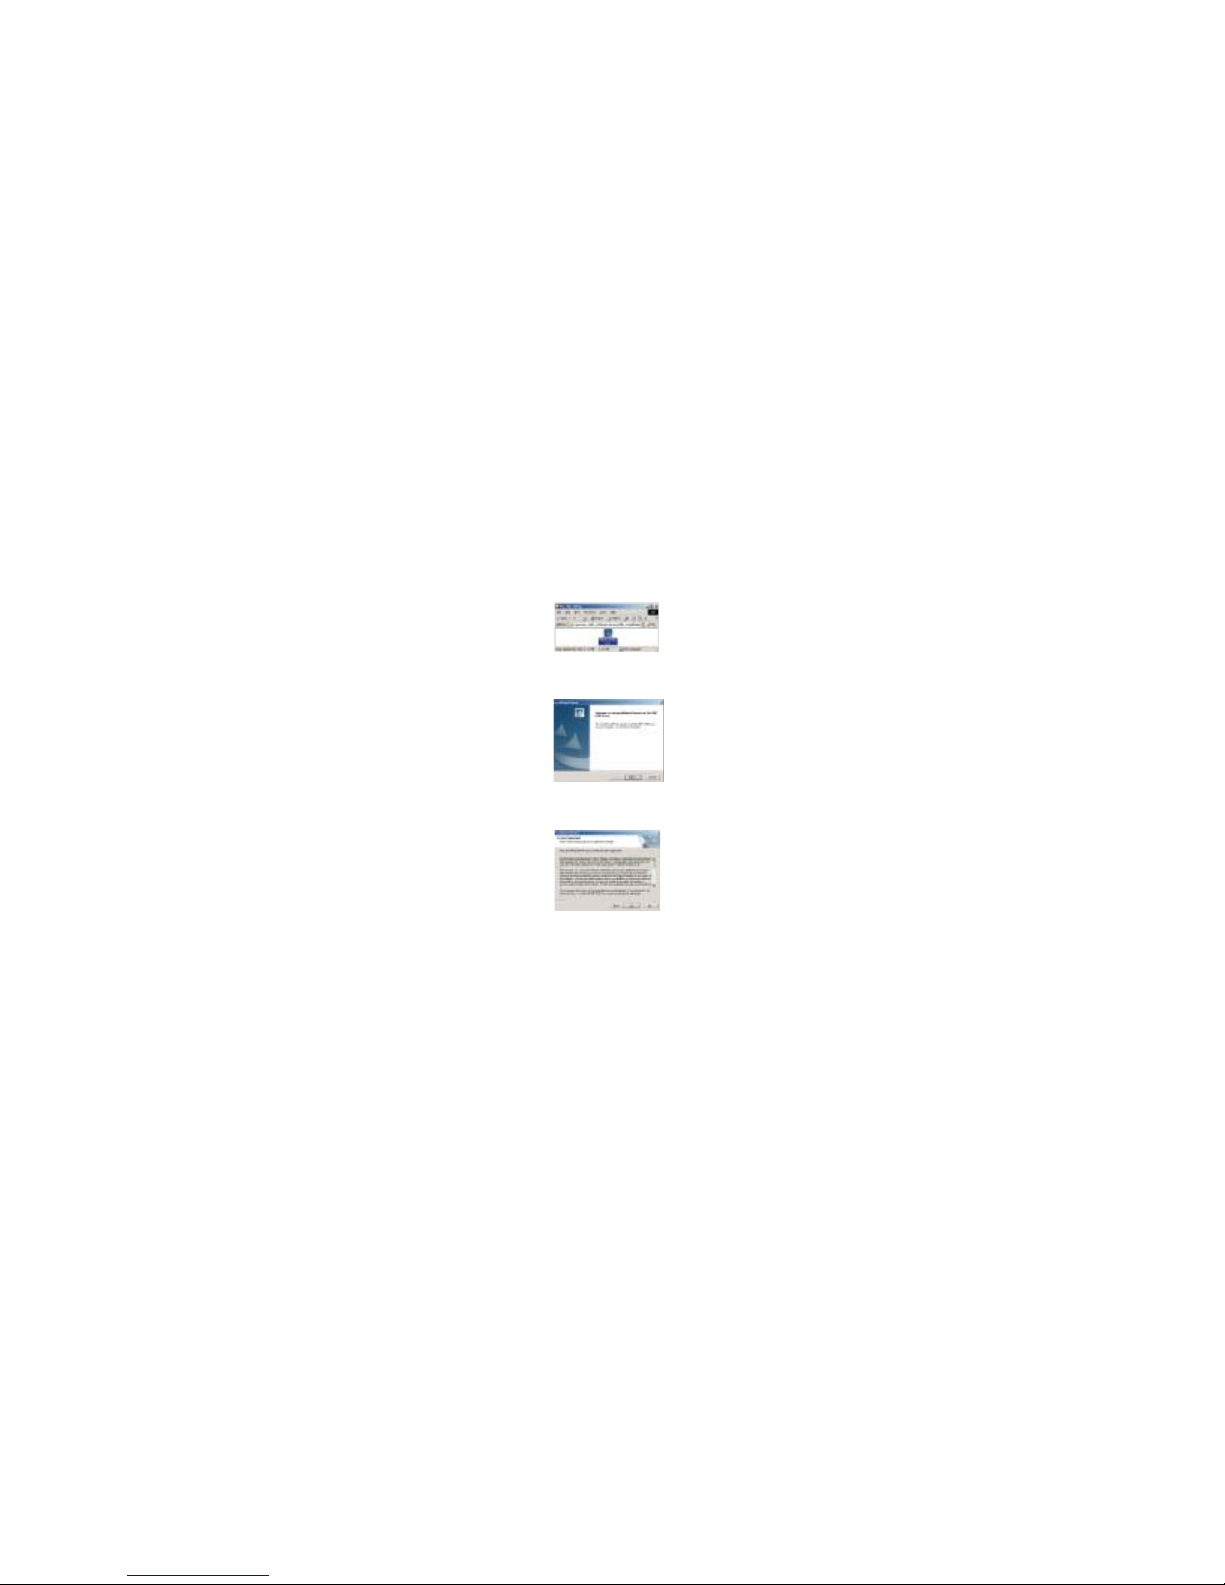
This document is a user guide for USB Windows
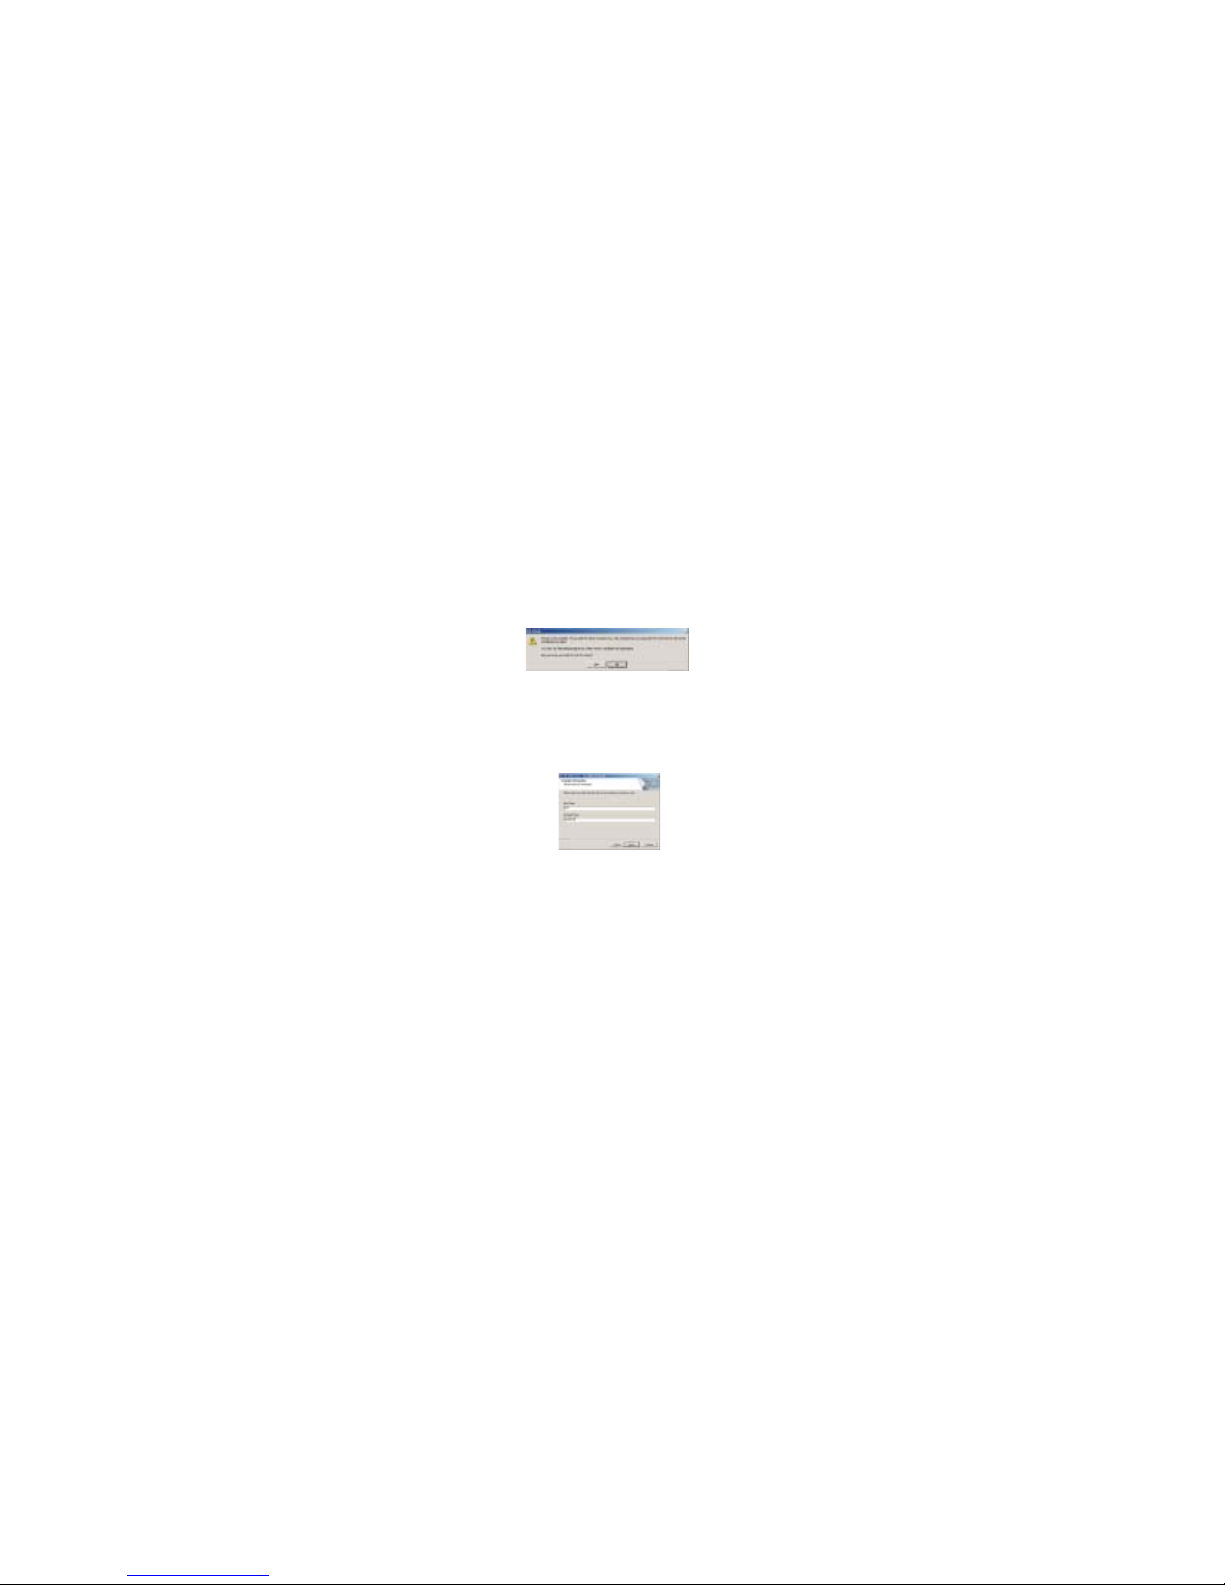
Input PIN code and press key. (For security, an *
will be displayed on the screen to in place of the
number you enter.)
If you make a wrong enter, you can press key to
re-enter the code.
USB windows device driver installation guide
Introduction
WAP
7
device driver installation process. The USB Windows
device driver provides the interface between the
operating system and Haier D200 handsets, allowing
user applications to communicate with devices. This
installation guide is intended to provide a detailed
description of the USB Windows device driver
installation process.
We will supply an accessory CD including this driver.
Upon successful completion of the installation process,
the following files will be located in the specified
directories folders:
C:\Program Files\VIA Telecom\VIA CBP USB
Driver\*.inf:
ViaUsbEts.inf
ViaUsbHub.inf
ViaUsbModem.inf
C:\Program Files\VIA Telecom\VIA CBP USB
Driver\*.sys:
ViaUsbEts.sys
ViaUsbModem.sys
C:\Program Files\VIA Telecom\VIA CBP USB
Driver\*.PDF:
ctm_via_usb_drv_installation_user_guide_8_A.PDF
You must close all firewalls and anti-virus software
before installing the USB driver.
1. To install the USB Windows device driver, you must
first start the Setup application, ViaUsb_Setup.exe, by
double-clicking the associated icon.
Components
Installation
8
Figure 1 - USB Windows Device Driver Setup Icon
Figure 2 - USB Windows Device Driver Setup Welcome Dialog Box
Figure 3 - USB License Agreement Dialog Box
2. The USB Windows Device Driver Setup Welcome
dialog box will appear.
3. Click the button to continue.
The License Agreement dialog box appears.
4. To continue, you must accept the License
Agreement by clicking the button. If you select the
button, the following dialog box will appear,
Next
Yes
No
9
confirming whether you truly wish to terminate the
installation process at this time.
If you select the button, the installation process is
terminated. If you select the button, the License
Agreement dialog box (Figure 3) will reappear.
Upon agreeing to the License Agreement (Figure 3),
the Customer Information Request Dialog Box will
appear.
5. Please enter the appropriate user and company
name into the corresponding fields. By clicking the
button, you will proceed to the actual installation
of the USB Windows Device Driver support files into
their appropriate folders.
The USB Installation Status Message dialog box will
then appear indicating what percentage of the file
copying task is complete.
Figure 4- USB Windows Device Driver Setup Process Termination
Confirmation Dialog Box
Figure 5 USB Setup Customer Information Request Dialog Box
Yes
No
Next
-
10