SAFETY DOS & DON'TS
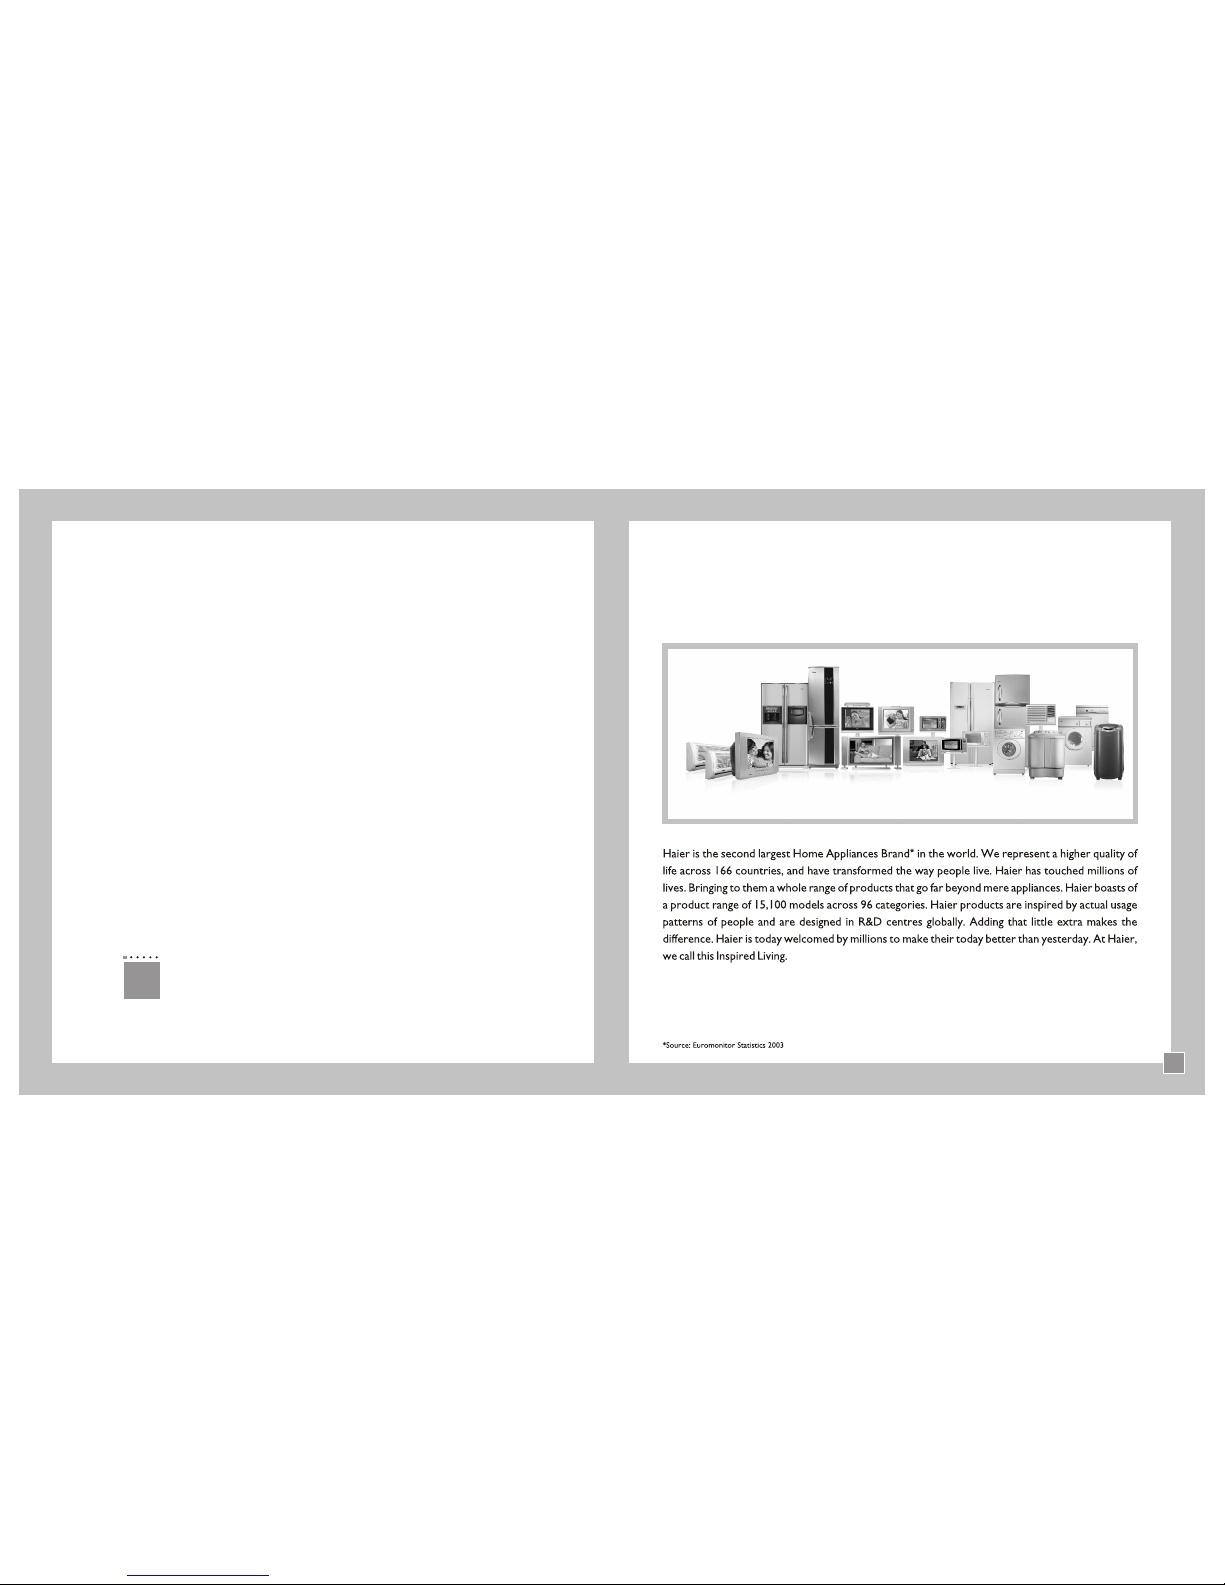
Haier
TechnologyTechnology
Name................................................................................ Address.........................................................................................
........................................................Serial No...................Date of purchase..............................Model No...............................
Installed by.............................................................................................................................................................................
Name...................................................................................................................................
Address...............................................................................................................................
................................................................................................... Serial No..........................
Date of purchase............................................. Model No.....................................................
Installed by..........................................................................................................................
CONDITION S OF WARRANTY
1) This warranty will automatically terminate on the expiry of the warranty period from the date of delivery.
2) The Company is not liable for any delay in servicing due to reasons beyond the control of the company
or any of its authorised service centres.
3) Parts replaced or repaired under this warranty are warranted throughout the remaining of the original
warranty period.
4) It is entirely left to Company’s discretion to repair/replace parts at the site of installation or at the
authorised service centre of the Company.
5) This warranty shall be strictly limited to the repairs or replacement of defective parts specified in the
warranty. This warranty shall not cover any consequential or resulting liability.
6) This warranty shall not in any case extend towards payment of any monetary consideration
whatsoever or replacement or return of the product.
7) The Company may repair/supply parts free of cost during the warranty period. This warranty does not
cover any Excise duty, Central or Sales ta x , octroi and ot h e r lo c a l taxes or le v i e s on th e
components/part.
8) The parts shall be replaced by functionally operating equivalent material only and not with brand new ones and are likely to be different from the one originally fitted. The parts thus
removed shall be taken back by the company.
9) The Company reserves the right to retain any part or component replaced at its sole discretion during the warranty period.
10) In no event the Company or its authorised service centre be liable for any consequential damages or resulting liability, damage or loss arising directly or indirectly out of any defect in
the product.
11) This warranty is not valid in case of the following events:
a) If the Product has been Installed/Serviced/Repaired/Opened or tampered by any un-authorised personnel.
b) If defects arise/caused by accidents, alteration, misuse, neglect, substitution of original components with spurious/non-genuine c o m p o n e n t s , a t t a c k e d b y h o u s e h o l d
pest/rodents, fire, flood, earthquake, lightning and/or any other act of God/natural calamities.
c) The product is shifted outside India.
12) For any service under this warranty beyond city/town/municipal limits from the Company/authorised service centre, a fixed charge of Rs.50 will be collected from the customer in
addition to the actual to and fro charges by the shortest route.
13) Any change of location or change in the ownership during the warranty period must be intimated in writing to the Company.
14) The Company’s employees or its authorised representatives have no authority to vary the terms of this warranty.
15) This Warranty is effected in New Delhi and claims, if any, shall be made only before the courts having jurisdiction in New Delhi and no claim shall be made against the company outside
New Delhi notwithstanding that the Appliance may have been sold or delivered elsewhere.
HAIER APPLIANCES (INDIA) PVT.LTD. (hereinafter referred to as “the company”) hereby offers the following warranty to the original domestic
purchaser commencing from the date of the purchase. The company will, free of charge repair or replace any defective part or parts which
prove to be defective in workmanship and/or materials and not due to abnormal or improper usage at its sole discretion.
HAIER WARRANTY
15
Dealer’s Seal
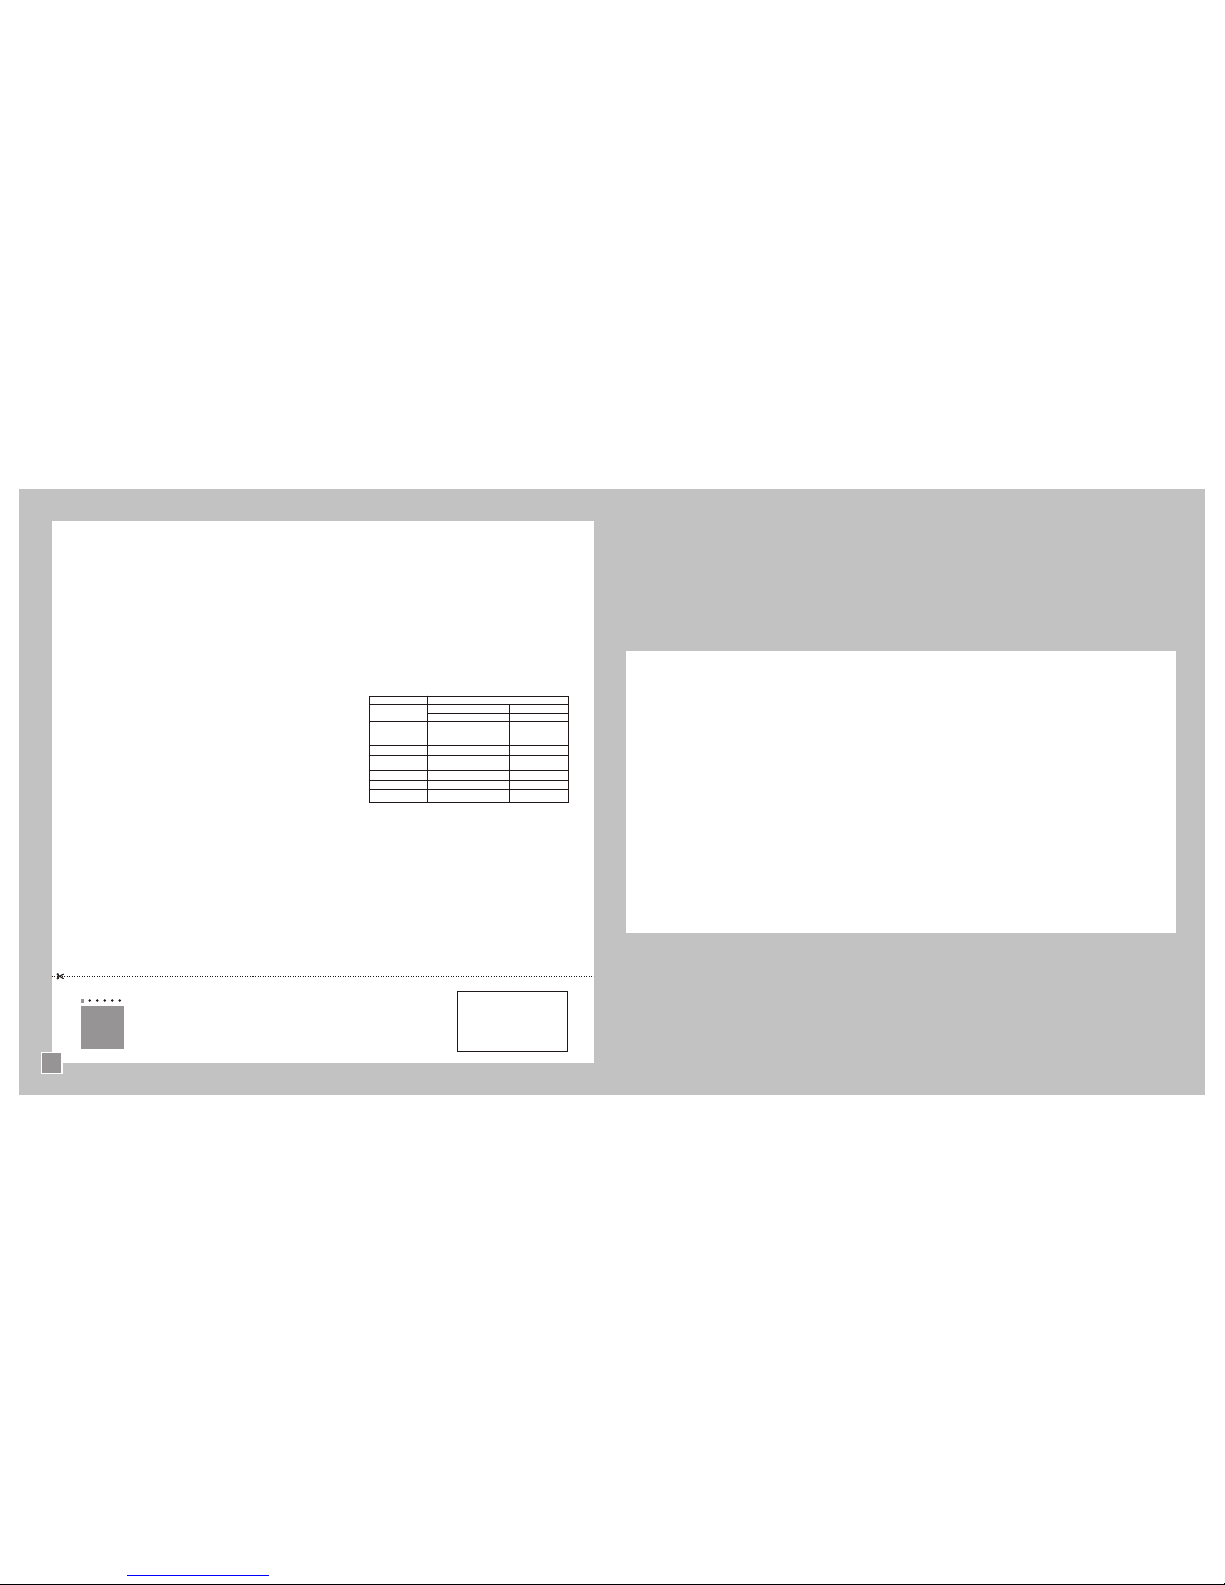
Product Warranty
Period Parts not covered
Colour TV 12 Months Remote, Cabinet
Refrigerator Comprehensive: 12 Months Plastic, Glassware ,
Compressor:18 Months Max. Light Bulb
Top Lid Outer Steel
Washing Machine 24 Months Casing
Airconditioner Comprehensive: 12 Months Air Filter, Front Grill
Compressor: 60 Months
Microwave 12 Months Glass, Plate, Bulb
Dishwasher 24 Months
Cloth Dryer 12 Months
CONTENTS
KNOW YOUR REFRIGERATOR 1
FEATURES OF YOUR REFRIGERATOR 3
METHODS OF SAFE INSTALLATION 4
INSTALLATION STEPS 5
MOVING OR RELOCATING THE REFRIGERATOR 6
CLEANING THE REFRIGERATOR 7
HOW TO INSTALL 8
HOW TO OPERATE 9
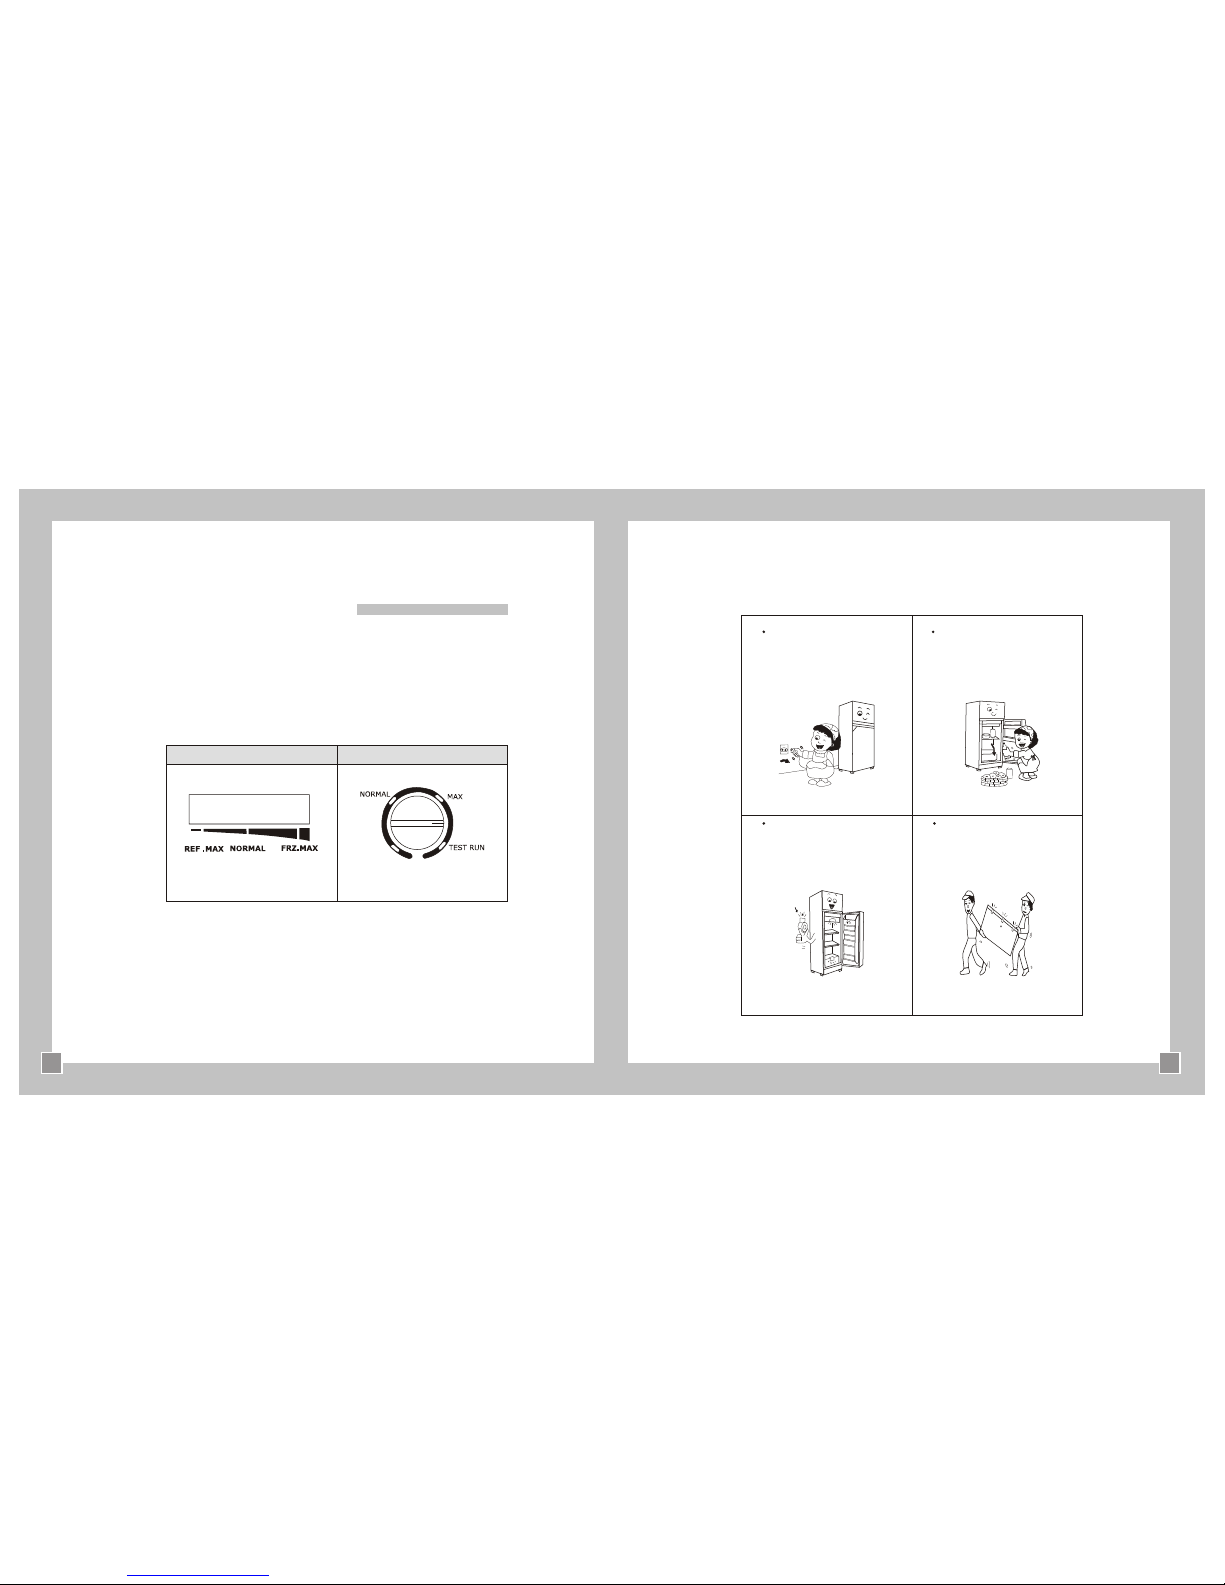
TO CHANGE TEMPERATURE 10
DEFROSTING THE REFRIGERATOR 11
WHAT TO DO 12