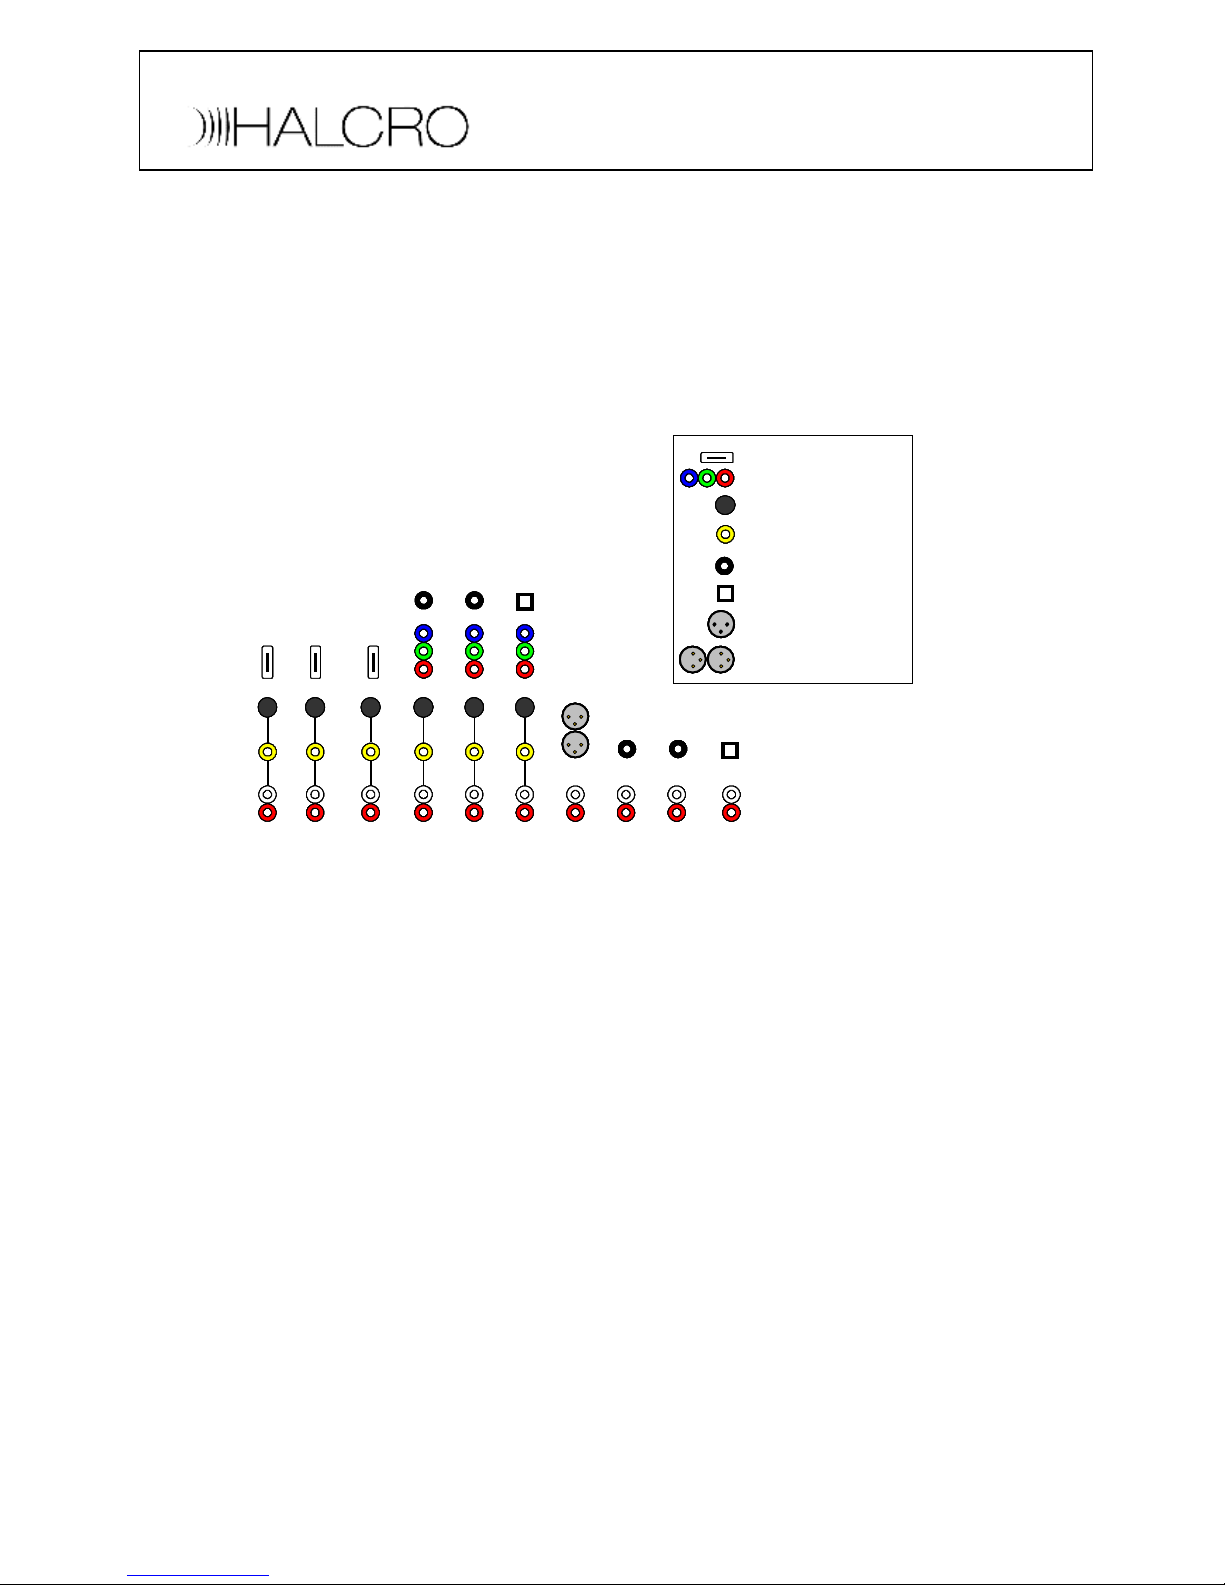
BalancedAudioInput
Toassignthe balancedaudioinputto asource,pleasesee the menu selectionsbelow.Use
the left&rightkeys onthe remotecontrolto scroll throughthe Balancedsourceinput
options.Inthe SSP100the balancedinputcanbeusedfor2-channel,5.1,6.1or7.1inputs.
Onlythe Leftandrightchannelscanbesentto theaudioDSPusingthe Balancedrouting.
Ensurethereisnoactivedigitalaudioinputassignedto thissourceinthe sourcesetup.
Atthisstageyouhavemadethe requiredconnectionsinto andfromthe SSP100 youhave
videoandaudioandthe systemisoperational.Settingupothersourceequipmentisthe
sameasisdescribedabove.The nextstageisto optimisethe audioandvideoinputs and
outputs to getthe maximumpossiblequality fromthe system.
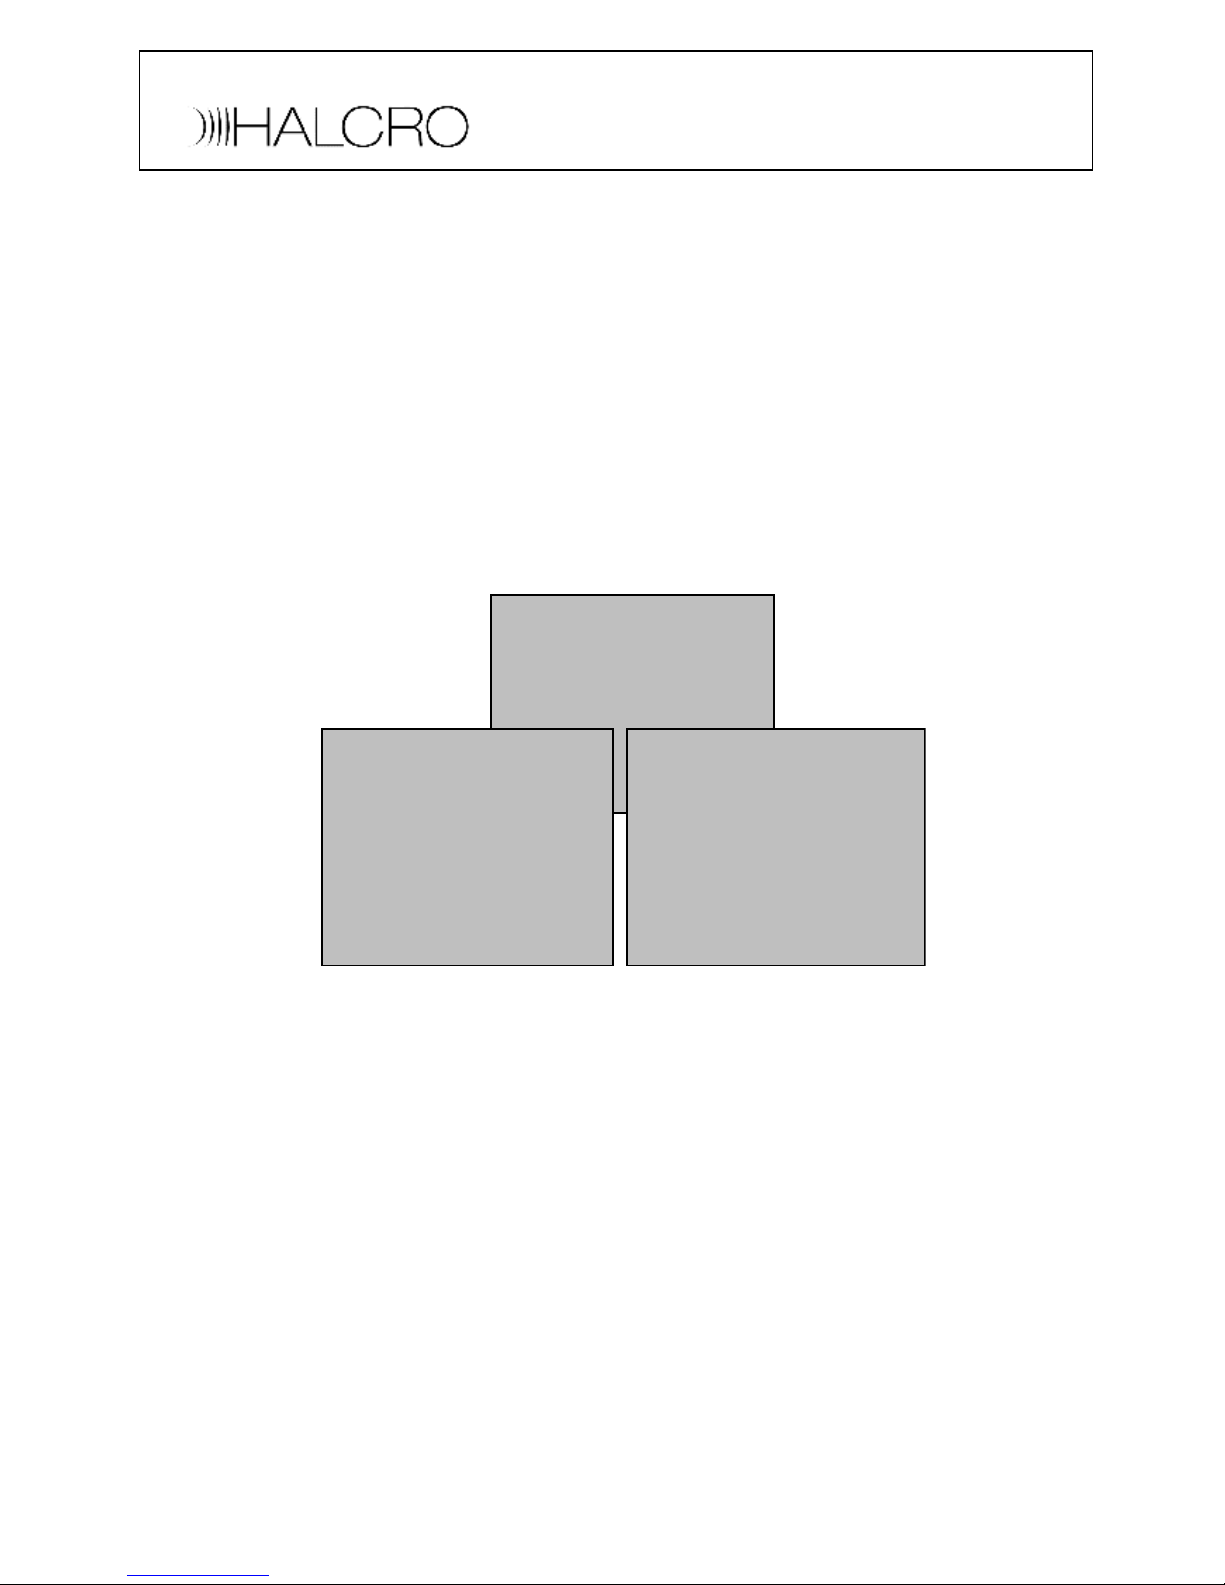
AudioFine Tuning
Speakerscanbemanuallyoptimisedorauto calibratedusingthe SSPsownautomatic
calibrationsystem.Speakerlevelscanbesetmanuallyto 75dBusinganSPLmeter.This
levelcorresponds withthe soundlevelsinpublictheatres.Werecommendautomatic
calibrationprocedurefirst andthen checkthe settingsmanually.
Speakerdistancessetby usingthe autocalibrationmaybealittledifferentfromthe
distancesmeasuredusingameasuringtape.Thisisbecauseacousticaldistanceisnot
always the sameasphysicaldistance.Acousticaldistanceincludesthe physicaldistance
anddelays broughtaboutby speakerdelays e.g.driverinertia.All distancesettingsarerelative
to the listeningposition.The maximumdifferenceinrelativespeakerdistance(fromthe
listeningposition)differenceis15feet.
The levelanddistancesettingsof auxiliarychannelsneedto besetmanuallyastheyarenot
includedinthe auto-calibration.
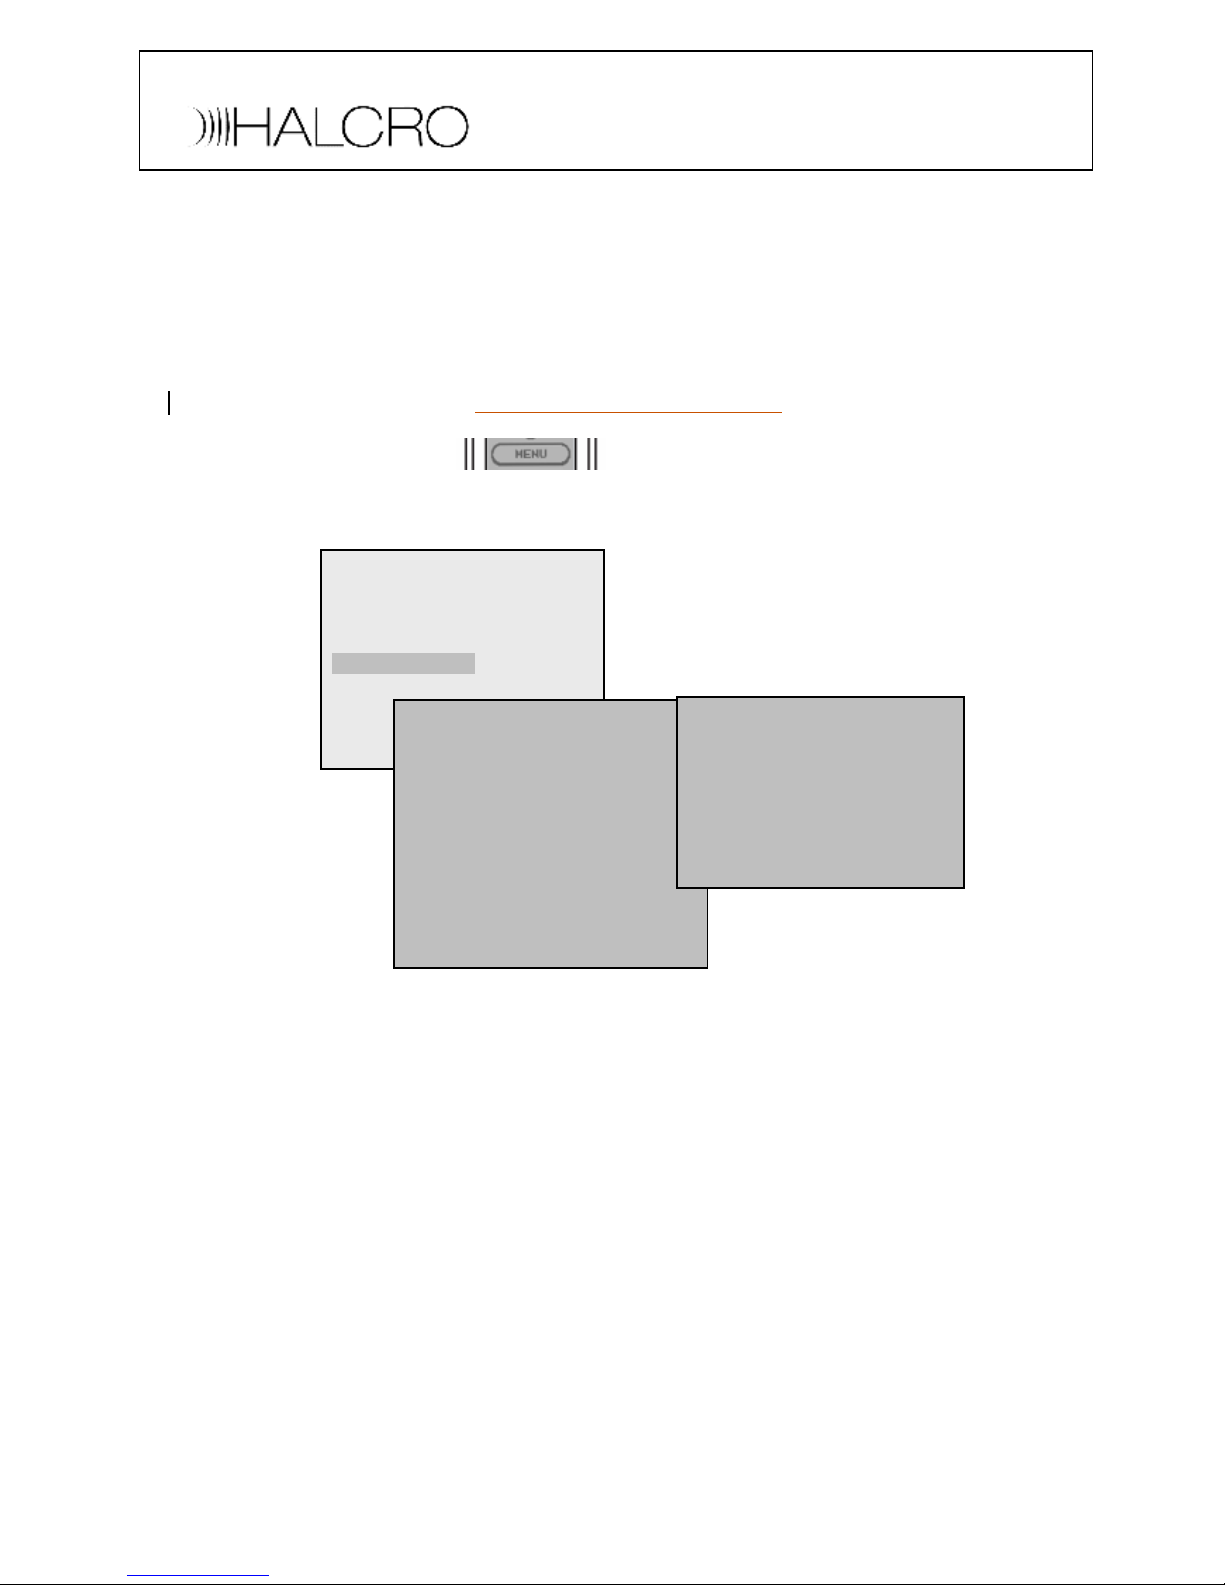
MAINMENU
Speakersetup
>Audiosetup
Sourcesetup
Display setup
Triggersetup
THXAudiosetup
EXIT
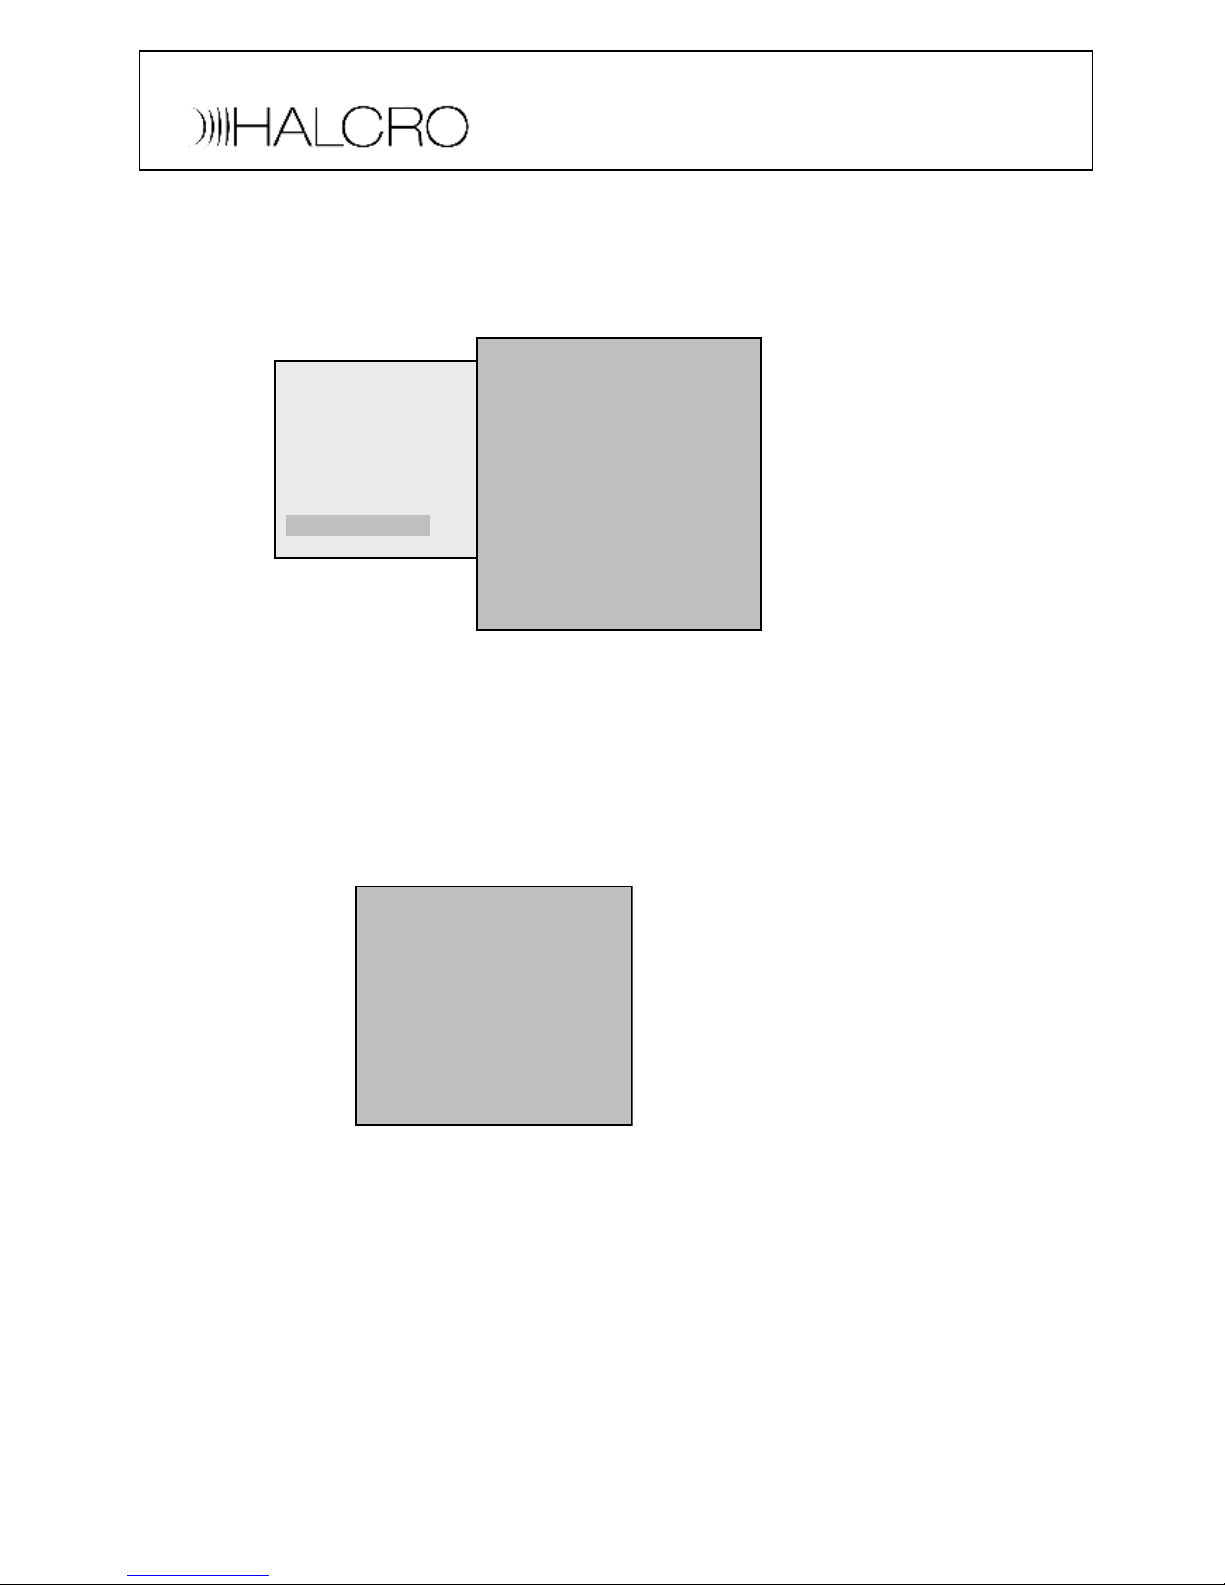
AUDIOSETUP
Dolby/DTSsetup
Presetsetup
Tonecontrols
LFElevel0dB
Reverb 2
>BalancedsourceSRC7
BalancedroutingBypass
EXIT