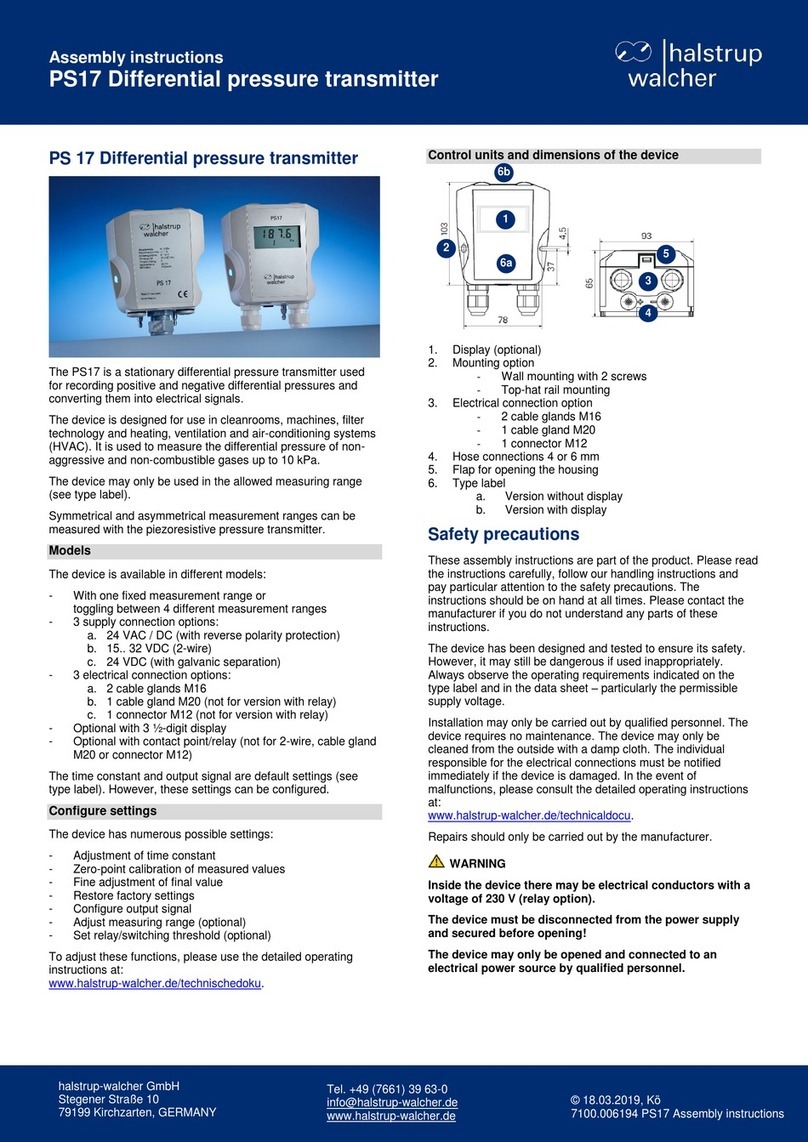
halstrup-walcher PS17 User manual

Instruction manual
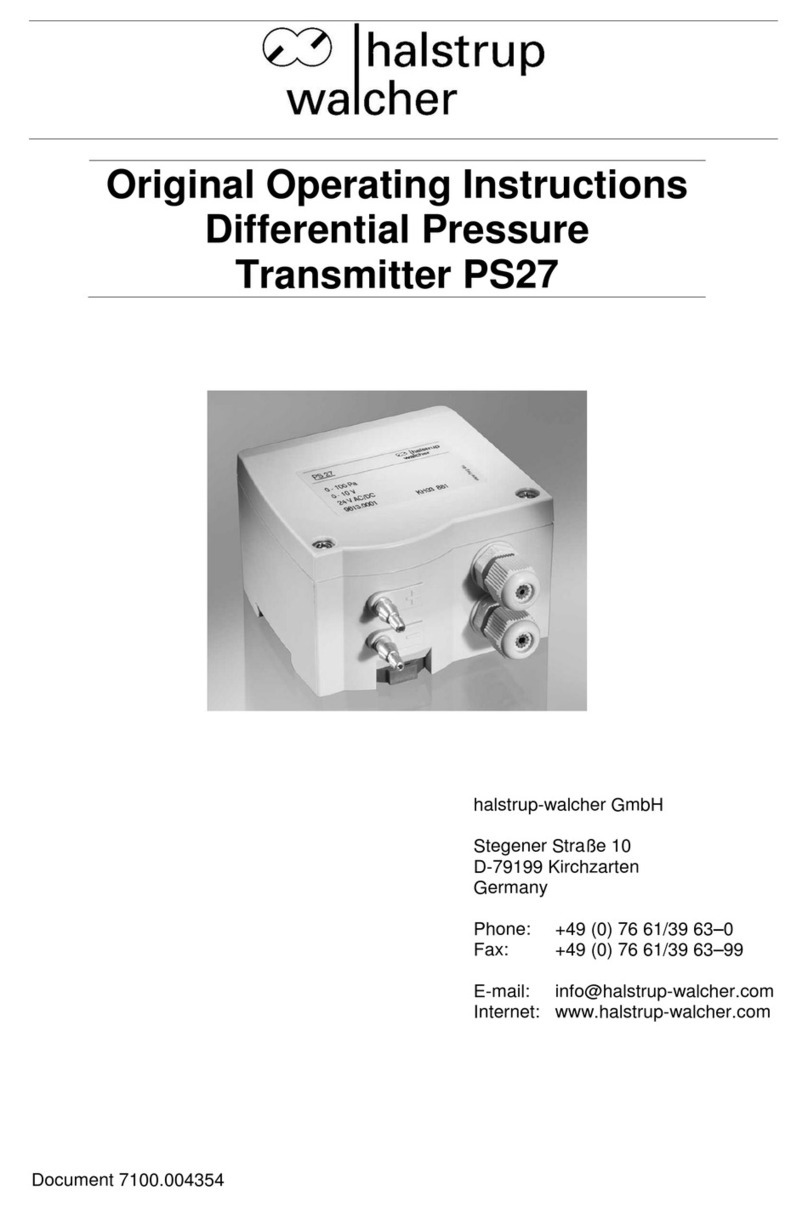
PS17 differential pressure transmitter

7100.006204 PS17 Instruction manual 208.04.19
halstrup-walcher GmbH
Stegener Straße 10
79199 Kirchzarten
Tel. +49 7661 39 63-0
www.halstrup-walcher.com
©2019
08.04.19, Kö
7100.006204 PS17 Instruction manual
The manufacturer owns the copyright to this instruction manual. It contains technical data,
instructions and drawings detailing the device’s features and how to use them. It must not
be copied either wholly or in part or made available to third parties.
The instruction manual is part of the product. Please read this manual carefully, follow our
instructions, and pay special attention to the safety information provided. This instruction
manual should be available at all times. Please contact the manufacturer if you do not
understand any part of the instructions.
The manufacturer reserves the right to continue developing this device model without
documenting such development in each individual case. The manufacturer will be happy to
determine whether this manual is up-to-date.

Safety precautions
7100.006204 PS17 Instruction manual 408.04.19
1 Safety precautions
1.1 Appropriate use
The PS17 differential pressure transmitter is designed to measure differential pressure in
cleanrooms, machines, filter technology and heating, ventilation and air-conditioning
systems (HVAC). It is used to measure the differential pressure of non-aggressive, non-
combustible gases up to a pressure of 10 kPa in non-explosive environments.
Always observe the operating requirements indicated on the type label and the data sheet –
particularly the permissible supply voltage.
The device may only be handled as indicated in this manual. Modifications to the device are
prohibited. The manufacturer is not liable for damages caused by improper use or failure to
follow these instructions. Violations of this type render all warranty claims null and void.
Repairs should only be carried out by the manufacturer. The device may only be cleaned
from the outside with a damp cloth.
1.2 Warning symbols
The device has been designed and tested to ensure its safety. However, it may still be
dangerous if used inappropriately. Precautions must be taken to prevent the device being
used incorrectly by mistake. This device requires no maintenance. The device must be
installed by trained technical personnel.
The following warnings are used in this instruction manual:
WARNING
This warns you of a potential hazard that could lead to serious bodily injury up to and
including death if the corresponding instructions are not followed.
2 Storage and transportation
Do not close the pressure inlets during shipping. Changes in barometric pressure may
damage devices with low measurement ranges.
In addition, ensure that the device is stored at the correct temperature (see data sheet).
3 Disposal
The electronic components of the device contain environmentally hazardous materials and
materials that can be reused. The device must therefore be sent to a recycling plant when
you no longer wish to use it. Compliance with the environmental codes of your country is
essential.

Description of the device and its function
7100.006204 PS17 Instruction manual 508.04.19
4 Description of the device and its function
4.1 PS17 differential pressure transmitter
The PS17 is a stationary differential pressure transmitter used for recording positive and
negative differential pressures and converting them into electrical signals.
The device is designed for use in cleanrooms, machines, filter technology, and heating,
ventilation and air-conditioning systems (HVAC). It is used to measure the differential
pressure of non-aggressive, non-combustible gases up to a pressure of 10 kPa.
The device may only be used in the approved measurement range (see type label).
The piezoresistive pressure transmitter can be used to measure symmetrical or
asymmetrical measurement ranges.
4.2 Models
The device is available in different models:
- With a fixed measurement range or toggling between 4 different measurement ranges
- 3 supply connection options:
a. 24 VAC / DC (with reverse polarity protection)
b. 15.. 32 VDC (2-wire)
c. 24 VAC (with galvanic separation)
- 3 electrical connection options:
a. 2 cable glands M16
b. 1 cable gland M20 (not for version with relay)
c. 1 connector M12 (not for version with relay)
- Optional: 3½ digit display
- Optional: Contact point/relay (not for 2-wire, cable gland M20
or connector M12).
The time constants and output signal are default settings (see type label). However, these
settings can be configured.
Please also read the technical data provided in the data sheet:
https://www.halstrup-walcher.de/en/products/all/PS17.php

Description of the device and its function
7100.006204 PS17 Instruction manual 608.04.19
4.3 Control units and dimensions
1. Display (optional)
2. Mounting option
- Wall mounting with 2 screws
- Top-hat rail mounting
3. Options for connection to the electrical power supply:
- 2 cable glands M16
- 1 cable gland M20
- 1 connector M12
4. Hose connections 4 or 6 mm
5. Flap for opening the housing
6. Type label
a) Model without display
b) Model with display
4.4 Internal control units
1. DIP switch
- SW 1 and 2 set switchable measurement ranges
(optional), otherwise no function
- SW 3-5 set the output signal
2. Terminal
- Connection to electrical power supply and output signal
(connection diagram see label in the cover)
- Zero-point calibration via signal input with +24 VDC
3. Key
- Zero-point calibration
- Fine adjustment of the final value
- Restore factory settings
4. Potentiometer (with optional relay)
- Set relay/switching threshold
5. Cover/connection for relay
- Protective cover for possible 230 V connection
1
2
3
4
5
6a
6b
2
1
3
4
2
5

Description of the device and its function
7100.006204 PS17 Instruction manual 708.04.19
4.5 Display (optional)
If your device has a display, the measurement range will be shown in Pa or kPa. The lower
line of the display shows the number of the selected measurement range.
When a device is switched on, information is displayed in the following order:
1. program version
2. final value of the selected measurement range (for approx. 1.5 seconds)
3. measured values
1
Output value (displays pressure in Pa and
kPa, root-extracted signal in %)
2
Number of the selected measurement range
“R” (with optional switchable measurement
ranges)
3
Display “r” for root-extracted output signal
4
Display “0” if zero-point calibration is in
progress
5
Units
Note: At ± 1999 Pa, the display automatically switches to kPa. A choice between Pa and
kPa is not provided for this unit.
1
2
3
4
5

Planning device attachment
7100.006204 PS17 Instruction manual 808.04.19
5 Planning device attachment
You can mount the device on a top-hat rail or screw it to a wall.
Install the device with the pressure ports facing downwards so that any condensation in the
hoses does not run into the sensor.
Avoid mounting the device close to any sources of heat or radiation (e.g. heaters,
direct sunlight...) as this could result in measurement errors.
You can also use the STP file for planning, which you can download from our website:
https://www.halstrup-walcher.de/en/products/all/PS17.php
5.1 Mounting on a top-hat rail and dismantling
You can mount the device on a DIN rail (see assembly instructions).
- Please note the dimensions of the device when planning the installation (see drawing
in chapter 4.3 Control units and dimensions).
- Ensure there is adequate space for the pressure and power supply ports under the
device. Prevent the hoses from kinking in order to ensure stable measurements.
5.2 Screwing to the wall
You can fix the device to the wall using 2 screws (see assembly instructions).
- The drill holes must be prepared. The dimensions (78 mm) can also be found on the
back of the device.
- The device has oblong holes for plumb alignment.

Planning device attachment
7100.006204 PS17 Instruction manual 908.04.19
5.3 Planning the pressure connection
You can connect the pressure to the device using the pressure ports.
- Use hoses with a 4- or 6-mm inner diameter.
- When connecting the pressure, use the following table to ensure that the sign of the
pressure (+ or -) is correctly connected.
Type of pressure
Connect pressure to
Example
Positive
overpressure
+ Input port
0 .. 1 kPa
Negative
overpressure
- Input port
0 .. - 500 Pa
(output value positive)
Differential pressure
(symmetrical/
asymmetrical)
higher pressure at + port
lower pressure at - port
0 .. 125 Pa
e.g. via a primary element
(e.g. a measuring orifice)
200 Pa
- 300 Pa .. + 1 kPa
- Do not allow hoses to kink or sag.
- Avoid accumulating moisture in the hose.
- If moisture can be produced in the hose or at the measurement location, the pressure
sensor should be mounted above the measurement location. The hose must not sag
between the sensor and the measurement location.
- Do not perform a function test with compressed or breathable air. This would damage
devices with low measurement ranges.
- Please follow all the technical specifications relating to general conditions for
applications in the data sheet at: https://www.halstrup-
walcher.de/en/products/all/PS17.php

Provide electrical connection
7100.006204 PS17 Instruction manual 10 08.04.19
6 Provide electrical connection
The electrical power supply is connected via the cable glands at the bottom of the device or
(optional) using an M12 connector.
The electricity supply may only be connected by trained professionals.
6.1 Prepare supply voltage via cable glands
For devices with cable glands, you can lead the cables through the housing to the terminals
for the supply voltage (see assembly instructions).
- Ensure that the supply voltage is correct for your model
- Use cables with wire diameters of 0.25 .. 1.5 mm2
- Observe the connection diagram located in the housing cover
- The terminals are located at the bottom left of the circuit board
(see chapter 4.4 Internal )
- Determine whether the digital zero-point calibration input is to be used and inform the
installation technician
- Always observe the operating requirements indicated on the type label and in the data
sheet –particularly the permissible supply voltage
- Provide the connections according to your desired supply voltage:
ZWL
2-wire
15 .. 32 VDC
AC/DC
3-/4-wire
24 VAC/DC
VDC
4-wire with
galvanic separation
24 VDC
1 2 3 4 5
1 2 3 4 5
1 2 3 4 5
1
+ connection
Inlet for supply voltage
2
not assigned
Ground for supply voltage
or output signal
Ground for supply voltage
3
- connection
Output signal
(voltage/current)
Output signal
(voltage/current)
4
not assigned
Ground for supply voltage
or output signal
Ground for output signal
5
Zero-point calibration
input
+24V = active
Zero-point calibration
input
+24V = active
Zero-point calibration
input
+24V based on ground for
output signal = active
Outlook: After switching on, the device requires a warm-up time of approx. 15 minutes

Provide electrical connection
7100.006204 PS17 Instruction manual 11 08.04.19
until the temperatures of the electronics and sensor have levelled off. The output signal may
behave unstable during this time.
6.2 Prepare supply voltage via connectors
The device is also available with connectors (optional).
Requirement: To connect, please use a cable with a suitable female connector for the A-
coded M12 connector.
Use the following pin assignment for the connector (external top view):
ZWL
2-wire
15 .. 32 VDC
AC/DC
3-/4-wire
24 VAC/DC
VDC
4-wire with
galvanic separation
24 VDC
1
+ connection
Inlet for supply
voltage
Inlet for supply
voltage
2
not assigned
Ground for supply
voltage or output
signal
Ground for supply
voltage
3
- connection
Output signal
(voltage/current)
Output signal
(voltage/current)
4
not assigned
Ground for supply
voltage or output
signal
Ground for output
signal
5
Zero-point
calibration input
+24V = active
Zero-point
calibration input
+24V = active
Zero-point calibration
input
+24V based on
ground for output
signal = active
6.3 Prepare relay connections
You can switch a 230 V voltage via the optional relay.
WARNING
Inside the device there may be electrical conductors with a voltage of 230 V (relay
option).
The device must be disconnected from the power supply and secured before
opening!
The device may only be opened and connected to an electrical power source by
qualified personnel.
You can connect the relay via the terminals in the device (see assembly instructions).

Provide electrical connection
7100.006204 PS17 Instruction manual 12 08.04.19
Note: No connector is provided for the relay connection. Two-wire devices cannot be
supplied with relays.
Note: For high ambient temperatures > 60 ° C you must select suitable cables.
The manufacturer has provided the following safety features:
- Protective cover: the cover prevents the connecting cable from touching conducting
parts if it slips/shakes (wrong connection). This protects the device and persons against
contact with the 230 V supply in the event of a fault.
- Note on the circuit board: a warning symbol has been included on the circuit board as
an additional measure.
- Observe the Low Voltage Directive: cables and strands for the voltages and currents
used at the relay contact must be approved and connected in accordance with the
applicable electrical codes for the application.
6 7 8
6
Normally Closed (NC)
Opener (rest position)
7
Common (COM)
Middle position
8
Normally Open (NO)
Closer (active position)
NC
COM
NO

Make Settings
7100.006204 PS17 Instruction manual 13 08.04.19
7 Make Settings
Open the cover carefully whenever you have to adjust the device settings (see assembly
instructions).
WARNING
Inside the device there may be electrical conductors with a voltage of 230 V (relay
option).
The device must be disconnected from the power supply and secured before
opening!
The device may only be opened and connected to an electrical power source by
qualified personnel.
7.1 Setting time constant
You can adjust the smoothing of the measurement signal (Tau 63/Tau 90) by setting the
time constant.
Note: The time constant is saved only for the current measurement range (optional
switchable measurement ranges).
Requirement: For devices without an integrated display, you will require a display device to
read the voltage signal 2 .. 10 V or current signal 4 .. 20 mA. If available, you can also use
the optional display.
1. Disconnect the device from the power supply.
2. Keep the key pressed and switch on the device.
On models with a display, the preset value is displayed in seconds (e.g. 0.025).
3. Switch between values (0.025 sec, 1 sec, 4 sec, 10 sec) by pressing the button several
times until the desired value is displayed. To do this, read the value on the display or
the display device:
Time constant/
device display
Output signal
Voltage signal
2 .. 10 V
Current signal
4 .. 20 mA
0.025 sec
0% of the hub
2 V
4 mA
1 sec
10 % of the hub
2.8 V
5.6 mA
4 sec
40 % of the hub
5.2 V
10.4 mA
10 sec
100% of the hub
10 V
20 mA
4. Confirm by pressing the key until the measured value is displayed again. For
devices with display the firmware version is shown again, then the measured value
appears.
The time constant is now configured.

Make Settings
7100.006204 PS17 Instruction manual 14 08.04.19
7.2 Zeroing measured values
You can perform zero-point calibration for the measured values from the pressure
transmitter. Use this setting option to ensure optimum differential pressure values and
process reliability when large changes in temperature occur.
Zero-point calibration can be performed manually or with a voltage level.
Note: For models with an integrated display (optional), a “0” is displayed in the lower right
corner of the screen during the zero-point calibration process (see chapter 4.5 Display
(optional)).
7.2.1 Manual zero-point calibration
You can perform zero-point calibration of the device manually using the key (see chapter 4.4
Internal ).
Requirements: The supply voltage must be stable. The deviation from the zero-point must
be less than 10%.
1. Make sure that there is no pressure on the device.
2. Press the key and keep it pressed for less than 10 seconds.
3. The zero-point calibration is complete after approx. 5-6 seconds.
The device is now zeroed.
Note: You can check that the zero-point calibration has been performed successfully by
measuring the output voltage. For models with an integrated display (optional), you can read
the measured value.
7.2.2 Zero-point calibration with voltage level
You can perform zero-point calibration of the device using the voltage level “Set0”.
Note: For devices with galvanic separation, you must connect a 24V signal to terminal 5
(Set 0) with reference to terminal 3 (GND).
1. Connect a 24 VDC voltage signal to the 5th connection on the terminal strip.
2. The zero-point calibration is performed for as long as the signal is applied. During this
time the value at the output before the zero-point calibration is retained.
3. The zero-point calibration is complete after approx. 6 seconds.
The device is now zeroed.
7.3 Fine adjustment of the final value
You can fine-tune/correct the final value by up to 10% when pressure is applied.
1. Create a reference pressure on the device. This should exactly match the final value of
your device.
2. Press the key briefly (< 10 sec.).
The final value is now adjusted.

Make Settings
7100.006204 PS17 Instruction manual 15 08.04.19
7.4 Reset factory settings
You can reset the fine adjustment settings to the factory settings.
1. Turn on the device.
2. Hold down the key for at least 10 seconds.
On devices with an integrated display (optional), the message “res” will be briefly
displayed.
The fine adjustment settings are now restored to the factory settings.
7.5 Configure output signal
You can adjust the settings for the output signal.
Note: The two-wire version must be configured by the manufacturer (output signal always 4
.. 20 mA). Only the root-extracted signal settings can be adjusted.
Requirements: Open the housing (see assembly instructions).
To make the setting, adjust the DIP switch SW 3-5 on the device.
Use a non-conductive tool.
1. Disconnect the PS17 from the power supply.
2. Adjust the switches using the settings described in the table:
Current signal I
Voltage signal U
0 .. 20 mA
4 .. 20 mA
0 .. 10 V
2 .. 10 V
Linear
Root-extracted
The output signal is now configured.
Note: On models with an integrated display (optional), the setting for the root-extracted
output signal is displayed (see chapter 4.5 Display (optional)):
- root-extracted: “r”
- linear: (no “r”).

Make Settings
7100.006204 PS17 Instruction manual 16 08.04.19
7.6 Using the root-extracted output signal
You can switch the output signal from linear to root-extracted. The linear measured value is
converted into a root-equipped signal.
The output is displayed in % and calculated using the following function:
Root-extracted signal = √ Measured value / Final value of measurement range
The value is displayed to one decimal point.
The following table explains the conversion using the example of 500 Pa as the final value
of a measurement range:
Measured value
Linear signal
Conversion
Root-extracted
signal
500 Pa
100%
√1 = 1
100%
250 Pa
50%
√0.5 = 0.707
70.7 %
100 Pa
20%
√0.2 = 0.447
44.7 %
50 Pa
10 %
√0.1 = 0.316
31.6 %

Make Settings
7100.006204 PS17 Instruction manual 17 08.04.19
7.7 Adjust the measurement range (optional)
You can adjust the measurement range if the model features switchable measurement
ranges.
- The final values of the device’s measurement ranges are stated on the type label.
- The active measurement range settings are shown on the display (optional display),
see chapter 4.5 Display (optional).
Requirement: Use a non-conductive tool.
1. Disconnect the PS17 from the power supply.
2. Open the housing (see assembly instructions).
3. To adjust the setting, use the DIP switches SW 1-2 on the device.
4. Adjust the switches using the settings described in the table:
5. Restart the device. The new settings will be applied after the device has been restarted.
For devices with an integrated display, the final value for the selected measurement
range will be displayed for approx. 1.5 seconds after the restart.
6. The measurement range is now set.
7. Perform the zero-point calibration for the device as described in 7.2 Zeroing measured
values.
7.8 Set relay/switching threshold (optional)
For models with relays, you can also set the switching value.
Requirement: Use a non-conductive tool to adjust the potentiometer settings.
Note: The relay is connected to the sensor’s output, so any adjusted time delays will also
cause delays in the relay controls.
1. Set the pressure on the device at which the relay should switch.
2. Turn the potentiometer until the relay switches (metallic click) .
3. Adjust the potentiometer to this position (e.g. just before the relay switches).
The switching threshold for the relay is now set.
Measurement
range R1
Measurement
range R2
Measurement
range R3
Measurement
range R4

Technical data
7100.006204 PS17 Instruction manual 18 08.04.19
8 Technical data
Technical data and drawings can be found in the current data sheet on the website:
https://www.halstrup-walcher.de/en/products/all/PS17.php
Please contact us if you require any further information.
9 Scope of delivery
The following parts are included in the scope of delivery:
1. PS17 differential pressure transmitter
2. Assembly instructions
10 Maintenance
This device requires no maintenance. Modifications to the device are prohibited.

Troubleshooting
7100.006204 PS17 Instruction manual 19 08.04.19
11 Troubleshooting
You can eliminate malfunctions of the device by observing the following table.
The qualified personnel responsible for the electrical connections must be notified if
the device is damaged or if errors occur that cannot be corrected as indicated in this
table.
Error description
Potential cause
Corrective action
No output signal
Supply voltage is not
connected
Connect the correct supply
voltage
Incorrect supply voltage is
connected
Connect the correct supply
voltage (see type label).
Polarity reverse diode
defective
Send the device to the
manufacturer for repair
Output signal is
constant despite
pressure change
Output protection diode
defective
Send the device to the
manufacturer for repair
Pressure ports reversed
Connect pressure in
accordance with chapter 0
Planning the pressure
connection
Output signal incorrect
Pressure sensor defective
Send the device to the
manufacturer for repair
Zero-point calibration with
applied pressure
Perform zero-point
calibration again without
pressure
Current output load too high
Observe maximum output
load of 500
Load resistance resistance
too low at voltage output
Observe minimum load
resistance of 50 k(see
data sheet)
Does not perform zero-
point calibration
Deviation from the zero-point
is > 10% of the measurement
range
Please contact our service
department

Declaration of Conformity
7100.006204 PS17 Instruction manual 20 08.04.19
12 Declaration of Conformity
Other manuals for PS17
1
Table of contents
Other halstrup-walcher Transmitter manuals