Hang ups Contour L3 User manual

Contour™Series
R
T
E
E
T
E
R
H
A
N
G
U
P
S
5
YEAR
W
A
R
R
A
N
T
Y
*Inversion Table images may vary
slightly from your model. The
Contour L3 is pictured here.
Inversion Table Assembly Instructions*
For Contour L3 and Contour L5 Models

IMPORTANT SAFETY INSTRUCTIONS
READ ALL INSTRUCTIONS BEFORE USING THE INVERSION TABLE.
WARNING
!
WARNING - To reduce the risk of injury to persons:
•Readandunderstandalltheinstructions,viewtheInstructionalDVD,reviewallotheraccompanyingdocuments,andinspectthe
equipmentbeforeusingtheinversiontable.Itisyourresponsibilitytofamiliarizeyourselfwiththeproperuseofthisequipmentandthe
inherentrisksofinversion,suchasfallingonyourheadorneck,pinching,entrapment,orequipmentfailure.Itistheresponsibilityof
theownertoensurethatallusersoftheproductarefullyinformedabouttheproperuseoftheequipmentandallsafetyprecautions.
•
Closesupervisionisnecessarywhentheinversiontableisusednearchildren,orbyornearinvalidsordisabledpersons.
•Usetheinversiontableonlyforitsintendeduseasdescribedinthismanual.DO NOT use attachments not recommended by the
manufacturer.
•NEVER drop or insert any object into any opening.
•DO NOT use or store product outdoors.
•DO NOT use if you are over 6 ft 6 in (198 cm) or over 300 lbs. (136 kg). Structural failure could occur or head/neck may impact the
oorduringinversion.
•DO NOTallowchildrentousethismachine.
•Keepchildren,bystanders,andpetsawayfrommachinewhileinuse.
•Keepbodyparts,hair,looseclothingandjewelryclearofallmovingparts.
FAILURE TO FOLLOW INSTRUCTIONS AND WARNINGS COULD RESULT IN SERIOUS INJURY OR DEATH.
BEFORE YOU BEGIN:Reviewallstepsbeforebeginningassemblyandreadallprecautionsbeforeusingtheinversiontable.
CarefullyadheretotheAssemblyInstructionsandOwner’sManualtohelpensuresafetyandproductintegrity.

IMPORTANT SAFETY INSTRUCTIONS
READ ALL INSTRUCTIONS BEFORE USING THE INVERSION TABLE.
WARNING
!
SAVE THESE INSTRUCTIONS
FAILURE TO FOLLOW INSTRUCTIONS AND WARNINGS COULD RESULT IN SERIOUS INJURY OR DEATH.
•Theinversiontablehasnouserserviceableparts.
•Thisproductisintendedforindoorhomeuseonly.DO NOTuseinanycommercial,rentalorinstitutionalsetting.
•DO NOTusetheequipmentwithoutalicensedphysician’sapprovalandareviewofthemedicalcontraindications,asnotedinthe
Owner’sManual.
•Failuretoassembleand/orusetheequipmentasdirectedmayvoidthemanufacturer’swarrantyonthisproductandcouldresultin
injury or death.
•Choosealevelsurfaceforassemblingandoperatingthetable.
•Followeachstepinsequence.DO NOT skip ahead.
•Makesurethatallfastenersaresecure.
•ALWAYStestandinspectthetable.Makesurethetablerotatessmoothlytoinvertedpositionandback.
•ALWAYS replace defective components immediately and/or keep the equipment out of use until repair.
BEFORE YOU BEGIN:Reviewallstepsbeforebeginningassemblyandreadallprecautionsbeforeusingtheinversiontable.
CarefullyadheretotheAssemblyInstructionsandOwner’sManualtohelpensuresafetyandproductintegrity.

Which Model Do You Own?
Important: Please locate the model of your Teeter inversion table before assembly.
ThemodelcanbefoundonA)theexteriorofthebox,orB)theseriallabellocatedonthebackofthetablebed.
We hope you enjoy your new Teeter Hang Ups Inversion Table!
If you have any questions, please contact our Customer Service Department at 1.800.847.0143 or www.teeter-inversion.com.
My Serial Number:
__________________
Don’t forget to register your
product at teeter-inversion.com
Contour L3 Contour L5

F5-0071-A
Itemsarenotshowntoscale.Ifyouhaveanyquestionsonassembly,contactCustomerService
at1-800-847-0143orvisitourwebsiteatteeter-inversion.com.
Items for Assembly
ITEMS FOR ASSEMBLY ITEM NUMBER
NX-1500
A-Frame
EZ-Angle™Tether
FlexTechnology™Table Bed
Bolts,Washers,Nuts(2)
HeadPillow
Crossbrace
Screw & Post May Come Pre-Assembled
ChicagoPosts(2)
ChicagoScrews(2)
NX-1100
F5-1008
NX-1300
EP-1128
EP-1105
NX-1400
F5-0071-A
F5-0071-B
Handle Assembly
Bolts & Nuts May Come Pre-Assembled
Contour Stretch™Handles(2)
Bolts(4)
Nuts(4)
Tools
10/13mmWrenches(2)
5mmAllenWrenches(2)
NX-1500
NX-1510
NX-1530
F5-1088
IA-1149
Main Shaft
withDeluxeEZ-Reach™Ankle
Lock System (ContourL5modelonly)
withEZ-Reach™Ankle
Lock System (Contour L3 model only)
NX-1630-B
NX-1630
ITEMS FOR ASSEMBLY ITEM NUMBER ITEMS FOR ASSEMBLY ITEM NUMBER
NX-1400
NX-1510
NX-1630
F5-1008
EP-1105
NX-1630-B
IA-1149
NX-1100
NX-1300
EP-1128
NX-1530
F5-1088
F5-0071-B

Before reading further, study the drawing below to familiarize yourself with the important
components of your new Teeter Hang Ups®inversion table.
Before Beginning
HeadPillow
FlexTechnology™TableBed
RotationAdjustmentArm
Crossbrace
Contour Stretch™ Handles
Height-Selector Locking Pin
De-RattlerKnob
Spreader Arms
EZ-Angle™ Tether
Crossbar
A-Frame
MainShaft
Ankle Lock System
AnkleComfortDial™
StabilityFeet
1
2
3
4
5
6
7
8
9
10
11
12
13
14
15 *Inversion Table images may
vary slightly from your model.
The Contour L3 is pictured here.
1
3
68
9
10
11
12
14
2
4
5
7
15
13

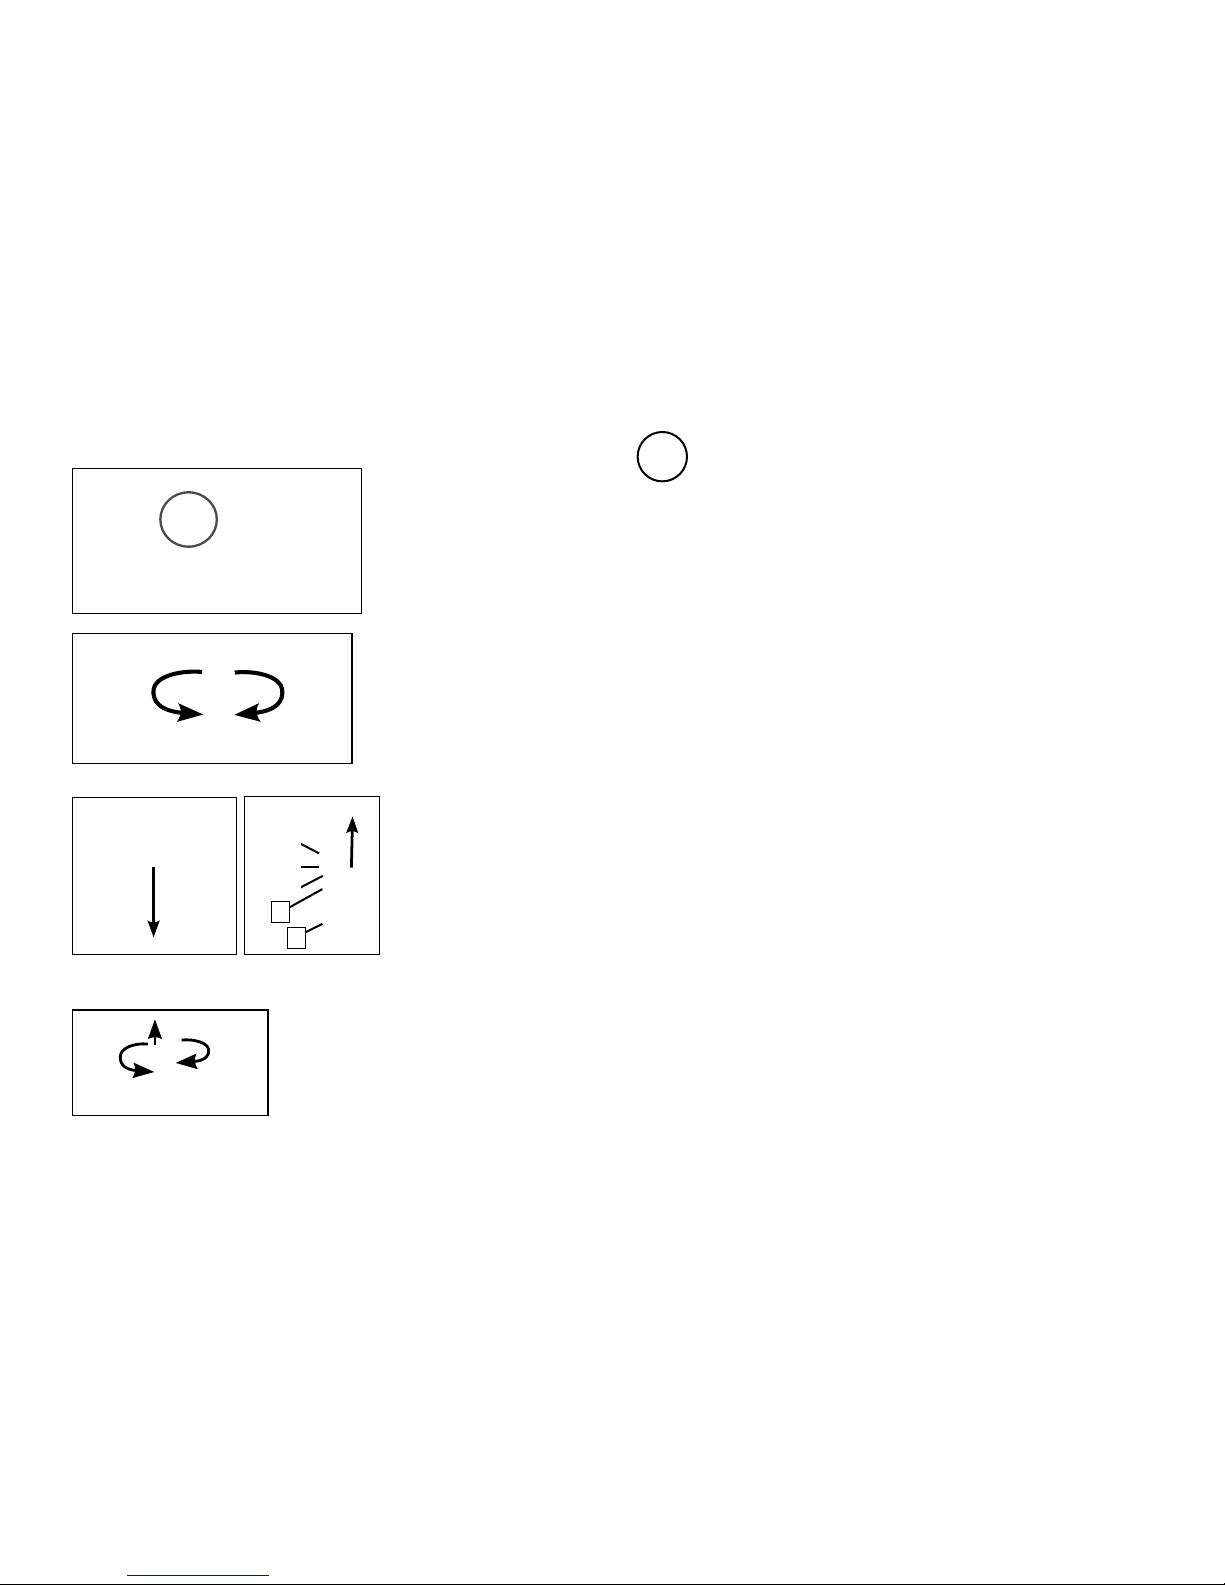
WARNING LABEL PLACEMENT
Important: Please review all labels and supporting materials before using your inversion table.
We hope you enjoy your new Teeter Hang Ups Inversion Table!
If you have any questions, please contact our Customer Service Department at 1.800.847.0143 or www.teeter-inversion.com.
Thisdrawingindicatesthelocationsofthewarning
labels found on your product.
Ifalabelismissing,illegibleorisremoved,
contact Customer Service at the phone number or
websitefoundatthebottomofthispagetorequesta
complimentary replacement label.
NOTE: Image and labels below not shown actual size.
WARNING - To reduce the risk of personal injury or death:
•
Read and understand all the instructions before using the inversion table.
It is your responsibility to familiarize yourself with the proper use of the
equipment and the inherent risks of inversion, such as falling on your head
or neck, pinching, entrapment or equipment failure.
•
Do not allow children to use the machine.
•
Keep children, bystanders, and pets away from the machine while in use.
•
Keep body parts, hair, loose clothing and jewelry clear of all moving parts.
•
Height/Weight capacity: 4 ft 8 in - 6 ft 6 in (142-198 cm); 300 lbs (136 kgs).
•
This product is for consumer, indoor household use only.
Replace Labels and Owner’s Manual if Damaged, Illegible, or Removed.
Teeter, 9902 162nd St. Ct. E., Puyallup, WA 98375
Toll Free (Phone): 800-847-0143 Web: www.teeter-inversion.com
WARNING
!
EP-1737 0911-3
IA-2007-M
WARNING
AVERTISSEMENT/ ADVERTENCIA
!
Ankles must be properly secured before use.
REPLACE LABEL IF DAMAGED, ILLEGIBLE, OR REMOVED.
Les chevilles doivent etre convenablement a obtenu avant l’usage.
REMPLACER L'ETIQUETTE SI ENDOMMAGE OU ENLEVE.
Los tobillos deben estar propiamente asegurados antes de usarse.
REEMPLACE LA ETIQUETA SI ESTÁ DAÑADA O SE HA PERDIDO.
!WARNING/ AVERTISSEMENT/ ADVERTENCIA
TIPPING HAZARD: For upright storage, leave A-Frame open wide enough to remain stable, or secure to the wall to prevent tipping. In households with
small children, the table should be stored flat on the floor, not upright.
DANGER DE RENVERSEMENT: Pour un rangement en position verticale, laissez le cadre en A suffisamment ouvert pour qu'il reste stable,
ou appuyez-le sur un mur pour éviter les chutes. Dans les foyers avec de jeunes enfants, cette table devrait être rangée à plat sur le sol et non
pas debout.
PELIGRO DE DESLIZAMIENTO: Para guardar la tabla parada, deje la estructura A lo suficiente abierta para que quede estable, o asegúrela a la
pared para prevenir que se deslice y caiga. En casa con niños pequeños, la tabla debe guardarse acostada sobre el piso, no parada.
NX-1750-M 0910-1
REPLACE LABEL IF DAMAGED, ILLEGIBLE, OR REMOVED.
REMPLACER L'ETIQUETTE SI ENDOMMAGE OU ENLEVE.
REEMPLACE LA ETIQUETA SI ESTÁ DAÑADA O SE HA PERDIDO.

Step 1
Attach the Support Beam to the Table Bed (NX-1300)
•PlacetheTableBedfacedownonthefloor.PushdownontheSupportBeamsothatthetwo
holesalignevenlywiththeholesatthebaseoftheUpperSupportArms(Figure1).
•Insertthetwobolts(EP-1128)intotheopenholes(Figure1).
•Fasteneachboltwithawasherandnut(Figure2).
•UsetheAllenWrench(IA-1149)tosteadyeachboltandtightenthenutsusingthe10/13mm
openendWrenchprovided(F5-1088)(Figure2).
FIGURE1
SupportBeam
FIGURE2
2
1
1
2
3
3
RubberSpacers
UpperSupportArms
Step 2
Assemble the Table Bed (NX-1300) to the A-Frame (NX-1100)
•PositiontheA-Frameonthefloorwiththecrossbarpointingdown,sothattheframeisrestingon
theRotationAdjustmentArms(Figure3).
•WiththeTableBedfaceupandthetopofthebedpointingtotheA-Framefeet,slideitonthe
floorbetweenlegsoftheA-Frame.
•Loosenthe“de-rattler”functionofthePinlockKnobsbyturningeachcounterclockwise(Figure4).
•AlignandinserttheRotationAdjustmentArmsintotheSupportHousings(Figure5).
•Pulloutbothspring-loadedPinlockKnobsandthenpulluptoaligntheSupportHousingwithone
ofthemarkedsettingsontheRotationAdjustmentArms(Figure6).
•Releasetheknobssothattheyengageaholesetting(Figure6).Shouldtheknobsbelockedin
the“out”position,simplyrotateclockwisetorelease(Figure7).
NOTE: Refer to the Owner’s Manual for an explanation of the hole settings. If you are unsure,
use Setting C to start.
FIGURE3
CounterclockwisetoLoosen,ClockwisetoTighten
Support Housing
RotationAdjustmentArms
FIGURE4
Loosen Tighten
1
2
Counterclockwiseto
Lock,Clockwiseto
Release
Lock Release
FIGURE5
FIGURE7
12
A
C
FIGURE6
B

Step 3
Attach the Handles (NX-1500) to the A-Frame (NX-1100)
Bolts and Nuts may come pre-assembled in Handles.
•ToassembletheHandles,leavetheinversiontableinthisposition(Step2).Removethe
pre-assembled bolts from the Handles.
•PlaceeachHandlefittingovertheA-Framelegs,aligningwiththepre-drilledholes(Figure8).
•Inserttheboltsandsecurewiththenuts,tighteningwiththeAllenWrenchesprovided(Figure9).
FIGURE8
FIGURE9

Stand the Inversion Table Upright
•Tostandtheinversiontableupright,firstmovetheA-Frameontoitsside(Figure10),andthen
carefullyliftitupontoitsfeet(Figure11).
•UsethehandlestoopentheA-Framewideenoughsothatitisstableandcanstandupright
onitsown(Figure12).
•LeavethetableinthispositionforStep5oftheassembly.
Step 4
FIGURE10
FIGURE11
FIGURE12

Step 5
Attach the Crossbrace (NX-1400) to the Rotation Adjustment Arms
•Removethepre-assembledChicagoScrewPostsfromtheCrossbrace(NX-1400).
•AligntheholesintheCrossbracewiththelastholeontheRotationAdjustmentArms
(Figure13).
•InserttheChicagoPosts(F5-0071-A)andsecurewiththeChicagoScrews(F5-0071-B),
tighteningwiththeAllenWrenches(IA-1149)provided(Figure14).
NOTE: Due to the tapered style of the Chicago Post, it may not sit flush against the
Crossbrace.
•TurnthePinlockKnobsclockwisetore-engagethe“de-rattler”function(Figure15).
FIGURE16
TurnClockwisetoTightentheDe-RattlerFunction
FIGURE13
FIGURE14
FIGURE15

Depending on the model you have purchased, the items in this step will vary. The model of
your product can be found on the Serial Label, located on the back of the Table Bed.
Insert the Main Shaft into the Table Bed (NX-1300)
Contour L3:
Use the Main Shaft with the EZ-Reach
™
Ratchet Ankle Lock System (NX-1630).
Contour L5:
Use the Main Shaft with the Deluxe EZ-Reach
™
Ankle Lock System (NX-1630-B).
•EnsurethattheA-FrameisfullyopenandlockedattheSpreaderArms(Figure16).
•RotatetheTableBedintoitsuseposition(Figure17).
•LoosentheMainShaftDe-RattlerKnobatthebaseoftheMainShaftHousing.
NOTE: The De-Rattler Knob is an optional feature that prevents a slight shift when you invert.
Product security is not compromised if you choose not to tighten the knob.
•WiththeHeightAdjustmentSettingsontheMainShaftfacingup,slidetheendoftheMain
ShaftintotheMainShaftHousingatthebaseoftheTableBed.
•PullouttheHeight-SelectorLockingPintoallowtheMainShafttoslideinfurtherandrelease
inthedesiredheightsetting.RefertotheOwner’sManualformoreinformationonselecting
your height setting.
•TheMainShaftMUST RESTagainsttheCrossbaroftheA-Frame(Figure18).
NOTE: The Crossbar prevents the Table Bed from rotating forward when the user steps on
the Ankle Comfort Dial. If the Main Shaft does not rest on the Crossbar as shown in Figure
18, then the Table Bed has been assembled backwards onto the A-Frame. This must be
corrected before use.
De-RattlerKnob
MainShaftHousing
Height-Selector Locking Pin
Step 6
FIGURE17
FIGURE18
3
2
1
3
2
1
1
FIGURE16
Crossbar
1
ProperRestingPosition
2
2

Attach the EZ-Angle™ Tether Strap (F5-1008) to Limit the Degree of Rotation
•TheTetherwillcomepre-assembledtotheA-Frame.
•UnfoldtheadjustableTetherandclipittotheU-BarontheundersideoftheTableBed
(Figure19).
•TheEZ-Angle™Tetherhascolorcodedanglestoassistinvariedanglesofinversionforyour
experiencelevel(Figure20):
20°/TwentyDegrees–adjustthestrapsothegreenstripeisinthecenterofthesliding
buckleforinversiontoagentletwenty-degreeangle.
40°/FortyDegrees–adjustthestrapsotheorangestripeisinthecenterofthesliding
buckle for inversion to a moderate forty-degree angle.
60°/SixtyDegrees–adjustthestrapsotheredstripeisinthecenterofthesliding
buckleforinversiontoamoreadvancedsixty-degreeangle.Thisistheanglewhenfull
decompression is realized.
90°/NinetyDegrees–Removethetetherstrapclipfromthebaseofthetablebedloopto
enable rotation to full inversion.
60˚
40˚
20˚
90˚
Step 7
FIGURE19
FIGURE20

Step 8
Attach the Head Pillow (EP-1105) and Owner’s Manual
•AttachtheHeadPillowbysecuringtheVelcrostrapsthroughtheholesintheTableBed–the
positionofthepillowcanbeadjusteddependingontheuser(Figure21).
•HangtheOwner’sManualoveroneofthehandlesforfuturereference(Figure21).
Before Use
•TesttheInversionTablebyhandforsmoothrotation(Figure22).
•Ensureallfastenersaresecure.
•Pleasecompletethewarrantyregistrationonlineatwww.teeter-inversion.com.
•Foryourreference,theserialnumbercanbefoundonthebackoftheTableBed.
WARNING
!
ReadtheOwner’sManualthoroughlybeforeusingyourTeeterHangUps
Inversion Table. Improper settings could result in serious injury or death!
FIGURE22
FIGURE21

Changing the Rotation Adjustment Setting
•LoosentheDe-RattlerKnob.
•ShortentheMainShaftandrotatetheTableBedoppositefromuseintoitsstorageposition.
LeavetheA-Frameopenandlockedatthespreaderarms(Figure23).
•ThePinlockKnobsservetwofunctions:
-Asa“de-rattler”topreventexcessmovementofthesupportarms(Figure24A)
-Asa“spring-loadedpinlock”toengagetheRotationAdjustmentSetting(Figure24B).
•First,loosenthe“de-rattler”functionofthePinlockKnobsbyrotatingthemcounterclockwise.
Thenpulltheknobsuptodisengagethepinandrotateagaincounterclockwisetolockthem
inthe“out”position.
•MovetheSupportHousingalongtheRotationAdjustmentArmstothedesiredsettingusing
thelinemarkingsasaguide.Rotatethepinclockwisetoreleasethelockandallowthepinto
engageahole.Youwillhearaclickwhenthepinisproperlyengaged.
NOTE: Engage the Pinlock Knobs in the same setting for each of the Rotation
Adjustment Arms.
•TurnthePinlockKnobsclockwiseagaintore-engagetheDe-Rattler.
•RotatetheTableBedbacktoitsusepositionandextendtheMainShafttoyour
preferred setting.
Adjustments
Option: instead of rotating to lock
pinsinthe“out”position,simply
pulltheknobsup,slide,and
release into your desired setting.
CounterclockwisetoLock,
ClockwisetoRelease.
CounterclockwisetoLoosen,
ClockwisetoTighten.
FIGURE23
FIGURE24A
FIGURE24B
Maintenance
•TocleantheInversionTable,wipedownwithadampcloth.Donotuseabrasive
cleaners or solvents.
Storage
•RemovetheAngleTetherfromtheU-BarlocatedontheundersideoftheTableBed.
•LoosentheMainShaftDe-RattlerKnob.
•Pulltheheight-selectorlockingpin,slidetheMainShaftinalltheway,andengagethepinin
the storage setting.
•Rotatethetableoppositefromuseuntilthetablehasturned180degreesandrestsagainst
theCrossbarontheA-Frame.
•PullupontheSpreaderArmstofoldtheA-Frame(Figure24),leavingtheA-Framelegsopen
toawidthofatleast12”forstability.
NOTE: This operation may pinch fingers if not done slowly and carefully.
Maintenance / Storage
TippingHazard:Foruprightstorage,leaveA-Frameopenwide
enoughtoremainstable,orsecuretothewalltopreventtipping.
Inhouseholdswithsmallchildren,theinversiontableshouldbestored
atontheoor,notupright.
WARNING
!
FIGURE24

U.S.andForeignPatentsPending.TeeterHangUpsisaregisteredtrademarkofTeeter.
Specicationssubjecttochangewithoutnotice.
©COPYRIGHT2012Teeter.InternationalLawProhibitsAnyCopying.
CN-10350612-0
Ifyouhaveanyproblemsassemblingtheequipment,orquestionsaboutitsuse,pleasecontactcustomerserviceat:
USA:Teeter
TollFree(Phone)800-847-0143
(Fax)800-847-0188
www.teeter-inversion.com
International:InversionInternational,Ltd.
(Phone)+1-242-362-1001
(Fax)+1-242-362-1002
www.InversionInternational.com

Contour™Series
R
T
E
E
T
E
R
H
A
N
G
U
P
S
5
AÑOS
G
A
R
A
N
T
Í
A
*Las imágenes de la tabla de
inversión pueden diferir ligeramente
desumodelo;sinembargo,las
instrucciones de ensamblaje siguen
siendo las mismas.
Instrucciones de ensamblaje de la tabla
de inversión*
Para los modelos Contour L3 y Contour L5

LES INSTRUCTIONS IMPORTANTES DE SECURITE
LIRETOUTESLESINSTRUCTIONSAVANTD’UTILISERLATABLED’INVERSION.
AVERTISSEMENT
!
AVERTISSEMENT - Anderéduirelerisquedeblessuresinigéesauxpersonnes:
•Lireetcomprendretouteslesinstructions,visionnerlavidéod’instructions,examinertouslesautresdocumentsfournis,etinspecter
lematérielavantd’utiliserlatabled’inversion.Vousêtesresponsabledevousfamiliariseravecl’utilisationcorrectedecetappareilet
auxrisquesinhérentsàl’inversion,telsquelerisquedetombersurlatêteousurlecou,lespincements,lapossibilitéderestercoincé,
oulesrisquesdedéfaillancesdel’appareil.Lepropriétairedelatableestresponsabledes’assurerquetouslesutilisateursduproduit
soiententièrementinformésdel’utilisationcorrectedecetéquipementetdetouteslesprécautionsdesécuritéàadopter.
•Unesurveillanceétroiteestnécessairelorsquelatableestutiliséeàproximitéd’enfants,parouàproximitédepersonnes
handicapéesouinrmes.
•Utiliseruniquementlatabled’inversionpourl’usagepourlequelelleestprévuetelqu’ilestdécritdansceguide.NEPASutiliser
d’attachesnonrecommandéesparlefabriquant.
•NE JAMAIS laisser tomber ou introduire un quelconque objet dans aucune des ouvertures.
•NE PAS utiliser ou ranger ce produit en plein air.
•NE PAS utiliserl’appareilsivousmesurezplusde1,98moupesezplusde136kg.Unedéfaillancestructurellepourraitseproduireou
latête/lecoupourraitpercuterlesolpendantl’inversion.
•NE PAS permettreauxenfantsd’utilisercetappareil.
•Maintenirlesenfants,lesspectateursetlesanimauxdecompagnieéloignéslorsdel’utilisationdel’appareil.
•Maintenirtouteslespartiesducorps,lescheveux,lesvêtementsamplesetlesbijouxéloignésdetouteslespiècesenmouvement.
LE NON-RESPET DE CES INSTRUCTIONS ET DE CES AVERTISSEMENTS PEUT
ENTRAÎNER DES BLESSURES GRAVES VOIRE LA MORT.
AVANT DE COMMENCER:Revoyeztouteslesétapesavantdecommencerl’assemblageetprenezconnaissancedetoutesles
précautionsàprendreavantd’utiliserlatabled’inversion.Respectezscrupuleusementlesinstructionsd’assemblageetlemanuel
d’utilisationand’assurerlasécuritéetl’intégritéduproduit.
This manual suits for next models
1
Table of contents
Languages:
Other Hang ups Fitness Equipment manuals


Popular Fitness Equipment manuals by other brands


G-FITNESS
G-FITNESS AIR ROWER user manual

CAPITAL SPORTS
CAPITAL SPORTS Dominate Edition 10028796 manual

Martin System
Martin System TT4FK user guide

CIRCLE FITNESS
CIRCLE FITNESS E7 owner's manual

G-FITNESS
G-FITNESS TZ-6017 user manual

Accelerated Care Plus
Accelerated Care Plus OMNISTIM FX2 CYCLE/WALK user manual


