manuals.online logo
Brands
  1. Home
  2. •
  3. Brands
  4. •
  5. HANYOUNG NUX
  6. •
  7. Measuring Instrument
  8. •
  9. HANYOUNG NUX BA 1 Series User manual

HANYOUNG NUX BA 1 Series User manual

 디지털패널미터

BA1
사용설명서
 (주)한영넉스의제품을구입하여주셔서대단히감사합니다.
 본제품을사용하시기전에사용설명서를잘읽은후에올바르게사용해주십시오.
또한,사용설명서는언제라도볼수있는곳에반드시보관해주십시오.
MF0206KE170808
안전상주의사항
사용전에안전에관한주의사항을잘읽어주시고올바르게사용하여주십시요.
설명서에표시된주의사항은중요도에따라위험,경고,주의심벌로구분하고있습니다.
입•출력단자는감전의위험이있으니신체및통전물이절대로접촉되지않도록하십시오.
위험
•제조자가지정한방법이외로사용시에는상해를입거나재산상의손실이발생할수있습니다.
•감전방지및기기고장방지를위하여모든배선이종료될때까지전원을투입하지마십시오.
•본기기는절대로분해,가공,개선,수리하지마십시오.이상동작,감전화재의위험이있습니다.
•본기기의탈착은전원을OFF한후조치하여주십시오.감전,오동작,고장의원인이됩니다.
•본기기의파손방지및고장방지를위하여정격에맞는전원전압을공급하여주십시오.
•방폭구조가아니므로가연성,폭발성가스가있는장소에서는사용하지마십시오.
•감전될위험이있으므로통전중본기기를패널에설치된상태로사용하여주십시오.
경고
주의
인천광역시남구길파로71번길28
TEL:032)867-0941FAX:032)868-5899
고객지원센터TEL:1577-1047
http://www.hynux.com
(주)한영넉스
본사/공장
사양
전원전압 5Vd.c. 12-24Vd.c.
소비전력 약3W 약5W
절연저항 10㏁이상(500Vd.c.)
내전압 1,500Va.c.1분간(전원단자와입력단자간)
내노이즈 전원단자노말모드±200V
전원단자콤몬모드±500V
내진동(내구) 10-55㎐편진폭X·Y·Z각방향2시간
내충격(내구) 300㎨(약30G)
사용주위온도 0~50℃
사용주위습도 35~85%RH
보존주위온도 -10~70℃
형명구성
형명 코드 내용
BA1- ☐ ☐ ☐ ☐ 소형직류지시계(48×24㎜)
입력 D
10 직류전압계(d.c.)
20 직류전류계(d.c.)
11 직류전압입력계(1-5Vd.c.)
21 직류전류입력계(4-20㎃d.c.)
레인지코드 1 레인지코드참조
전원전압 - 표시무:5Vd.c.
A 12-24Vd.c.
측정레인지
█직류전압계
█직류전압입력계
█직류전류입력계
█직류전류계
형명 측정범위 분해능 입력임피던스 최대허용입력전압
BA1-D101 199.9㎷ 100㎶ 100㏀ 70V
BA1-D102 1.999V 1㎷ 1㏁ 100V
BA1-D103 19.99V 10㎷ 1㏁ 250V
BA1-D104 199.9V 100㎷ 10㏁ 300V
형명 입력범위 표시범위 입력임피던스 최대허용입력전압
BA1-D111
1-5Vd.c.
50.0 100㏀ 100V
BA1-D112 100.0 100㏀ 100V
BA1-D113 199.9 100㏀ 100V
형명 입력범위 표시범위 입력임피던스 최대허용입력전류
BA1-D211
4-20㎃d.c.
50.0 25Ω 150㎃
BA1-D212 100.0 50Ω 150㎃
BA1-D213 199.9 100Ω 150㎃
형명 측정범위 분해능 입력임피던스 최대허용입력전류
BA1-D201 199.9㎂ 0.1㎂ 1㏀ 1㎃
BA1-D202 1.999㎃ 1㎂ 100Ω 50㎃
BA1-D203 19.99㎃ 10㎂ 10Ω 150㎃
BA1-D204 199.9㎃ 100㎂ 1Ω 300㎃
BA1-D205 1.999A 1㎃
션트사용
(2차전압50㎷)
BA1-D206 19.99A 10㎃
BA1-D207 199.9A 100㎃
BA1-D208 1999A 1A
※정도:지시값의±0.2%±1digit(23℃±5℃)
※정도:지시값의±0.2%±1digit(23℃±5℃)
지키지않을경우,사망또는중상에이르는결과를낳는절박한위험
상황을표시하고있습니다.
지키지않았을경우, 사망또는중상이 발생할가능성이예상되는 내
용을표시하고있습니다.
지키지않았을경우,경미한상해나재산상의손해가발생할가능성이
예상되는내용을표시하고있습니다.
위험
경고
주의
•사용설명서의내용은사전통보또는예고없이변경될수있습니다.
•주문하신사양과일치하는지확인하십시오.
•운송중파손및제품에이상이없는지확인하십시오.
•
부식성가스(특히유해가스,암모니아등),가연성가스가발생하지않는장소에서사용하십시오.
•본체에직접진동,충격이가하여지지않는장소에서사용하십시오.
•물,기름,약품,증기,먼지,염분,철분등이없는장소에서사용하십시오.
•알코올,벤젠등유기용재로본기를닦지마십시오.(중성세제로닦아주십시오.)
•유도장애가크고정전기,자기노이즈가발생하는장소는피하여주십시오.
•직사일광및복사열등에의한열축적이발생하는장소는피하여주십시오.
•고도2,000m이하의장소에서사용하십시오.
•물이들어갔을때에는누전,화재의위험성이있으므로필히점검을받아주십시오.
•계기전원선은촘촘하게꼬으면노이즈에대하여효과가있습니다.
•사용하지않는단자에는아무것도결선하지마십시오.
•단자의극성을확인한후배선을정확하게연결바랍니다.
•스위치나차단기는운전자가조작이용이하도록가까운거리에설치하십시오.
•스위치나차단기가설치되어있으므로스위치나차단기를작동하면전원이차단된다는사항을
패널에명기하십시오.
•본기기를계속적으로안전하게사용하기위하여정기적인보수를권장합니다.
•본기기의탑재부품에는수명이있는것과경년변화하는것이있습니다.
•부속품을포함한본기기의보증기간은정상적으로사용한경우에1년입니다.
※측정레인지에서형명BA1-D101의경우레인지코드는"101"임
성능
접속도
외형및패널가공치수
소숫점위치선택
보수및점검
고객지원서비스(AfterService)
█전원의접속
디지탈
패널미터
2심쉴드선
입력
직류신호입력
<그림1>
<그림2>
입력 디지탈
패널미터 구동전원
●소숫점의위치선택은후면단자로선택하여주십시오.
●1.999소숫점 점등시, 소숫점 점등 공통단자인 7번(COM)단자와 4번단자를
접속합니다.
•보존온도는-10℃+70℃이내습도60%이하의범위로보존하여주십시오.
특히 먼지가 많은 장소에서 사용하는 경우에는 때때로 먼지를 제거하여
주십시오.(내부부품의온도상승에의하여수명이단축됩니다.)
•계기의 케이스는 플라스틱 성형품으로 신나 등 휘발성 기름이 묻지 않도록
주의하여주십시오.
본제품은 엄중한 품질관리로 제조, 시험, 검사를 완료 후 출하하고 있습니다.
만일의경우고장발생시에는대리점또는,직접당사로연락(송부)하여주십시요.
(고장내용은가능하면상세히기록하여현품과함께송부하여주시기바랍니다.)
단위:㎜
•입력신호 (직류전압 또는 4 - 20 ㎃ d.c., 1 - 5 V d.c.)는 8번 단자와
10번단자에접속하여주십시오.
•접속전선은두가닥쉴드전선을사용하고쉴드는8번단자에접속하여주십시오.
(그림2참조)
•전원단자에전원을접속합니다.
•전원5Vd.c.는1번단자에“+”,2번단자에“-”를접속하며,5Vd.c.±5%
이내의전원을사용하여야됩니다.
•기종에따라노이즈방지장치가사용되고있으나,디지털패널미터와같은작은
기기에서완전한방지장치를내장하기는매우곤란합니다.
█입력의접속
※BA11대이상사용시전원을각각분리하여사용하십시오.
내부적으로②,⑧단자가숏트되어있으니사용시주의하십시오.
<그림1>은S.M.P.S.을사용할경우입니다.
S.M.P.S 전체가 이러한 노이즈 문제는 발생되지 않으나 조건이 맞지 않은 경우
아래와같이구동전원측에콘덴서를추가하면효과를볼수있습니다.
●외형
●패널가공치수
입력신호 전압,전류,계장신호입력(4-20㎃d.c.,1-5Vd.c.)
A/D변환방식 2중적분방식
샘플링주기 300㎳
응답속도 약2초(최대레인지)
최대표시행수 ±1999
표시부 7쎄그멘트LED
소숫점표시위치 후면단자접속에의한10¹,10²,10³표시
극성표시 입력신호가반대인경우자동적으로“-”를표시
레인지초과표시 로표시
레인지미달표시 로표시
• If the user use the product with methods other than specified by the
manufacturer, there may be bodily injuries or property damages.
• To prevent electric shock or equipment failure, please do not turn on the
power until completing wiring.
• Never disassemble, modify, or repair the product. There is a possibility of a
malfunction, an electric shock, or a risk of fire.
• Please turn off the power when mounting/dismounting of the product. This
is a cause of an electric shock, a malfunction, or failure.
•
To prevent damage or failure of this product, please supply the rated power voltage.
• Since this is not explosion-proof structure, please do not use in a place
where combustible or explosive gas is around.
• Since there is a possibility of an electric shock, please use the product as
mounted on a panel while the power is being supplied.
WARNING
CAUTION
Specification
Power supply voltage
5 V d.c. 12 - 24 V d.c.
Power consumption
Approx. 3 W Approx. 5 W
Insulation resistance
10 ㏁min ( 500 V d.c.)
Dielectric strenght 1,500 V AC for 1 min (power terminal - input terminal)
Noise resistance Power supply terminal normal mode ±200 V
Power supply terminal common mode ±500 V
Vibration
durability
10-55㎐Peakamplitudefor2hourseachinX,Y,Zdirections
Shock
durability
300 ㎨(Approx 30 G)
Ambient temperature
0 ~ 50 ℃
Ambient humidity 35 ~ 85 % RH
Storage temperature
-10 ~ 70 ℃
Suffix code
Model
Code Description
BA1- ☐ ☐ ☐ ☐ Mini DC indicator (48 × 24 ㎜)
Input D
10 DC voltage (voltmeter)
20 DC current (ammeter)
11 DC voltmeter (1 - 5 V DC)
21 DC ammeter (4 - 20 ㎃DC)
Range code 1 Refer to the measurement range code
Power supply voltage - No indication: 5 V d.c.
A 12 - 24 V d.c.
Measurement range
█DC voltage
█DC voltage
█DC current
█DC current
Model
Measurement range
Resolving power Input impedance
Max allowable input voltage
BA1-D101 199.9 ㎷100 ㎶100 ㏀70 V
BA1-D102 1.999 V1 ㎷1 ㏁100 V
BA1-D103 19.99 V10 ㎷1 ㏁250 V
BA1-D104 199.9 V100 ㎷10 ㏁300 V
Model
Input Display range Input impedance
Max allowable input voltage
BA1-D111
1 - 5 V DC
50.0 100 ㏀100 V
BA1-D112 100.0 100 ㏀100 V
BA1-D113 199.9 100 ㏀100 V
Model
Input Display range Input impedance
Max allowable input current
BA1-D211
4 - 20 ㎃DC
50.0 25 Ω150 ㎃
BA1-D212 100.0 50 Ω150 ㎃
BA1-D213 199.9 100 Ω150 ㎃
Model
Measurement range
Resolving power Input impedance
Max allowable input current
BA1-D201 199.9 ㎂0.1 ㎂1 ㏀1 ㎃
BA1-D202 1.999 ㎃1 ㎂100 Ω50 ㎃
BA1-D203 19.99 ㎃10 ㎂10 Ω150 ㎃
BA1-D204 199.9 ㎃100 ㎂1 Ω300 ㎃
BA1-D205 1.999 A1 ㎃
Use shunt
(secondary voltage 50 ㎷)
BA1-D206 19.99 A10 ㎃
BA1-D207 199.9 A100 ㎃
BA1-D208 1999 A1 A
※Accuracy : ±0.2 % of indication value ±1 digit (23 ℃ ±5 ℃)
•
The contents of the instruction manual are subjective to change without prior notice.
•
Please make sure that the specification is the same as what you have ordered.
• Please make sure that the product is not damaged during shipping.
• Please use this product in a place where corrosive gas (such as harmful
gas, ammonia, etc.) and flammable gas do not occur.
• Please use this product in a place where there is no direct vibration and a
large physical impact to the product.
• Please use this product in a place where there is no water, oil, chemicals,
steam, dust, salt, iron or others (Contamination class 1 or 2).
• Please do not wipe this product with organic solvents such as alcohol,
benzene and others. (Please use mild detergent)
• Please avoid places where excessive amounts of inductive interference
and electrostatic and magnetic noise occur.
•
Please avoid places where heat accumulation occurs due to direct sunlight or radiant heat.
• Please use this product in a place where the elevation is below 2,000 m.
• Please make sure to inspect the product if exposed to water since there is
a possibility of an electric leakage or a risk of fire.
•
It is effective against noise if making the power lines of the product the twisted pair wiring.
• Please do not connect anything to the unused terminals.
• Please connect wires properly after making sure the polarity of terminal.
• Please install a switch or break near the operator to facilitate its operation.
• Write down on a label that the operation of circuit breaker or switch
disconnects the power since the devise is installed.
•
In order to use this product properly and safely, we recommend periodic maintenance.
•
Some parts of this product have limited expected life span and aged deterioration.
• The warranty of this product (including accessories) is 1 year only when it
is used for the purpose it was intended under normal condition.
Digital panelmeter
BA 1
Thank you for purchasing HANYOUNG product.
Please check whether the product is the exactly same as you ordered.
Before using the product, please read this instruction manual carefully.
Pleasekeepthismanualwhereyoucanviewatanytime
INSTRUCTION MANUAL
MF0204KE170807
HANYOUNGNUX CO.,LTD
HEADOFFICE
28,Gilpa-ro71beon-gil,Nam-gu,Incheon,Korea
TEL:(82-32)876-4697FAX:(82-32)876-4696
http://www.hynux.com
Do not touch or contact the input/output terminals because it may cause
electric shock.
DANGER
Safety information
Before using the product, please read the safety information thoroughly and use it properly.
Alerts declared in the manual are classified to Danger, Warning and Caution by their criticality
DANGER indicates an imminently hazardous situation
which, if not avoided, will result in death or serious injury
WARNING indicates a potentially hazardous situation
which, if not avoided, could result in death or serious injury
CAUTION indicates a potentially hazardous situation which,
if not avoided, may result in minor or moderate injury
DANGER
WARNING
CAUTION
※ Within the measurement range, range code is 101 for the model BA1-D101
Function
Connection diagram
Dimensions and pannel cutout
Select decimal position
Repair and inspection
After Service
█Power supply connection
Digital
Panelmeter
Twin shield cable
Input
<Figure 1>
<Figure 2>
Input Digital
Panelmeter Motive power
●Please use the backside terminal for decimal position selection.
●When turning on 1.999 decimal point, please connect to terminal number 7
(COM) and number 4 terminal which are common terminals of decimal
point.
• Please keep the device under the 60% humidity within the temperature -10
to +70. Please get rid of the dust when using it in the dusty places.
(The machine's life is shortened due to high temperature of components in
the device).
• Please be cautious not to touch thinner and volatile oil since this
instrument's case is molded plastic.
This product is released out after production, testing, and examination through a
strict quality control. If it has broken down, please contact the dealer or our
headquarters directly.(Please send the defective product with the detailed
information about it.)
Unit
:㎜
•For input signal (direct voltage or 4-20 mA d.c.. 1-5 V d.c.), please connect
to terminal number 8 and terminal number 10.
•For the connection wire use two pieces of shield wire and connect shield to
terminal number 8.
(Refer to figure 2)
•Connect power to the power terminal.
•Connect "+" to number 1 terminal and "-" to number 2 terminal for power 5
V DC. Use the power within ±5 % of 5 V DC.
•Even using the prevention device against noise depending on the types, it
is very difficult to equip the absolute prevention device to such a small
equipment like a digital panelmeter.
█Input's connection
※ When using more than one BA1, please use separate power supply.
Please be cautious that ②and ⑧terminals are internally short.
<Figure 1> In case you use S.M.P.S.
This noise problem does not happen with all S.M.P.S, but if the requirements are not
met, you can see the effect by adding the condenser to the driving power source, as
below.
●
Dimensions
●
Panel cutout
Input signal Voltage, current, current loop (4 - 20 ㎃d.c., 1 - 5 V d.c.)
A/D conversion type Duplex integral type
Sampling cycle 300 ㎳
Response speed Approx. 2 sec (max range)
Max displayable digit ±1999
Displaying part 7 segments LED
Decimal point indication
10¹, 10² and 10³ indication by the backside terminal connection
Polarity indication Display “-” automatically when input signal is opposite.
Indication when
range is exceeded Indicate with
Indication when
range is short Indicate with
DC signal input

This manual suits for next models

18

Other HANYOUNG NUX Measuring Instrument manuals

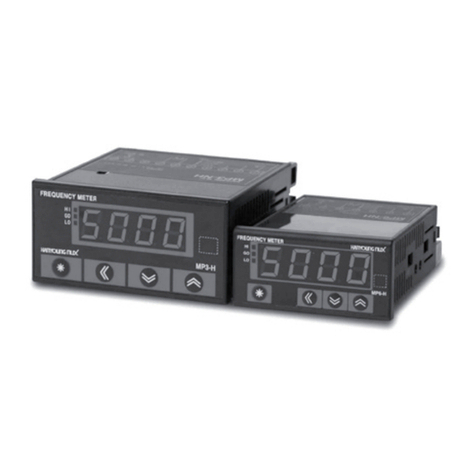
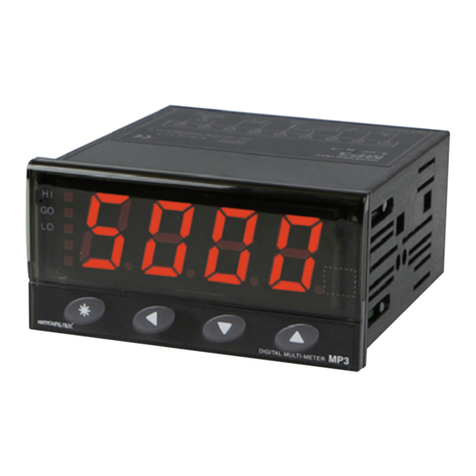
HANYOUNG NUX MP3 User manual

HANYOUNG NUX

HANYOUNG NUX MP3 User manual

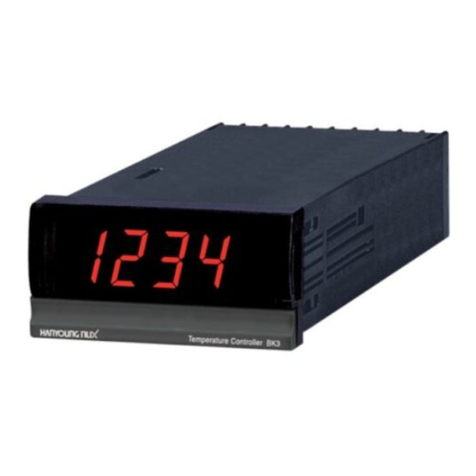
HANYOUNG NUX BK3 User manual

HANYOUNG NUX

HANYOUNG NUX BK3 User manual

HANYOUNG NUX HDM3 User manual

HANYOUNG NUX

HANYOUNG NUX HDM3 User manual

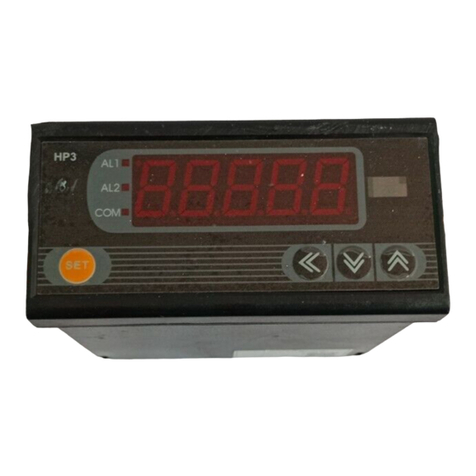
HANYOUNG NUX HP3 User manual

HANYOUNG NUX

HANYOUNG NUX HP3 User manual

HANYOUNG NUX BS Series User manual

HANYOUNG NUX

HANYOUNG NUX BS Series User manual

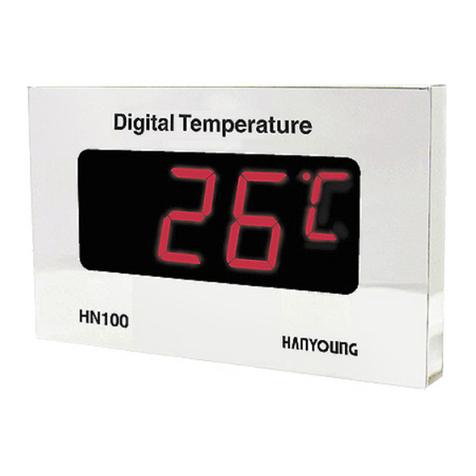
HANYOUNG NUX HN100 Series User manual

HANYOUNG NUX

HANYOUNG NUX HN100 Series User manual

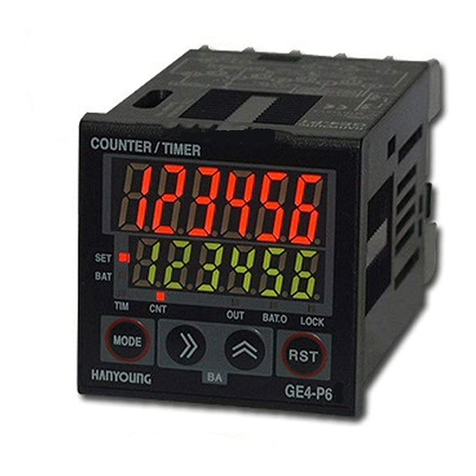
HANYOUNG NUX GE Series User manual

HANYOUNG NUX

HANYOUNG NUX GE Series User manual

HANYOUNG NUX BA1 User manual

HANYOUNG NUX

HANYOUNG NUX BA1 User manual

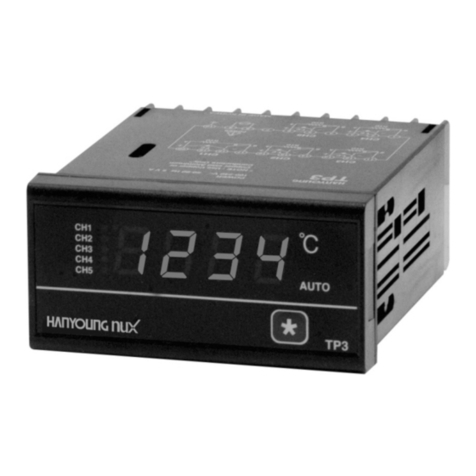
HANYOUNG NUX TP3 User manual

HANYOUNG NUX

HANYOUNG NUX TP3 User manual

HANYOUNG NUX TP3 User manual

HANYOUNG NUX

HANYOUNG NUX TP3 User manual

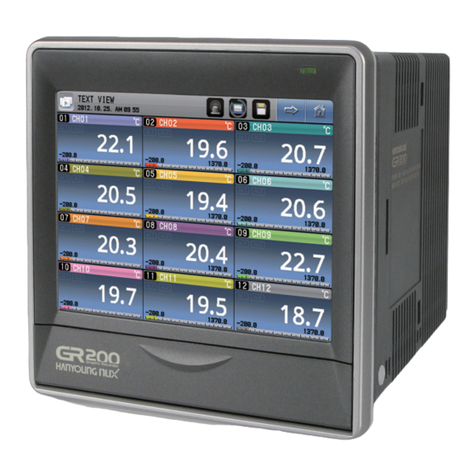
HANYOUNG NUX GR200 Series User manual

HANYOUNG NUX

HANYOUNG NUX GR200 Series User manual

HANYOUNG NUX MP3 User manual

HANYOUNG NUX

HANYOUNG NUX MP3 User manual

HANYOUNG NUX BS6 User manual

HANYOUNG NUX

HANYOUNG NUX BS6 User manual

HANYOUNG NUX HL Series User manual

HANYOUNG NUX

HANYOUNG NUX HL Series User manual

HANYOUNG NUX RP3 User manual

HANYOUNG NUX

HANYOUNG NUX RP3 User manual

HANYOUNG NUX HE Series User manual

HANYOUNG NUX

HANYOUNG NUX HE Series User manual

HANYOUNG NUX MP3-4 H Series User manual

HANYOUNG NUX

HANYOUNG NUX MP3-4 H Series User manual

HANYOUNG NUX TP3 User manual

HANYOUNG NUX

HANYOUNG NUX TP3 User manual

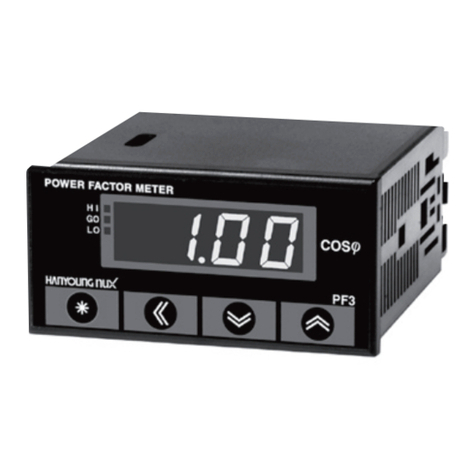
HANYOUNG NUX PF3 User manual

HANYOUNG NUX

HANYOUNG NUX PF3 User manual

HANYOUNG NUX ED6 User manual

HANYOUNG NUX

HANYOUNG NUX ED6 User manual

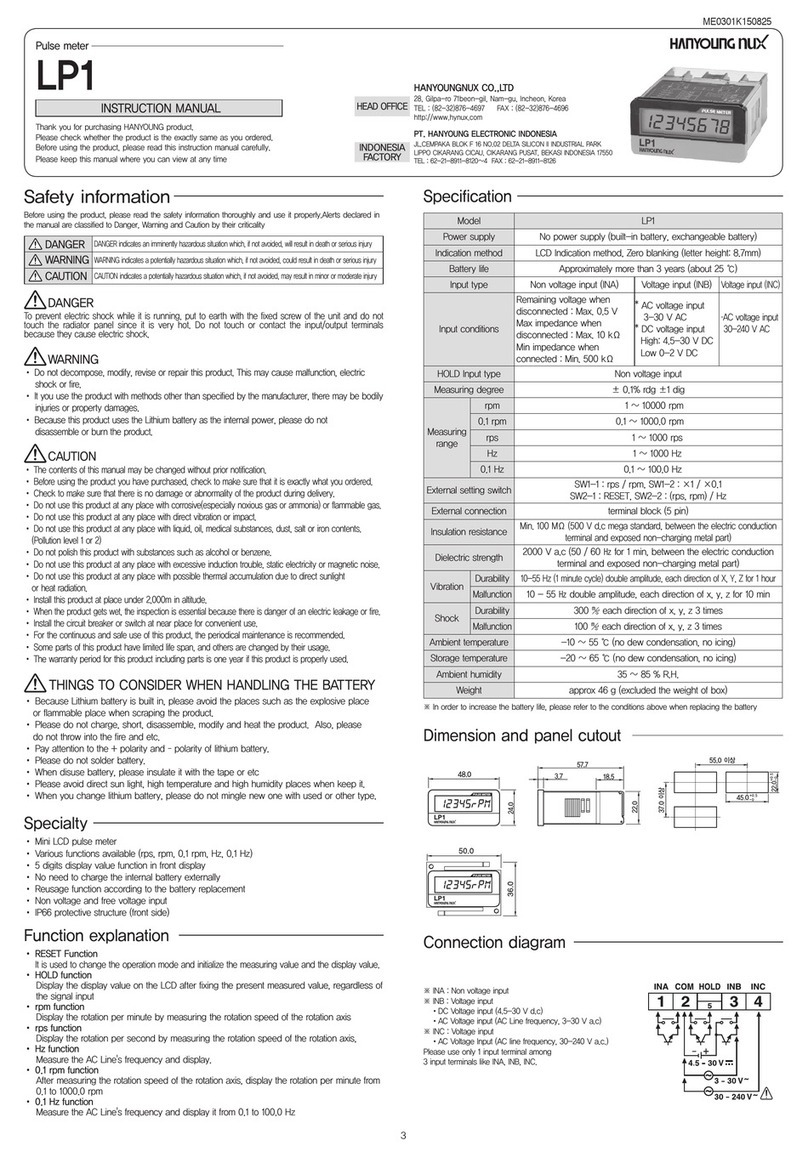
HANYOUNG NUX LP1 User manual

HANYOUNG NUX

HANYOUNG NUX LP1 User manual

Popular Measuring Instrument manuals by other brands

LI-COR LI-600 instruction manual

LI-COR

LI-COR LI-600 instruction manual

insize ISU-300D Operation manual

insize

insize ISU-300D Operation manual

Horizon Fitness HD-S2 user guide

Horizon Fitness

Horizon Fitness HD-S2 user guide

Watts Clever EW4008 instruction manual

Watts Clever

Watts Clever EW4008 instruction manual

Hengstler tico 734 operating instructions

Hengstler

Hengstler tico 734 operating instructions

Bartington MS3 Operation manual

Bartington

Bartington MS3 Operation manual

Ocean Optics NeoFox Installation and operation manual

Ocean Optics

Ocean Optics NeoFox Installation and operation manual

AEG NET-STICK Quick setup guide

AEG

AEG NET-STICK Quick setup guide

Digifly AIR-SE owner's manual

Digifly

Digifly AIR-SE owner's manual

Riftek IDK-BT Series user manual

Riftek

Riftek IDK-BT Series user manual

Fema Electronica K40-R user manual

Fema Electronica

Fema Electronica K40-R user manual

Siemens SITRANS F M MAG 5000 operating instructions

Siemens

Siemens SITRANS F M MAG 5000 operating instructions

Group3 DTM-151 user manual

Group3

Group3 DTM-151 user manual

Endress+Hauser Proline Prowirl 72 operating instructions

Endress+Hauser

Endress+Hauser Proline Prowirl 72 operating instructions

King Instrument 7200 Series installation instructions

King Instrument

King Instrument 7200 Series installation instructions

EGT TX-3 instructions

EGT

EGT TX-3 instructions

METER TEMPOS manual

METER

METER TEMPOS manual

Metrohm 713 Instructions for use

Metrohm

Metrohm 713 Instructions for use

manuals.online logo
manuals.online logoBrands
  • About & Mission
  • Contact us
  • Privacy Policy
  • Terms and Conditions

Copyright 2025 Manuals.Online. All Rights Reserved.