Harbor Freight Tools 67378 Assembly instructions

!"#"$%&'(%)*+#"$*%,$-%.$$/-00)))1.,(+&(2(*"3.$14&5
65,"7%&'(%$*4.8"4,7%#'//&($%,$-%/(&9'4$#'//&($:.,(+&(2(*"3.$14&5
Owner’s Manual & Safety Instructions
Save This Manual Keep this manual for the safety warnings and precautions, assembly,
operating, inspection, maintenance and cleaning procedures. Write the product’s serial number in the
back of the manual near the assembly diagram (or month and year of purchase if product has no number).
Keep this manual and the receipt in a safe and dry place for future reference. 21c
When unpacking, make sure that the product is intact
and undamaged. If any parts are missing or broken,
please call 1-888-866-5797 as soon as possible.
Copyright© 2021 by Harbor Freight Tools®. All rights reserved.
No portion of this manual or any artwork contained herein may be reproduced in
any shape or form without the express written consent of Harbor Freight Tools.
Diagrams within this manual may not be drawn proportionally. Due to continuing
improvements, actual product may differ slightly from the product described herein.
Tools required for assembly an d se rv ic e may n ot b e in cl uded.
Read this material before using this product.
Failure to do so can result in serious injury.
SAVE THIS MANUAL.

Page 2 ;&(%$*4.8"4,7%<'*#$"&8#=%/7*,#*%4,77%>?@@@?@AA?BCDC1 Item 67378
EF;6GH IJ6KFGLIM NFLMG6MFMO6E6GPJ
QFKMLMR%EHNSITE%FMU%U6;LMLGLIME
This is the safety alert symbol. It is used to alert you to potential personal injury hazards.
Obey all safety messages that follow this symbol to avoid possible injury or death.
Indicates a hazardous situation which, if not avoided,
will result in death or serious injury.
Indicates a hazardous situation which, if not avoided,
could result in death or serious injury.
Indicates a hazardous situation which, if not avoided,
could result in minor or moderate injury.
Addresses practices not related to personal injury.
R*8*(,7%J&)*(%G&&7%E,2*$V%Q,(8"83#
% QFKMLMR%K*,9%,77%#,2*$V%),(8"83#%,89%
"8#$('4$"&8#1%Failure to follow the warnings
and instructions may result in electric shock,
fire and/or serious injury.
E,W*%,77%),(8"83#%,89%"8#$('4$"&8#%2&(%
2'$'(*%(*2*(*84*1%
The term ″power tool″ in the warnings refers to
your battery-operated (cordless) power tool.
1. 67*4$("4,7%#,2*$V
U&%8&$%*X/&#*%/&)*(%$&&7#%$&%(,"8%&(%)*$%
4&89"$"&8#1 Water entering a power tool
will increase the risk of electric shock.
2. J*(#&8,7%#,2*$V
a. E$,V%,7*($=%),$4.%).,$%V&'%,(*%9&"83%,89%
'#*%4&55&8%#*8#*%).*8%&/*(,$"83%,%
/&)*(%$&&71%%U&%8&$%'#*%,%/&)*(%$&&7%)."7*%
V&'%,(*%$"(*9%&(%'89*(%$.*%"827'*84*%&2%
9('3#=%,74&.&7%&(%5*9"4,$"&81 A moment
of inattention while operating power tools
may result in serious personal injury.
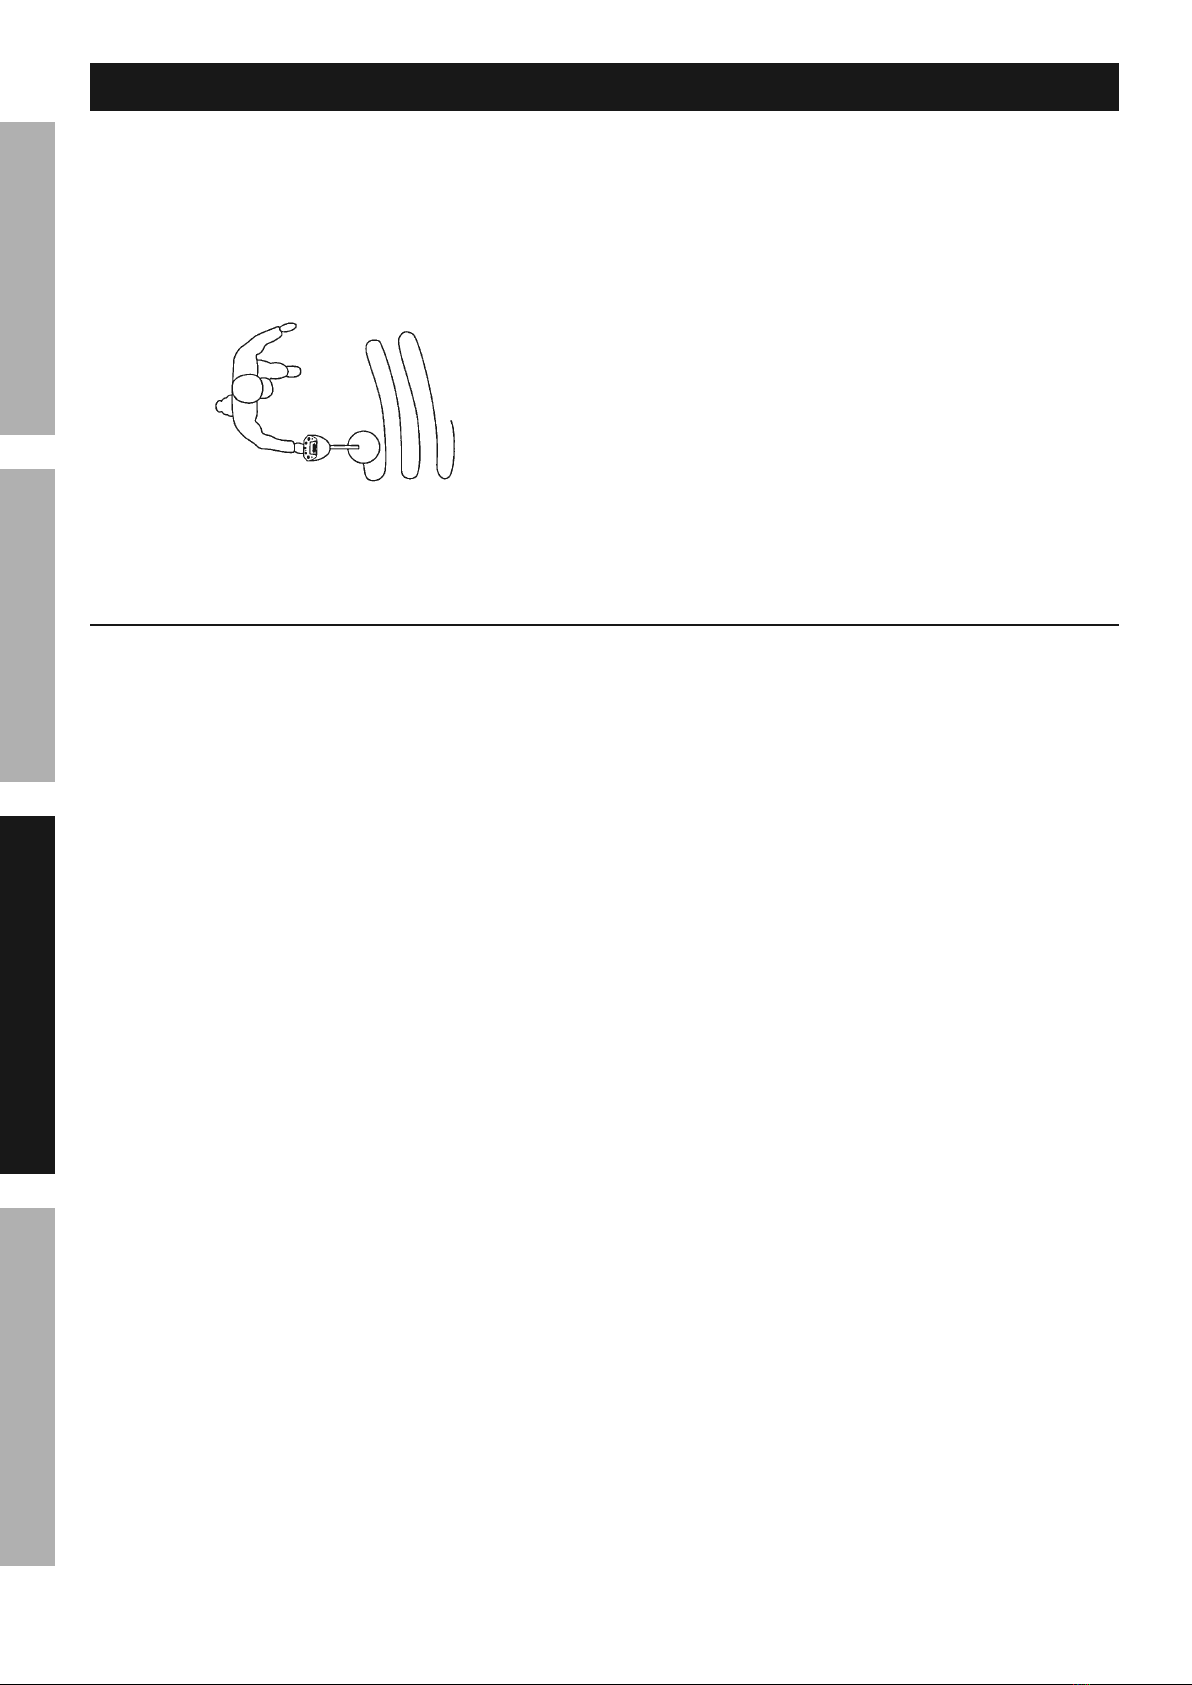
b. U&%8&$%&W*((*,4.1%%Y**/%/(&/*(%2&&$"83%,89%
+,7,84*%,$%,77%$"5*#1 This enables better control
of the power tool in unexpected situations.
3. J&)*(%$&&7%'#*%,89%4,(*
a. U&%8&$%'#*%$.*%/&)*(%$&&7%"2%$.*%#)"$4.%
9&*#%8&$%$'(8%"$%&8%,89%&221 Any power
tool that cannot be controlled with the switch
is dangerous and must be repaired.
b. K*5&W*%$.*%+,$$*("*#%2(&5%$.*%/&)*(%$&&7%
+*2&(*%5,Z"83%,8V%,9['#$5*8$#=%4.,83"83%
,44*##&("*#=%&(%#$&("83%/&)*(%$&&7#1 Such
preventive safety measures reduce the risk
of starting the power tool accidentally.
c. E$&(*%"97*%/&)*(%$&&7#%&'$%&2%$.*%(*,4.%&2%
4."79(*8%,89%9&%8&$%,77&)%/*(#&8#%'82,5"7",(%
)"$.%$.*%/&)*(%$&&7%&(%$.*#*%"8#$('4$"&8#%
$&%&/*(,$*%$.*%/&)*(%$&&71 Power tools are
dangerous in the hands of untrained users.
d. N,"8$,"8%/&)*(%$&&7#1%%O.*4Z%2&(%
5"#,7"385*8$%&(%+"89"83%&2%/,($#=%+(*,Z,3*%
&2%/,($#%,89%,8V%&$.*(%4&89"$"&8%$.,$%
5,V%,22*4$%$.*%/&)*(%$&&7\#%&/*(,$"&81%%L2%
9,5,3*9=%.,W*%$.*%/&)*(%$&&7%(*/,"(*9%
+*2&(*%'#*1 Many accidents are caused
by poorly maintained power tools.
4. E*(W"4*
a. ],W*%V&'(%/&)*(%$&&7%#*(W"4*9%+V%,%
<',7"2"*9%(*/,"(%/*(#&8%'#"83%&87V%"9*8$"4,7%
(*/7,4*5*8$%/,($#1% This will ensure that
the safety of the power tool is maintained.
N*$,7%U*$*4$&(%E,2*$V%Q,(8"83#
1. Maintain labels and nameplates on
the tool. These carry important safety
information. If unreadable or missing, contact
Harbor Freight Tools for a replacement.
2. Handle Tool carefully at all times. Dropping Tool
can cause damage to circuit boards and housing,
which can cause the tool malfunction or failure.
3. Do not mix old and new batteries. Do not
mix alkaline, standard (carbon-zinc), or
rechargeable (nickel-cadmium) batteries.
Position batteries in proper polarity. Do
not use swollen or leaking batteries.
4. Wear ANSI-approved safety goggles and heavy-duty
work gloves when assembling and digging holes.

Page 3;&(%$*4.8"4,7%<'*#$"&8#=%/7*,#*%4,77%>?@@@?@AA?BCDC1Item 67378
EF;6GHIJ6KFGLIMNFLMG6MFMO6 E6GPJ
5. O&8#'7$%7&4,7%(*3'7,$"&8#%+*2&(*%'#"83%
9*$*4$&(=%9"33"83=%&(%$,Z"83%,8V%2"89"83#1%%
Obtain property owner’s permission
before detecting on their property.
6. I87V%'#*%,89%#$&(*%"8%8&(5,7%$*5/*(,$'(*%
*8W"(&85*8$#1%Extremes in temperature can
shorten effectiveness of electronic devices
and melt or damage plastic parts.
7. FW&"9%*7*4$("4,7%#.&4Z1%Any metal detector may
discover underground power lines, explosives
or other items which when struck could cause
personal injury. Do not use this product in areas
where there might be underground electric lines
or pipes buried at shallow depths. Never search
in military zones where bombs or other explosives
may be buried. Avoid striking any line known or
suspected to be carrying electric power. Do not
search any pipeline, particularly if it could contain
a flammable gas or liquid. In areas of uncertain
conditions, use reasonable caution before using
the Tool. If there is any question about a condition
being safe of unsafe, do not operate the Tool.
8. Y**/%$.*%N*$,7%U*$*4$&(%,),V%2(&5%,8V%7"3.$#=%
G!#=%4&5/'$*(#=%,89%5&+"7*%$*7*/.&8*#1% These
can all cause electromagnetic interference.
9. I87V%$.*%E*,(4.%O&"7%,89%+7,4Z%#*4$"&8%&2%$.*%
T&)*(%T*3%,(*%),$*(/(&&21%Do not immerse the
unit beyond the black section of the Lower Leg.
10. Y**/%$.*%G&&7%47*,81%%Wipe the housing after
each use. The search coil is washable and can
be fully submerged. Never submerge the control
housing. Protect the control housing from rain,
blowing surf and heavy mist. Disassemble the
Leg and wipe it clean after use in sandy areas.
11. P#*%$.*%("3.$%$&&7%2&(%$.*%[&+. There are certain
applications for which this tool was designed.
Do not modify this tool and do not use this tool
for a purpose for which it was not intended.
12. G."#%/(&9'4$%"#%8&$%,%$&V1% Keep
it out of reach of children.
13. J*&/7*%)"$.%/,4*5,Z*(#%#.&'79%4&8#'7$%$.*"(%
/.V#"4",8^#_%+*2&(*%'#*1% Electromagnetic fields
in close proximity to heart pacemaker could cause
pacemaker interference or pacemaker failure. In
addition, people with pacemakers should:
• Avoid operating alone.
• Properly maintain and inspect
to avoid electrical shock.
14. The warnings, precautions, and instructions
discussed in this instruction manual cannot
cover all possible conditions and situations
that may occur. It must be understood by the
operator that common sense and caution are
factors which cannot be built into this product,
but must be supplied by the operator.
%
EF!6%G]6E6%LMEGKPOGLIME1
EJ6OL;LOFGLIME
Electrical Input 6 AA Batteries (not included)
Earphone Jack 3.5 mm mini-jack Socket
Functions
Sensitivity Adjuster; Metal-
Type Discriminator; All-Metal
Indicator; Tone Adjuster;
Volume Control; Target Locator;
Low Battery Indicator; Auto
Ground Balance; Mode Selector

Page 4 ;&(%$*4.8"4,7%<'*#$"&8#=%/7*,#*%4,77%>?@@@?@AA?BCDC1 Item 67378
EF;6GH IJ6KFGLIM NFLMG6MFMO6E6GPJ
E6GPJ%?%S6;IK6%PE6
%K*,9%$.*%6MGLK6%LNJIKGFMG%%
EF;6GH%LM;IKNFGLIM%#*4$"&8%%
,$%$.*%+*3"88"83%&2%$."#%5,8',7%"847'9"83%
,77%$*X$%'89*(%#'+.*,9"83#%$.*(*"8%
+*2&(*%#*$%'/%&(%'#*%&2%$."#%/(&9'4$1
% GI%JK6!6MG%E6KLIPE%LM`PKH%;KIN%FOOLU6MGFT%IJ6KFGLIM-%
G'(8%$.*%J&)*(%E)"$4.%&2%$.*%$&&7%&22%,89%(*5&W*%$.*%+,$$*("*#%+*2&(*%,##*5+7"83%
&(%5,Z"83%,8V%,9['#$5*8$#%$&%$.*%$&&71
M&$*- For additional information regarding the
parts listed in the following pages, refer to the
Assembly Diagram near the end of this manual.
O&5/&8*8$#
T&)*(%T*3
P//*(%T*3
O&8$(&7%
S&X
S,$$*(V%
O&W*(
],897*
F(5%E'//&($
6,(/.&8*%`,4Z
E*,(4.%O&"7
Y8&+%S&7$
T&4Z%M'$

Page 5;&(%$*4.8"4,7%<'*#$"&8#=%/7*,#*%4,77%>?@@@?@AA?BCDC1Item 67378
EF;6GHIJ6KFGLIMNFLMG6MFMO6 E6GPJ
G&&7%E*$%P/
% GI%JK6!6MG%E6KLIPE%LM`PKH%;KIN%FOOLU6MGFT%IJ6KFGLIM-%
G'(8%$.*%J&)*(%E)"$4.%&2%$.*%$&&7%&22%,89%(*5&W*%$.*%+,$$*("*#%+*2&(*%,9['#$"83%$&&7%
&(%"8#$,77"83%,44*##&("*#1
;"3'(*%F
T&4Z%M'$%^ab_
G,/*(*9%S'#."83%^>D_
G.(*,9*9%L8#*($%^ac_
P//*(%T*3%^>B_
M&$*- When adjusting the length of the
Metal Detector, be careful to keep the plastic
Tapered Bushing in place with the smaller end
toward the smaller end of the Lock Nut.
1. To attach the two legs, slide the Threaded Insert
over the end of the Upper Leg, making sure that
the tabs inside the Insert lock into the cut-outs at
the end of the leg. Insert the tapered end of the
Tapered Bushing into the Lock Nut and lightly
thread the Nut over the Threaded Insert. Slide
the Lower Leg into the Lock Nut. To take the
slack off the cord, rotate the Lower Leg, enabling
the cord to wind around the two Legs. Rotate
the Nut counterclockwise to lock the Legs.
2. To adjust the length of the Legs, turn the Lock
Nut in a clockwise direction, slide the Lower Leg
to the desired extension length and turn the Nut
counterclockwise to secure the Legs together.
3. To adjust the angle of the Search Coil,
loosen the Coil Pivot and Knob Bolt and tilt it.
Position the Search Coil so that it is parallel
to the ground when holding the unit by the
Handle with your arm in the Arm Support.
4. If needed, re-adjust the length of the Metal Detector
after adjusting the position of the Search Coil.
S,$$*("*#
1. Make sure the On/Off/Volume control is
set to OFF. Slide the Battery Cover (26)
off of the back of the Control Box.
2. Insert six AA batteries (sold separately),
aligning polarities as indicated.
3. Replace the Battery Cover.
M&$*- Use only fresh batteries of the required
size and type. Do not mix old and new batteries,
different types (standard, alkaline, or rechargeable),
or rechargeable batteries of different capacities.
Always remove old or weak batteries. Batteries
can leak chemicals that can destroy electric parts.
If you do not plan to use the detector for a
week or more, remove the batteries.
Dispose of spent batteries according to your
local, state and federal regulations.
M&$*- You can extend battery life by using earphones,
which require less power than the built-in speaker.
M&$*- Replace batteries when the LOW
BATT light turns on in the View Meter.
]*,9/.&8*#%
1. Insert headphone (sold separately)
jack into Earphone socket.
2. To protect your hearing, set the On/Off/
Volume Control to OFF before using the
earphones, then adjust the level to the
lowest setting before you begin listening.
3. Do not listen at extremely high volume
levels. Extended high volume listening
can lead to permanent hearing loss.
4. Do not wear headphones while operating
your detector near high-trafffic areas.
Pay attention to traffic safety.

Page 6 ;&(%$*4.8"4,7%<'*#$"&8#=%/7*,#*%4,77%>?@@@?@AA?BCDC1 Item 67378
EF;6GH IJ6KFGLIM NFLMG6MFMO6E6GPJ
;'84$"&8#%,89%L89"4,$&(#
I80I220!&7'5* - Turns on power to the
unit and sets the sound level.
E6ME - Sets the sensitivity level of the unit. Zero
setting is the lowest level and 10 is the highest.
For general use, set the sensitivity to a higher
position. In a mineralized area, or area with electrical
interference, a lower setting may be more effective.
NIU6 - Sets the unit to three modes:
DISC, ALL METAL and TONE.
G,(3*$%S'$$&8 - It is used with ALL METAL
mode to pinpoint a target object’s location.
ULEO0GIM6 - Adjustment knob for metal identification.
!"*)%N*$*( - Registers signal strength
when a metal is detected.
- DISC, ALL METAL, and TONE are motion modes. You
have to move the Search Coil to find your target object.
- Target Mode is for pinpointing the location of
the item when the item is below the surface. ;"3'(*%S
S*2&(*%R*$$"83%E$,($*9
Before beginning an outside search, you must test
the unit with samples of metal. Use the following:
• an iron nail
• a five-cent coin (nickel)
• a one-cent penny (zinc coin, after 1982)
• a 25-cent silver quarter.
Place the Metal Detector on a wooden
or plastic table with the Search Coil face
up. Make sure the table is away from TVs,
computers, or any device that can cause
electromagnetic interference. See Figure C.
;"3'(*%O
MIG6-%Be sure to remove any watches, rings, or
other metal objects on your fingers and hands.
Turn on the Metal Detector and set the VOLUME
dial to the middle position. Set the MODE switch
to the middle (ALL METAL). See Figure D.
;"3'(*%U
Sweep the metal samples 2 to 3 inches or more
above the center of the Search Coil. The Metal
Detector will respond to each with a “DI” tone and
the pointer on the View Meter will swing to the right.
MIG6- Be sure to move the samples, as
the Detector is in motion mode. Otherwise
the Detector will not respond.
MIG6-%Adjusting the SENS dial from “0” to
“10” will increase the Detector’s sensitivity.
Use the DISC/TONE dial to search for
specific metals by having it not detect
(“differentiate”) other kinds of metals.
Gold
100
Iron Zinc
Aluminum/
Silver
Nickel
Copper
ULEO0GIM6%Y8&+
;"3'(*%6
I80I220
!ITPN6%
E6ME
ULEO0GIM6
NIU6%
E)"$4.
]*,9/.&8*%
L8/'$
!"*)%
N*$*(
TIQ
SFGG6KH%
L89"4,$&(
G,(3*$%S'$$&8

Page 7;&(%$*4.8"4,7%<'*#$"&8#=%/7*,#*%4,77%>?@@@?@AA?BCDC1Item 67378
EF;6GHIJ6KFGLIMNFLMG6MFMO6 E6GPJ
For example, when the DISC/TONE dial is set to “0”
the Detector will respond to ANY metal object with
a “DI” tone and the meter will swing to the right.
1. To adjust the settings to PREVENT the
unit from detecting "(&8%5*$,7#, set the
VOLUME and SENS dials at midpoint.
2. Then set MODE switch to DISC and the DISC/
TONE dial to about “9 o’clock.” See Figure F.
;"3'(*%;
3. As a test, sweep the iron nail sample 2 to 3
inches above the search coil. The unit will NOT
respond (the meter pointer won’t swing and the
unit is silent.) Sweeping the other samples should
produce the “DI” tone and make the pointer move.
4. To have the unit differentiate 8"4Z*7%5*$,7#, set
the DISC/TONE to about “11 o’clock.” See Figure
G. Sweep the nickel in front of the Search Coil;
the unit will not respond to the nickel or to the
iron nail. But it will respond the other samples.
;"3'(*%R
5. To prevent the d"84%/*88V%from being
detected, set the DISC/TONE dial to
about “1 o’clock” See Figure H.
;"3'(*%]
By now, only the silver quarter should be detected.
MIG6- The discrimination position of aluminum is
similar to silver. So both metals will be detected at
the same time. The discrimination position of gold is
similar to the nickel setting.
The Metal Detector can also be adjusted
to detect all metals, yet signal a specific
metal differently from the others.
6. Set the MODE switch to TONE and the VOLUME
and SENS dials to their halfway points.
7. Set the DISC/TONE dial to about “9 o’clock” (the
iron setting). Sweep the nail 2-3 inches above the
Search Coil. The unit will make a short “KO” sound
and the meter will swing to the right. Sweeping any
of the other samples will produce the “DI” sound.
8. Rotate the DISC/TONE dial to mark the other
specific metals with the “KO” sound.
To use the Metal Detector to “target’ specific
metals, set the MODE switch to ALL METAL and
the VOLUME and SENS dials to the middle.
9. Press the red TARGET Button (6) on the
panel. Set the silver quarter about five inches
from the center of the Search Coil. The unit
will make a continuous long tone and the
meter will swing to the right. See Figure I.
Target
Button (6)
25¢
;"3'(*%L
10. Keeping the coin still, release the TARGET button.
Wait two seconds, then press down the TARGET
button again; the unit’s sensitivity will be reduced.
11. MIG6-%Even though the coin’s location has not
changed, when the unit’s sensitivity is reduced
the Metal Detector will stop sounding a tone.
12. Repeat the above operation, bringing the
coin closer to the Detector and making it
sound a tone. Once operating an outside
search, you can use the TARGET button
to determine the location of the metal.

Page 8 ;&(%$*4.8"4,7%<'*#$"&8#=%/7*,#*%4,77%>?@@@?@AA?BCDC1 Item 67378
EF;6GH IJ6KFGLIM NFLMG6MFMO6E6GPJ
R6M6KFT%IJ6KFGLMR%LMEGKPOGLIME
1. Once all the proper tests and adjustments
have been made, the Metal Detector
is ready to be used outdoors.
2. When first searching, set the Mode button to
ALL METAL and SENS to the highest level.
3. Adjust the VOLUME to the desired level.
;"3'(*%`
4. Sweep the Search Coil (19) slowly back
and forth in an arc, keeping it about 1/2″
to 2″ from the ground. See Figure I.
5. If you hear a beeping noise or see the
needle jump to the right on the View Meter,
you have located a metal object.
6. Use the TARGET button to pin-point the
object. Then use the DISC or TONE modes
to determine what kind of metal it is and
whether you wish to dig out the item.
7. To prevent accidents, turn off the tool and
remove the batteries after use. Clean, then
store the tool indoors out of children’s reach.
G"/#%2&(%E*,(4."83%"8%U"22*(*8$%68W"(&85*8$#
1. There are many factors which influence the
sensitivity and accuracy of detecting objects,
including the angle, depth, size and oxidation of the
target object. Various soil or seawater conditions,
and also electromagnetic and electrical interference
surrounding the target can also affect readings.
Other metal detectors in the area will also cause
interference, so when there is more than one unit
in use, be sure they are at least 10 yards apart.
Some ways to help increase success are:
2. If there is interference from similar metal
detectors in your searching area, lower the
SENS setting to stop the interference.
3. If there is interference from electrical cables,
TV, radio, or other electrical devices in your
searching area, lower the SENS setting.
4. When searching in highly mineralized areas, the
unit may sound even if there is no metal. Lower the
SENS setting, set the DISC to high and increase
the distance of the Search Coil from the ground until
the false signal disappears. To set the DISC setting,
place a test metal object in highly mineralized earth
or wet sand and adjust the setting before beginning.
5. When searching in a trash area, set the DISC
to the middle setting so that the unit can reject
most invaluable metals such as nails, bottle
caps, cans, and small pieces of iron.
6. Move all metal digging tools when searching.
7. The SENS level is generally opposite the DISC
setting. The higher the sensitivity level is, the
worse the discrimination will be. You can lower
the sensitivity to have better discrimination.

Page 9;&(%$*4.8"4,7%<'*#$"&8#=%/7*,#*%4,77%>?@@@?@AA?BCDC1Item 67378
EF;6GHIJ6KFGLIMNFLMG6MFMO6 E6GPJ
NFLMG6MFMO6%FMU%E6K!LOLMR
%J(&4*9'(*#%8&$%#/*4"2"4,77V%*X/7,"8*9%
"8%$."#%5,8',7%5'#$%+*%/*(2&(5*9%
&87V%+V%,%<',7"2"*9%$*4.8"4",81
% GI%JK6!6MG%E6KLIPE%LM`PKH%;KIN%FOOLU6MGFT%IJ6KFGLIM-%G'(8%$.*%J&)*(%
E)"$4.%&2%$.*%$&&7%&22%,89%(*5&W*%$.*%+,$$*("*#%2(&5%$.*%$&&7%+*2&(*%/*(2&(5"83%,8V%
"8#/*4$"&8=%5,"8$*8,84*=%&(%47*,8"83%/(&4*9'(*#1
U&%8&$%'#*%9,5,3*9%*<'"/5*8$1%],W*%$.*%/(&+7*5%4&((*4$*9%+*2&(*%2'($.*(%'#*1
OT6FMLMR%FMU%NFLMG6MFMO6%
1. S6;IK6%6FO]%PE6= inspect the general condition
of the tool. Check for loose hardware, misalignment
or binding of parts, cracked or broken parts,
damaged electrical wiring, and any other condition
that may affect its safe operation.
2. Handle the Metal Detector gently and carefully.
Dropping it can damage circuit boards and the
case, and can cause the Detector to malfunction.
3. F;G6K%PE6= wipe external surfaces of the
tool with a damp clean cloth, then dry. Do not
use harsh chemicals, cleaning solvents, or
strong detergents to clean the detector.

Page 10 ;&(%$*4.8"4,7%<'*#$"&8#=%/7*,#*%4,77%>?@@@?@AA?BCDC1 Item 67378
EF;6GH IJ6KFGLIM NFLMG6MFMO6E6GPJ
JFKGE%TLEG%FMU%ULFRKFN
JT6FE6%K6FU%G]6%;ITTIQLMR%OFK6;PTTH
THE MANUFACTURER AND/OR DISTRIBUTOR HAS PROVIDED THE PARTS LIST AND ASSEMBLY DIAGRAM
IN THIS DOCUMENT AS A REFERENCE TOOL ONLY. NEITHER THE MANUFACTURER OR DISTRIBUTOR
MAKES ANY REPRESENTATION OR WARRANTY OF ANY KIND TO THE BUYER THAT HE OR SHE IS
QUALIFIED TO MAKE ANY REPAIRS TO THE PRODUCT, OR THAT HE OR SHE IS QUALIFIED TO REPLACE
ANY PARTS OF THE PRODUCT. IN FACT, THE MANUFACTURER AND/OR DISTRIBUTOR EXPRESSLY
STATES THAT ALL REPAIRS AND PARTS REPLACEMENTS SHOULD BE UNDERTAKEN BY CERTIFIED AND
LICENSED TECHNICIANS, AND NOT BY THE BUYER. THE BUYER ASSUMES ALL RISK AND LIABILITY
ARISING OUT OF HIS OR HER REPAIRS TO THE ORIGINAL PRODUCT OR REPLACEMENT PARTS
THERETO, OR ARISING OUT OF HIS OR HER INSTALLATION OF REPLACEMENT PARTS THERETO.
J,($#%T"#$
K*4&(9%J(&9'4$\#%E*(",7%M'5+*(%]*(*-%
M&$*- If product has no serial number, record month and year of purchase instead.
M&$*- Some parts are listed and shown for illustration purposes only, and are not available
individually as replacement parts. Specify UPC 792363673785 when ordering parts.
JT6FE6%K6FU%G]6%;ITTIQLMR%OFK6;PTTH
THE MANUFACTURER AND/OR DISTRIBUTOR HAS PROVIDED THE PARTS LIST AND ASSEMBLY DIAGRAM
IN THIS DOCUMENT AS A REFERENCE TOOL ONLY. NEITHER THE MANUFACTURER OR DISTRIBUTOR
MAKES ANY REPRESENTATION OR WARRANTY OF ANY KIND TO THE BUYER THAT HE OR SHE IS
QUALIFIED TO MAKE ANY REPAIRS TO THE PRODUCT, OR THAT HE OR SHE IS QUALIFIED TO REPLACE
ANY PARTS OF THE PRODUCT. IN FACT, THE MANUFACTURER AND/OR DISTRIBUTOR EXPRESSLY
STATES THAT ALL REPAIRS AND PARTS REPLACEMENTS SHOULD BE UNDERTAKEN BY CERTIFIED AND
LICENSED TECHNICIANS, AND NOT BY THE BUYER. THE BUYER ASSUMES ALL RISK AND LIABILITY
ARISING OUT OF HIS OR HER REPAIRS TO THE ORIGINAL PRODUCT OR REPLACEMENT PARTS
THERETO, OR ARISING OUT OF HIS OR HER INSTALLATION OF REPLACEMENT PARTS THERETO.
J,($ U*#4("/$"&8 e$V
1 Mode Switch 1
2 Control Dials 3
3 Console Cover 1
4 Meter Cover 1
5 Adhesive Sticker 1
6 Target Button 1
7 Switch 1
8 Handle Section (Right) 1
9 Nut 1
10 Handle Section (Left) 1
11 Headphone Socket 1
12 Nut 1
13 Arm Support 1
14 Arm Support Pad 1
15 Upper Leg 1
16 Bolt 1
17 Bolt 1
18 Lower Leg 1
J,($ U*#4("/$"&8 e$V
19 Tapered Bushing 1
20 Lock Nut 1
21 Coil Pivot 1
22 Knob Bolt 1
23 Search Coil 1
24 Threaded Insert 1
25 Cable (not shown in diagram) 1
26 Battery Cover 1
27 Bolt 2
28 Bolt 2
29 Nut 1
30 Housing 1
31 Bolt 1
32 PCB 1
33 Sensitivity Potentiometer 1
34 On/Off/Volume Potentiometer 1
35 Tone Potentiometer 1
36 View Meter 1

Page 11;&(%$*4.8"4,7%<'*#$"&8#=%/7*,#*%4,77%>?@@@?@AA?BCDC1Item 67378
EF;6GHIJ6KFGLIMNFLMG6MFMO6 E6GPJ
F##*5+7V%U",3(,5

aABc>%F3&'(,%K&,9%%f%%O,7,+,#,#=%OF%D>gba%%f%%>?@@@?@AA?BCDC
TLNLG6U%Db%UFH%QFKKFMGH
Harbor Freight Tools Co. makes every effort to assure that its products meet high quality and durability
standards, and warrants to the original purchaser that this product is free from defects in materials and workmanship
for the period of 90 days from the date of purchase. This warranty does not apply to damage due directly or
indirectly, to misuse, abuse, negligence or accidents, repairs or alterations outside our facilities, criminal activity,
improper installation, normal wear and tear, or to lack of maintenance. We shall in no event be liable for death,
injuries to persons or property, or for incidental, contingent, special or consequential damages arising from the use
of our product. Some states do not allow the exclusion or limitation of incidental or consequential damages, so the
above limitation of exclusion may not apply to you. THIS WARRANTY IS EXPRESSLY IN LIEU OF ALL OTHER
WARRANTIES, EXPRESS OR IMPLIED, INCLUDING THE WARRANTIES OF MERCHANTABILITY AND FITNESS.
To take advantage of this warranty, the product or part must be returned to us with transportation charges
prepaid. Proof of purchase date and an explanation of the complaint must accompany the merchandise.
If our inspection verifies the defect, we will either repair or replace the product at our election or we may
elect to refund the purchase price if we cannot readily and quickly provide you with a replacement. We will
return repaired products at our expense, but if we determine there is no defect, or that the defect resulted
from causes not within the scope of our warranty, then you must bear the cost of returning the product.
This warranty gives you specific legal rights and you may also have other rights which vary from state to state.
Other manuals for 67378
1
Table of contents
Other Harbor Freight Tools Metal Detector manuals

Harbor Freight Tools
Harbor Freight Tools 98760 Installation manual

Harbor Freight Tools
Harbor Freight Tools 62307 Original instruction manual

Harbor Freight Tools
Harbor Freight Tools 43149 Installation manual

Harbor Freight Tools
Harbor Freight Tools 43149 User manual

Harbor Freight Tools
Harbor Freight Tools 43150 User manual

Harbor Freight Tools
Harbor Freight Tools 67378 Installation manual