manuals.online logo
Brands
  1. Home
  2. •
  3. Brands
  4. •
  5. Hatco
  6. •
  7. Commercial Food Equipment
  8. •
  9. Hatco ORBIT360 User manual

Hatco ORBIT360 User manual

© 2023 Hatco Corporation 1
Model ORBIT360 Standard Sizes
Item Number
Total Width (A)
(post center to
center)
Number
of
Bays
Width per Bay (B)
(post center to
center)
ORBIT360-036 36″
(914 mm) 136″
(914 mm)
ORBIT360-048 48″
(1219 mm) 224″
(610 mm)
ORBIT360-060 60″
(1524 mm) 230″
(762 mm)
ORBIT360-072 72″
(1829 mm) 236″
(914 mm)
ORBIT360-084 84″
(2134 mm) 242″
(1067 mm)
ORBIT360-096 96″
(2438 mm) 332″
(813 mm)
ORBIT360-108 108″
(2743 mm) 336″
(914 mm)
ORBIT360-120 120″
(3048 mm) 340″
(1016 mm)
ORBIT360-132 132″
(3353 mm) 433″
(838 mm)
ORBIT360-144 144″
(3658 mm) 436″
(914 mm)
A
A
2″ to 14″
23″
14″
Center Post
Assembly
Orbit
Bracket
B
ORBIT360 (2 Bay)
ORBIT360 (1 Bay)
B
4. Insert each post assembly into its corresponding mounting
flange. Make sure the posts are fully seated in the flanges.
5. Tighten the set screw on each mounting flange securely.
6. Slide each flange cover down onto its corresponding flange.
continued...
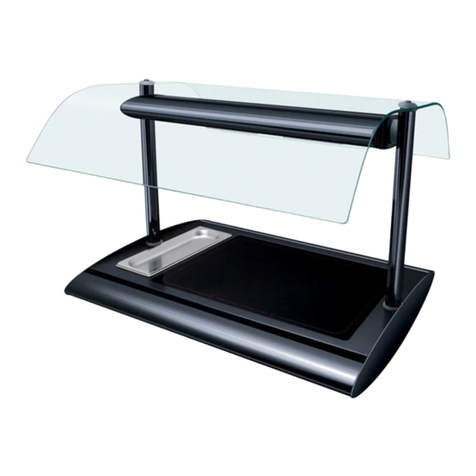
Model ORBIT360 Self-Service Sneeze Guards are available in
ten widths ranging from 36″–144″ (914–3658 mm), with a common
post height of 23″ (584 mm) and a variable depth range of 2″–14″
(51–356 mm).
For additional information regarding ORBIT360 sneeze guards,
scan the QR Code below:
https://www.hatcocorp.com/en/equipment/sneeze-guard-equipment/
self-service/flav-r-shield-self-service-sneeze-guard-es90
Important Safety Information
To avoid serious injury and damage to equipment or property, read
the following safety information before installing this equipment.
Do not attempt to assemble and install sneeze guards alone.
Installation of sneeze guards requires two or more people,
dependent upon unit.
Always wear proper protective eye wear when handling glass
sneeze guards.
Never spray cleaners directly onto sneeze guard surfaces. Spray
cleaner into non-abrasive cloth, and then wipe down surfaces.
Use non-abrasive cleaners and cloths only. Abrasive cleaners
and cloths could scratch finish of unit, marring its appearance
and making it susceptible to soil accumulation. Use of abrasive
materials will void warranty.
Assembly and Installation
1. Unpack all components. Verify that the appropriate number of
the items below are present.
• Face Panel, 3/8″ Tempered Glass
• End Panel, 3/8″ Tempered Glass (optional)
• Post Assembly, 1″ Stainless Steel
• Center Post Assembly, 1″ Stainless Steel (multiple bay only)
• Orbit Bracket
• Hardware Packet (includes hex wrenches for set screws)
2. Remove the mounting flanges from each post assembly.
Mounting
Flange
Post
Assembly
Flange
Cover
Set Screw
a. Slide the flange cover up and off of
the flange.
b. Using the included hex wrench,
loosen the set screw on the flange.
c. Slide the flange off of the post
assembly.
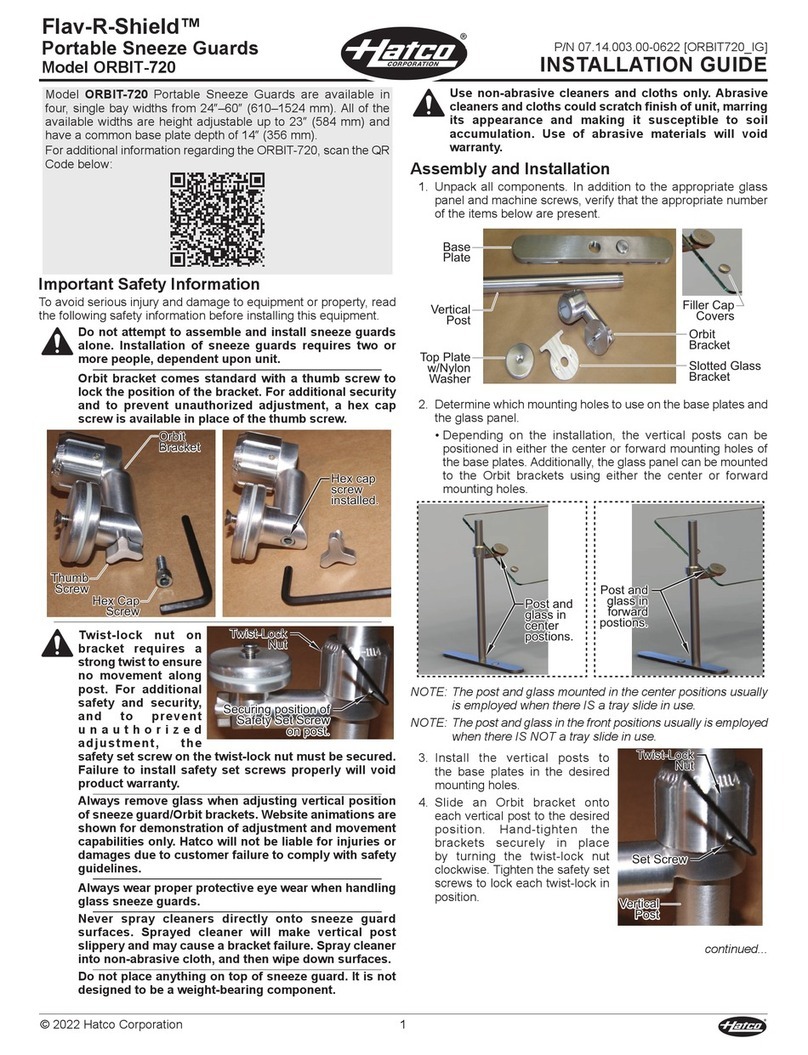
3. Install the mounting flanges to the
mounting surface.
a. Refer to the “Model ORBIT360
Standard Sizes” chart and illustration below to determine the
location of the flanges. For multiple bay installations, refer to
“Width per Bay” column in the chart.
IMPORTANT NOTE
Sneeze guards that consist of multiple bays require careful
measurement before installation of the mounting flanges.
b. Position the flanges in the appropriate locations, and mark
the screw hole locations. IMPORTANT! Measure carefully,
and make sure the flanges remain square to each other as
well as the installation location.
c. Pre-drill the screw holes in the mounting surface.
d. Install the flanges using the appropriate, #8 countersunk-
style fasteners for the mounting surface.
P/N 07.14.010.00-0123 [ORBIT360_IG]
INSTALLATION GUIDE
Hatco / ADM Sneezeguards
Self-Service Sneeze Guards
Model ORBIT360
© 2023 Hatco Corporation2
Nylon
Washer
Orbit Bracket
Top Plate
Machine
Screw
Thumb Screw
Glass Panel
installed onto
post using
Orbit bracket.
Lip
3. Adjust the height of the glass face panel, if necessary. NOTICE:
Two people are required for this step.
a. Simultaneously loosen the twist-lock nut counterclockwise
on each face panel Orbit bracket, move the panel to the
desired height, and re-tighten the twist-lock nuts by turning
clockwise.
b. Tighten the safety set screw on each twist-lock nut to secure
the Orbit brackets in position.
4. Adjust the angle of the glass face panel, if necessary. NOTICE:
Two people are required for this step.
• The angle of the glass panel can be adjusted in 15°
increments.
• Simultaneously loosen the thumb screw/hex cap screw on
each Orbit bracket, carefully rotate the glass panel to the
desired position, and re-tighten the thumb screws/hex cap
screws securely.
Cleaning/Maintenance
Clean the unit daily using non-abrasive cloths and cleaners.
• Always spray/apply cleaner to the cloth, then wipe down the
sneeze guard. Do not spray cleaner directly onto the sneeze
guard.
• The glass panel can be cleaned using a standard glass cleaner.
Options and Accessories
End Panels
End panels with a depth of 18″ (457 mm) are available for all
ORBIT360 portable sneeze guards.
LED Light Bar
An LED light bar is available as a factory-installed option for certain
sizes and can be configured with a cord and plug or a battery pack.
7. Install the Orbit brackets onto each post assembly.
Set Screw
Set Screw
Twist-Lock Nut
Twist-Lock Nut
• Hand-tighten each Orbit bracket in
place by turning the twist-lock nut
clockwise. Do not tighten the safety
set screw on the twist-lock until the
brackets are in their final position.
• If optional end panels are present,
install the Orbit brackets that came
with the end panels underneath the
face panel Orbit brackets on the post
assemblies.
8. IMPORTANT! Refer to the “Securing the Glass” procedure on
this sheet before beginning installation of any glass panels.
9. Install the glass face panel(s). Refer to the “Securing the Glass”
section.
10. Install each glass end panel, if equipped. Refer to the “Securing
the Glass” section.
11. For NSF compliance, apply NSF-approved silicone sealant to
the screw heads of all set screws and nylon set screws.
NOTE: For NSF compliance, the bottom edge of all end panels
cannot be positioned higher than 1-1/2″ (38 mm) above the
installation surface.
Securing the Glass
Glass face panels and end panels are attached to the post
assemblies using adjustable Orbit brackets. Use the following
procedure to install the glass panels. CAUTION! Always wear
proper protective eye wear when handling glass.
1. Prepare to install the glass face panel(s).
• There are two mounting holes provided on each side of a
glass face panel. Choose the hole position that will work for
the installation. Install the provided filler cap assembly in the
unused holes using a coin to hand-tighten.
Filler Cap
Cover
Filler Cap
Cover
Use coin
here.
Underside
of glass
panel.
Filler Cap
Assembly
installed.
Top side
of glass
panel.
2. Install the glass panels. To install a glass panel:
a. Loosen the thumb screw/hex cap screw on each Orbit
bracket, and adjust the brackets so that the glass panel will
be in the horizontal position during installation.
b. Install a nylon washer on top of each Orbit bracket.
NOTE: Always position nylon washers with the raised lip facing the
glass.
c. Position the glass panel on top of the nylon washers.
d. Place a nylon washer followed by a top plate on top of the
glass panel aligned with each Orbit bracket, and secure in
position using an included machine screw. Tighten the screw
until it holds the glass securely—do not over-tighten.
HATCO CORPORATION
P.O. Box 340500
Milwaukee, WI 53234-0500 U.S.A.
414-671-6350
[email protected]
www.hatcocorp.com
Custom Units
Scan this QR code or click the link
below to access information regarding
custom units including sizes, glass,
hardware, and lighting.
www.hatcosneezeguards.com
This manual suits for next models

10

Other Hatco Commercial Food Equipment manuals

Hatco Glo-Ray GRFHS-16 User manual

Hatco

Hatco Glo-Ray GRFHS-16 User manual

Hatco AMERICAN RANGE MSD-1 User manual

Hatco

Hatco AMERICAN RANGE MSD-1 User manual

Hatco HWBI-S Series User manual

Hatco

Hatco HWBI-S Series User manual

Hatco SW series User manual

Hatco

Hatco SW series User manual

Hatco HEATMAX RCTHW2 Series User manual

Hatco

Hatco HEATMAX RCTHW2 Series User manual

Hatco CWBP-S Series User manual

Hatco

Hatco CWBP-S Series User manual

Hatco HBGBH Series User manual

Hatco

Hatco HBGBH Series User manual

Hatco Flav-R-Shield ORBIT-720 User manual

Hatco

Hatco Flav-R-Shield ORBIT-720 User manual

Hatco FLAV-R-SAVOR FSHC-7 Series User manual

Hatco

Hatco FLAV-R-SAVOR FSHC-7 Series User manual

Hatco AFST Series Manual

Hatco

Hatco AFST Series Manual

Hatco FLAV-R-SAVOR FS2HAC Series User manual

Hatco

Hatco FLAV-R-SAVOR FS2HAC Series User manual

Hatco HEATMAX RHW Series User manual

Hatco

Hatco HEATMAX RHW Series User manual

Hatco FLAV-R-SAVOR FSD Series User manual

Hatco

Hatco FLAV-R-SAVOR FSD Series User manual

Hatco Burger King Glo-Ray GRSDS Series Installation instructions

Hatco

Hatco Burger King Glo-Ray GRSDS Series Installation instructions

Hatco Flav-R-Savor FS Series User manual

Hatco

Hatco Flav-R-Savor FS Series User manual

Hatco CWB Series User manual

Hatco

Hatco CWB Series User manual

Hatco FTB Series User manual

Hatco

Hatco FTB Series User manual

Hatco Flav-R-Shield EP-950 ACRYLIC User manual

Hatco

Hatco Flav-R-Shield EP-950 ACRYLIC User manual

Hatco HCSBFR Series User manual

Hatco

Hatco HCSBFR Series User manual

Hatco Glo-Ray GRFHS Series User manual

Hatco

Hatco Glo-Ray GRFHS Series User manual

Hatco Glo-Ray GRCMW-1D User manual

Hatco

Hatco Glo-Ray GRCMW-1D User manual

Hatco DCS-1 Series User manual

Hatco

Hatco DCS-1 Series User manual

Hatco CWBR Series User manual

Hatco

Hatco CWBR Series User manual

Hatco HWB Series User manual

Hatco

Hatco HWB Series User manual

Popular Commercial Food Equipment manuals by other brands

Scholl A 0811 Instructions for use

Scholl

Scholl A 0811 Instructions for use

Minerva C/E VINS 22 operating instructions

Minerva

Minerva C/E VINS 22 operating instructions

JAC DIV Translation of original user instructions

JAC

JAC DIV Translation of original user instructions

GILES GHM-4 Operation & service manual

GILES

GILES GHM-4 Operation & service manual

Belshaw Brothers Donut Robot Mark II Operator's manual

Belshaw Brothers

Belshaw Brothers Donut Robot Mark II Operator's manual

Tecnoinox FTL4G7 manual

Tecnoinox

Tecnoinox FTL4G7 manual

Royal Catering RCWT-120X70-3L-E user manual

Royal Catering

Royal Catering RCWT-120X70-3L-E user manual

BERG BRFS-1D/22 instruction manual

BERG

BERG BRFS-1D/22 instruction manual

Henny Penny HB-11 Technical manual

Henny Penny

Henny Penny HB-11 Technical manual

Lotus LIBR.ISTR.TP110G Installation and operating instructions

Lotus

Lotus LIBR.ISTR.TP110G Installation and operating instructions

ISA MITO POWER 12 Operator's manual

ISA

ISA MITO POWER 12 Operator's manual

CARTER-HOFFMANN VCNH212S-2T Owner's/operator's manual

CARTER-HOFFMANN

CARTER-HOFFMANN VCNH212S-2T Owner's/operator's manual

RoboLabs SugarLips 100 Technical manual

RoboLabs

RoboLabs SugarLips 100 Technical manual

Fri-Jado TDR auto-clean Service manual

Fri-Jado

Fri-Jado TDR auto-clean Service manual

Costan TORTUGA REVERSE User instructions

Costan

Costan TORTUGA REVERSE User instructions

Mibrasa PARRILLA user manual

Mibrasa

Mibrasa PARRILLA user manual

Bourgeat NOMAD Instructions for use and maintenance

Bourgeat

Bourgeat NOMAD Instructions for use and maintenance

AFINOX SOUL instruction manual

AFINOX

AFINOX SOUL instruction manual

manuals.online logo
manuals.online logoBrands
  • About & Mission
  • Contact us
  • Privacy Policy
  • Terms and Conditions

Copyright 2025 Manuals.Online. All Rights Reserved.