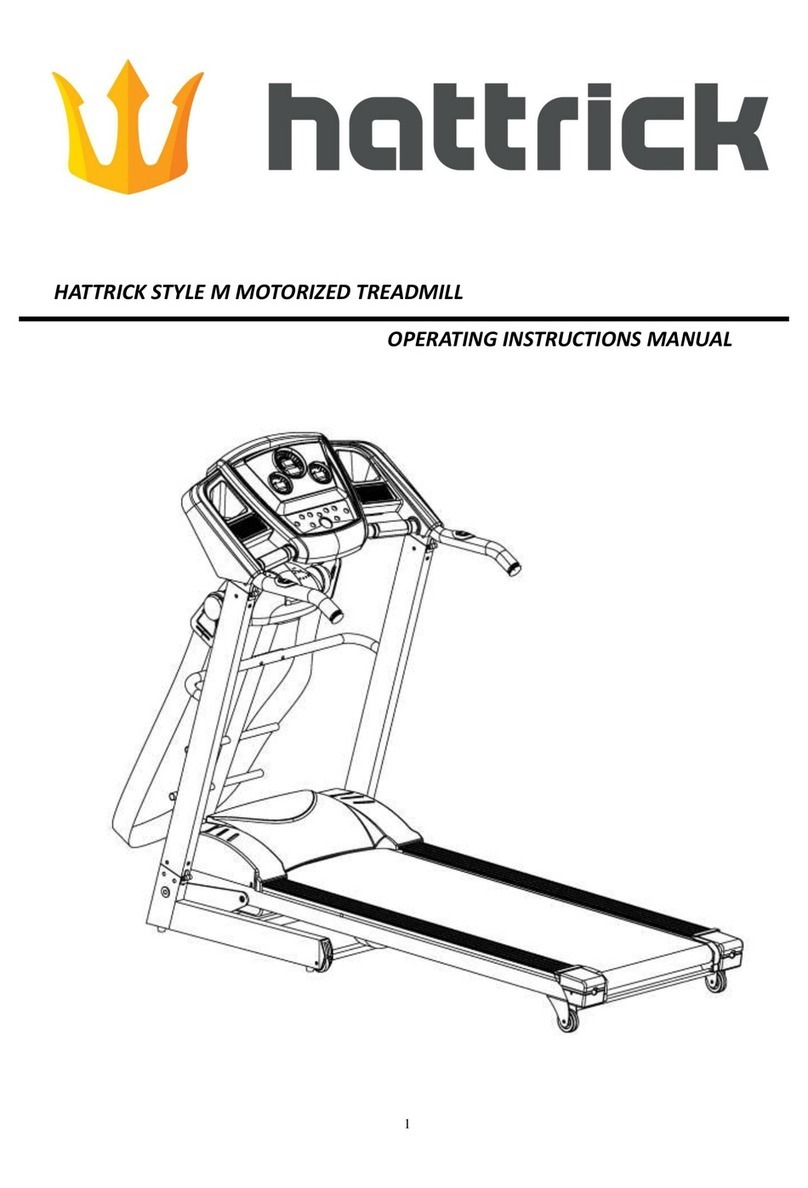
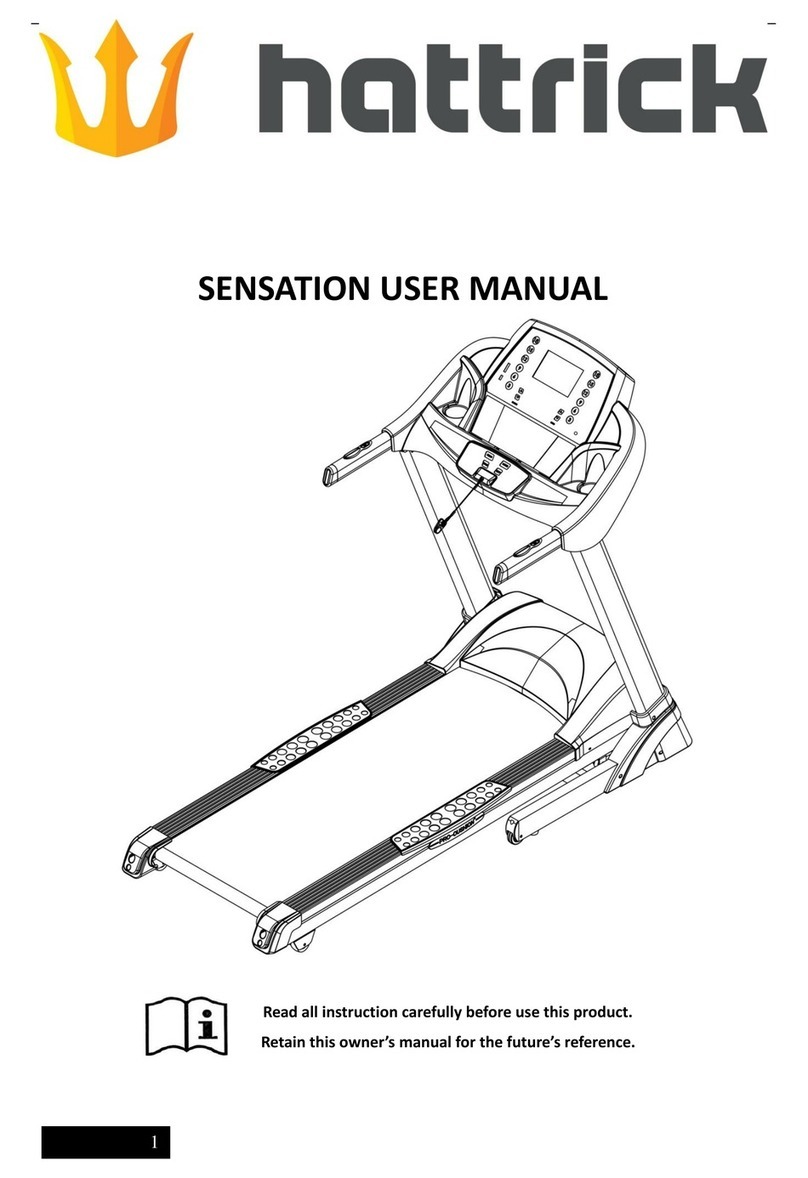
hattrick Synergy User manual

0
SYNERGY MOTORIZED TREADMILL USER MANUAL
Special tips:
Before installation and operation, please read this operation manual carefully and save this
manual for future reference.

Table of Contents
CONTENT
PAGE
1、Warranty
1
2、Tips for Safety
2
3、Packing Details
3
4、Explosive View
4
5、List of Components
5
6、Treadmill Structure
6
7、Installation
7
8、Use Instructions
9
9、Guides for Console Operation
10
10、Detailed Instructions
14
11、Maintenance
16
12、Guides for Malfunction
18

- 1 -
Acknowledgement
Thank you for purchasing this item which can improve your health.
1、Warranty
We make sure that this item is made of high-quality materials.
In normal use, we will take charge of maintenance if any problem occurs.
If the item you purchased meets problems as follows, the manufacturer’s
warranty is not effective:
Damage caused by external reasons
Don’t use original manufacturer’s spare parts
Improper handling by yourself
Operate against user manual
For easy-wear parts, such as belt, we don’t provide maintenance and
replacement for normal use.
This warranty is only valid for home use, but is not suitable for gym or other
professional exercise.
If you want to purchase spare parts, please contact our services and provide this
manual.
2、Tips for Safety
We take much concern on safety when we are designing and producing this item.
However, in case of emergency, please pay attention to following tips. We don’t
assume responsibility if any accident caused by improper operation..
According to your body condition, please exercise properly. Overload or
improper exercise will damage your health.
While running, you should dress properly. Don’t dress too loosely in case your
clothes will be entangled by the machine .And please wear sport shoes. In order
to avoid unnecessary injury, please don’t let your children or pets play near the
machine.
This item is not suitable for children. For patients or the disabled, please use the
machine under the guides of their doctors or guardians.
Don’t use this machine outdoor, high-humidity condition or in the sun.
Please power off and pull the plug when the machine is not in use.
This machine is for home use, but not suitable for professional exercise or testing
and medical purposes.
The displayed heart rate is for reference, not for medical use.
If power wire is broken, please ask the manufacturer or professional services to
replace it in case of danger.
Please check all the parts before use. Make sure that all the screws and nuts are
fastened.

- 2 -
Please place the item on the clean, flat and solid floor. Make sure there is
nothing sharp, no source of water or hear around the machine.
Please stop exercising immediately and consult your doctor or fitness coach if
you’re feel giddy, surfeit, thorax ache or other symptoms.
Hands shall avoid all running parts. Don’t put your hands or feet under the
running belt.
This item is only for one person to use!
Please use original manufacturer’s spare parts and don’t replace them yourself.
3、Packing Details
Warning: Carefully install the product, avoid making any damage.
Notice: 1) Carefully read instructions before installation, operate in accordance with
procedures.
2) Remove all paper boxes and foams
3) Check all the following components. If there are missing or problematic
parts, please contact our services.
Frame
Meter
Decorative
cover
Decorative
cover
Hardware bag
Hardware bag
Multi-wrench 1 pcs
Homemade wrench 1 pcs
Umbrella-type allen screw
M8*60 2pcs
Umbrella-type allen screw
M8*20 6pcs
Umbrella-type allen screw
M4*20 4pcs
Umbrella-type cross tapping
screw M4.2*15 4pcs
Washer 8pcs
Nut 4pcs
Safety key 1pcs
Lubricant 1pcs
MP3 connector 1pcs

- 3 -
4、Explosive View:
These are all the components used in installation. All components are listed in the
following form.

- 4 -
5、List of Components
No.
Component
Quantity
No.
Component
Quantity
1
Base frame
1
29
Locating pad of footplate
8
2
Main frame
1
30
Rubber transporting wheel
2
3
Left meter pillar
1
31
Upper cover of the meter
1
4
Right meter pillar
1
32
Panel of the meter
1
5
Meter frame
1
33
Right decorative cover of the
pillar
1
6
Incline frame
1
34
Left decorative cover of the
pillar
1
7
Pressure stick
1
35
Under cover of the meter
1
8
Motor stator
1
36
Pad of the meter
1
9
Front roller
1
37
Safety key
1
10
Back roller
1
38
Sponge sheath on handlebars
2
11
Motor
1
39
Hand heart rate
2
12
PCB
1
40
Upper control panel
1
13
Incline motor
1
41
Speaker
2
14
Running belt
1
42
Sensor wire
1
15
Running board
1
43
Upper communication line
1
16
Multislot belt
1
44
Under communication line
1
17
Motor cover
1
45
Red connecting line
1
18
Footplate
2
46
Red connecting line
1
19
Left back cover
1
47
Green connecting line
1
20
Right back cover
1
48
Power wire
1
21
Connecting part of base
frame
1
49
Reed pipe for safety key
1
22
Adjustable foot pad
5
50
MP3 module
1
23
Left decorative cover
1
51
Power switch
1
24
Right decorative cover
1
52
Overload protector
1
25
Set of transporting wheel
2
26
Cover under motor
1
27
Shock gasket
4
28
Shock absorber
4

- 5 -
6、Treadmill Structure
Meter
Buttons on the handlebar
Handlebar
Meter pillar
Motor cover
Footplate
Running belt
Base frame
Decorative cover
Back cover
Safety key

- 6 -
7、Installation
Step 1: Install meter pillars
a) Let the communication line pass through the right meter pillar.
b) Put meter pillars on the base frame. First, use 2 Screw M8*20 and 2 washers;
second, use 2 Screw M8*60, 2 washers and 2 nuts to fasten meter pillars. (Don’t
tighten screws at first)
Step 2: Install the meter
a) Put decorative cover through left and right pillars.
b) Make sure that communication lines are connected correctly
c) Put the meter on the meter pillars. Use 4 Screw M8*20, 4 washers and 2 nuts to
Screw M8*20
Washer
Screw M8*60
Nut
Screw M8*20
Washer
Communication line
Screw M4.2*15
Nut

- 7 -
fasten the meter. (Don’t tighten screws at first)
d) Turn power on and start the machine. If all functions work well, tighten all
screws in Step 1 and 2.
e) Use 4 Screw M4.2*15 to fasten left and right decorative covers of pillars.
Step 3: Install decorative covers.
a) Use 4 Screw M4.2*15 to fasten left and right decorative covers.
Step 4: Remove the screw in base frame
Screw M4.2*15
Remove the screw

- 8 -
8、Use Instructions
Power:
Insert the power plug and switch on the machine. The switch light will be on and you
will hear a sound like “Di”. Then you will find the meter is on.
Safety key:
The machine can work only when safety key is put at the appointed position. Nip the
other end of the safety key to clothes. In this way, you can pull up safe key to stop the
machine immediately in case of accidents. If you want to use the machine again, put
safety key back.
Folding instructions:
Folding:
Folding the machine will save space.
Before folding, please switch off and pull up the plug.
Use hands to lift the running board until it is locked.
Unfolding:
First, lift up the running board a little and step on the pressure sticker. Second pull
down the running board for a while, then the running board will goes down to the
ground automatically.
Power switch

- 9 -
9、Guides for Console Operation
Specifications
Time
00:00-99:59 min
Speed
1.0-20.0 km/h
Incline
0-20%
Distance
0.00-99.9 km
Calories
0-999 kcal
Heart rate
50-200 / min
Program
Built-in program
P1-P99
Count-down mode
Time/Distance/Calories
Body fat
measurement
Fat
Sex
1/0 (Man/Woman)

- 10 -
Panel buttons and functions
START button:
Press “Start” button, the system will count down in 3
seconds, which displays on the screen! The machine will run
at the speed of 1.0km/h.
STOP button:
Press this button to stop the running machine.
Reset:
Press “Stop” button twice continuously to reset the machine.
PROG. Button
In ready condition, press “PROG” button to select programs
from P1-P99.
P1-P99 are built-in programs.
After finish selection, press “Start” button to start the
machine!
MODE button
In ready condition, press “MODE” button to select from
Time, Distance and Calories count-down modes.
After finish selection, press “Start” button to start the
machine!
SPEED △▽button
In ready condition, buttons are used to adjust preset-data.
In running condition, buttons are used to adjust speed, and
the adjusting range is 0.1km/h each time. Keep pressing
buttons for over 0.5 second, the speed will continuously
increase or decrease.
INCLINE △▽button
In ready condition, buttons are used to adjust preset-data.
In running condition, buttons are used to adjust incline,
and the adjusting range is 1% each time. Keep pressing
buttons for over 0.5 second, the incline will continuously
increase or decrease.

- 11 -
SPEED direct button
In running condition, press these buttons to set the speed
to be 3km/h, 6km/h and 9km/h directly.
INCLINE direct button
In running condition, press these buttons to set the incline
to be 3%, 6% and 9% directly.
“ ” button
Press this button to select from “LINE-IN”, “USB”, “SD”
and “FM radio” modes.
“” button
In “LINE-IN”, “USB” or “SD” mode, press this button to
Start or Pause the music.
In “FM radio” mode, press this button to Search radio
programs.
“ ” and “ ”buttons
Press “ ” button to change into the former music or
radio program. Press this button for a while to turn down
the sound.
Press “ ” button to change into the next music or radio
program. Press this button for a while to turn up the
sound.

- 12 -
Screen
A
Display distance
B
Display mimic diagram
C
Display time
D
Display speed
E
Display calories
F
Display pulse
G
Display incline
10、Detailed Instructions
a. Quick start (Manual mode)
1. Switch power on and put the safety key at the appointed position.
2. Press “Start” button, the system will count down in 3 seconds, which displays on
the screen! The machine will run at the speed of 1.0km/h.
3. According to your needs, press “SPEED △or ▽” to change speed and press
“INCLINE △or ▽” to change incline.
4. When hands are on hand heart rate sensors for 5-8 seconds, heart rate will be
displayed on the screen.
E
F
G
A
B
C
D

- 13 -
b. Count-down mode:
In ready condition, press “MODE” button to select countdown modes. After finish
selection and reset “Time/Distance/Calories”, press “Start” button to start the
machine!
1. In “Time Mode”, the screen displays flashing “15:00”. Then press “SPEED △or
▽” or “INCLINE △or ▽” to reset time from 05:00—99:00.
2. In “Distance Mode”, the screen displays flashing “1.0”. Then press “SPEED △or
▽” or “INCLINE △or ▽” to reset distance from 0.5—99.9.
3. In “Calories Mode”, the screen displays flashing “50”. Then press “SPEED △or ▽”
or “INCLINE △or ▽” to reset calories from 10—999.
c. Built-in program
There are 99 built-in programs, from P1 to P99. In ready condition, press “PROG.”
button to select one program from P1-P99. After that, press “MODE” button to set
time from 5:00—99:00. Then press “START” button to start the machine.
Every built-in program is divided into 10 periods, each period lasts 1/10 of set time.
During every period, press “SPEED △or ▽” to change speed and press “INCLINE △or
▽” to change incline if necessary. From one period to another, there will be a sound
like “Bi” for 3 times, then speed and incline will be changed according to built-in
programs. After finishing one program, there will be a sound like “Bi” for 3 times,
then the machine will stop slowly and the screen will display “End”. The machine will
be in ready condition in 5 seconds.
d. Body fat measurement:
In ready condition, press “PROG.” button continuously to “FAT”. Press “MODE”
button to select “HEIGHT”, “WEIGHT”, “AGE”, “SEX” and “FAT”. Press “SPEED △or ▽”
or “INCLINE △or ▽” to set above data. Then press “MODE” to “FAT” screen. At this
time, put your hands on the hand heart rate sensor for 5-8 seconds. Then you will
see body fat displayed on the screen.
Please find out whether your weight and height fits according to the following form.
(These data is only for reference, not for medical use)
F-1
SEX
1-MAN
0-WOMAN
F-2
AGE
10-99
F-3
HEIGHT
100-220
F-4
WEIGHT
20-150
F-5
FAT
≤19
Thin
20—25
Fit
25—29
Overweight
≥30
Obesity

- 14 -
e. Power saving:
When the power is on, if the machine doesn’t work for 10 minutes, it will sleep and
the screen will be off. Press any key to wake up the machine.
11、Maintenance
Maintain the machine
Proper maintenance can always keep the machine in good condition.
1. Do not use sand paper or solvent to clean the machine.
2. Controlling parts can not be exposed in the sun or humid environment.
3. Check and tighten all parts regularly. Replace broken parts immediately.
Adjust the running belt
The running belt is well adjusted before being packed. After a period of use, the
running belt may loosen or deflect, which is normal. Then it is necessary to adjust the
running belt, otherwise there will be friction damage to the running belt.
1. Tension:
a) Keep the machine at the speed of 3km/h.
b) Put the multi-wrench into the left adjusting screw and turn clockwise by 1/4
circle.
c) Put the multi-wrench into the right adjusting screw and turn clockwise by 1/4
circle.
d) If necessary, repeat Step b and c as above until the running belt runs smoothly.
Note: These four steps are available to tighten the running belt, if you need to loosen
it, please turn anti-clockwise.
2. Deflection:
a) Keep the machine at the speed of 6km/h.
b) If the running belt deflect to the left, put the multi-wrench into the left adjusting
screw and turn clockwise by 1/4 circle or put the multi-wrench into the right
adjusting screw and turn anti-clockwise by 1/4 circle. (Diagram 1)
c) If the running belt deflect to the right, put the multi-wrench into the right
adjusting screw and turn clockwise by 1/4 circle or put the multi-wrench into the
left adjusting screw and turn anti-clockwise by 1/4 circle. (Diagram 2)
d) If necessary, repeat Step b and c as above until the running belt runs in the
middle.
Deflect to the left (Diagram 1) Deflect to the right (Diagram 2)

- 15 -
Lubricant (White bottle)
All treadmills were added lubricant before packed. However, it is still necessary to
add lubricant after using the machine for 30 hours or 30 days.
How to add lubricant:
a) Cut a small hole at the head of the lubricant bottle. Make sure that the lubricant
can be shot out from the hole.
b) Lift up the running belt and shoot the lubricant to the middle of the running
board.
c) Put down the running belt and put some pressure on the place where you add
lubricant.
d) Start the machine at the speed of 1 km/h for 1 minute.
We recommend lubrication of the deck according to the following timetable:
Light user (less than 3 hours/ week) every three weeks
Medium user (3-5 hours/ week) every two weeks
Heavy user (more than 5 hours/ week) every week
Cleaning
Clean the machine regularly to extend service life. Here are some tips for cleaning:
a) Please power off and pull the plug before cleaning.
b) Do not use corrosive or liquid material to clean the machine, which shall cause
damage to electronic parts.
c) Frequently wipe out the sweat and dust on the surface, running board or
somewhere else by clean or wet cloth.
d) Please clean the floor around the machine every week.

- 16 -
12、Guides for Malfunction
Analyzing and eliminating malfunction
Item
Malfunction
Reason
Solution
1
The machine
doesn’t work
The safety key is missing
Put the safety key at the right position
The power switch is in “0”
position
Turn power switch to “1”
2
The meter
doesn’t work
The meter and upper
communication line are
not correctly connected
Disassemble the meter and make sure
that the meter and communication line
are well connected.
The upper communication
line is broken
Replace the upper communication line!
3
E01
on the screen
Communication failed
Check sensor wire to see whether it is
well connected or whether it is broken.
4
E02
on the screen
Motor crush protection
Check input voltage first. If the voltage
is standard, check control panel and
motor
5
E03
on the screen
No signal
If there is no signal from speed sensor
wire for 5-8 seconds, check connections
first, then replace sensor wire if broken
If there is no signal from the motor for
5-8 seconds, check connections first,
then replace the motor if broken
6
E04
on the screen
Error of incline
Check whether the VR wire of incline
motor is well connected. Then check
other connections of incline motor are
good. If there are lines broken, replace
them.
7
E05
on the screen
Current overload
protection
Check the motor. If it’s good, restart the
machine. If there is something broken
in control panel or the motor, replace
control panel or the motor.
Note: If the machine still doesn’t work after taking these solutions, please contact
our services as soon as possible.
Table of contents
Other hattrick Treadmill manuals
hattrick
hattrick GORDION Instruction Manual

hattrick
hattrick Sensation User manual

hattrick
hattrick VISION Instruction Manual

hattrick
hattrick TRAINER User manual
hattrick
hattrick Energy User manual

hattrick
hattrick I-CONCEPT User manual
hattrick
hattrick MATRIX Instruction Manual

hattrick
hattrick STYLE M Instruction Manual

hattrick
hattrick RB-4000 M Instruction Manual

hattrick
hattrick ARENA User manual