manuals.online logo
Brands
  1. Home
  2. •
  3. Brands
  4. •
  5. Haworth
  6. •
  7. Indoor Furnishing
  8. •
  9. Haworth BELONG User manual

Haworth BELONG User manual

ASTM
TEMPERED
LOGO
Rev:
Part No:
Page:
E.C.O. No:
CUSTOMER SERVICE PHONE: 1-800-426-8562
2420-126 1 of 4 7029-9923
Tools Required
Multi Material Territory Screen
Installation Instructions
BELONG®
1
3/32"
Allen Wrench
Isopropyl
Alcohol
AScreen
BScreen
Tape Strip
D
Nut Plate
Assembly
ECover
FBase
G
Double Sided Tape
H
Retainer
CEnd Cap
IF REUSING RETAINER (H)
MAKE SURE THE MARKED
SIDE IS FACING AWAY
FROM THE GLASS.
CAN CAUSE FAILURE OF
GLASS SCREENS
CAUTION
Foam Tape
D1
1
ISOPROPYL
ALCOHOL
ISOPROPYL
ALCOHOL
A1
A1
3
4
1
2
G
NOTE: Wipe mounting surface area
with Isopropyl Alcohol to ensure
area cleaned and achieve full bond.
CAUTION: TAPE (G) IS VERY
AGGRESSIVE. DETERMINE
FINAL POSITION OF SCREEN
BEFORE ADHERING TO
WORKSURFACE. ALLOW 72
HOURS TO FULLY CURE.
FOR
FABRIC
FOR
SOLID
H
Scale 1 : 1
011/2
1/4 1/4
Rev:
Part No:
Page:
E.C.O. No:
CUSTOMER SERVICE PHONE: 1-800-426-8562
2420-126 2 of 4 7029-9923
ASTM
TEMPERED
LOGO
1Use tape (B1) to mark location
2Install Screen Tape Strip (B)
3
B
NOTE: Center screen tape strips (B)
with center of tape (B1) and apply ush
with bottom of screen (A).
NOTE: Locate tape (B1) centering with
each tab shown on base (F1).
A
B
B1
0.0” 0.01”
NOTE: Tempered
Glass Logo is always
on the bottom.
B1
F1
REMOVE TAPE (B1)
ONCE TAPE STRIPS (B)
ARE INSTALLED!
ASTM
TEMPERED
LOGO
Install Nut Plate Assembly (D) and Foam Tape (D1)
4
D
D
D1
Rev:
Part No:
Page:
E.C.O. No:
CUSTOMER SERVICE PHONE: 1-800-426-8562
2420-126 3 of 4 7029-9923
1
PLUMB SCREEN (A)
A
A
F
IF REUSING RETAINER (H)
MAKE SURE THE MARKED
SIDE IS FACING AWAY
FROM THE GLASS.
CAN CAUSE FAILURE OF
GLASS SCREENS
CAUTION
WARNING! WARNING!
TIGHTEN FIRMLY OR UNTIL
ALLEN WRENCH FLEXS.
(NOT TO EXCEED 15in lbs)
Install screen (A)
5
2SNUG ALL SET SCREWS
F
NOTE: Make sure retainer (H)
is in between screen and set
screws of nut plate (D).
H
BD
(No Gaps) 0.0"
H
Rev:
Part No:
Page:
E.C.O. No:
CUSTOMER SERVICE PHONE: 1-800-426-8562
2420-126 4 of 4 7029-9923
A
A
HINT: Make sure the screen (A)
is aligned, plumb, and centered
BEFORE installing covers (E).
6
7
E
F
C
2
1
E
C

Other Haworth Indoor Furnishing manuals

Haworth Lyft User manual

Haworth

Haworth Lyft User manual

Haworth Comforto 99 User manual

Haworth

Haworth Comforto 99 User manual

Haworth CULTIVATE FLUSH User manual

Haworth

Haworth CULTIVATE FLUSH User manual
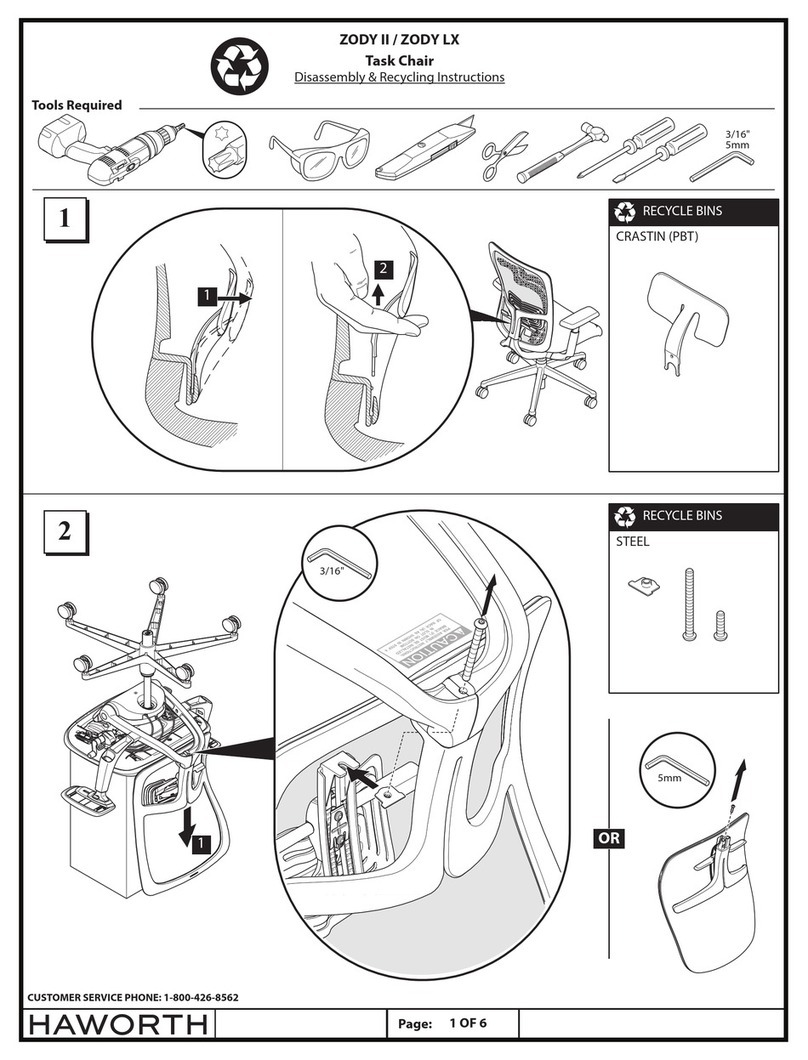
Haworth ZODY II Installation instructions
Haworth

Haworth ZODY II Installation instructions

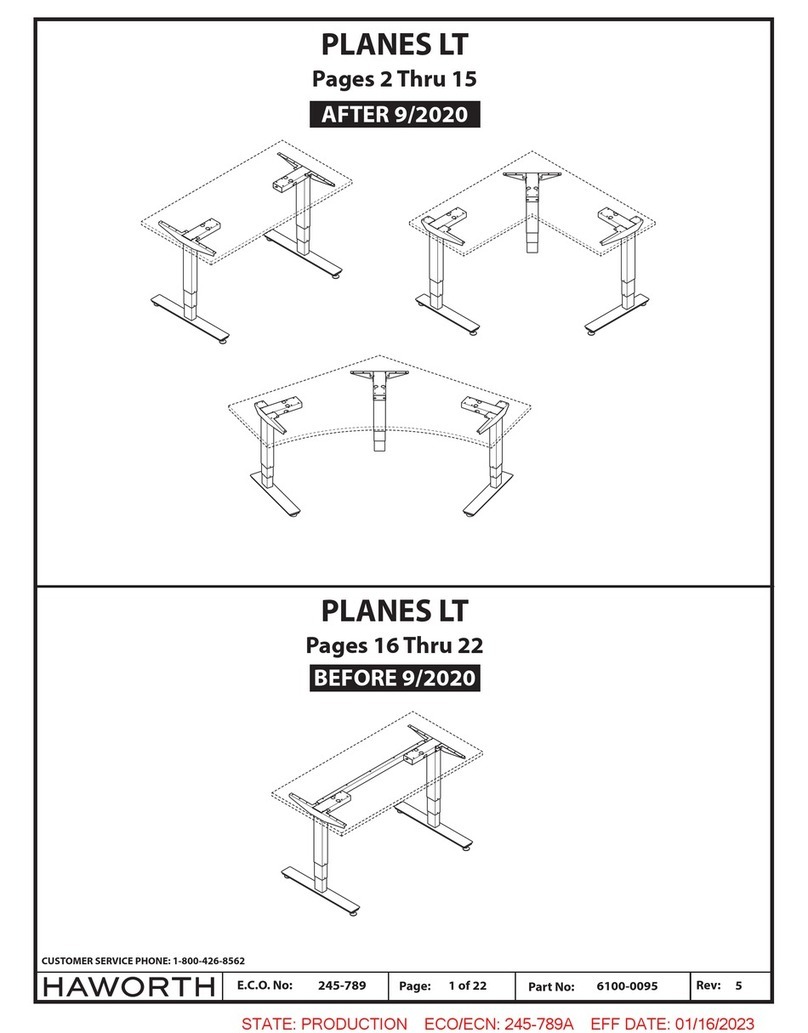
Haworth PLANES LT User manual

Haworth

Haworth PLANES LT User manual
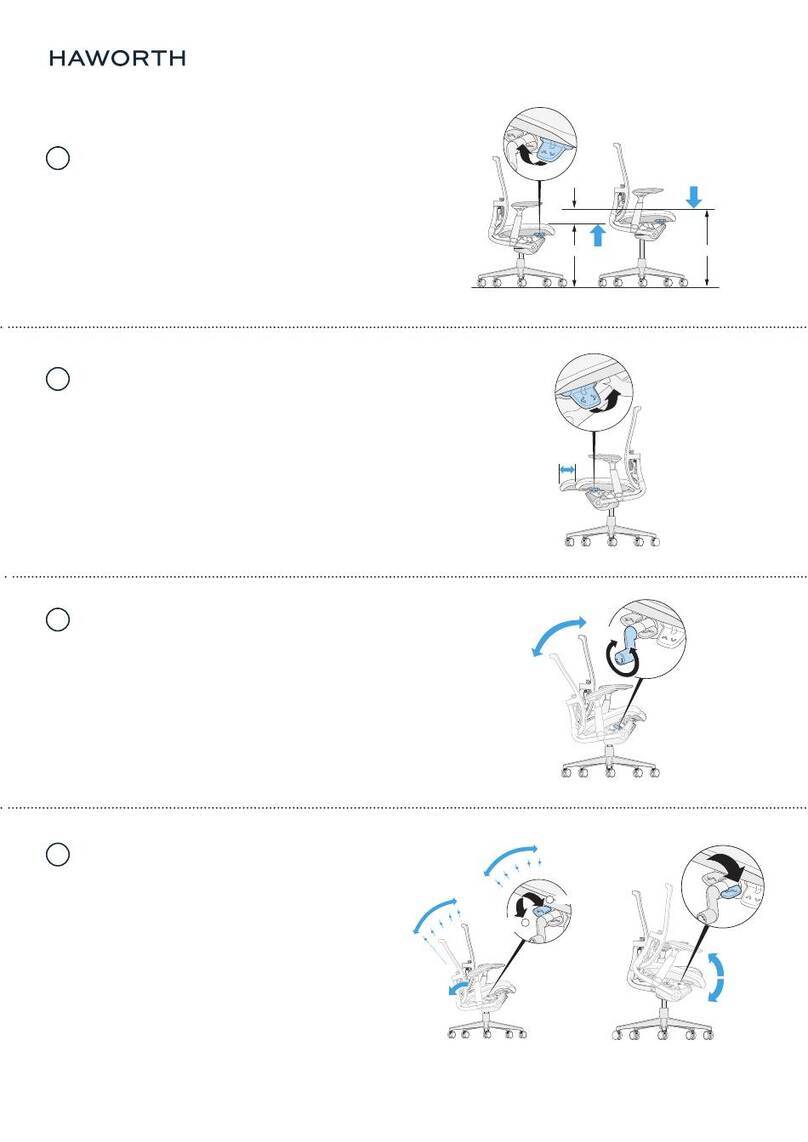
Haworth Zody II User manual

Haworth

Haworth Zody II User manual

Haworth Hop TS User manual

Haworth

Haworth Hop TS User manual
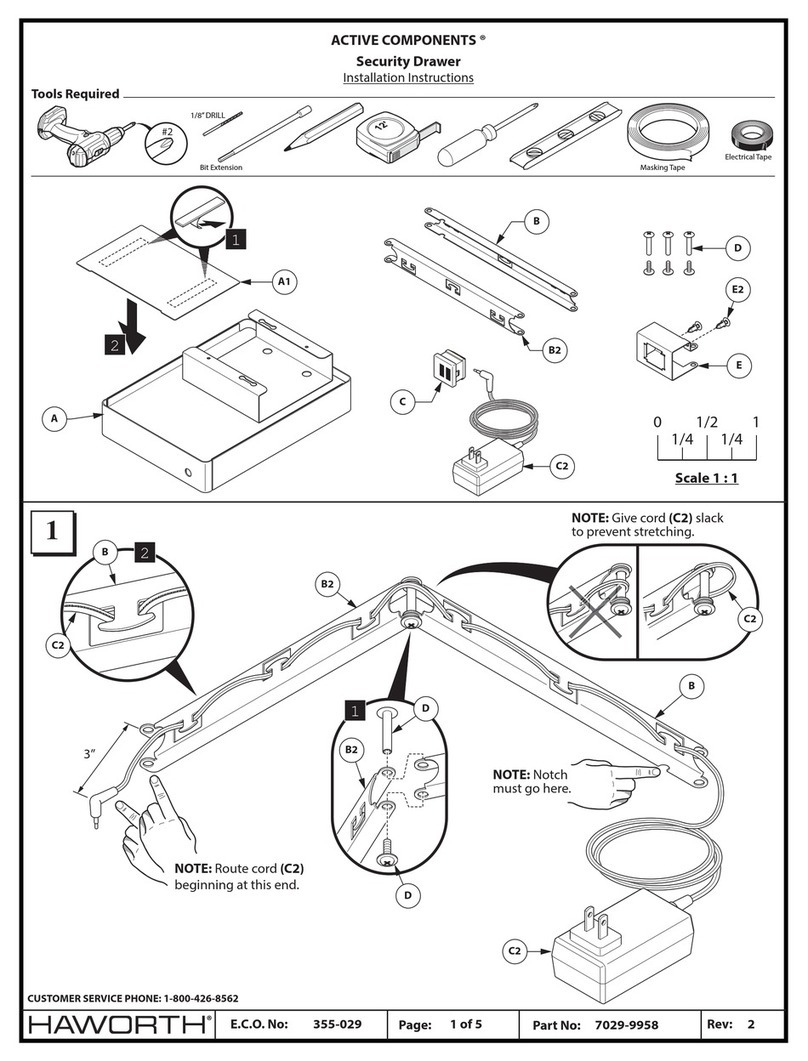
Haworth ACTIVE COMPONENTS Security Drawer User manual
Haworth

Haworth ACTIVE COMPONENTS Security Drawer User manual

Haworth PLANES VALUE MODEL User manual

Haworth

Haworth PLANES VALUE MODEL User manual

Haworth Jive User manual

Haworth

Haworth Jive User manual

Haworth Upside User manual

Haworth

Haworth Upside User manual

Haworth Aloha Easy User manual

Haworth

Haworth Aloha Easy User manual

Haworth comforto SYSTEM X-99 User manual

Haworth

Haworth comforto SYSTEM X-99 User manual

Haworth Jive User manual

Haworth

Haworth Jive User manual
Haworth X Series User manual

Haworth

Haworth X Series User manual

Haworth Hop Single-Stage User manual

Haworth

Haworth Hop Single-Stage User manual

Haworth Comforto System 77 User manual

Haworth

Haworth Comforto System 77 User manual

Haworth Zody II Guide

Haworth

Haworth Zody II Guide

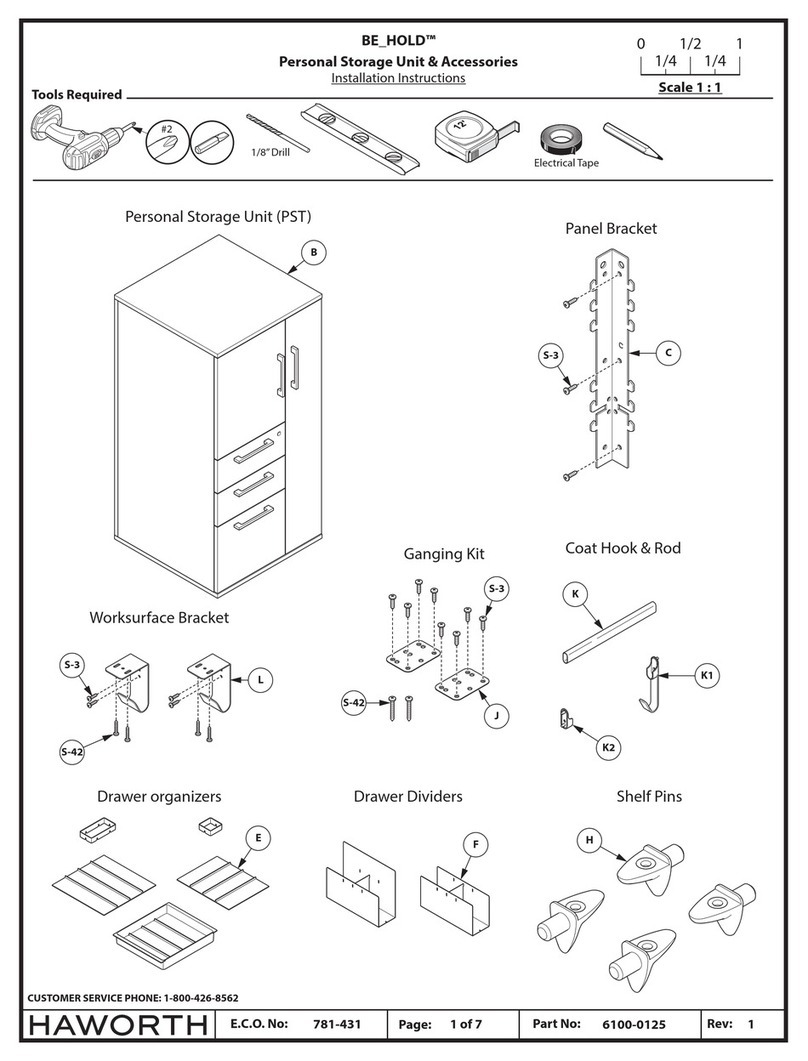
Haworth BE_HOLD User manual

Haworth

Haworth BE_HOLD User manual

Haworth Assure User manual

Haworth

Haworth Assure User manual

Haworth Jive User manual

Haworth

Haworth Jive User manual

Haworth Comforto 59 User manual

Haworth

Haworth Comforto 59 User manual

Haworth Comforto 89 User manual

Haworth

Haworth Comforto 89 User manual

Haworth ALLWAYS User manual

Haworth

Haworth ALLWAYS User manual

Popular Indoor Furnishing manuals by other brands

Asko DREAM Installation and operating instruction

Asko

Asko DREAM Installation and operating instruction

BROSA Enzo Large Bookcase Assembly guide

BROSA

BROSA Enzo Large Bookcase Assembly guide

Powermatic 1794860K Operating instructions and parts manual

Powermatic

Powermatic 1794860K Operating instructions and parts manual

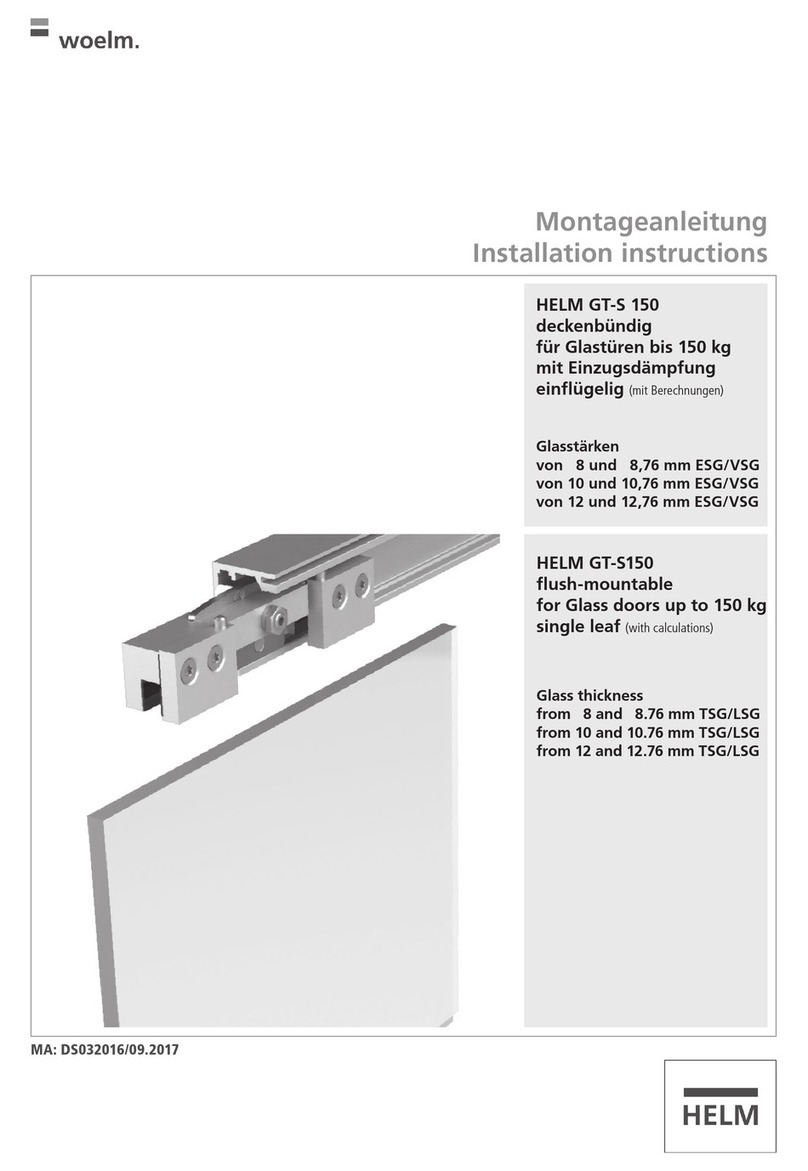
Woelm HELM GT-S-150 installation instructions

Woelm

Woelm HELM GT-S-150 installation instructions

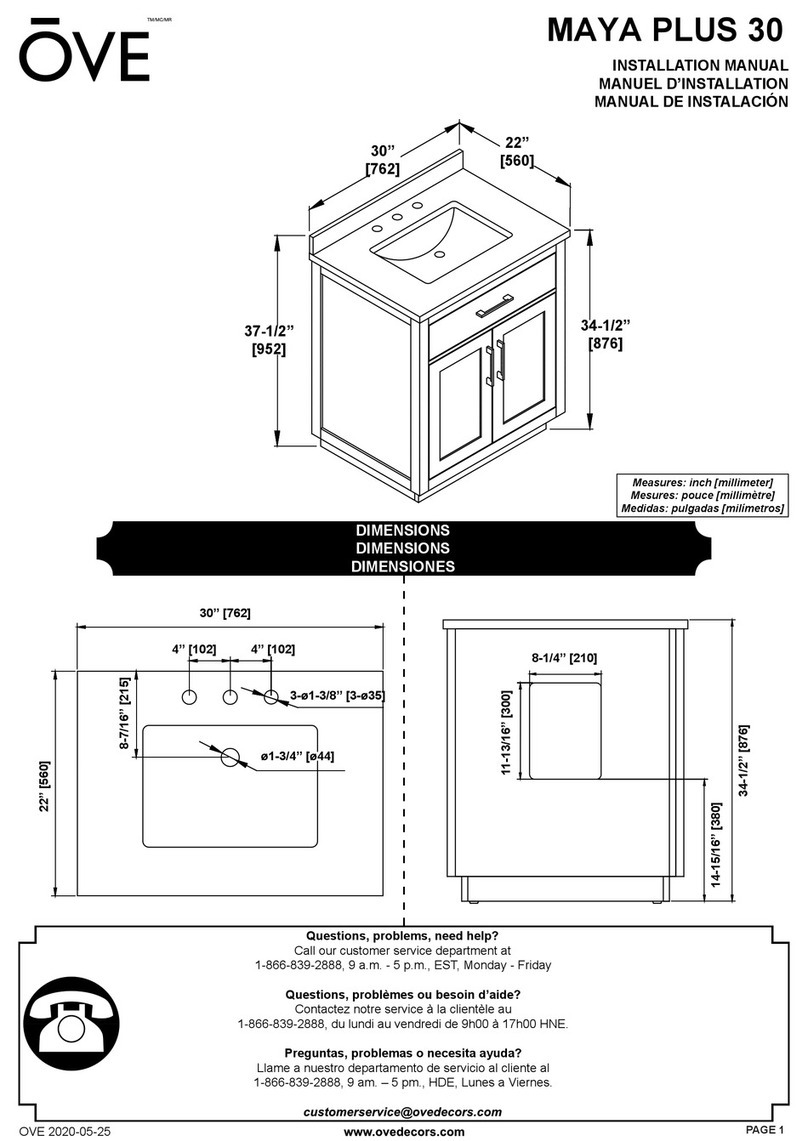
OVE MAYA PLUS 30 installation manual

OVE

OVE MAYA PLUS 30 installation manual

DHP Eden 4136429 manual

DHP

DHP Eden 4136429 manual

Verpan Flying Chair Assembly instructions

Verpan

Verpan Flying Chair Assembly instructions

Walker Edison PLB43XD Assembly instructions

Walker Edison

Walker Edison PLB43XD Assembly instructions

Kohl's WICKER SWIVEL EGG CHAIR Assembly instructions

Kohl's

Kohl's WICKER SWIVEL EGG CHAIR Assembly instructions

ACTIU EFIT CHAIRS Assembly

ACTIU

ACTIU EFIT CHAIRS Assembly

Next SUSSEX 427741-227 Assembly instructions

Next

Next SUSSEX 427741-227 Assembly instructions

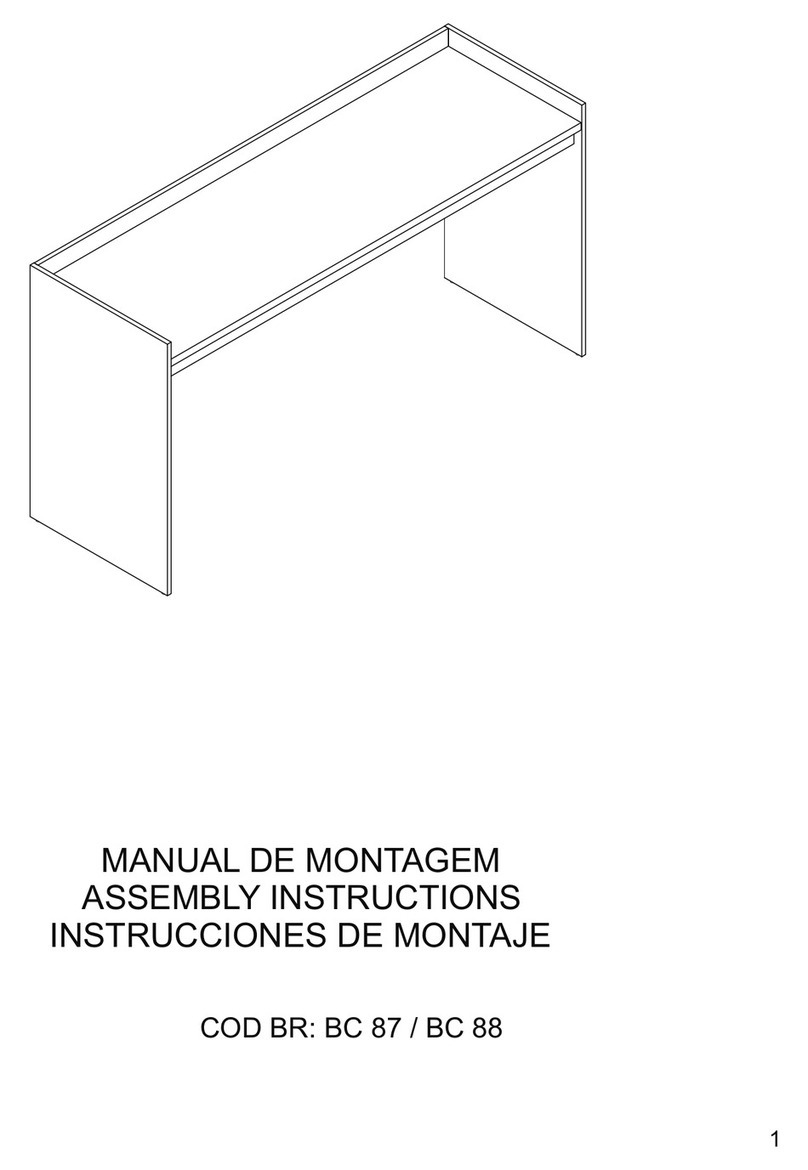
BRV Móveis BC 87 Assembly instructions

BRV Móveis

BRV Móveis BC 87 Assembly instructions

Costway HW62996 user manual

Costway

Costway HW62996 user manual

Enitial Lab YNJ-128-2 Assembly instructions

Enitial Lab

Enitial Lab YNJ-128-2 Assembly instructions

Home Decorators Collection MERRYFIELD 19112-VS43-DG Assembly instructions

Home Decorators Collection

Home Decorators Collection MERRYFIELD 19112-VS43-DG Assembly instructions
Ameriwood HOME 1427015COM Instruction booklet

Ameriwood HOME

Ameriwood HOME 1427015COM Instruction booklet

Synargy 654810 Assembly instructions

Synargy

Synargy 654810 Assembly instructions

Whittier Wood Furniture McKenzie 1374AFGACa Assembly instructions

Whittier Wood Furniture

Whittier Wood Furniture McKenzie 1374AFGACa Assembly instructions

manuals.online logo
manuals.online logoBrands
  • About & Mission
  • Contact us
  • Privacy Policy
  • Terms and Conditions

Copyright 2025 Manuals.Online. All Rights Reserved.