manuals.online logo
Brands
  1. Home
  2. •
  3. Brands
  4. •
  5. Hay
  6. •
  7. Indoor Furnishing
  8. •
  9. Hay CAN SOFA User manual

Hay CAN SOFA User manual

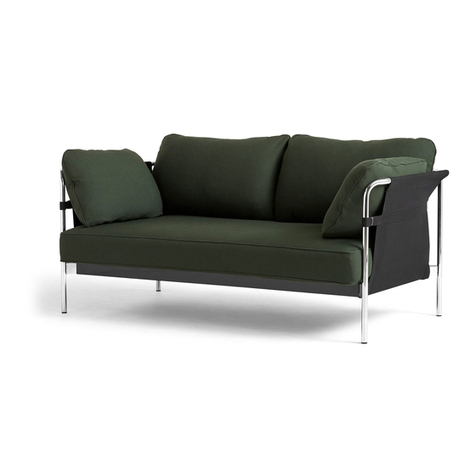
CAN SOFA
BY RONAN & ERWAN BOUROULLEC
> INSTRUCTIONS MANUAL <
H AY
> INTRODUCTION <
In the Can sofa, Ronan and Erwan Bouroullec are seeking
to go beyond the creation of a practical, elegant and
comfortable design. The intention is to reinvigorate the
whole idea of the sofa, from something inherently
complicated, to something simple, relaxed and for everyone.
The sofa comes flat-packed and is assembled at home as we
believe people are keen to get things in a quick and simple
way, it is better for all resources, it is less transportation, less
volume, less stock, it is just much easier to do.
The idea of the name Can is that “you can”, “you can make
it”, just don’t be afraid. Maybe the sofa will raise the fear
“can I do this?”, “is it going to be right?” So, it is
implemented into the name itself, just don’t be afraid,
it will work.
> CARE AND MAINTENANCE <
POWDER COATED STEEL
• Clean with a damp cloth wrung in a solution of water
and a neutral detergent. Remove soap residue
immediately using a clean, dry cloth.
• Avoid using scouring cream or scouring pads, as they
may scratch the surface.
FABRICS
• Vacuum the furniture regularly to remove dust and
avoid fluff and pilling. Wrinkles in the fabric can be
straightened using a steamer.
• Soak up spilled liquids with an absorbent napkin or
cloth by dabbing gently towards the centre of the stain.
• Use a lint-free cloth wrung in lukewarm water to
remove stains. If necessary add a little neutral
detergent. Avoid rubing the material hard as this
could result in loss of colour and damage the fabric.
• Use a hairdryer to avoid leaving an outline.
• Never use concentrated detergents or bleach,
ammonia or soap intended for hard surfaces.
SILK LEATHER
• Silk is an aniline leather which means that it has no or
only a light surface treatment to preserve the leather’s
natural surface and soft touch.
• Vacuum regularly using the upholstery nozzle. Be care-
ful not to scratch the leather.
• All natural markings, such as scars and insect bites,
will be visible on aniline leather, which contributes to the
leather’s exclusive appearance.
• This kind of leather is very susceptible to dirt, and over
time it will patinate and become slightly darker.
• Aniline Leather is demanding to maintain, and we
recommend that you keep a cleaner and care product
suitable for this type of leather at hand.
• Using water may leave a permanent stain on the
surface.
• Do not use sharp objects, strong detergents or
solvents on the leather.
> CARE AND MAINTENANCE <
CAUTION
With a little care you can prolong the life of your
furniture and keep the foam and fabric in good
condition. HAY only uses top quality fabrics, but all
fabrics fade, and seams will weaken when exposed to
sunlight.
• Protect your sofa against direct sunlight and strong
heat sources.
• Flip the cushions regularly to avoid patinating on one
side only.
• Make sure to lift the furniture rather than pulling or
pushing it to avoid damaging the floor, legs and
mountings.
• Tighten up the screws after one to two months’ use.
• Avoid improper use such as sitting on the back or
armrests and standing on it.
• Smooth out creases and wrinkles with your hand after
use to even out the fabric and prevent seam lines from
being skewed.
• Plump the cushions regularly to maintain the shape.
> PARTS 1 SEATER <
Seat frame (A) x 1 Front leg (B) x 2 Back leg (C) x 2
Arm rest
tube (D)
x 2
Allen key
Seat pillow (I) x 1
Back pillow (H) x 1
Side pillow (G) x 2
Screw (K) x 12
Canvas (F) x 1
Anti slip mat (J) x 1
Back rest
tube (E)
x 1
> PARTS 2 SEATER <
Seat frame (A) x 1
Front leg (B) x 2 Back leg (C) x 2 Arm rest tube
(D) x 2
Canvas (F) x 1
Back rest tube
(E) x 1
Allen key
Seat pillow (I) x 1
Back pillow (H) x 2
Side pillow (G) x 2
Screw (K) x 12
Anti slip mat (J) x 1
> PARTS 3 SEATER <
Seat frame (A) x 1
Front leg (B) x 2 Back leg (C) x 2 Arm rest
tube (D)
x 2
Canvas (F) x 1
Back rest tube (E) x 1
Allen key
Seat pillow (I) x 1
Back pillow (H) x 3
Side pillow (G) x 2
Screw (K) x 12
Anti slip mat (J) x 1
1.
Locate the backside of the seat frame (A), marked with a white sticker, and insert
the back legs (C) into each back corner.
2.
Secure the back legs (C) to the seat frame (A) by slightly fastening one screw (K) in
the hole closest to the centre of the sofa.
3.
Pull the legs gently outwards.
4.
Insert the back rest tube (E) into the middle part of the canvas.
2 and 3 seaters: Make sure the back rest tube (E) is facing the right
way. The back rest tube (E) is marked with a white sticker that should
face the outside of the sofa.
5.
Insert the back rest tube (E) into both back legs (C). Make sure the canvas is
mounted with the cotton strap facing outwards. Twist E to hear a “click”.
6.
Insert the arm rest tube (D) into the canvas.
Make sure the canvas is kept on the inside of the back leg (C).
7.
Insert arm rest tube (D) into back leg (C).
Twist D to hear a “click”.
8.
Insert front leg (B) gently into the frame (A) and armrest tube (D).
Repeat step 6, 7 and 8 on the other side.
9.
Gently secure front legs (B) and back legs (C) to the frame (A) by fastening screws (K)
in all four corners.
It is important NOT to tighten the
screws completely yet.
10.
Flip the frame forward to ease access to the bottom of the seat frame. Make sure to place
it on the box to avoid scratching the frame.
11.
Secure front legs (B) and back legs (C) to the frame (A) from the bottom side
by fastening screws (K) in all four corners.
12.
MOUNTING CANVAS
Slide the plastic profile onto the bottom of the seat frame. It is important to start in one end and
work your way to the opposite side. Make sure the canvas is stretched all the way to the corners.
13.
MOUNTING CANVAS
Slide the plastic profile onto the bottom of the seat frame. It is important to start in one end and
work your way to the opposite side. Make sure the canvas is stretched all the way to the corners.
14.
Secure the front legs (B) and back legs (C) to the frame (A) by fastening the
screws (K) in all four corners.
15.
MOUNTING CANVAS
Place the cotton strap around the front leg and slide it through the leather ring. Adjust the
canvas and then tighten it by pulling the cotton strap and fastening it to the Velcro.
16.
ADJUSTING CANVAS.
Adjust the canvas on the frame. Start in one end and work your way to the opposite side.
Make sure the canvas is not folded or misplaced anywhere.
17.
Place the anti-slip mat (J) in the center of the frame.
18.
Place the seat pillow (I), back pillow (H) and side pillows (G) in the frame.
17.
Over time, your sofa will need some attention to ensure that the
cushions are plump and the seat cushion keeps its shape.
Straighten out any creases and lumps in the seat cushion with your hands.
18.
Plump the cushions regularly.
5 710441 209669
Havnen 1 8700 Horsens Denmark
+45 4282 0282 / hay@hay.dk
H AY
ITEM NO. 706327

Other manuals for CAN SOFA

2

Other Hay Indoor Furnishing manuals

Hay CPH DEUX 220 User manual

Hay

Hay CPH DEUX 220 User manual

Hay CONNECT BED User manual

Hay

Hay CONNECT BED User manual

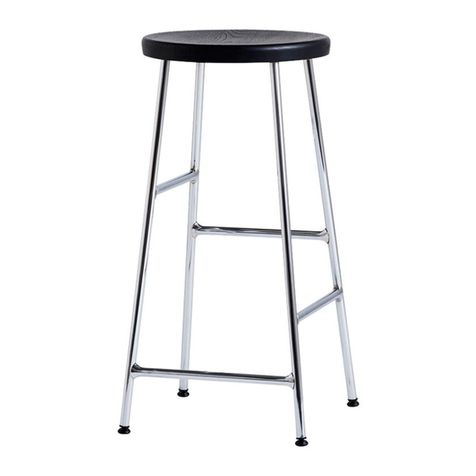
Hay Cornet Barstool User manual

Hay

Hay Cornet Barstool User manual

Hay J77 User manual

Hay

Hay J77 User manual

Hay revolver Leon Ransmeier User manual

Hay

Hay revolver Leon Ransmeier User manual

Hay HACKNEY User manual

Hay

Hay HACKNEY User manual

Hay TAMOTO BED User manual

Hay

Hay TAMOTO BED User manual

Hay CAN SOFA User manual

Hay

Hay CAN SOFA User manual

Hay COPENHAGUE DEUX CPH215 User manual

Hay

Hay COPENHAGUE DEUX CPH215 User manual

Hay HACKNEY LOUNGE User manual

Hay

Hay HACKNEY LOUNGE User manual

Hay revolver Leon Ransmeier User manual

Hay

Hay revolver Leon Ransmeier User manual

Hay COPENHAGEN DEUX CPH 210 User manual

Hay

Hay COPENHAGEN DEUX CPH 210 User manual

Hay KNIT User manual

Hay

Hay KNIT User manual

Hay EIFFEL TABLE User manual

Hay

Hay EIFFEL TABLE User manual

Hay TWO-COLOUR User manual

Hay

Hay TWO-COLOUR User manual

Hay WOODY - HIGH User manual

Hay

Hay WOODY - HIGH User manual

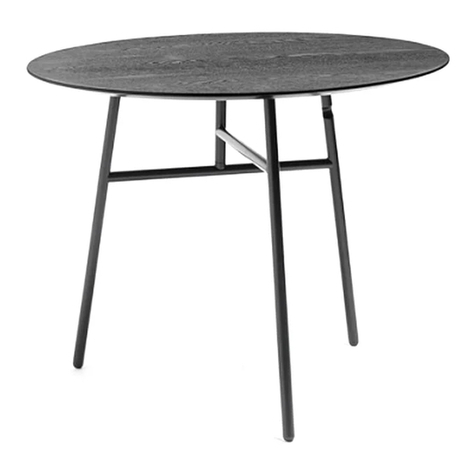
Hay TILT TOP TABLE 185643 User manual

Hay

Hay TILT TOP TABLE 185643 User manual

Hay CORNET User manual

Hay

Hay CORNET User manual

Hay PRO 5830 User manual

Hay

Hay PRO 5830 User manual

Hay CPH 20 User manual

Hay

Hay CPH 20 User manual

Hay REBAR User manual

Hay

Hay REBAR User manual

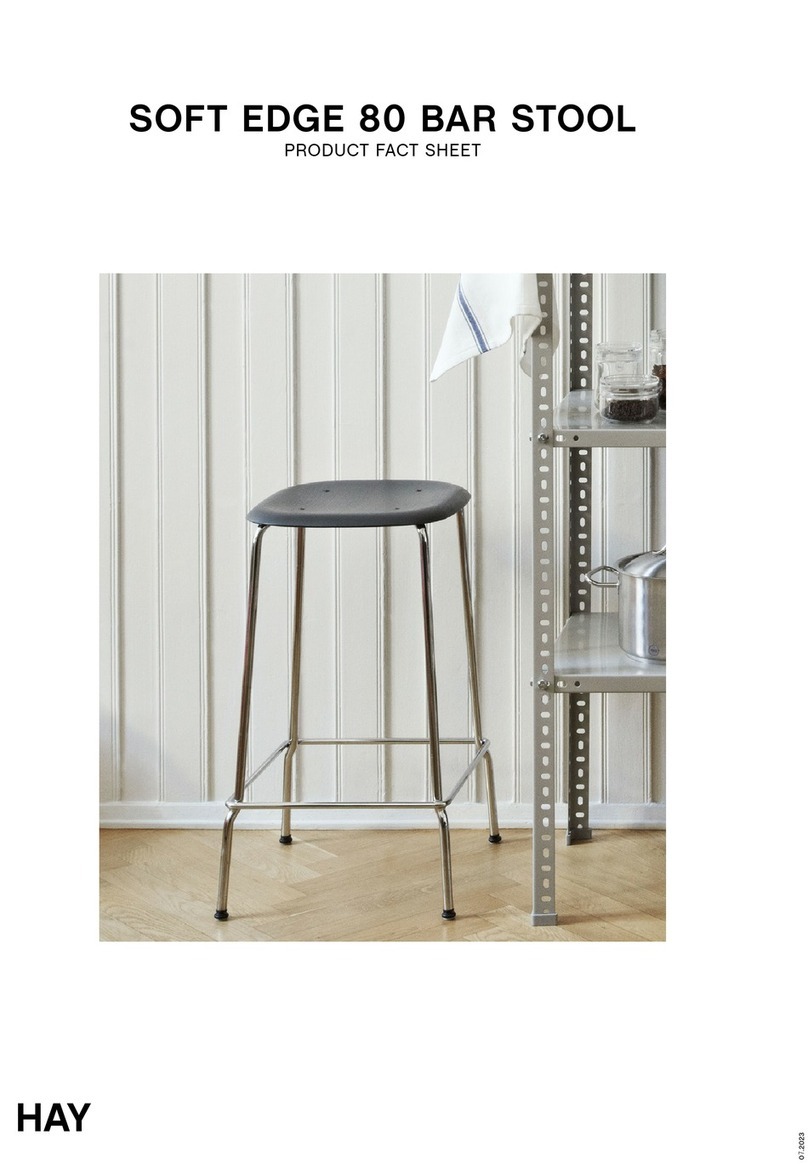
Hay SOFT EDGE 80 BAR STOOL User manual

Hay

Hay SOFT EDGE 80 BAR STOOL User manual

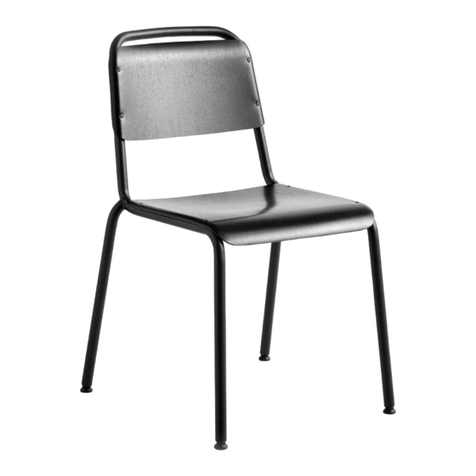
Hay HALFTIME User manual

Hay

Hay HALFTIME User manual

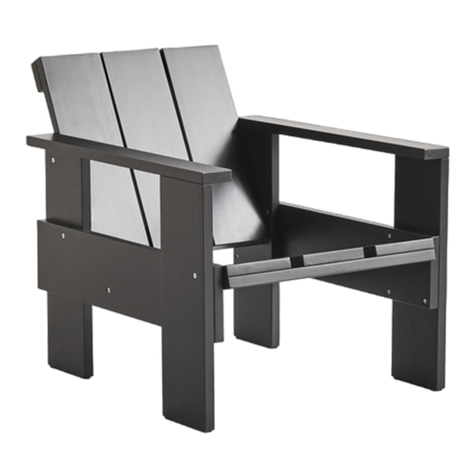
Hay CRATE User manual

Hay

Hay CRATE User manual

Popular Indoor Furnishing manuals by other brands

RealFlame Outdoor Living Calvin 9701 manual

RealFlame

RealFlame Outdoor Living Calvin 9701 manual

Broyhill ASHFORD GBO21-602-3 Assembly instructions

Broyhill

Broyhill ASHFORD GBO21-602-3 Assembly instructions

interlübke izzy Assembly instruction

interlübke

interlübke izzy Assembly instruction

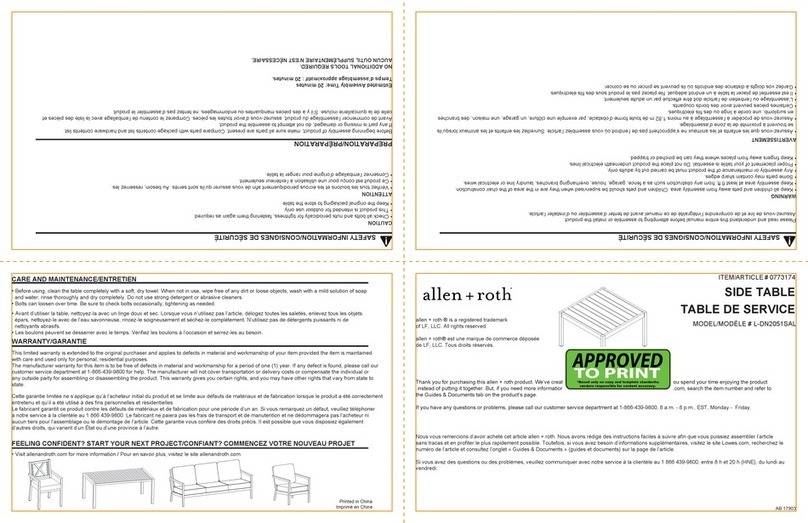
Allen + Roth L-DN2051SAL Quick reference guide

Allen + Roth

Allen + Roth L-DN2051SAL Quick reference guide

Ropox vision user manual

Ropox

Ropox vision user manual

optisofa JULIETT 2S Assembling instructions

optisofa

optisofa JULIETT 2S Assembling instructions

Moebelix Lowboard E-Landwood 2478007918 Assembly instructions

Moebelix

Moebelix Lowboard E-Landwood 2478007918 Assembly instructions

Mainstays Queen Assembly instructions

Mainstays

Mainstays Queen Assembly instructions

Dorel Asia DA6266 Instruction booklet

Dorel Asia

Dorel Asia DA6266 Instruction booklet

Sanus Systems NFA245 manual&nbsp;

Sanus Systems

Sanus Systems NFA245 manual&nbsp;

Coaster 4838B1 Assembly instructions

Coaster

Coaster 4838B1 Assembly instructions

Home Decorators Collection MT22CW-SS Assembly instructions

Home Decorators Collection

Home Decorators Collection MT22CW-SS Assembly instructions

Jysk NORUP 3601097 manual

Jysk

Jysk NORUP 3601097 manual

Rev-A-Shelf RSLD-4BW-062 installation instructions

Rev-A-Shelf

Rev-A-Shelf RSLD-4BW-062 installation instructions

Lafayette Manh Truc installation instructions

Lafayette

Lafayette Manh Truc installation instructions

Sauder Orchard Hills 418648 manual

Sauder

Sauder Orchard Hills 418648 manual

Toro 30349 installation instructions

Toro

Toro 30349 installation instructions

Habitat Parker Extending Table Assembly instructions

Habitat

Habitat Parker Extending Table Assembly instructions

manuals.online logo
manuals.online logoBrands
  • About & Mission
  • Contact us
  • Privacy Policy
  • Terms and Conditions

Copyright 2025 Manuals.Online. All Rights Reserved.