manuals.online logo
Brands
  1. Home
  2. •
  3. Brands
  4. •
  5. Hay
  6. •
  7. Indoor Furnishing
  8. •
  9. Hay MAGS SOFT User manual

Hay MAGS SOFT User manual

MAGS SOFT
By HAY
> INSTRUCTION MANUAL <
H AY
> INTRODUCTION <
Rounded edges and soft cushions create a milder,
relaxed tone with the Mags Soft Sofa. Optimal comfort
and durability are ensured by the sofa’s solid construction,
which has been built using durable, high-density foam and
covered with down padding for extra softness. The low
frame has a distinctly lounge feel, reinforced by the deep
seats and high armrests, to result in a more open, welcoming
space. The wide range of functional modular units mean
the sofa can be fully customised with chaise longue, corner
modules or additional seats to suit any room or purpose,
while the numerous high quality upholstery options
allow the sofa to find its own personality.
CAUTION
With a little care you can prolong the life of your
Mags Soft Sofa and keep the foam and fabric in
good condition.
Follow the instructions for the materials of your specific
sofa to make sure that it stays in the best shape for as
long as possible.
The information below is only intended as a general
guideline. For more information on how to remove
specific stains, please inquire where you bought
the furniture.
• Always remove stains quickly before they can do
any permanent damage to the furniture.
• Avoid placing the furniture in direct sunlight or near
a strong heat source to reduce changes. HAY only
uses top-quality fabrics but all fabrics fade, and seams
weaken, when exposed to sunlight or strong heat.
• Dust and dirt wear down the textile and reduce its
qualities. Regular cleaning is important in order to keep
the upholstery looking its best and to prolong its life.
• The upholstery is fixed and cannot be removed.
• When you move the furniture, make sure to lift it rather
than pulling or pushing it to avoid damaging the legs
and mountings.
• Avoid improper use such as sitting on the back
or armrests or standing on the furniture.
• Be careful not to scratch or damage the surface
with sharp objects.
• Smooth out creases and wrinkles with you hand after
use to even out the fabric and prevent seam lines from
being skewed.
• The stitching is sensitive to wear and tear and
is not covered by our warranty.
• To obtain a soft and relaxed appearance, we have
used down for the top layer of the sofa. Although the
down is placed in sections to prevent it from shifting, it
is inevitable and shifting cannot be entirely avoided. If
it occurs, beat the sofa to air the down and push it back
into place (see step 11).
• The foam inside the sofa modules may become softer
in use, and if one module is used more than the others it
may feel softer. Please use the guide on the last pages.
> CAUTION <
> CARE AND MAINTENANCE <> CARE AND MAINTENANCE <
FABRICS
• Vacuum the furniture regularly using the upholstery
nozzle to remove dust and avoid fluff and pilling.
• Straighten the fabric with your hands from time
to time. Wrinkles in the fabric can be straightened
using a steamer.
• Soak up spilled liquids immediately with an absorbent
napkin or cloth by dabbing gently towards the centre
of the stain.
• Most stains can be removed with lukewarm water on
a clean lint-free cloth. If necessary, add a little neutral
detergent. Avoid rubbing the material hard as this could
result in loss of colour and damage the fabric. It may also
be necessary to use a hairdryer to avoid leaving an outline.
• Never use concentrated detergents or bleach,
ammonia or soap intended for hard surfaces.
SILK LEATHER
• Silk is an aniline leather, which means that it has no or
only a light surface treatment to preserve the leather’s
natural surface and soft touch.
• Vacuum regularly using the upholstery nozzle.
Be careful not to scratch the leather.
• All natural markings, such as scars and insect bites,
will be visible on aniline leather, which contributes to
the leather’s exclusive appearance.
• This kind of leather is very susceptible to dirt, and
over time it will patinate and become slightly darker.
• Aniline leather is demanding to maintain, and we
recommend that you keep a cleaner and care product
suitable for this type of leather at hand.
• Using water may leave a permanent stain on the surface.
• Do not use sharp objects, strong detergents or
solvents on the leather.
CALIFORNIA LEATHER
• California is a full grain semi aniline leather with
a light top finish.
• Vacuum regularly using the upholstery nozzle.
Be careful not to scratch the leather.
• All natural markings, such as scars and insect
bites, will be visible on the leather.
• To remove stains use a clean, lint-free cloth to apply
the lather from a solution of water and a neutral
detergent or soap flakes or use a special leather care
product. Remove soap residue immediately using a
clean, dry cloth, and polish gently, using a soft cotton
cloth. Avoid pressing liquid into the pores of the leather.
• Apply a protec¬tive lotion two to four times annually
to enhance the resistance of the material.
• Do not use sharp objects, strong detergents or
solvents on the leather.
SIERRA LEATHER
• Sierra is a pigmented leather with excellent durability.
• Vacuum regularly using the upholstery nozzle.
Be careful not to scratch the leather.
• To remove stains use a clean, lint-free cloth to apply
the lather from a solution of water and a mild detergent
or soap flakes or use a special leather care product.
Remove soap residue immediately using a clean, dry
cloth, and polish gently, using a soft cotton cloth.
Avoid pressing liquid into the pores of the leather.
• Apply a protec¬tive lotion two to four times annually
to enhance the resistance of the material.
• Do not use sharp objects, strong detergents
or solvents on the leather.
Allen keyF
> PARTS <
E
Modules may vary from the ones shown in the instruction.
Left armrest (A) x 1 Right armrest (B) x 1
Middle (C) x 2 Right corner (D) x 1
1.
While assembling keep the sofa on top of the plastic
to protect the fabric from scratches, etc.
2.
Flip the left armerest (A) (2 persons recommended).
3.
E
F
G
4.
Align part E with the holes on part A.
Place part F in the holes. Use the allen key (G) to tighten F parts completely.
5.
Flip the left armrest (A) (2 persons recommended).
6.
7.
Repeat step 1, 2, 3, 4, 5 and 6 to part C and D.
8.
Place all parts as the sofa has to be connected (2 persons recommended).
A B
C C
D
Make sure to mount part E onto
the correct side of part C and D.
9.
Lift part C onto part E mounted on part A (2 persons recommended).
A B
CC
D
10.
Repeat step 9 to part D, C and B until the sofa is completed (2 persons recommended).
11.
Straighten fabric on all modules.
12.
Gently beat the sofa and cushions to air the down and push it back into place.
13.
Move seam between each part.
14.
Press fabric down between each module.
We recommend that you follow step 1114 regularly to keep the
upholstery looking its best and to prolong its life.
> GENERAL MAINTENANCE <
Havnen 1 8700 Horsens Denmark
+45 4282 0282 / hay@hay.dk
H AY
5 710441 238218
ITEM NO. 706318
08062017

Other Hay Indoor Furnishing manuals

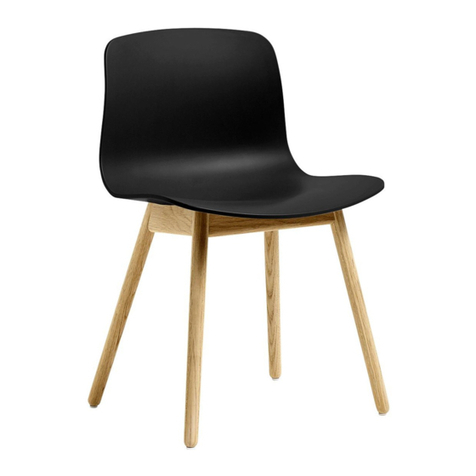
Hay AAT20 User manual

Hay

Hay AAT20 User manual

Hay COPENHAGUE TABLE User manual

Hay

Hay COPENHAGUE TABLE User manual

Hay L250 CM User manual

Hay

Hay L250 CM User manual

Hay CPH 20 User manual

Hay

Hay CPH 20 User manual

Hay QUILTON User manual

Hay

Hay QUILTON User manual

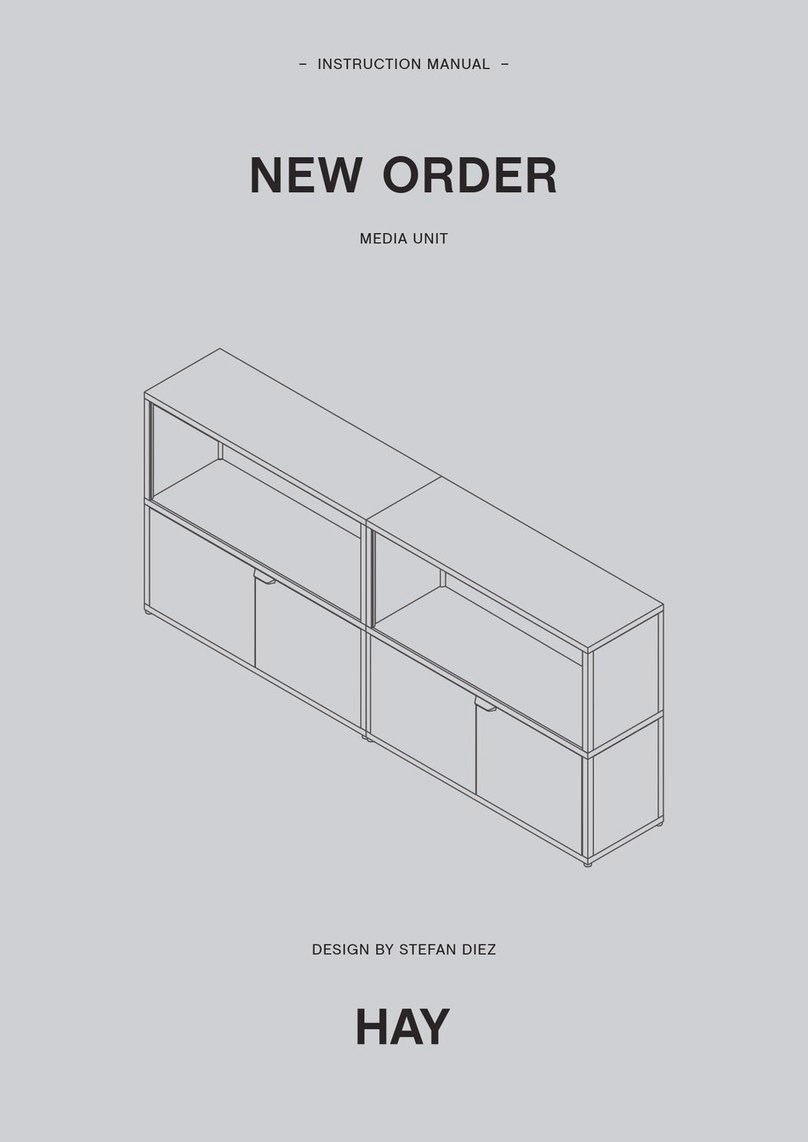
Hay STEFAN DIEZ NEW ORDER User manual

Hay

Hay STEFAN DIEZ NEW ORDER User manual

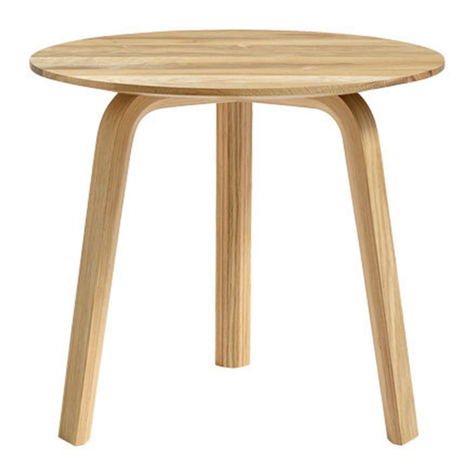
Hay BELLA User manual

Hay

Hay BELLA User manual

Hay STRAP MIRROR 50 User manual

Hay

Hay STRAP MIRROR 50 User manual

Hay AAC 12 ECO User manual

Hay

Hay AAC 12 ECO User manual

Hay WOODY LOW User manual

Hay

Hay WOODY LOW User manual

Hay COPENHAGUE DEUX CPH250 User manual

Hay

Hay COPENHAGUE DEUX CPH250 User manual

Hay NEW ORDER User manual

Hay

Hay NEW ORDER User manual

Hay CPH 20 User manual

Hay

Hay CPH 20 User manual

Hay CRATE Series User manual

Hay

Hay CRATE Series User manual

Hay TILT TOP TABLE 185643 User manual

Hay

Hay TILT TOP TABLE 185643 User manual

Hay CPH25 User manual

Hay

Hay CPH25 User manual

Hay NEU User manual

Hay

Hay NEU User manual

Hay T12 User manual

Hay

Hay T12 User manual

Hay BALCONY TABLE User manual

Hay

Hay BALCONY TABLE User manual

Hay PYRAMID CAFE TABLE 21 User manual

Hay

Hay PYRAMID CAFE TABLE 21 User manual

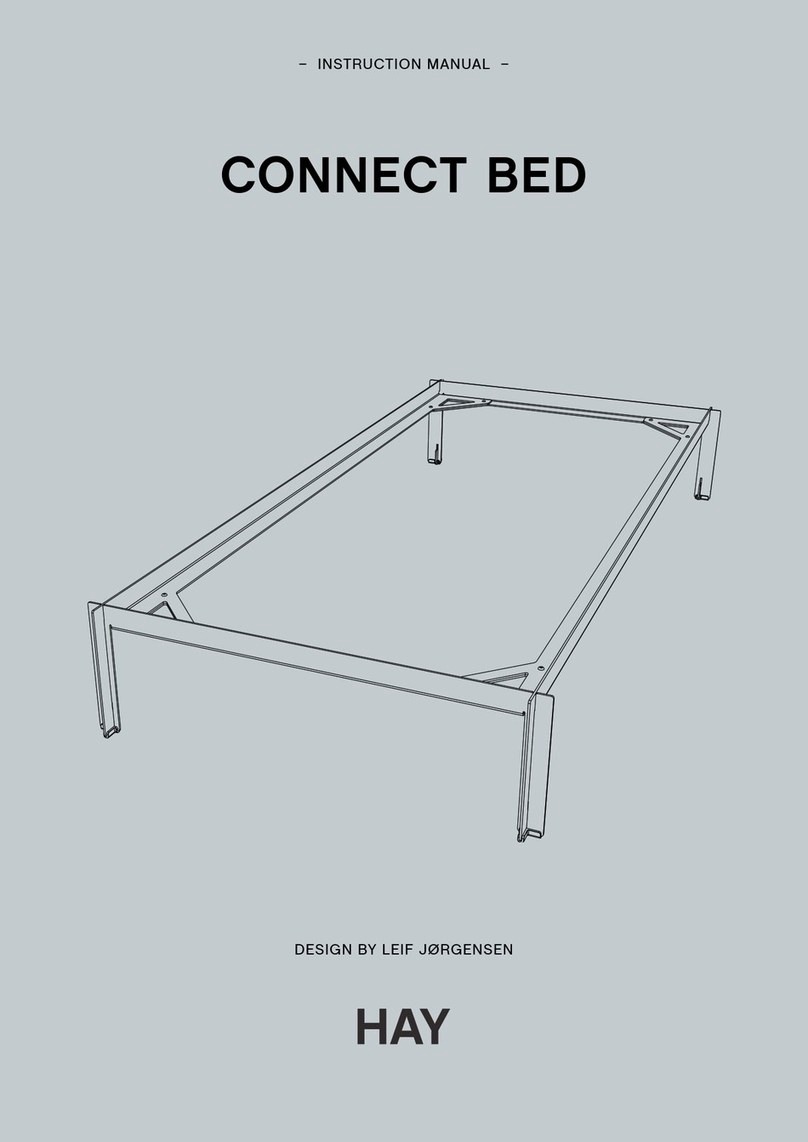
Hay CONNECT BED User manual

Hay

Hay CONNECT BED User manual

Hay EIFFEL TABLE User manual

Hay

Hay EIFFEL TABLE User manual

Hay Cornet Barstool User manual

Hay

Hay Cornet Barstool User manual

Hay WOODY - COLOUMN LOW User manual

Hay

Hay WOODY - COLOUMN LOW User manual

Popular Indoor Furnishing manuals by other brands

BDI 8239 Assembly instructions

BDI

BDI 8239 Assembly instructions

GFW Madrid Trundle Assembly instructions

GFW

GFW Madrid Trundle Assembly instructions

Woltra TRONDHEIM T-19 Assembly instructions

Woltra

Woltra TRONDHEIM T-19 Assembly instructions

Songmics RDT15 quick start guide

Songmics

Songmics RDT15 quick start guide

Coaster 100209 Assembly instructions

Coaster

Coaster 100209 Assembly instructions

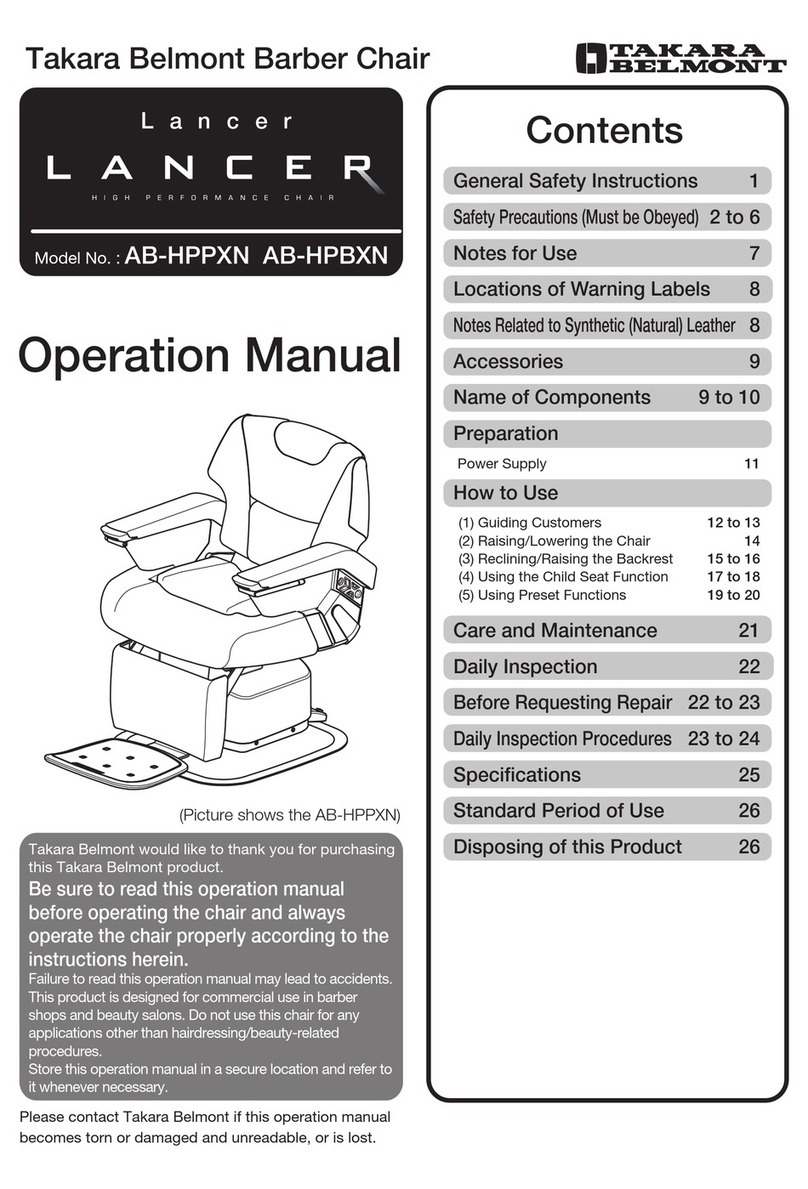
Takara Belmont LANCER Operation manual

Takara Belmont

Takara Belmont LANCER Operation manual

Parmco LS-SLIM Installation and operating instructions

Parmco

Parmco LS-SLIM Installation and operating instructions

Cooper Lighting METALUX 15/ASY Specification sheet

Cooper Lighting

Cooper Lighting METALUX 15/ASY Specification sheet

AVILO B161801 Assembly instructions

AVILO

AVILO B161801 Assembly instructions

Argos Mendoza 330/9430 Assembly instructions

Argos

Argos Mendoza 330/9430 Assembly instructions

Grain Wood Furniture Montauk MT2211 Assembly instructions

Grain Wood Furniture

Grain Wood Furniture Montauk MT2211 Assembly instructions

calligaris BARON manual

calligaris

calligaris BARON manual

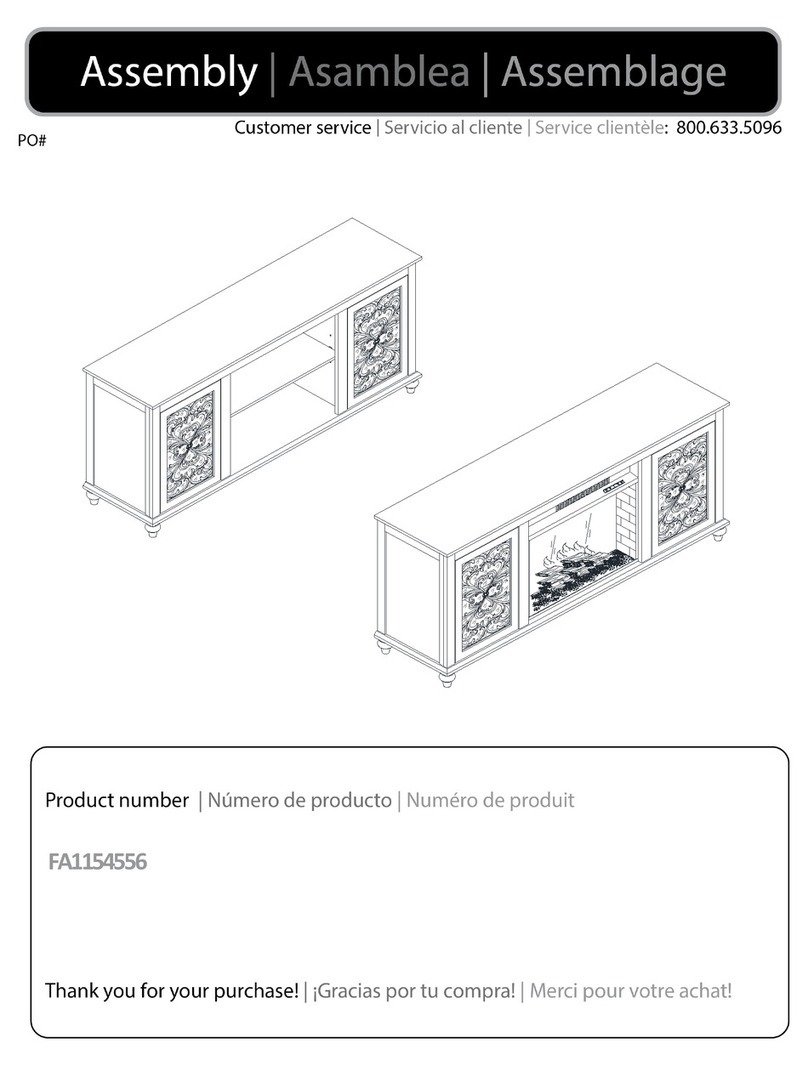
Southern Enterprises FA1154556 Assembly

Southern Enterprises

Southern Enterprises FA1154556 Assembly

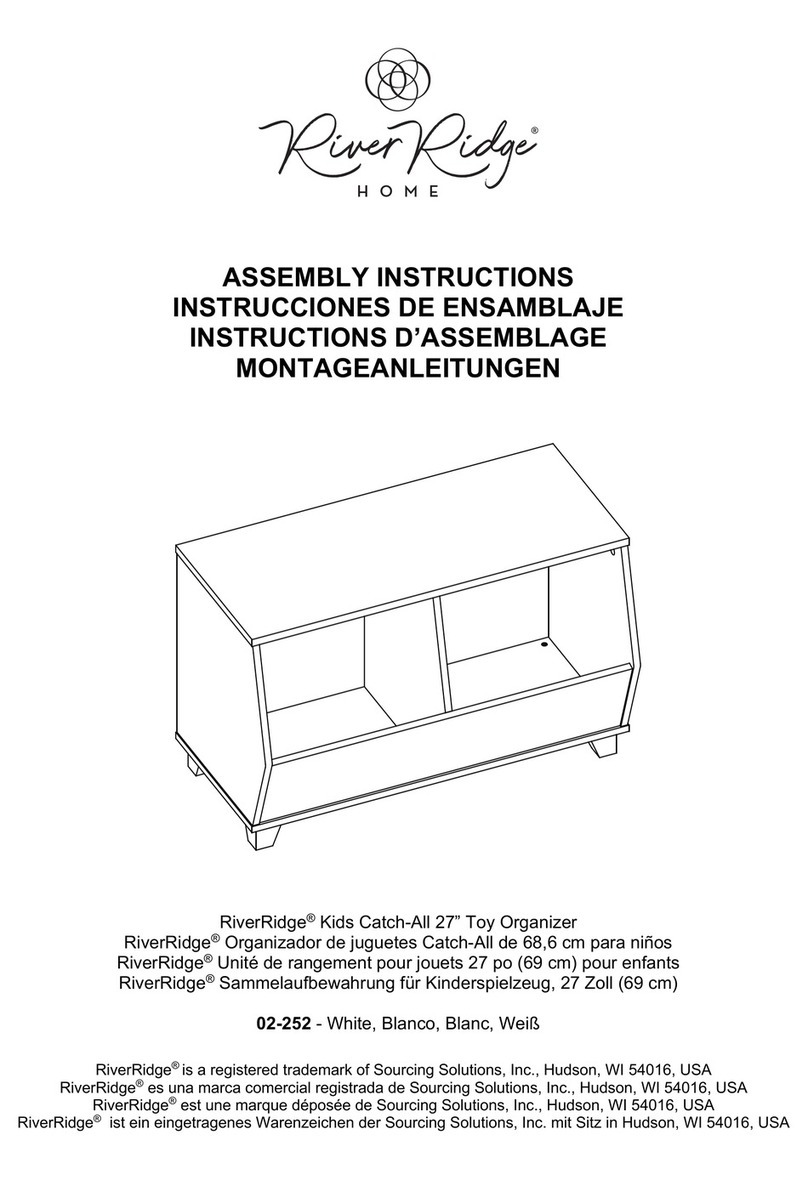
RiverRidge 02-252 Assembly instructions

RiverRidge

RiverRidge 02-252 Assembly instructions

DURAVIT LM 7880 Mounting instructions

DURAVIT

DURAVIT LM 7880 Mounting instructions

Novis CairMax user guide

Novis

Novis CairMax user guide

Next DECO 821260 Assembly instructions

Next

Next DECO 821260 Assembly instructions

Honey Can Do WRD-01271 Assembly instructions

Honey Can Do

Honey Can Do WRD-01271 Assembly instructions

manuals.online logo
manuals.online logoBrands
  • About & Mission
  • Contact us
  • Privacy Policy
  • Terms and Conditions

Copyright 2025 Manuals.Online. All Rights Reserved.