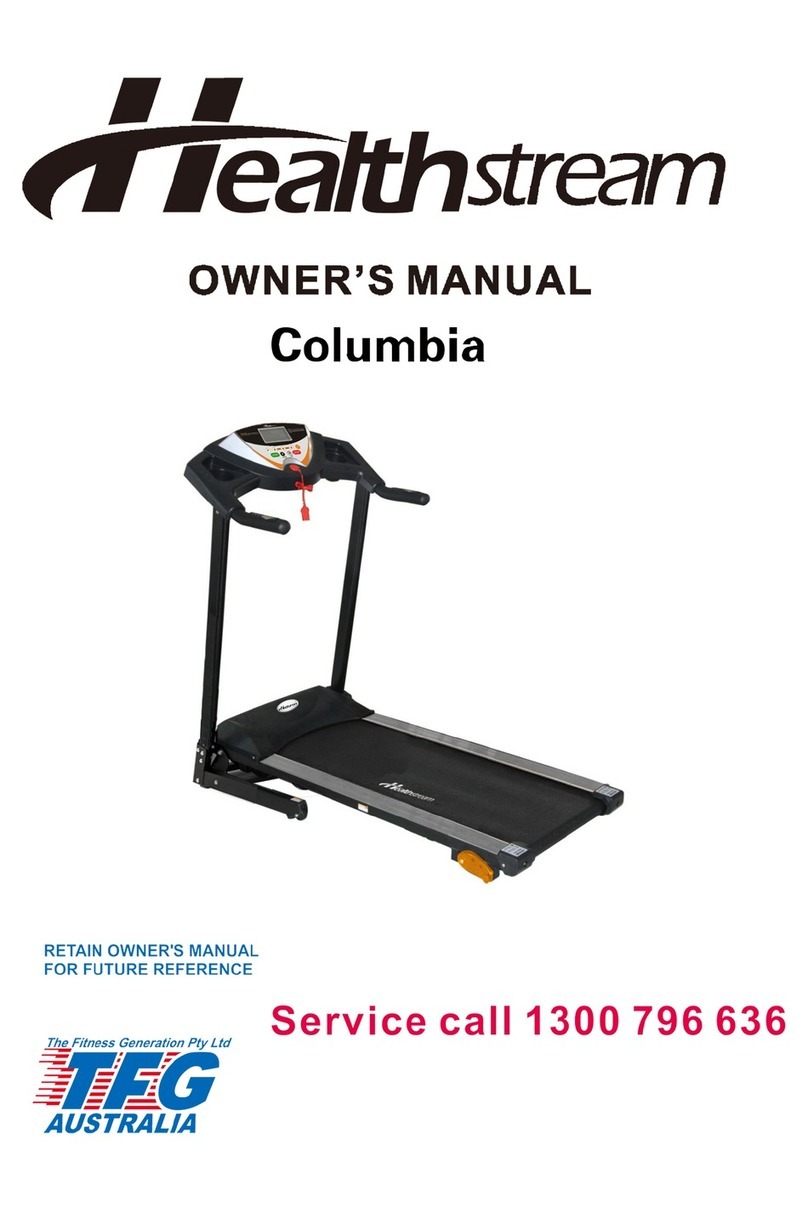
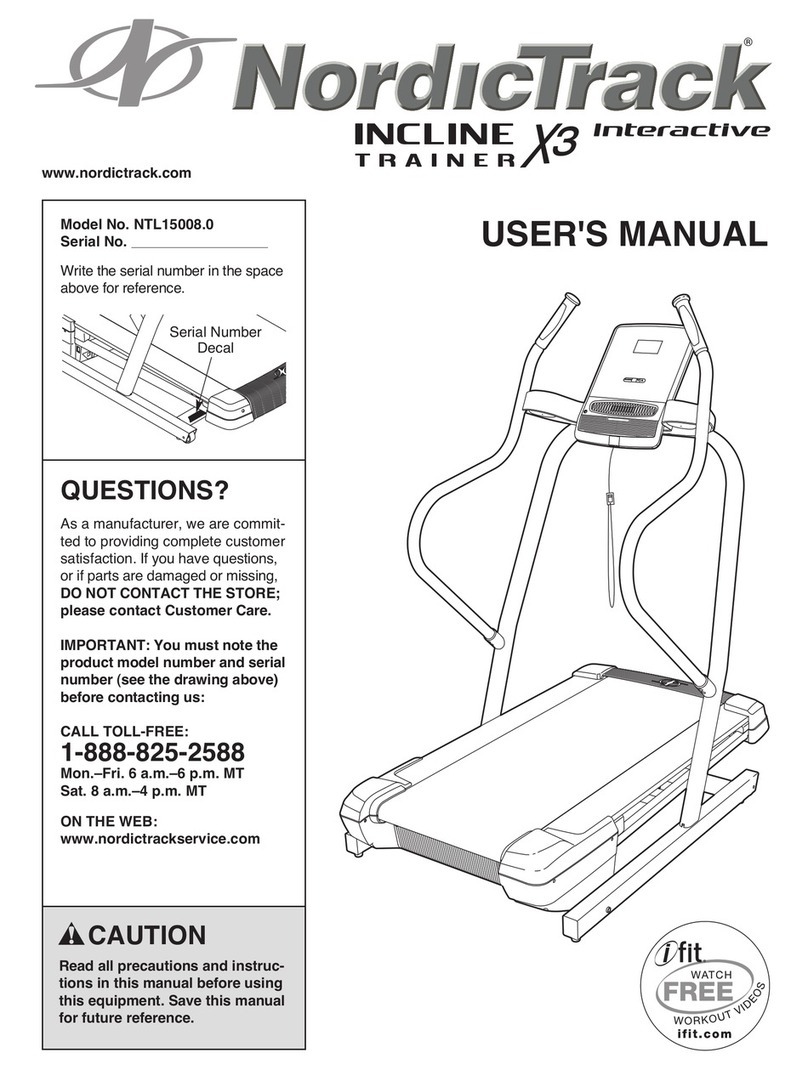
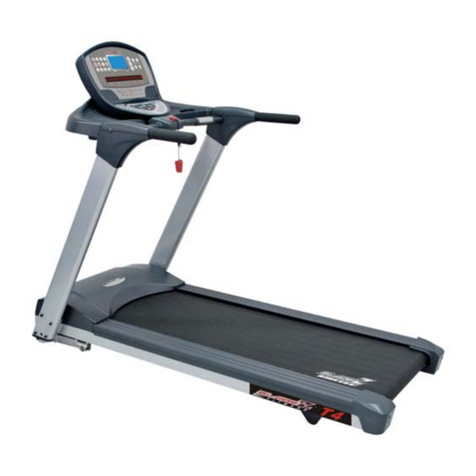
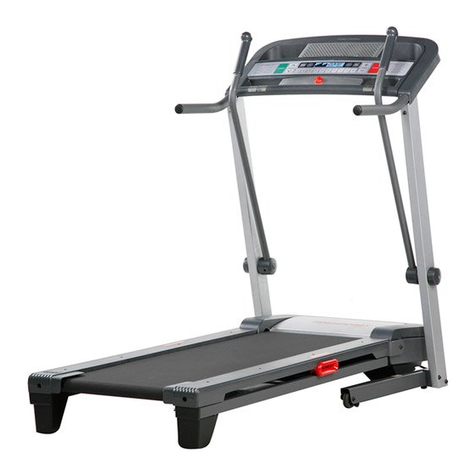
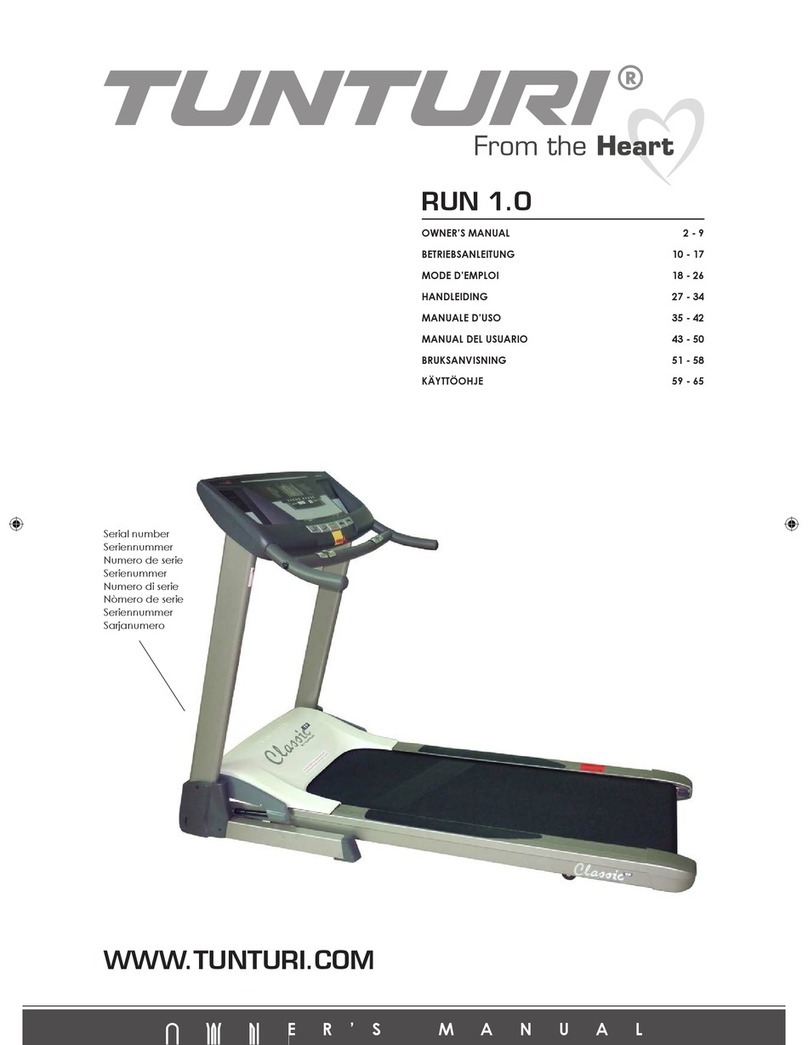
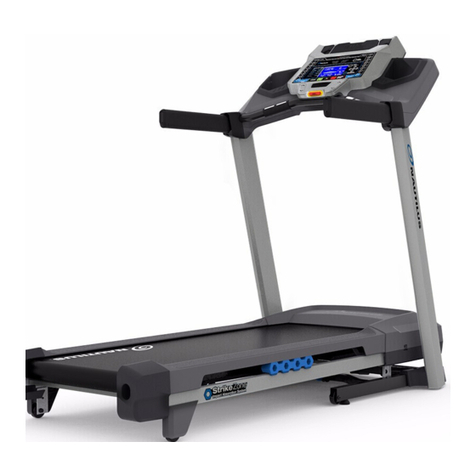
Healthstream T790 User manual

T790 Treadmill
1dmill
Customer Support Services
SERVICE MANUAL

T790 Treadmill
INTRODUCTION
HOW TO USE SERVICE MANUAL AND CONTACT CUSTOMER SUPPORT SERVICES
This service manual is applicable to Treadmill T790. Note: Information represents typical configuration and may differ
slightly from actual equipment. The Service Manual provides recommendations of safe and efficient approaches to
problem situations. This manual is separated into si sections.
INTRODUCTION
TABLE OF CONTENTS
Section Ⅰ
TROUBLESHOOTING GUIDES
Section Ⅱ
OPERATING CONSOLE
Section Ⅲ
“How To…” SERVICE AND REPAIR GUIDE
Section Ⅳ
ELECTRONIC OVERVIEW
WIRING BLOCK DIAGRAMS
WIRING DIAGRAM AND PART LIST
Section Ⅴ
PARTS IDENTIFICATION
Section Ⅵ
MISCELLANEOUS INFORMATION
Refer to TABLE OF CONTENTS for section topics.
When an operation problem occurs, refer to troubleshooting guides and diagnostic mode to isolate cause. When
applicable, guides are listed by problem symptom followed with suggestions of probable cause(s).
Once source of problem is identified, consult” How To…” guides for recommended repair procedures. “How To…”
sub-sections are organized by replacement part or assembly name. For convenience, sub-section lists recommended
“Tools Required” to complete specific function. Refer to PARTS IDENTIFICATION to identify proper name and number of
part to order for repair of equipment.
A reproducible FAX order claim form is given in COMMUNICATING BY TELEFACSIMILE for convenient ordering of
services parts.
To order, contact HS Customer Support Services.
Via FAX – 24 hrs./day, 7days/week.
Via telephone – Monday through Friday from 8:30 AM to 5:30 PM (GMT+8)
Via post – At address cited.
To speed HS Customer Support Services response to your needs, please provide the following information.
1. Model number
2. Serial number
3. Symptom of problem
4. Part name and number to order (if known)
Before installing part, review “How To…” and follow step by step procedures recommended to install parts safely and
efficiently. If you have questions or comments please telephone, FAX or write us. We are:
He lthstre m T iw n Inc. – CUSTOMER SUPPORT SERVICES
16-3, Zichiang 1st Road
Jhongli, Taoyuan 32063 Taiwan R.O.C.

T790 Treadmill
TABLE OF CONTENTS
SECTION I TROUBLESHOOTING GUIDE PAGE
ELECTRONIC PROBLEMS……..……….…………..…………………………………………………………
2
ELECTRICAL PROBLEMS……………..………………………………………………………..……………..
3
MECHANICAL PROBLEMS……………………………………………………….……………….…………...
4
OTHER PROBLEMS…….………………………………………………………………………………………
5
SECTION II OPERATING CONSOLE
OPERATING ……………………………………………………………...……………………...………………
2
OPERATING T790 CONSOLE……………..……………………………..……. ……………………………..
2
SETUP MODE……………………………. …………………………. ………………. ……………………… 7
NOTES……………………………………………………………………………………………………………
8
SECTION III HOW TO…REPLACE
RUNNING BELT AND DECK……….…………..……………………………………………………………….
2
ADJUST RUNNING BELT TRACKING………………………………………………………………………...
4
ADJUST RUNNING BELT TENSION…………………………………………………………………………..
5
MOTOR DRIVE BELT……………………………………………………………………………………………
6
DRIVE MOTOR…………………………………………………………………………………………………..
7
FRONT ROLLER…………………………………………………………………………………………………
8
REAR ROLLER…………………………………………………………………………………………………..
9
DECK CUSHION ………………………………………………………………………………………………...
10
INCLINE MOTOR………………………………………………………………………………………………...
11
MOTOR CONTROLLER…………………………………………………………………………………………
13
ALUMINUM SIDE LANDING………………………………………………………………………………. ….
14
INCLINE STRUCTURE………………………………………………………………………………………… 15
NOTES……………………………………………………………………………………………………………
16
SECTION IV ELECTRONICS OVERVIEW AND WIRING DIAGRAMS
T790 CONSOLE………………………………………………..…………………………….………………… 2
MOTOR CONTROLLER PCB…………………………………………………………………………..………
4
T790 BLOCK DIAGRAM….…………………………………………………………….……….…………….. 5
WIRING DIAGRAM (CE VERSION)………………………………………………..…………………...…….
6
PART LIST (CE VERSION)………………………………………………………………………………..…….
7
NOTES…………………………………………………………………………………………………………….
8
SECTION V PARTS IDENTIFICATION
EXPLODED DRAWING.…………………….…………………………………………….……………………..
2
PART LIST…………………………………………………………………………………………..…………….
5

T790 Treadmill
TROUBLESHOOTING GUIDE
SECTION VI MISCELLANEOUS INFORMATION
PREVENTIVE MAINTENANCE………………………………………………………………………………...
2
UNPACKAGING INSTRUCTIONS……………………………………………………………………………..
3
INSTALLATION INSTRUCTIONS………………………………………………………………………………
4
LIFE FAX……….…………..……………………………………………………………………………………..
9
NOTES……….……………………………………………………………………………………………………
11

T790 Treadmill
Section 1
1
Section I
SECTION I
TROUBLESHOOTING GUIDE

T790 Treadmill
TROUBLESHOOTING GUIDE
Section 1
2
ELECTRONIC PROBLEMS
Code Possible C use Recommended Action
Err3
Safety tether key error
a. Safety tether key not inserted
b. Human factor – e.g.
Something may be put inside
the console
c. Safety key micro switch
defect
d. Safety key micro switch
terminal inside console
looses
I. Insert safety tether key into monitor
II. Remove the thing that is inserted
III. Replace console
Err5
Incline motor error
a. Time delay problem
b. Incline motor sensor cable
has problem
c. VR of the incline motor
sensor is defective
d. Incline motor is damaged
e. The incline motor is
over-loaded or over-heated
a to c :
1. Do calibration
2. Check all wire connections
3. Replace incline motor
4. Replace controller
d. Replace incline motor
e. Eliminate human factors
Err6
Internal memory error
Console is not able to write and
read the internal memory
Turn off and on again to clear Error 6
Err10, 11
Communication error
The motor controller and console
lose connection. It will happen if
the signal cable is loose.
Insert the signal cable again
If it will happen, replace the signal cable
Err20
Over current error
Abnormally high current flows to
the motor controller
Cool the motor and motor controller for around 30
minutes and check the deck and belt lubrication
Err21
Over heat error
The motor controller is over
heated
Cool the treadmill more than 1 hour and try again. Check
the deck and belt lubrication
Err22
High input voltage
The AC input voltage is too high
to operate the treadmill normally
Check the AC input voltage
Err23
Low input voltage
The AC input voltage is too low to
operate the treadmill normally
Check the AC input voltage

T790 Treadmill
TROUBLESHOOTING GUIDE
Section 1 3
Section I
ELECTRICAL PROBLEMS
Problem Possible C use Recommended Action
Power not on Turn the switch to the ON position
Line cord damaged Replace the line cord
Line cord improperly seated in
socket
Inspect power connection at wall outlet and at machine for
proper contact
Insufficient power source Plug treadmill into a dedicated circuit
Power switch damaged Change power switch
The metal plate of micro switch is
out of the off power bracket
Set the metal plate back to the right position
Micro switch damaged Change micro switch
No display on the
console
Loose or damaged cable
connections
a. Check if all connection cables are well-connected
b. Replace connection cables
Can’t set power
off
Micro switch damaged Change micro switch
Console failure Change console Treadmill stops
une pectedly Controller failure Change controller

T790 Treadmill
TROUBLESHOOTING GUIDE
4 Section 1
MECHANICAL PROBLEMS
Problem Possible C use Recommended Action
Running belt slips a. Running belt not tight enough
b. Drive belt not tight enough
a. Adjust running belt tension
b. Adjust drive belt tension
Running belt
hesitates when
stepped on
a. Insufficient lubrication a. Apply silicone lubricant
Running belt noise a. Running belt too tight
b. The connection part of the
running belt touch the rollers
c. Running belt is worn off
d. Something unknown on the
front or rear roller
a. Adjust running belt or change a new one
b. Change running belt
c. Change running belt
d. Clean the thing out
Running belt is
traveling beyond
the tracking limits
a. Running belt needs to be
re-tensioned or tracking needs
adjustment
b. Worn running belt or user
pushing belt
a. Refer to belt tensioning or tracking adjustment
procedure in operation or service manual
b. Center running belt according to belt centering
technique. See How To… Adjust The Running Belt
Tension.
Drive belt noise a. Drive belt doesn’t align to front
roller or motor pulley
b. Drive belt is worn
c. Front roller and motor are not
parallel
a. Make sure the alignment of drive belt and front roller and
motor pulley
b. Check if drive belt is worn. If yes, change drive belt
c. Make sure motor and front roller alignment parallel
Roller noise a. Faulty roller bearings
b. Roller is damaged by outside
force
Replace roller
Motor noise a. Motor and front roller are not
parallel
b. Motor defect
a. Make sure motor and front roller alignment parallel
b. Replace motor
OTHER PROBLEMS
Problem Possible C use Recommended Action
Display reads a
continuous heart
rate
RF interference Move machine to a different location
No chest strap
detected (if
equipped)
a. Chest strap sensors not
making good contact with
body of user.
b. User is out of monitoring
range.
c. Loose connection at receiver.
d. Faulty chest strap.
e. Faulty receiver.
a. Adjust chest strap and moisten sensors to make better
contact with skin.
b. Move within 3 ft (1 meter) of receiver.
c. Check connection on receiver.
d. Replace chest strap.
e. Replace receiver in the console board.

T790 Treadmill
Section 2 1
Section II
SECTION II
OPERATING CONSOLE

T790 Treadmill
OPERATING T790 CONSOLE
2 Section 2
DISPLAY VALUES
Displ y Resolution R nge Increment Displ y window
PULSE XXX 40-240 1 Left top LED window
ELEVATION (%) XX.X 0.0-15.0 1% Left bottom LED window
DISTANCE (Miles) XX.X 00.1 – 99.0 0.1 Right top LED window
DISTANCE (Km) XX.X 00.1 – 99.0 0.1 Right bottom LED window
SPEED (Miles/H) XX.X 00.5 – 11.0 0.1 LED window
SPEED (Km/H) XX.X 01.0 – 18.0 0.1 LED window
TIME XX:XX 00:01 – 99:00 00:01 LCM
CALORIES XXX 1-999 1 LCM
FUNCTION KEYS
H. Quick st rt
or St rt
J. P use
or Stop
K. Speed
djustment
buttons
G. Elev tion
djustment
buttons
I. ENTER
L. 0~9 numbers or
Preset progr ms
C. F n on/off
B. Spe ker on/off
A. Service required sign l
F. Mess ge center
D. Pulse indic tor E. Dot m trix
displ y window

T790 Treadmill
OPERATING T790 CONSOLE
Section 2 3
Secti
on II
TWO WORKOUT OPTIONS:
M nu l mode (Quick st rt):
1. Turn power on
2. Use START button to activate treadmill in manual mode. Starts treadmill at 1.0 Km/H and 0% grade
3. During workout manually adjust speed and or elevation
4. Stop treadmill at any time.
Pre-set progr m mode:
1. Turn power on
2. Select one of pre-set programs
3. During workout treadmill will adjust speed and elevation according to custom program settings. User will still be
able to adjust elevation or speed during workout. Program will scale accordingly.
4. Stop treadmill at any time to end the workout.
DISPLAYS
1. Dot matri will show heart shape change size from small to big. Keep repeating.
2. LCM display message “SELECT WORKOUT or PRESS START” in two segments. Do not-scroll.
3. At the same time, green LED lights for 0-9 will light up one at a time…slowly to show buttons should be used to
select program.
4. If user selects one of programs, go to pre-set program display logic.
5. If user presses START button, LCM will display “QUICK START” and dot matri display will count down
3…2…1…GO
6. Treadmill will activate at 0% grade and 1 Km/H
7. During workout, Calories, Pulse, Distance, Speed will show in the four 7 segment LED display. Time will show in
the LCM.
8. During workout in quick start mode, dot matri will show speed, one column for one minute. Last column shows
current speed.
9. During workout, if user presses UP or DOWN key, LCM will change from Time to Elevation and show the elevation
old value being changed to the new value. Once the change is made, the view will return to the TIME display.
10. During workout, if user presses FAST or SLOW key, the speed will change.
11. During workout, user may also use the direct speed control keys: 0-9. E ample: change speed from 3.4 Km/H to
12 Kph. Just press 1 and 2. And speed will adjust to 12 Km/H. Dot matri will show new speed. After two
seconds, treadmill speed will adjust.
12. During workout when STOP button is press, the LCM display will show “PAUSE” and the Dot matri window will
count down from 3:00 minutes. During this pause mode, only START and STOP buttons will function. If START
is pressed during the pause mode, then workout resumes. If STOP is pressed during the pause mode, then
workout is stopped.
13. When treadmill is stopped (not paused), total values for calories, distance and time and average speed will be
displayed on the LCM – scroll data twice. Pulse will continue to pick up signal and show the current pulse beat per
minute. Distance window will show total distance. Speed will show 0. Elevation will show actual.

T790 Treadmill
OPERATING T790 CONSOLE
4 Section 2
14. After the total values are displayed twice slowly, the display will go to the beginning and ready treadmill for the ne t
workout. If during the display of totals, STOP is pressed, display will go directly to the beginning and ready
treadmill for the ne t workout.
Pre-set progr m displ y logic:
1. When one of the numerical key is pressed before workout, it means program selection. The name of the program
will display on the LCM and the program profile will display on the dot matri . The green LED light will be on for the
number button pressed.
2. If ENTER is pressed, it means that the program is selected.
3. LCM will display “ “. The difference being, any number value can be displayed on the dot matri while te t is still
displayed on the LCM. Value on the dot matri should flash to indicate default number can be changed.
4. LCM request for age information. If two seconds after number is entered, but ENTER is not pressed, then will
display “ENTER to confirm”. If user pressed ENTER automatically after value input, then this message does not
need to display. (Two HRC program and fitness test only)
5. LCM request for workout duration. If two seconds after number is entered, but ENTER is not pressed, then will
display “ENTER to confirm”. If user pressed ENTER automatically after value input, then this message does not
need to display.
6. LCM request for ma speed or ma elevation. If two seconds after number is entered, but ENTER is not pressed,
then will display “ENTER to confirm”. If user pressed ENTER automatically after value input, then this message
does not need to display.
7. LCM display “Press START to begin….”
8. If user presses START button, LCM display “GET READY” and dot matri display will count down 3…2…1…GO
9. Treadmill will activate speed and elevation based on the pre-set program.
10. For programs, time will count down during workout in the LCM display.
11. During workout, the dot matri will display the workout profile. Since HS preset program has 15 segments while
dot matri has 16 columns, the entire program profile can be displayed in whole. Therefore, the current workout
segment will flash to indicate progress in workout.
12. During workout, if user changes the pre-set speed or elevation, the remaining program will scale up or down
accordingly.
LED displ y logic:
1. Red LED light will light up only when fan is on. If fan is off, light will not shine.
2. Red LED light will light up only when voice is on. If voice is off, light will not shine.
3. Red LED light will light up for tool indicating service is required. Once service is done, the LED light can be turned
off in the service mode.
4. Red LED light for heart will flash based on pulse rate to indicate that pulse information is being picked up. If no
pulse transmission, LED will not light up.
5. Before workout (during key entry) the number keys are used to select workout and also to enter values. During
this period, ENTER is used to confirm value input. Before ENTER is pressed, user may change value.
6. During workout, number keys = direct speed control or one touch speed control. No need to press ENTER to
confirm. If user pressed 9, then speed will change directly to 9.

T790 Treadmill
OPERATING T790 CONSOLE
Section 2 5
Section II
D
irect Speed Control logic (s fety consider tions) :
During workout, when direct speed key is pressed….to make sure that user knows that button he has
pushed…no surprises or buttons pressed by mistake….
The dot matri will display “speed” and “value” value for the new speed in big size and speed in mid size.
This will show user that he has increased/decreased speed. If he wants to make correction, he can do so
quickly before the treadmill speed change takes place.
When user presses 1, assume that it is 10. Only if after two seconds no other number is pressed, then it
means 1 Km/H or 1 Mi/H.
Two seconds display of new speed on the dot matri . If no other change, then the new speed will be
entered into the speed display and the treadmill will adjust speed accordingly.
If user pressed the button by mistake, he has two seconds to change his mind and change the speed to a
slower number.
We have to test whether the two seconds is appropriate time lag…enough time for safety reaction, but not
too slow that most people get bored.

T790 Treadmill
OPERATING T790 CONSOLE
6 Section 2
DURING WORKOUT:
Speed or elev tion djustments -
For elevation adjustments use UP or DOWN. For speed adjustments use FAST and SLOW or direct speed control
buttons.
or stop the tre dmill -
If stop is pressed during workout, the program is suspended. Program is paused and the time counts down from three
minutes in the center display window. During pause no other keys other than STOP and START are active. If user
presses STOP during pause, program ends. If user presses START during pause (within three minutes), then program
proceeds where it was stopped. After three minutes, program automatically ends.
LCM displ y functions:
During programming or key entry – LCM will give instructions to let user know how to set up program
During workout – will show time count down for those preset program that have time setup (speed programs, elevation
programs, and HRC programs = 6) and show time count up for those without time (quick start, Target by time, distance,
and calories, Fitness test = 5)
During workout – calories count up
If direct speed is activated during workout – LCM will show “Change speed….”
Also during workout – LCM will show messages to guide you throughout your workout
At the end of workout – LCM will provide workout results
Also, any service related messages is also displayed via the LCM
Dot m trix displ y functions:
Beginning – show heart change size (indicated HRC program)
During program selection – show program profile or visual indication of program to select
During workout –
Speed programs will show speed program profile
Elevation programs will show elevation program profile, target time, distance and calories
HRC programs – show pulse in beats per minute in big numbers
Fitness test – show level of e ertion
ELEVATION FUNCTIONS: For s fety re sons, elev tion must be m nu lly djusted t ll time. At no time will
tre dmill utom tic lly djust elev tion except in progr m.
1. When power on, treadmill will not check or adjust position of elevation.
2. During programming, elevation up and down keys will not function.
3. During workout the up and down keys will function
4. Pause condition – elevation will not change.
5. After stop, elevation will stay where it is. Treadmill will not automatically return to 0% grade.
6. When safety key is pulled, all movement must stop. Elevation will not automatically lower to 0% grade.
7. After safety key is returned to place, elevation will not automatically adjust to 0%.
8. For user friendly, user must be able to adjust elevation up or down even when treadmill is not running.
9. All pre-set programs at the last segment will bring elevation to 0% grade. So that when program is finished,
elevation is already at 0% grade.

T790 Treadmill
OPERATING T790 CONSOLE
Section 2 7
Setup Mode Rem rk: FAST=SPEED+
SLOW=SPEED-
Version number
Total time
Total mileages
(KM/ML)
All LEDs off
SLOW
SLOW
SLOW
SLOW
FAST
FAST
FAST
FAST
START
START
Clear lubrication message
All LEDs on
KM/ML toggle
Initial state
SETUP MODE (Press STOP to Initial state)
DIAGNOSTIC MODE( Press STOP to Initial state )
AUTO
Calibration mode
START
Run calibration
AUTO
CLEAR LAST ERROR
SLOW
FAST
Last error START
START
Clear lubrication message
FAST+STOP
SLOW
+STOP
Section II
START

T790 Treadmill
NOTES
8 Section 2

T790 Treadmill
Section 2 1
Section III
SECTION III
HOW TO …
SERVICE AND REPAIR GUIDE

T790 Treadmill
How To… Repl ce The Running Belt nd Deck
Tools Required: Allen key set, Phillips screwdriver, tape measure, rubber hammer, and open end wrench set. (All
fasteners are metric. Make sure that you have metric tools.)
2 Section 3
REMOVAL AND INSTALLATION
1. At the power switch, turn OFF the
unit, and then unplug the power
cord at the wall outlet.
2. Remove the front motor cover
screws (8) and front motor cover,
then remove the motor cover screws
(4) and washer flat (4) of the motor
cover, lift off the motor cover.
3. Loosen the motor belt tensioning
screws (2), loosen the four mounting
screws securing the motor to the
bottom of the frame.
NOTE: To remove front roller
e sily, rele se motor belt vi
loosen motor belt tensioning
screws (2) nd the four mounting
screws.
4. Remove the end caps by removing
end cap bolts (4) and washer flats
(4) from each end cap.
5. Remove the fi ing (R) bolts (2), side
landing fi ing(R) and then side
landing assy.
6. Slide the e trusions.
7. Remove the deck guards (2) by
removing the screw2 (6) and set
aside to be remounted on the new
deck.
8. Remove the rear roller tensioning
bolts (2), flat washers (2) and star
washers (2).
9.
Remove the rear
roller.

T790 Treadmill
How To… Repl ce The Running Belt nd Deck - Continued
Tools Required: Allen key set, Phillips screwdriver, tape measure, rubber hammer, and open end wrench set. (All
fasteners are metric. Make sure that you have metric tools.)
Section 3 3
Section III
REMOVAL AND INSTALLATION –
Continued
10. Remove the front roller long screw,
short screw, and curve washer from
the front roller mounting brackets, and
then lift the front roller out of the
running belt. If necessary, remove the
motor drive belt.
12. Remove the deck screws (10) and
washers (10), then lift out the deck.
13. Remove the running belt and discard.
14. Install a new running belt and a new
deck in reverse order. Re-tension the
motor drive belt to 85~95 lbs. Do not
over tighten belt.
NOTE: when djusting motor belt
tension, the four mounting screws
should be loosen, nd then djust
motor belt tensioning screws (2) to
m ke sure the motor drive belt to
85~95lbs.
15. Proceed to the following page for
proper belt stretching and belt tracking
adjustment.
16. Install the deck and running belt in the
reverse order

T790 Treadmill
How To… Adjust The Running Belt Tr cking
Tools Required: Allen key set. (All fasteners are metric. Make sure that you have metric tools.)
4 Section 3
1. After the treadmill has been installed and
leveled, the belt must be checked for confirm
proper tracking. First, plug the power cord
into an appropriate outlet and turn the
treadmill ON.
2. Press the QUICK START button then increase
speed to 18.0kph motor speed using the UP
arrow.
3. Tighten the running belt by turning the running
belt tension bolts before adjusting the belt
alignment.
If the running belt has moved to the RIGHT,
turn the RIGHT tension bolt 1/4 turn
CLOCKWISE and the left tension bolt (A) 1/4
turn counterclockwise to start the running belt
tracking back to the center of the rear roller.
If the running belt has moved to the LEFT,
turn the LEFT tension bolt (A) 1/4 turn
CLOCKWISE and the right tension bolt 1/4
turn counterclockwise to start the running belt
tracking back to the center of the rear roller.
4. Repeat this adjustment until the running belt appears centered. The belt should be equal distance (B)
on both sides of the rear roller.
5. Allow the unit to operate for several minutes to see that the belt remains centered.
NOTE: During the djustment bove, DO NOT exceed one full turn of the djusting screws in either
direction.
Other manuals for T790
1
Table of contents
Other Healthstream Treadmill manuals

Healthstream
Healthstream HC10TVTM User manual
Healthstream
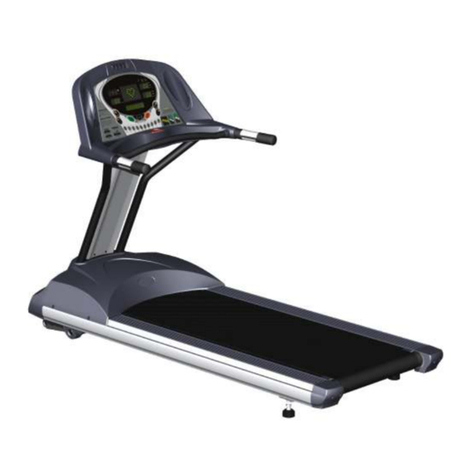
Healthstream T790 User manual
Healthstream
Healthstream Opal User manual
Healthstream
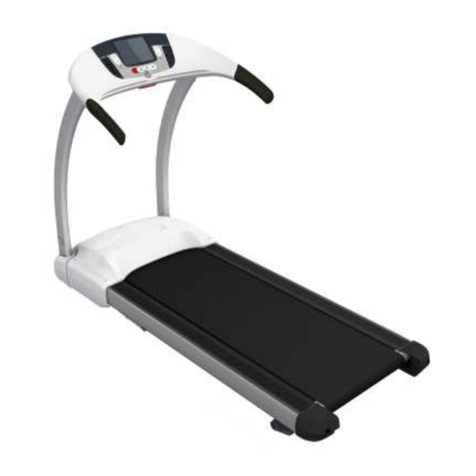
Healthstream T401 User manual
Healthstream
Healthstream T650 User manual
Healthstream
Healthstream Emerald User manual
Healthstream
Healthstream Aurora User manual

Healthstream
Healthstream T801 User manual
Healthstream
Healthstream Avenger User manual

Healthstream
Healthstream HC10TM User manual
