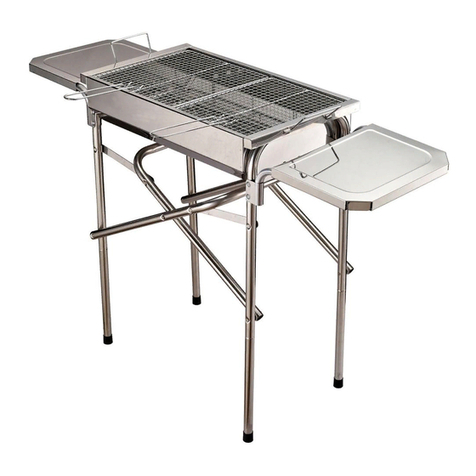
HEATLIE BARBECUESHEATLIE BARBECUES
98 A-0020-MAN Heatlie BBQ Instruction Manual V8 Updated Feb 2022A-0020-MAN Heatlie BBQ Instruction Manual V8 Updated Feb 2022
This Barbecue is only to be used in an above ground, open air situation
with natural ventilation.
Heatlie Barbecues are not for use indoors. Please refer to AS5601 for
specific installation and ventilation regulations.
If you are using the Barbecue within a structure, please ensure that you
are complying with at least one of the following positioning options:
• An enclosure (Figures F2 and F3);
• Within a partial enclosure that includes an overhead cover and more
than two walls, with the following also applying (Figures F4 and F5):
(i) At least 25% of the total wall area is completely open and unrestricted
(ii) At least 30% of the remaining wall area is open and unrestricted;
• In the case of balconies, at least 20% of the total of the side, back and
front wall areas are to be open and unrestricted, and remain as such.
NOTE: A door, blinds, or window, is not to be considered a permanent
opening.
POSITIONING
YOUR HEATLIE
BARBECUE IN
AN OUTDOOR
AREA
ASSEMBLY
PROCEDURE
Heatlie barbecues need to be kept under a weather proof cover.
Assembling the legs, lid and accessories
Instructions follow of the assembly of Heatlie BBQ accessories. Examine
only those instructions appropriate to the product/s purchased.
Remove contents of Leg Kit Box.
To secure wheels on wheel leg kit:
1. Place the wheel on the axle
2. Place 1 black nylon washer on axle
3. Pass axle through hole at the bottom of the wheel leg so the axle
thread is protruding from the inner side of the leg
4. Place the M10 (small) washer on the axle
5. Screw on the nylock nut with the nylon on the external side
6. Tighten nut to required tension using a spanner
7. Repeat the process for the other wheel
NOTE: If Warming Drawer is being used, please refer to the Warming
Drawer assembly section before proceeding as this needs to
be added to the barbecue before attaching the legs.
8.1 Assembling the legs
Two people are required to assemble the legs. Thumb screws do not
need to be completely removed - DO NOT MISPLACE. Secure thumb
screws back into the Barbecue when legs have been removed.
8.1.1 Assemble the Wheel Leg End first. With one person standing at
the control end of the Barbecue undo the thumb screws and lift
the Barbecue. The other person inserts the Wheel Leg End.
8.1.2 Place the end of the Barbecue on the ground and repeat the
process at the other end.
8.1.3 Tighten the thumb screws on the stub legs.
8.2 Warming Drawer
If you have a mobile Barbecue:
8.2.1 Ensure the legs are not inserted into the Barbecue top.
8.2.2 Turn the Barbecue upside down and place on a smooth surface
so the Barbecue is not damaged.
8.2.3 Remove the galvanised base plate by removing the tek screws
with a spanner
8.2.4 Turn Barbecue upright and place on ground.
8.2.5 Remove the drawer from the warming drawer frame.
8.2.6 Insert the wheeled leg into warming drawer frame on the same
side as the control end of the Barbecue.
8.2.7 Insert the other leg in the opposite side of the Warming
Drawer frame.
8.2.8 With 2 people, place the Barbecue on top of the legs and
warming drawer, inserting the legs into the Barbecue body.
8.2.9 Tighten thumb screws on the Barbecue.
8.2.10 Insert the drawer into the front of the Warming Drawer frame.
FIGURE F1 - OUTDOOR AREA - EXAMPLE 1
FIGURE F4 - OUTDOOR AREA - EXAMPLE 4
FIGURE F5 - OUTDOOR AREA - EXAMPLE 5
30 percent or more in total
of the remaining wall area is
open and unrestricted
30 percent or more in total
of the remaining wall area is
open and unrestricted
FIGURE F3 - OUTDOOR AREA - EXAMPLE 3
Both ends open
FIGURE F2 - OUTDOOR AREA - EXAMPLE 2
Open side at
least 25% of
total wall area
Open side at
least 25% of
total wall area


