manuals.online logo
Brands
  1. Home
  2. •
  3. Brands
  4. •
  5. hernest
  6. •
  7. Plumbing Product
  8. •
  9. hernest H200016 User manual

hernest H200016 User manual

USER MANUAL
1
Caution
Please consu lt the professionals before installation or repairing. The company takes no liabilities for any damage or
injuries that occur during the installation of the pipes, floor, wall and tub.
Thank you for shopping with Hernest, please read this user manual thoroughly for your full under-
standing, installing, and application of the product. Please have this user manual well-reserved
for future reference.
Before Installation
Check the package and ensure that all parts are included. If any part is missing or damaged, please contact us.
Do not disassemble the main body, as it has been installed & commissioned correctly & precisely before leaving
the factory.
Shut off the main water supply before the installation.
Do flush the water supply lines to remove any dirt and debris before installation(IMPORTANT).
Make sure to connect the hot/cold inlet pipe correctly. If standing in front, usually the hot water pipe connects to
the left and the cold water pipe to the right.
Check for leaks and make sure every joint is safely sealed after the installation,
Turn on the water supply and flush the water pipes for 3 minutes to make sure it works well before putting it
into use.
SKU:H200016
Single Hole Deck Mounted Faucet
2
Accessory List
①
②
③
④
①
③
②
④
⑤
⑤
⑥
⑦
⑧
⑥
⑦
⑧
Main body
Faucet base(built-in)
Rubber O ring
Thread pipe
Rubber cushion
Big nut
Water supply line
Water supply line
NOTES:
Make sure the installation holes are in the right size.
Install the lavatory faucet as per drawing.
Connect the main body and water supply pipe with the water inlet pipe.
3
Installation Steps
3Install the O ring to the bottom of the
faucet, then put the threaded pipe on
the red inlet hose and connect it to the
faucet.
1 2
Please flush the water pipe for at least 2
minutes before installation to avoid
impurities interference, and supply hot
and cold water from angle valve.
Connect the red inlet hose②into the
main body of the faucet① by following
the hot and cold mark and tighten it.
4Connect the blue inlet hose②to the
faucet body①and tighten it. then
tighten the thread pipe④to the bottom
of the faucet.
5Connect the inlet hose②and the
threaded pipe④to the tap through the
mounting hole, adjust the direction of
the tap. Put the Gasket⑤ (a is up, b is
down) onto the threaded pipe and
install the plastic nut on the thread tube
④by tightening it, to keep the faucet
fixed and avoid rotation.
6Connect the inlet hose②to the angle
valve(note: the red hose connects to the
hot water angle valve, while blue to the
cold) by tightening them. Turn on the
angle valve, check the connections of
inlet hose②, the angle valve and the
main body of the faucet①for leakage,
Finishing the installation.
①
②
②
② ②
③
④
⑤
⑥
Hot Cold
4
Usage
How to operate the handle
Raise the handle lever upward to turn on water, push down to turn off;
Turn the handle lever to the left to increase hot water flow for higher water temperature, and lower the water
temperature by operating reversely.
For more detail information, please check out www.hernest.com
It will be our pleasure to have your visit.
After-Sale Service
If you have any issues with the product, please feel free to contact us online or by phone for customer service.
Phone No.: (909) 430-1666
Service E-mail: [email protected]

Other hernest Plumbing Product manuals

hernest H200020 User manual

hernest

hernest H200020 User manual

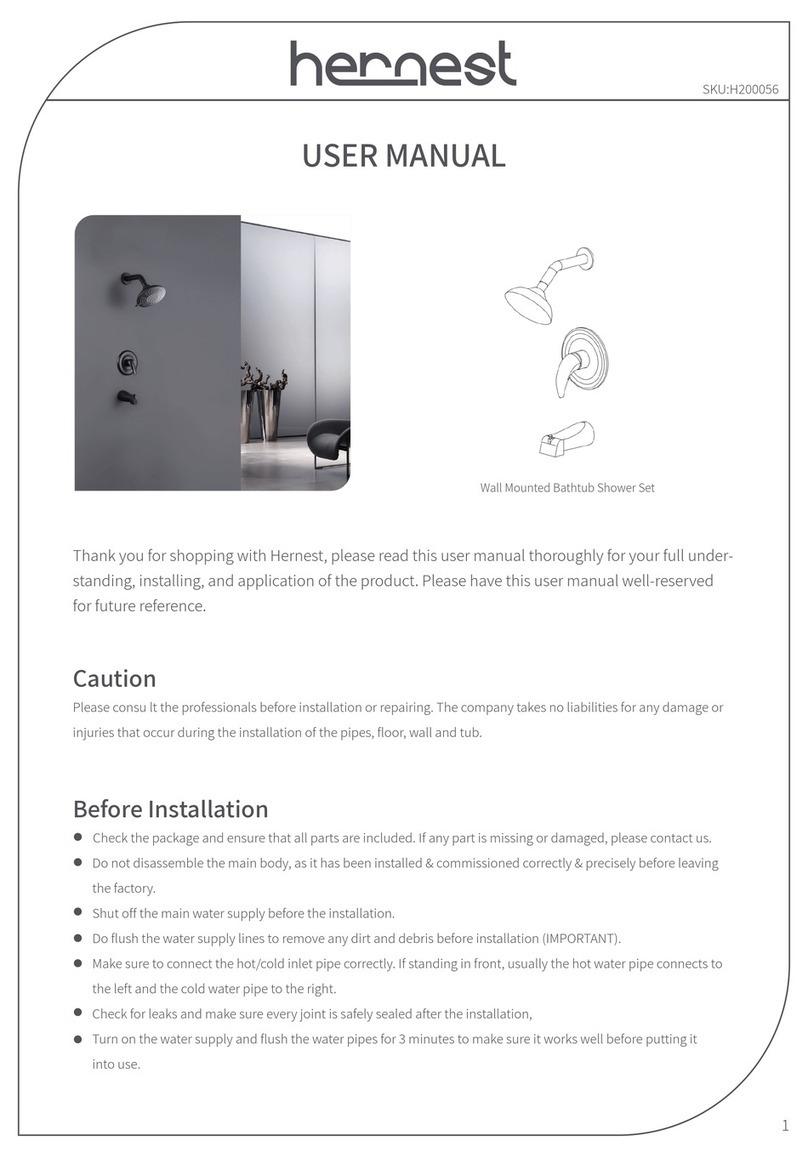
hernest H200056 User manual

hernest

hernest H200056 User manual

hernest H200202 User manual

hernest

hernest H200202 User manual

hernest H200124 User manual

hernest

hernest H200124 User manual

hernest H200037 User manual

hernest

hernest H200037 User manual

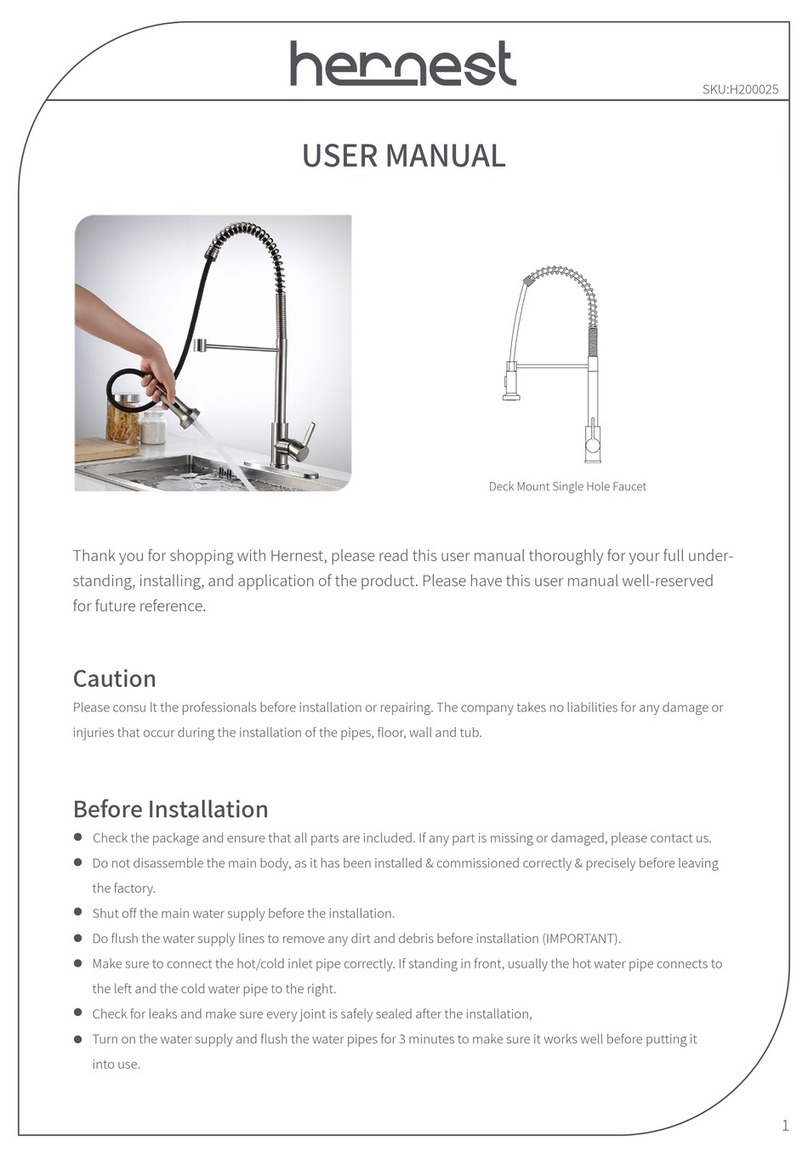
hernest H200025 User manual

hernest

hernest H200025 User manual

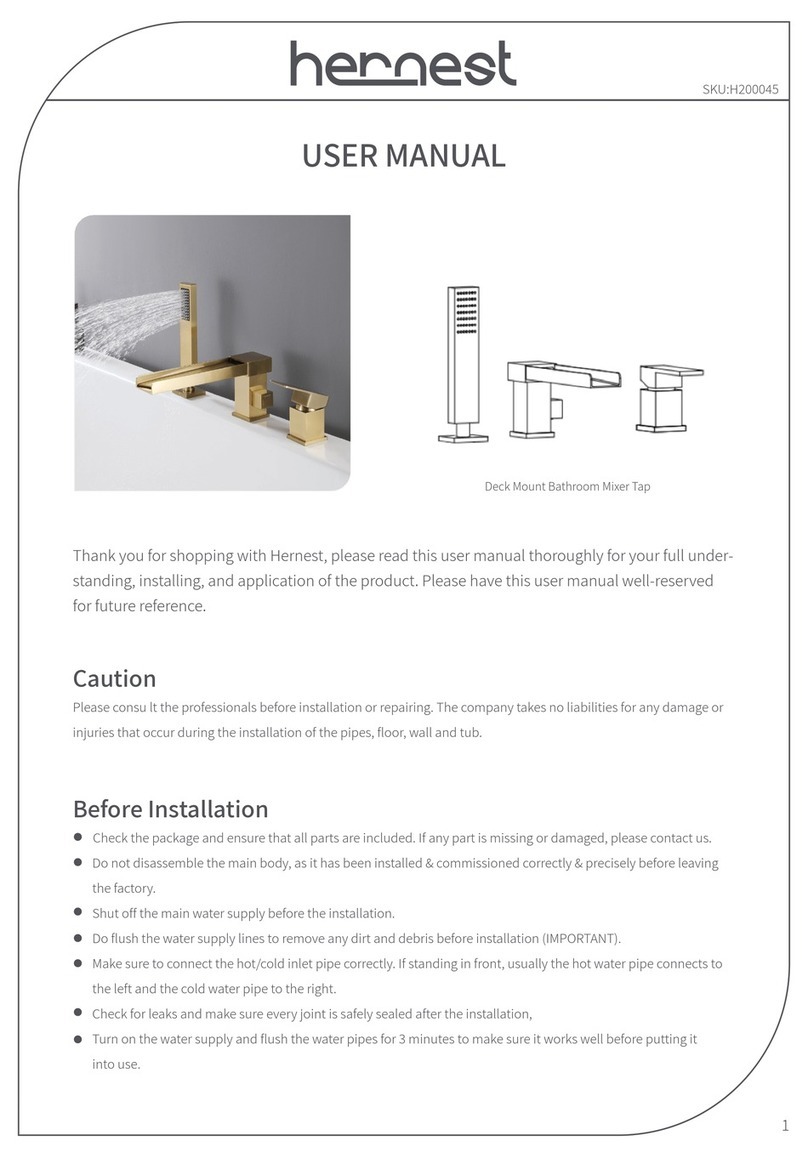
hernest H200045 User manual

hernest

hernest H200045 User manual

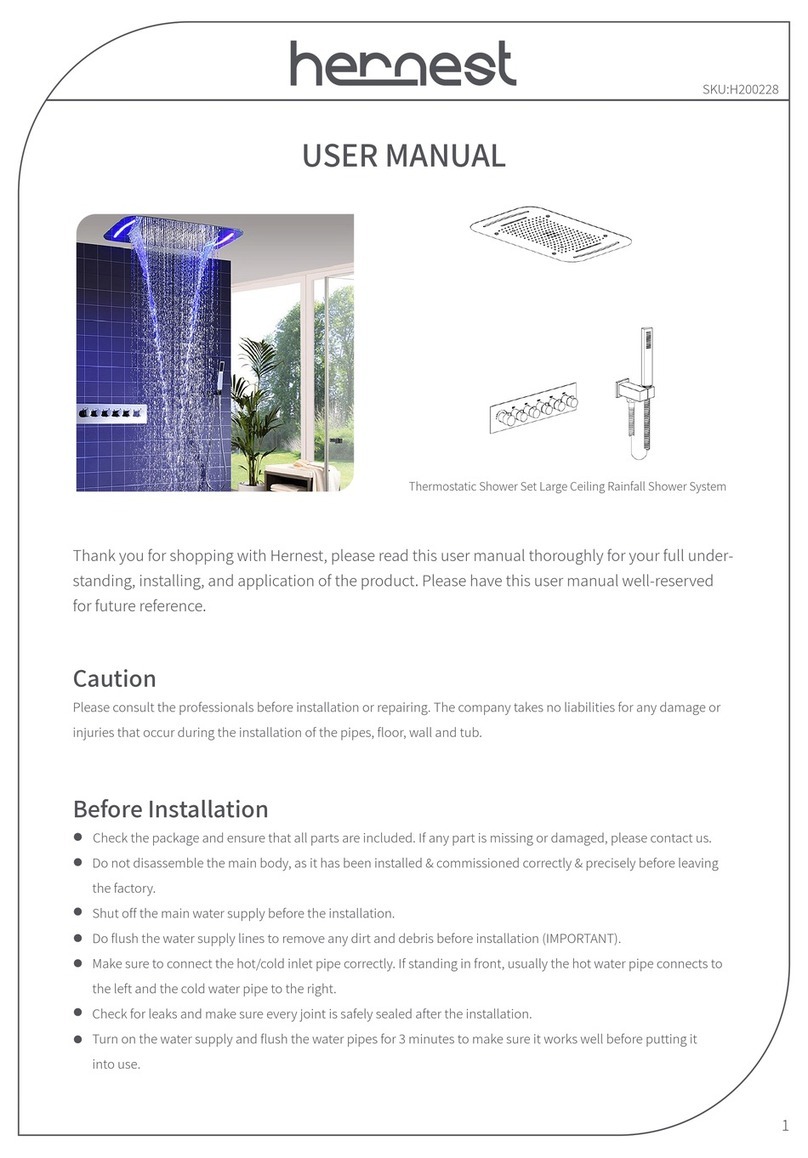
hernest H200228 User manual

hernest

hernest H200228 User manual

Popular Plumbing Product manuals by other brands

Kohler K-4108BR manual

Kohler

Kohler K-4108BR manual

Hans Grohe Croma Select S Vario 26803400 Assembly instructions

Hans Grohe

Hans Grohe Croma Select S Vario 26803400 Assembly instructions

Sanela SLS 01AK Instructions for use

Sanela

Sanela SLS 01AK Instructions for use

Axor Citterio 39010 Series Instructions for use/assembly instructions

Axor

Axor Citterio 39010 Series Instructions for use/assembly instructions

Hans Grohe Metris M71 320 2 jet 73801 Series Instructions for use/assembly instructions

Hans Grohe

Hans Grohe Metris M71 320 2 jet 73801 Series Instructions for use/assembly instructions

Hans Grohe Showerpipe 260 1jet 24220 Series Instructions for use/assembly instructions

Hans Grohe

Hans Grohe Showerpipe 260 1jet 24220 Series Instructions for use/assembly instructions

Hans Grohe Talis E2 31666000 installation instructions

Hans Grohe

Hans Grohe Talis E2 31666000 installation instructions

Hans Grohe Rainfinity Showerpipe 360 1jet 26842 7... Instructions for use/assembly instructions

Hans Grohe

Hans Grohe Rainfinity Showerpipe 360 1jet 26842 7... Instructions for use/assembly instructions

Hans Grohe Decor 280 1jet 31817 3 Series Instructions for use/assembly instructions

Hans Grohe

Hans Grohe Decor 280 1jet 31817 3 Series Instructions for use/assembly instructions

Ideal-Standard K7061 Series quick start guide

Ideal-Standard

Ideal-Standard K7061 Series quick start guide

Moen 84292 SERIES Specifications

Moen

Moen 84292 SERIES Specifications

Hans Grohe Talis Select M51 220 1jet sBox 73852 Series Instructions for use/assembly instructions

Hans Grohe

Hans Grohe Talis Select M51 220 1jet sBox 73852 Series Instructions for use/assembly instructions

Hans Grohe Rainmaker Select 460 3jet 24016400 Instructions for use/assembly instructions

Hans Grohe

Hans Grohe Rainmaker Select 460 3jet 24016400 Instructions for use/assembly instructions

Blanco ARUM-S 515585 INSTALLATION AND CARE INSTRUCTIONS

Blanco

Blanco ARUM-S 515585 INSTALLATION AND CARE INSTRUCTIONS

IKEA KALLSJON manual

IKEA

IKEA KALLSJON manual

Bradley SN2013/AST4 Installation

Bradley

Bradley SN2013/AST4 Installation

Dixon Bayco 6400 Installation & operating instructions

Dixon Bayco

Dixon Bayco 6400 Installation & operating instructions

Decor Star BPC02-SB quick start guide

Decor Star

Decor Star BPC02-SB quick start guide

manuals.online logo
manuals.online logoBrands
  • About & Mission
  • Contact us
  • Privacy Policy
  • Terms and Conditions

Copyright 2025 Manuals.Online. All Rights Reserved.