manuals.online logo
Brands
  1. Home
  2. •
  3. Brands
  4. •
  5. High Sec Labs
  6. •
  7. Switch
  8. •
  9. High Sec Labs SX22H-M User manual

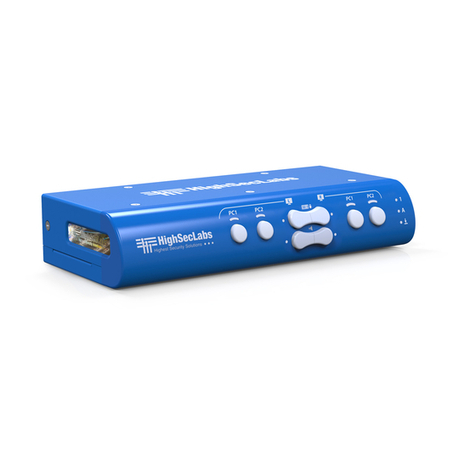
High Sec Labs SX22H-M User manual

SX22H-M | QUICK INSTALLATION GUIDE
©2023 All rights reserved. HSL logo and product names are trademarks or service trademarks of HighSecLabs Ltd (HSL).
All other marks are the property of their respective owners. Images for demonstration purposes only.
HLT31891 Rev. 1.0
Objectives
• This guide includes instructions for installing HSL Mini-Matrix SX22H-M device.
• A Mini-Matrix allows sharing keyboard, video, mouse, audio and USB peripherals between multiple computers.
• For further assistance please refer to HSL website http://www.highseclabs.com.
General
• Verify that all peripherals and computers are turned off prior to
connecting them to the product.
• The Mini-Matrix’s back panel is divided into Console Ports and
Computer Ports sections.
–Connect peripherals which are due to be shared by the Mini-
Matrix to the Console ports.
–Connect each computer that requires access to the shared
peripherals to a Computer port group.
–Make sure that every computer is connected to a separate
Computer port group.
–Computer port group numbers are represented by push
buttons on the product’s front panel.
–Switch peripherals between computers by pressing the push
buttons on the product’s front panel.
SX22H-M Model is shown
Quick Installation Guide
2-Ports High Security Mini-Matrix KVM Switches
Connect peripherals to the
Mini-Matrix Console ports:
• Keyboard: Connect a USB keyboard to
the corresponding Mini-Matrix console
keyboard port.
• Video: Connect two monitors to the
Mini-Matrix console video ports.
• LEFT & RIGHT display screen size: It is
highly recommended to use identical
LEFT and RIGHT display monitors. EDID
information is taken from the LEFT
display (console port "L") and sent to
all connected computers. In case of
using non-identical displays, connect
the lowest resolution display to the
primary console display port.
• Mouse: Connect a USB mouse to the
corresponding Mini-Matrix console
mouse port.
• Audio peripherals: Connect
headphones / speakers to the Mini-
Matrix console audio-out port.
Note: Authentication devices such as
smartcard and biometric readers are enabled
by default, other devices must be explicitly
whitelisted – for further information please
refer to the Mini-Matrix Administrator’s guide.
Connect computers to the
Mini-Matrix Computer ports:
• Computer keyboard & mouse
connection: Connect each computer
to the Mini-Matrix keyboard & mouse
computer port using a USB A to USB B
cable. Connect the USB A end to the
computer and the USB B end to Mini-
Matrix.
• Computer video connection:
Connect each computer to the Mini-
Matrix computer video port using the
corresponding video cable (HDMI/DP).
• Computer audio connection: Connect
each computer to the Mini-Matrix
audio-in port using an audio cable.
Connect one end of the cable to the
computer’s audio-out port using the
1/8" (3.5mm) stereo plug. Connect the
other end of the audio cable to the
Mini-Matrix audio-in computer port.
Power ON your system:
• Power ON the monitor: Make sure that
the monitors are turned ON prior to
powering ON the Mini-Matrix.
• Power ON the system: Connect all
peripherals and computers to the Mini-
Matrix prior to powering it up. Power
ON the Mini-Matrix by plugging it to the
AC wall outlet. By default, after product
power-up, the active channel will be
computer #1, indicated by the applicable
front panel push button LED lit.
Note: Power ON self-test: As the product
powers-up it performs a self-test procedure.
In case of self- test failure for any reason,
including jammed buttons, the product will be
Inoperable. Self-test failure will be indicated by
abnormal LED behavior – for further information
please refer to the Mini-Matrix setup guide.
Switching between computers:
• Switch between computers by pressing
the corresponding front panel button on
the Mini-Matrix. The front panel button
of the selected computer will illuminate.
2
3
4
1
SX22H-M | QUICK INSTALLATION GUIDE
©2023 All rights reserved. HSL logo and product names are trademarks or service trademarks of HighSecLabs Ltd (HSL).
All other marks are the property of their respective owners. Images for demonstration purposes only.
HLT31891 Rev. 1.0
Supported Hardware
The KVM switches support most standard speakers, headsets and
USB keyboards and mice.
Environmental
• Operating temperature is 32° to 104° F (0° to 40° C).
• Storage temperature is -4° to 140° F (-20° to 60° C).
• Humidity requirements are 0-80% relative humidity,
non-condensing.
SX22H-M Dimensions
177 (W) x 82 (D) x 35 (H) mm, Weight: 0.52 kg
Safety and Regulatory Statements
Safety Symbols
One or more of the following symbols may be included in your
product documentation and/or on the product.
Instructions: This symbol is intended to alert the user to
the presence of important operating and maintenance
(servicing) instructions in the product user manual.
Dangerous Voltage: This symbol is intended to alert the
user to the presence of uninsulated dangerous voltage
within the product’s enclosure that may be of sufficient
magnitude to constitute a risk of electric shock to persons.
Power On: This symbol indicates the principal on/off
switch is in the on position.
Power Off: This symbol indicates the principal on/off
switch is in the off position.
Protective Grounding Terminal: This symbol indicates a
terminal which must be connected to earth ground prior
to making any other connections to the equipment.
Safety Precautions
WARNING: To avoid a potentially fatal shock hazard and possible damage
to equipment, please observe the following precautions.
• Do not disable the power grounding plug. The grounding plug
is an important safety feature.
• Plug the power cord into a grounded (earthed) outlet that is
easily accessible at all times.
• Disconnect the power from the product by unplugging the power
cord from either the electrical outlet or the product. The AC inlet
is the main disconnect for removing power to this product. For
products that have more than one AC inlet, to remove power
completely, all AC line cords must be disconnected.
• This product has no serviceable parts inside the product
enclosure. Do not open or remove product cover.
CAUTION: Some HSL products contain a lithium battery. This battery is not
a field replaceable item, and replacement should not be attempted by a
user. If errors occur when using the product and the battery is suspected,
contact HSL Technical Support.
WARNING: For Service Personnel Only - There is a risk of explosion if
the battery is replaced with an incorrect type. Dispose of used batteries
according to the manufacturer’s instructions.
This product is for use with other products that are Listed or
Certified by a Nationally Recognized Testing Laboratory (NRTL).
NIAP Protection Profile
This product is certified to the NIAP Protection Profile certification
for peripheral sharing switch devices.
Installation Precautions
NOTE: In order to comply with the product’s Common Criteria evaluation
and to prevent unauthorized administrative access to the product, the
default administrator username and password must be changed prior to
first product use.
Do not connect this product to computing devices that:
• are TEMPEST computers
• include telecommunication equipment
• include frame grabber video cards
• include special audio processing cards
WARNING: Peripheral Warning - For security reasons, this product does
not support wireless keyboards. Do not connect a microphone or headset
to the audio output port.
Security Vulnerability
If you are aware of a potential security vulnerability while installing
this product, contact Technical Support immediately by:
• Web form: www.highseclabs.com/support/case/
• Email: securit[email protected]
• Tel: +972-4-9591191/2
CAUTION: Anti-tamper Caution - This product is equipped with an
always-on, active anti-tampering system. Any attempt to open the
product enclosure will activate the anti-tamper triggers, rendering the
unit inoperable and voiding its warranty.
WARNING: Unit Enclosure Warning - If the unit’s enclosure appears
disrupted or if all LEDs flash continuously, remove the product from service
immediately and contact Technical Support.
Change Management
For change management tracking, perform a quarterly log check to
verify that the RFD (Reset to Factory Default) was not improperly used
to override the current device policy by an unauthorized person.

Other High Sec Labs Switch manuals

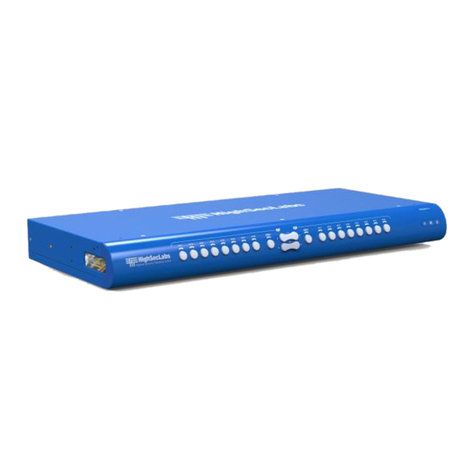
High Sec Labs Mini-Matrix SX22D-3 User manual

High Sec Labs

High Sec Labs Mini-Matrix SX22D-3 User manual

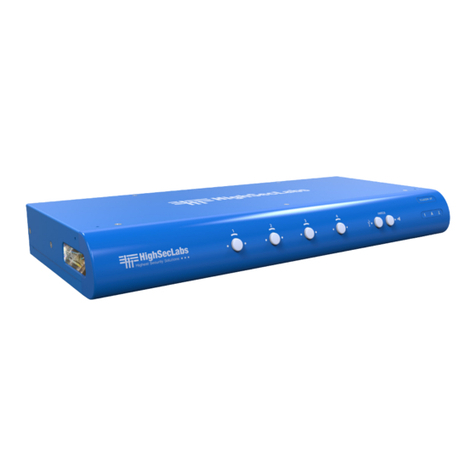
High Sec Labs SK21 3 Series User manual

High Sec Labs

High Sec Labs SK21 3 Series User manual

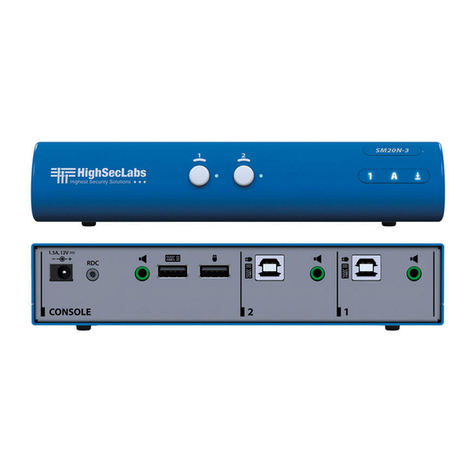
High Sec Labs SM20N-N User manual

High Sec Labs

High Sec Labs SM20N-N User manual

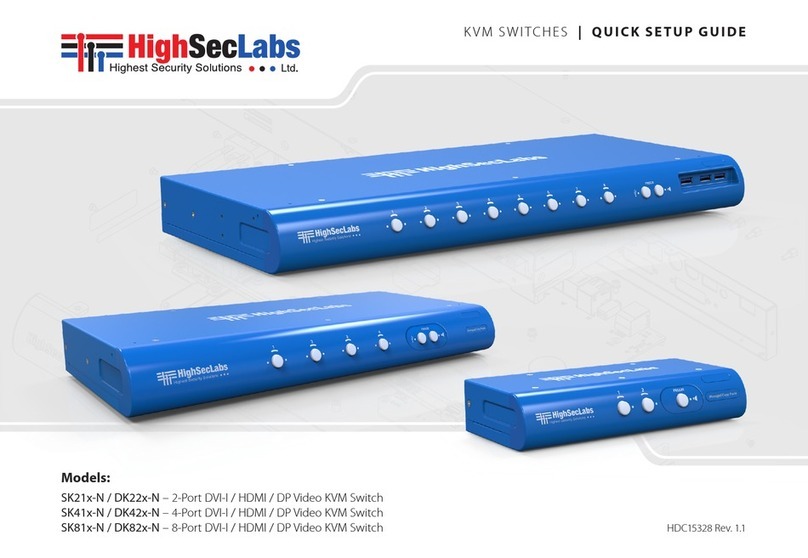
High Sec Labs SK21D-3 User manual

High Sec Labs

High Sec Labs SK21D-3 User manual

High Sec Labs SX42 U-3 Series User manual

High Sec Labs

High Sec Labs SX42 U-3 Series User manual

High Sec Labs SK81DU-3 User manual

High Sec Labs

High Sec Labs SK81DU-3 User manual

High Sec Labs SM40N-4 User manual

High Sec Labs

High Sec Labs SM40N-4 User manual

High Sec Labs FV11D-M User manual

High Sec Labs

High Sec Labs FV11D-M User manual

High Sec Labs DK22PH-4 User manual

High Sec Labs

High Sec Labs DK22PH-4 User manual

High Sec Labs SC21H-4 User manual

High Sec Labs

High Sec Labs SC21H-4 User manual

High Sec Labs K202B User manual

High Sec Labs

High Sec Labs K202B User manual

High Sec Labs Mini-Matrix SX42PH-4 User manual

High Sec Labs

High Sec Labs Mini-Matrix SX42PH-4 User manual

High Sec Labs SC42DU-3 User manual

High Sec Labs

High Sec Labs SC42DU-3 User manual

High Sec Labs SM20N-3 User manual

High Sec Labs

High Sec Labs SM20N-3 User manual

High Sec Labs SK41 N Series User manual

High Sec Labs

High Sec Labs SK41 N Series User manual

High Sec Labs SC42PHU-4 User manual

High Sec Labs

High Sec Labs SC42PHU-4 User manual

High Sec Labs SC42PHU-4 User manual

High Sec Labs

High Sec Labs SC42PHU-4 User manual

High Sec Labs SC21H-3 User manual

High Sec Labs

High Sec Labs SC21H-3 User manual

High Sec Labs SK21D-3 User manual

High Sec Labs

High Sec Labs SK21D-3 User manual

High Sec Labs K304 User manual

High Sec Labs

High Sec Labs K304 User manual

High Sec Labs K304 User manual

High Sec Labs

High Sec Labs K304 User manual

High Sec Labs K404F User manual

High Sec Labs

High Sec Labs K404F User manual

High Sec Labs SM20N-3 User manual

High Sec Labs

High Sec Labs SM20N-3 User manual

High Sec Labs DK22D-N User manual

High Sec Labs

High Sec Labs DK22D-N User manual

Popular Switch manuals by other brands

AUDIO TELEX TX5000 operating instructions

AUDIO TELEX

AUDIO TELEX TX5000 operating instructions

ifs NS3702-24P-4S-V3 Quick installation guide

ifs

ifs NS3702-24P-4S-V3 Quick installation guide

BLAUBERG Ventilatoren CDP-2/10 Installation

BLAUBERG Ventilatoren

BLAUBERG Ventilatoren CDP-2/10 Installation

3Com SuperStack II 3C16690 user guide

3Com

3Com SuperStack II 3C16690 user guide

Eaton Crouse-hinds series operating instructions

Eaton

Eaton Crouse-hinds series operating instructions

AV TOOL AVT-6441 instruction manual

AV TOOL

AV TOOL AVT-6441 instruction manual

Icy Box IB-AC619 user manual

Icy Box

Icy Box IB-AC619 user manual

Sven HB-015 user manual

Sven

Sven HB-015 user manual

Duxbury Networking DUX106G installation guide

Duxbury Networking

Duxbury Networking DUX106G installation guide

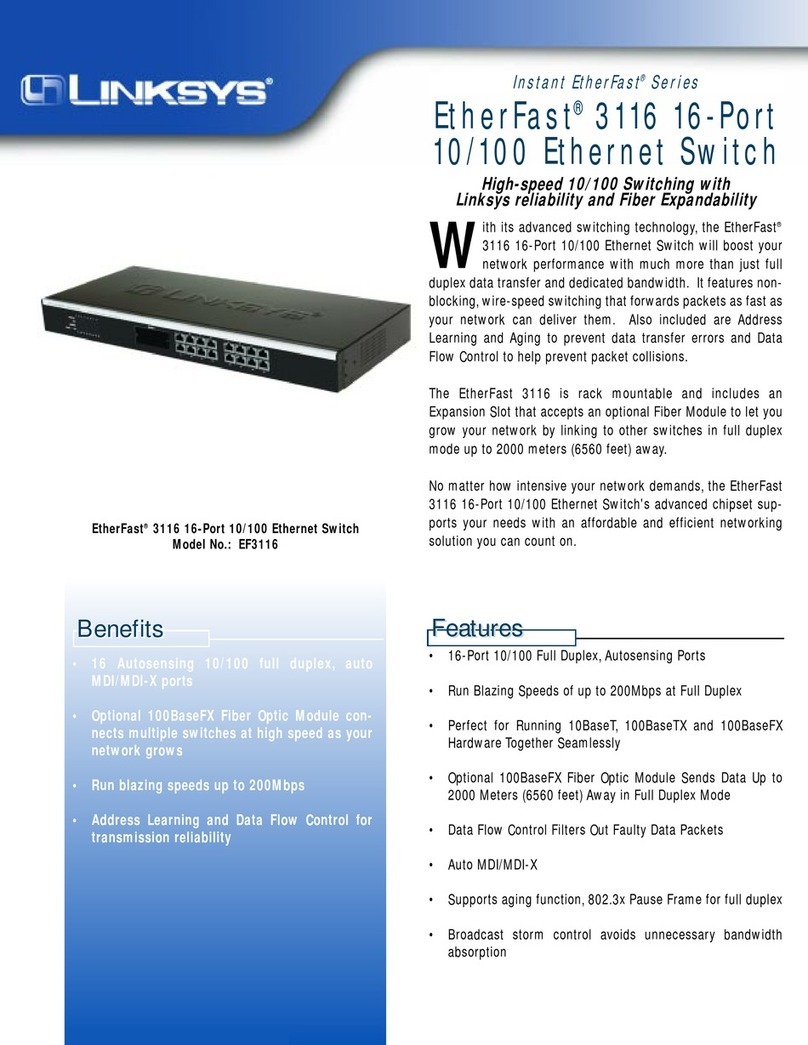
Linksys EtherFast EF3116 Specifications

Linksys

Linksys EtherFast EF3116 Specifications

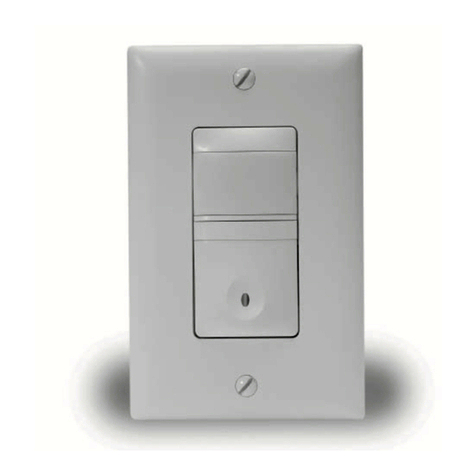
LEGRAND Wattstopper CS-50 manual

LEGRAND

LEGRAND Wattstopper CS-50 manual

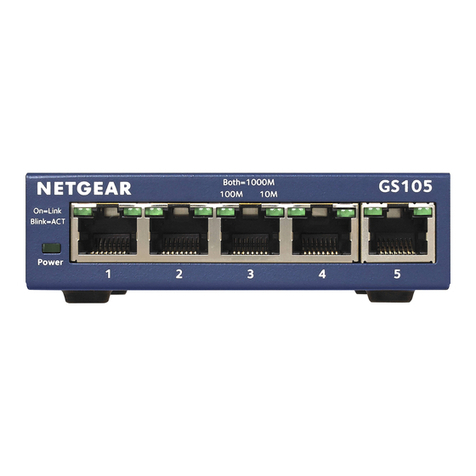
NETGEAR ProSafe GS105 installation guide

NETGEAR

NETGEAR ProSafe GS105 installation guide

TRENDnet TL2-PG484 Quick installation guide

TRENDnet

TRENDnet TL2-PG484 Quick installation guide

Extron electronics DTP2 T 212 user guide

Extron electronics

Extron electronics DTP2 T 212 user guide

AOpen AOH-605 user guide

AOpen

AOpen AOH-605 user guide

Ubiquiti TS-5-POE ToughSwitchPoE quick start guide

Ubiquiti

Ubiquiti TS-5-POE ToughSwitchPoE quick start guide

Helwett Packard 8325P Installation, Safety, and Regulatory Information

Helwett Packard

Helwett Packard 8325P Installation, Safety, and Regulatory Information

Dell N4000 Series Getting started guide

Dell

Dell N4000 Series Getting started guide

manuals.online logo
manuals.online logoBrands
  • About & Mission
  • Contact us
  • Privacy Policy
  • Terms and Conditions

Copyright 2025 Manuals.Online. All Rights Reserved.