Highline Manufacturing NT Rockpicker NT78 User manual

Operator’s
Manual
E14128V1
NT Rockpicker
NT78
NT60
NT44

Printed in Canada Copyright © 2014 by Highline Manufacturing Ltd. All rights reserved.
The content of this manual was based on the most current information available as of the date of copyright. It is the policy of
Highline Manufacturing Limited to improve and develop our products continually. We reserve the right to make changes or add
improvements, at any time, without incurring any obligation to make changes or improvements on machines previously sold.
Changes may not be reflected in this manual.
Operator’s
Manual
Highline Manufacturing Limited
HWY #27, P.O. Box 307
Vonda SK S0K 4N0
Canada
Phone: 306.258.2233
Fax: 306.258.2010
Toll Free: 1.800.665.2010
E14128V1
NT Rockpicker
NT78
NT60
NT44

Highline Manufacturing Ltd. NT Rockpicker NT78, NT60 & NT44
Highline Team Message
Congratulations on your purchase of a NT Rockpicker NT78, NT60 & NT44 manufactured
by Highline Manufacturing Ltd.
This Operator's Manual has been prepared to provide information necessary for the safe and
efficient operation of your Rockpicker. In the manual you will find safety procedures,
maintenance routines and detailed operational instructions.
If you find that you require information not covered in this manual, please feel free to consult
your local dealer. Your dealer is always able to contact Highline for this technical information.
Highline Manufacturing Ltd. thanks and congratulates you for selecting a NT Rockpicker as
your machine of choice.
Highline Manufacturing Ltd.

Table of Contents
Section 1 Safety
SerialNumber ............................................ 1
SafetySign-offForm ....................................... 2
SafetyAlertSymbol ........................................ 3
GeneralSafety............................................ 4
SafetyDecalLocations .................................... 10
Section 2 - Transporting the Rockpicker
Adjust the position of the tongue plate . . . . . . . . . . . . . . . . . . . . . . . . . 1
Liftthehitchwiththejack.................................... 2
Connect the hitch to the tractor drawbar . . . . . . . . . . . . . . . . . . . . . . . . 2
Rotate the hitch jack into the storage position . . . . . . . . . . . . . . . . . . . . 2
Connectthehydraulichoses ................................. 3
Raisethepickupapron ..................................... 3
Move the hitch into the transport position. . . . . . . . . . . . . . . . . . . . . . . 3
Ensure the hitch lock has engaged . . . . . . . . . . . . . . . . . . . . . . . . . . . . 4
Section 3 - Preparing the Rockpicker
PreparingtheRockpicker ................................... 1
Check the condition of the apron and the rock bucket. . . . . . . . . . . . . . 2
Remove any rocks that are wedged in the bat teeth. . . . . . . . . . . . . . . . 3
Remove from the bucket any debris or rocks . . . . . . . . . . . . . . . . . . . . 3
Check the linkages on both sides under the raised bucket . . . . . . . . . . 4
Check the condition of the tires . . . . . . . . . . . . . . . . . . . . . . . . . . . . . . . 4
Check and adjust the tire air pressure . . . . . . . . . . . . . . . . . . . . . . . . . . 5
Section 4 - Operating the Rockpicker
Check the condition of the apron and the rock bucket . . . . . . . . . . . . . 2
FieldPreparation .......................................... 2
Raise the hitch lock (1) from the hitch linkage . . . . . . . . . . . . . . . . . . . 3
Move the hitch into the operating position . . . . . . . . . . . . . . . . . . . . . . . 3
Lowertheapron .......................................... 4
Operatetherockpicker ..................................... 4
Adjusttherockreelspeed .................................. 4
UnloadingtheRockBucket .................................. 5
Removing Rocks Lodged in the Bucket . . . . . . . . . . . . . . . . . . . . . . . . . 6
RockRemovalApproach1 .................................. 6
RockRemovalApproach2 .................................. 7

Section 5 - Maintaining the Rockpicker
Installing the Bucket Lift Locks . . . . . . . . . . . . . . . . . . . . . . . . . . . . . . . . 1
Removing ...............................................2
ChecktheBucketLinkage ...................................3
Lubrication ...............................................4
ChecktheGearboxOil......................................5
ChecktheMotorMountBolts.................................5
Check and Adjust Tire Air Pressure . . . . . . . . . . . . . . . . . . . . . . . . . . . . 6
ChangingtheReelSprings...................................7
RemovingtheSprings ......................................7
InstallingtheSprings .......................................8
Section 6 - Storing the Rockpicker
Emptythebucket ..........................................1
Clean all the debris from the bucket area . . . . . . . . . . . . . . . . . . . . . . . 1
Remove all debris from the bucket linkages . . . . . . . . . . . . . . . . . . . . . 2
Move the rockpicker hitch to the transport position . . . . . . . . . . . . . . . . 2
Raisetheapron ...........................................2
Place the jack onto the hitch . . . . . . . . . . . . . . . . . . . . . . . . . . . . . . . . . 2
Disconnect the hydraulic hoses . . . . . . . . . . . . . . . . . . . . . . . . . . . . . . . 3
Disconnect the hitch from the tractor . . . . . . . . . . . . . . . . . . . . . . . . . . . 3
Lubricatethereelbearings...................................3
Change the oil in the gearbox . . . . . . . . . . . . . . . . . . . . . . . . . . . . . . . . . 3
Section 7 - Troubleshooting
Section 8 - Specifications
Warranty
Delivery and Warranty Registration

GENERAL DESCRIPTION OF THE ROCKPICKER
The Rockpicker is designed to pick up rocks while driving in a cultivated field without the need
to stop to pick up the rocks.
The hitch is hydraulically operated to move from the transport position to the operating position.
The operating position moves the Rockpicker to the right of the tractor so the tractor treads do
not push rocks into the soil. When the Rockpicker bucket is full, the operator moves the hitch
to the transport so the Rockpicker follows the tractor to the rock dumping location.
The Rockpicker apron is positioned by the operator to be just above the surface of the soil. The
spring loaded pickup bats rotate on a hydraulically operated reel. As the rotating pickup bats
encounter rocks, they push the rocks across the apron and into the Rockpicker bucket. The
apron and bucket allow any moved soil to fall back to the ground.
For unloading the rocks, the Rockpicker is backed into the dumping location. The hydraulic
cylinders are activated to raise the rock bucket. As the bucket israised, ittiltstodump the rocks
out.
When the Rockpicker is picking rocks it uses hydraulic power from the tractor to position the
apron and to rotate the reel with the spring loaded rock bats. When the Rockpicker is moving
from transport position to operating position, a hydraulic cylinder is activated to move the hitch.
When the Rockpicker is dumping the rocks, the hydraulic lift cylinders lift the rock bucket and
tilt it to dump the rocks.
The operator of the Rockpicker is located in the tractor cab where they drive the tractor, control
the speed of driving, the operation of the hitch position, the rotating rock bat reel and the
dumping of the rocks.
The Rockpicker is transported on the wheels of the Rockpicker.
INTENDED USE OF THE ROCKPICKER
• The Rockpicker is designed to pick up rocks that are on the surface or near the surface of
a cultivated field and then to move those rocks to a storage location.
• The Rockpicker is designed to lift the rocks that have been picked up and to dump them.
• The Rockpicker is intended for use in field farming applications.
• The Rockpicker is intended for use in locations that are not near people or animals who
could be harmed by rocks that are thrown into the rock bucket.
Any uses of the Rockpicker other than the above stated Intended Uses shall be considered
misuse of the Rockpicker. This misuse shall include (but not limited to):
- Using the Rockpicker in non-farming applications.
- Using the Rockpicker around people or in public places.
- Moving materials other than rocks from fields.
AlwaysusetheRockpickeraccordingtotheinstructionscontainedinthisOperator'sManualand
the safety and instruction decals on the machine.
Perform regular maintenance and repair to ensure that the Rockpicker operates safely and
efficiently.

This Page Left Blank

Section 1 - Safety
Page 1-1
SERIAL NUMBER
Your serial number is found on the serial number plate attached to the NT Rockpicker on the
front frame member.
It is important to record the serial number for proof of ownership and for any service or
maintenance assistance.
Serial Number
Owner
Model
Date of Purchase

Section 1 - Safety
Page 1-2
SAFETY SIGN-OFF FORM
Highline Manufacturing Ltd. follows the general Safety Standards specified by the American
SocietyofAgriculturalEngineers(ASAE)andtheOccupationalSafetyandHealthAdministration
(OSHA). Anyone who will be operating and/or maintaining the Highline NT Rockpicker should
readandclearlyunderstandallSafety,OperatingandMaintenanceinformationpresentedinthis
manual.
Do not operate or allow someone to operate this equipment until this information has been
reviewed.Thisinformationshouldbereviewedbyalloperatorsbeforethestart-upoftheseason.
This sign-off sheet is provided for record keeping to indicate that the person working with the
equipment has read and understood the information in the Operator’s Manual and has been
instructed in the safe operation of the equipment.
Date Employee’s Signature Employer’s Signature
Section 1 - Safety
Page 1-3
SAFETY ALERT SYMBOL
The Safety Alert Symbol means:
ATTENTION!
BECOME ALERT!
YOUR SAFETY IS INVOLVED!
The Safety Alert Symbol combined with a Signal Word alert tothe presence of a hazard and the
degree of possible injury.
Indicates an imminentlyhazardous situation that, if not
avoided, WILL result in DEATH OR SERIOUS INJURY.
The color is Red with White lettering.
Indicates a potentially hazardous situation that, if not
avoided, COULD result in DEATH OR SERIOUS
INJURY, and includes hazards that are exposed when
guards are removed or unsafe practices. The color is
Orange with Black lettering.
Indicates a potentially hazardous situation that, if not
avoided, MAY result in MINOR INJURY. The color is
Yellow with Black lettering.

Section 1 - Safety
Page 1-4
GENERAL SAFETY
1. Ensure that anyone who is going to operate, maintain or work near the NT Rockpicker is
familiar with the recommended operating, maintenance procedures and safety information
contained in this manual and follows all the safety precautions.
2. In addition to the design and configuration of the equipment, hazard control and accident
prevention are dependant upon the awareness, concern, prudence and proper training of
personnel involved in the operation, transport, maintenance and storage of the NT
Rockpicker.
3. The NT Rockpicker shall not be operated without all the guards in place.
SAFETY DECALS
1. Keep decals and signs clean and legible at all times.
2. Replace decals and signs that are damaged, missing or have become illegible.
3. Replaced parts that displayed a decal should also display the current decal.
4. Decals are available from the Highline Parts Department.
5. Be familiar with the decals, the type of warning and the area or function(s) related to the
area(s) that requires your awareness.
Section 1 - Safety
Page 1-5
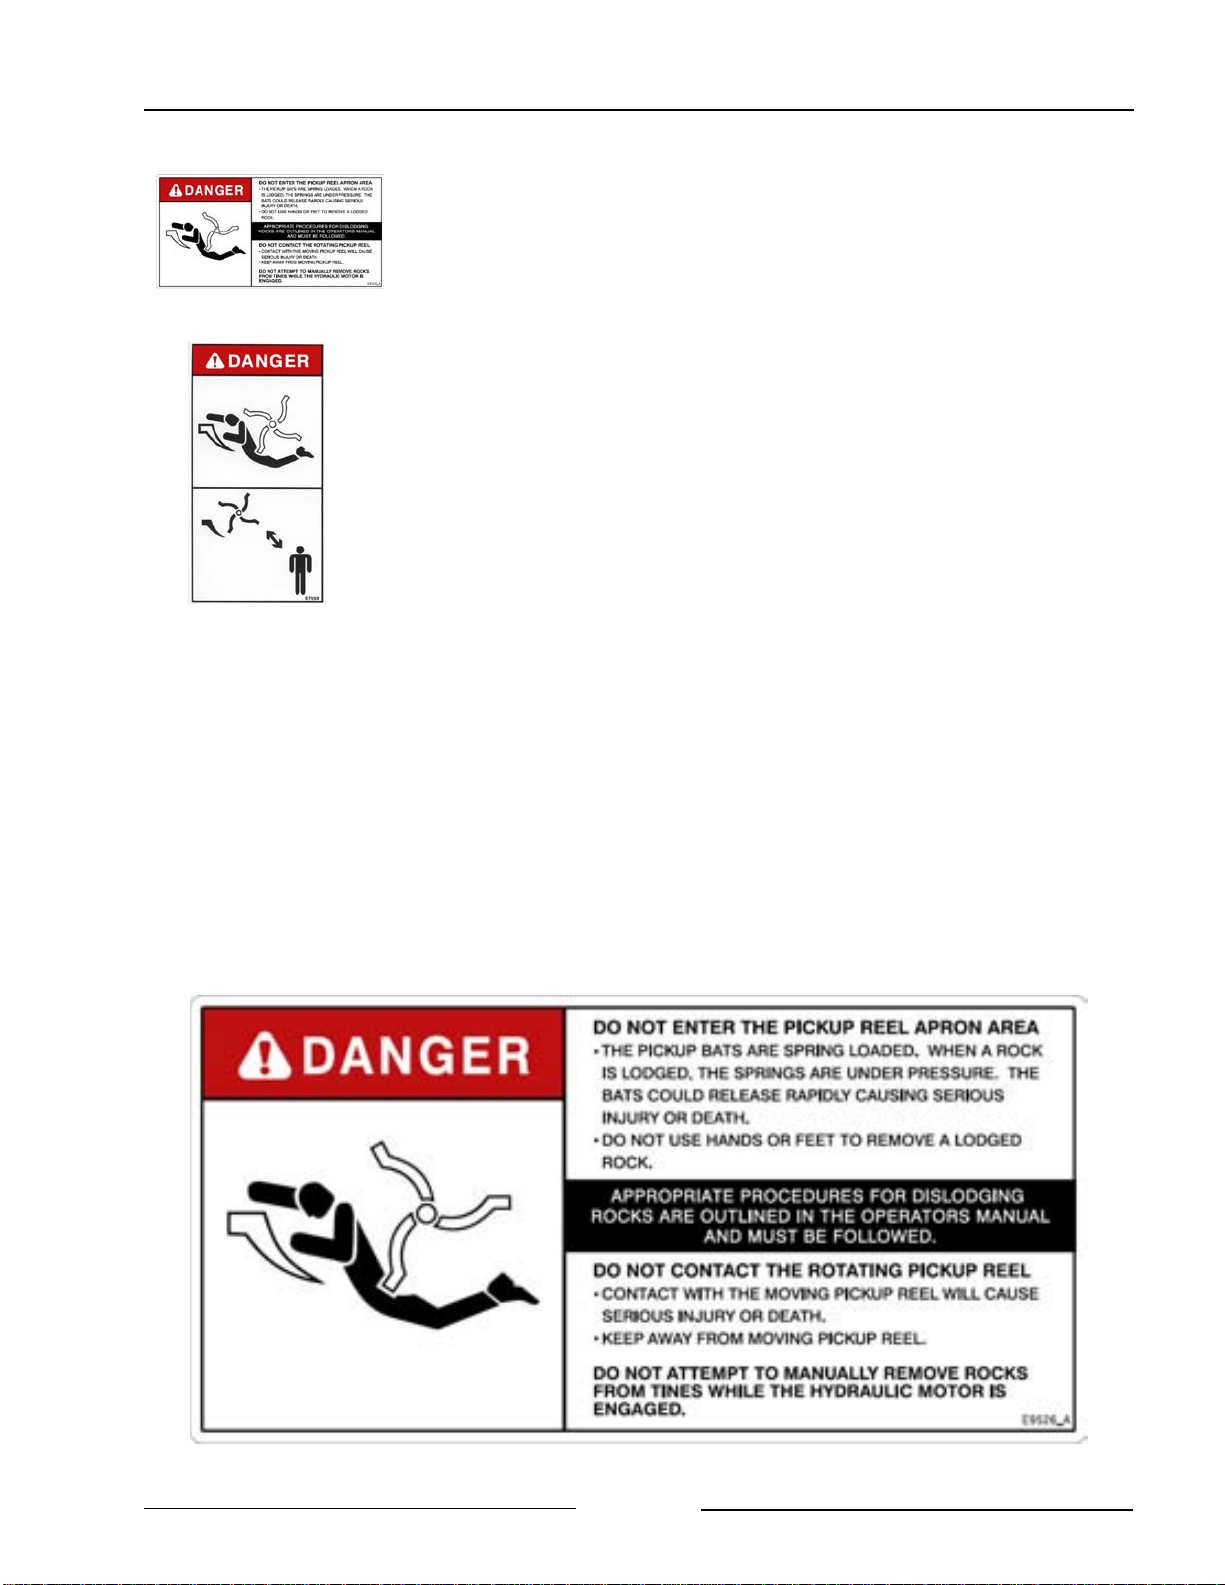
DO NOT ENTER THE PICKUP REEL APRON AREA
Contact with the moving pickup reel or spring loaded bats will cause
serious injury or death.
The pickup bats are spring loaded. When a rock is lodged, the
springs are under pressure. The bats could release rapidly causing
serious injury or death.
Do not use hands or feet to remove a lodged rock.
APPROPRIATE PROCEDURES FOR DISLODGING ROCKS ARE
OUTLINED IN THE OPERATOR’S MANUAL AND MUST BE
FOLLOWED
DO NOT CONTACT THE ROTATING PICKUP REEL
Contactwiththemovingpickupreelwillcauseseriousinjuryordeath.
Keep away from the moving pickup reel.
DO NOT ATTEMPT TO MANUALLY REMOVE ROCKS FROM
TINES WHILE THE HYDRAULIC MOTOR IS ENGAGED
READ AND FULLY UNDERSTAND THE INSTRUCTIONS ON THIS DECAL
Section 1 - Safety
Page 1-6
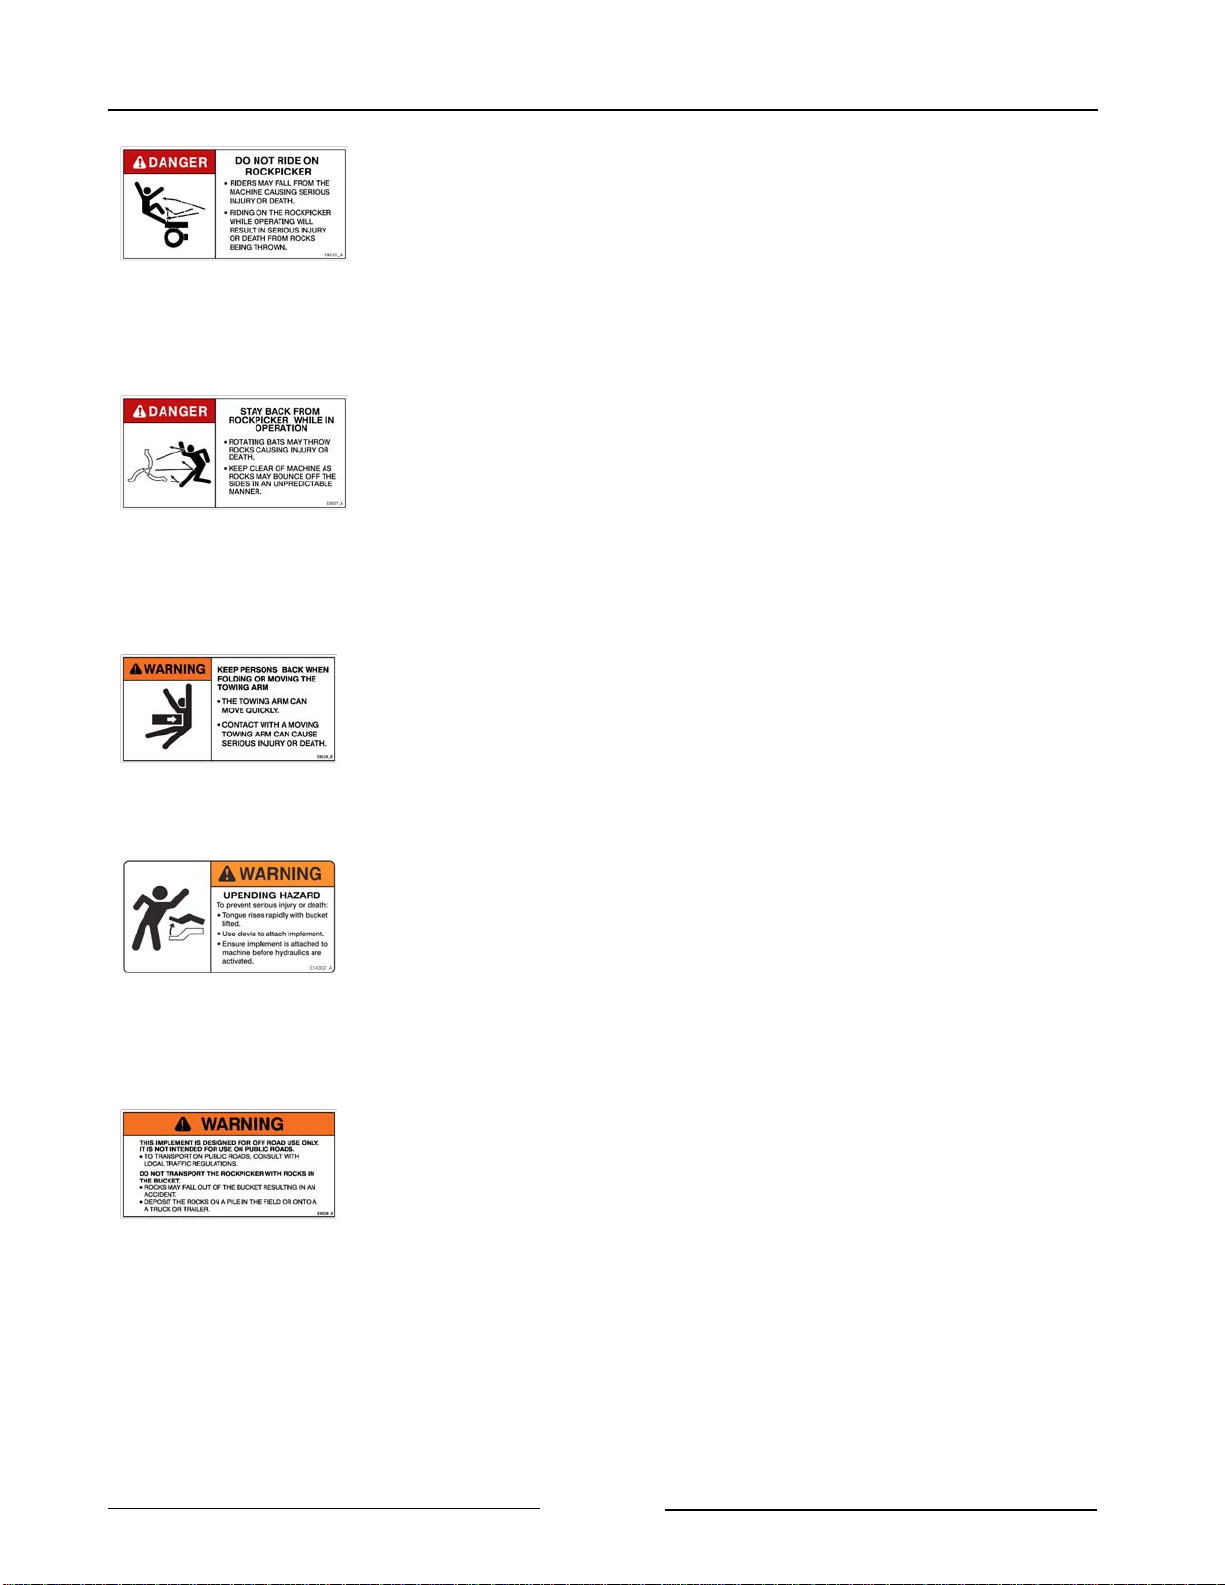
DO NOT RIDE ON ROCKPICKER
Riders can fall from the machine which will cause serious injury or
death.
Riding on the Rockpicker while operating will result in serious injury
or death from rocks being thrown.
STAY BACK FROM ROCKPICKER WHILE IN OPERATION
Rotating bats may throw rocks causing injury or death.
Keep clear of the machine as rocks may bounce off the sides in an
unpredictable manner.
KEEP PERSONS BACK WHEN MOVING THE HITCH
The hitch can move quickly.
Contact with the hitch can cause serious injury or death.
UPENDING HAZARD
The tongue can rise rapidly when the bucket is lifted.
Use a clevis to attach implement.
Ensure implement is attached to machine before hydraulics are
activated.
THE ROCKPICKER IS DESIGNED FOR OFF-ROAD USE ONLY
To transport on public roads consult with local traffic regulations.
DO NOT TRANSPORT THE ROCKPICKER WITH ROCKS IN
THE BUCKET
Rocks may fall out of the bucket resulting in an accident.
Deposit the rocks on a pile in the field or load them directly onto a
truck or trailer.

Section 1 - Safety
Page 1-7
DO NOT PLACE HANDS OR FEET IN THE APRON REST AREA
Serious injury could result if hands or feet are clamped in this area.
DO NOT PLACE HANDS IN THIS AREA WHEN RAISING OR
LOWERING THE BUCKET
Serious injury could result if hands are place in this clamping area.
USE PAPER OR CARDBOARD TO CHECK FOR HYDRAULIC
LEAKS
To prevent serious injury or death:
Relieve pressure on hydraulic system before repairing, adjusting or
disconnecting.
Wear proper hand and eye protection when searching for leaks.
Use wood or cardboard instead of hands.
Keep all components in good repair.
STAND CLEAR WHEN BUCKET IS BEING RAISED OR
LOWERED
The raised bucket could fall causing serious injury or death.
Do not work under a loaded bucket.
Before working under an empty raised bucket, always place both
safety locks onto the hydraulic cylinders.
DO NOT TRANSPORT THE ROCKPICKER WITH THE BUCKET
RAISED
The rockpicker will be unstable and hard to steer.
Damage to the machine will occur.

Section 1 - Safety
Page 1-8
SHUTDOWN THE TRACTOR BEFORE DISMOUNTING
TRACTOR
Shut down the tractor and remove the key before repairing,
servicing, lubricating or cleaning the rockpicker.
Relieve all hydraulic pressure in the hoses before going near the
rockpicker. Leave the hydraulics in the “float” position.
READ, UNDERSTAND, AND FOLLOW SAFETY INSTRUCTIONS
Read, understand and follow all instructions and safety messages
included in this manual and on decals attached to the machine.
These instructions and safety messages contain important
information.
Allow only responsible, properly instructed individuals to operate
and service the machine.
Failure to follow the instructions and safety messages in this
manual and on the decals attached to the machine could result in
serious injury or death.
Keep all safety and instruction decals in good condition. Replace
any missing or damaged decals

Section 1 - Safety
Page 1-9
214028
SAFETY DECAL LOCATIONS

Section 1 - Safety
Page 1-10
This Page Left Blank

Section 2 - Transporting the Rockpicker
Page 2-1
Transporting
Only tow the Rockpicker behind a
properly sized and equipped
tractor or vehicle which exceeds
the weight of the loaded
Rockpicker by 50%.
Shut off the tractor engine before
attaching the rockpicker or
hydraulics.
Do not allow children or other
people to ride on the tractor or
Rockpicker. Falling off can result
in serious injury or death. Impact
from thrown rocks can result in
serious injury or death.
The rockpicker is designed for off
road use only. To transport on
public roads consult with local
traffic regulations.
Do not transport the rockpicker
with rocks in the bucket.
Do not transport the rockpicker
with the bucket raised.
1. Adjust the position of the tongue plate for
the rockpicker to be level.
- Level the rockpicker using the hitch
jack.
- Position the tongue plate so that the
rockpicker is level when connected to
the tractor drawbar.
- Remove the bolts (1) and move the
tongue plate. Fasten in place.
Adjust Tongue to Level the Rockpicker
214001C
Section 2 - Transporting the Rockpicker
Page 2-2
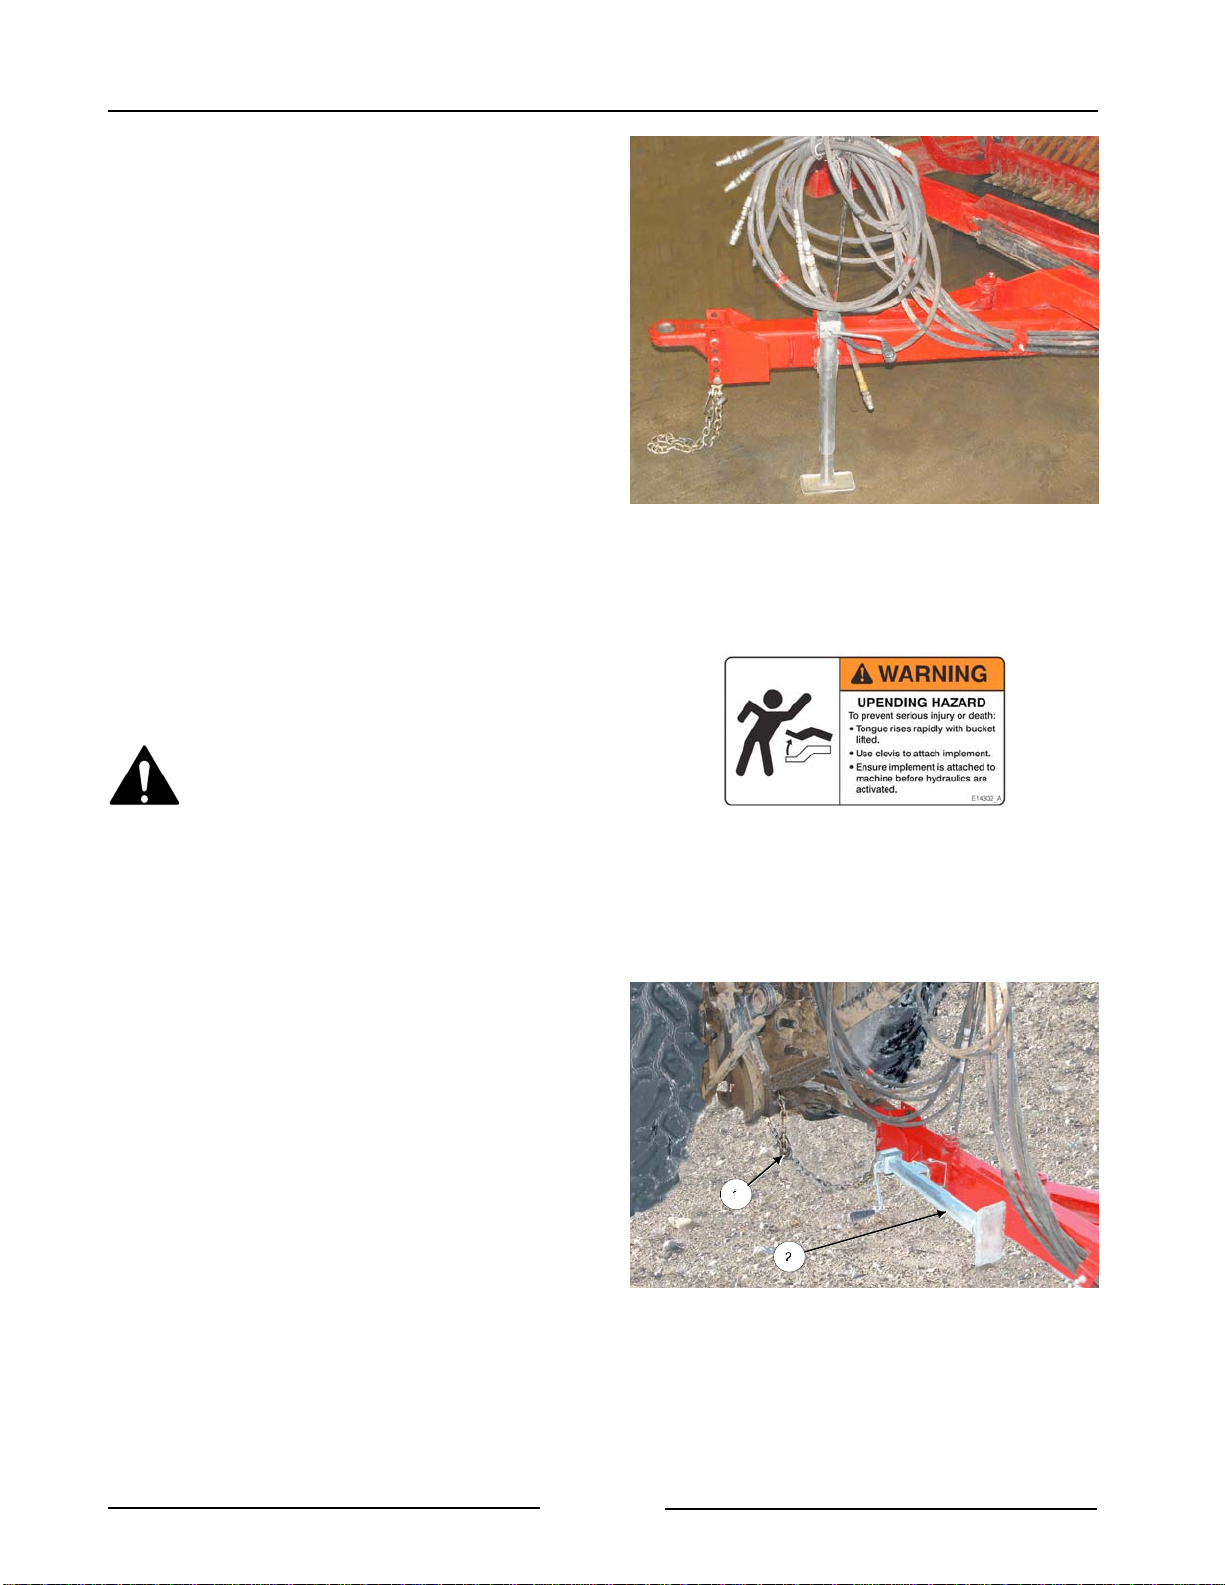
2. Lift the hitch with the jack
- The hitch is heavy. Do not attempt to
lift the hitch without using the jack.
3. Connect the hitch to the tractor drawbar.
- Use a 1 1/4" (31.75 mm) pin.
- Use a clevis to attach the hitch.
Do not disconnect the hitch when
the bucket is lifted. There is an
upending hazard at the hitch
when the bucket is lifted.
4. Connect the safety chain (1) to the
tractor.
5. Rotate the hitch jack (2) into the storage
position.
- Remove all weight from the jack.
- Remove the locking pin holding the
jack onto the hitch.
- Rotatethejacktothestorageposition.
- Fasten the jack in place with the lock
pin.
Lift the Hitch with the Jack
214002
Connect to Tractor. Jack in Storage Position.
214003C

Section 2 - Transporting the Rockpicker
Page 2-3
6. Connect the hydraulic hoses.
- One set of hydraulic hoses is used for
adjusting the picker’s collecting apron
height and dumping the bucket when
full of rocks.
- The second set of hoses is used to
drive the rock picker reel motor.
- The third set is for the hitch hydraulic
cylinder.
- The selector valve option is used
when there are there are only 2
remotes on the tractor.
- The selector valve directs the
hydraulic oil from the reel motor to
the hitch cylinder.
7. Raise the pickup apron.
- Fully retract the bucket dump
cylinders (1) to raise the apron.
- As the cylinders retract, they will raise
the apron from the ground surface.
8. Move the hitch into the transport position.
Keep persons back when moving
the towing arm. The towing arm
can move quickly.
Contact with a moving tow arm
can cause serious injury or death.
- Retract the hitch cylinder (2) to move
the hitch into the transport position.
This reduces the travel width of the
rock picker.
Connect Hydraulic Hoses
108008
Hitch In Transport Position
214006C
Raise the Pickup Apron.
214004C
This manual suits for next models
2
Table of contents
Other Highline Manufacturing Farm Equipment manuals


