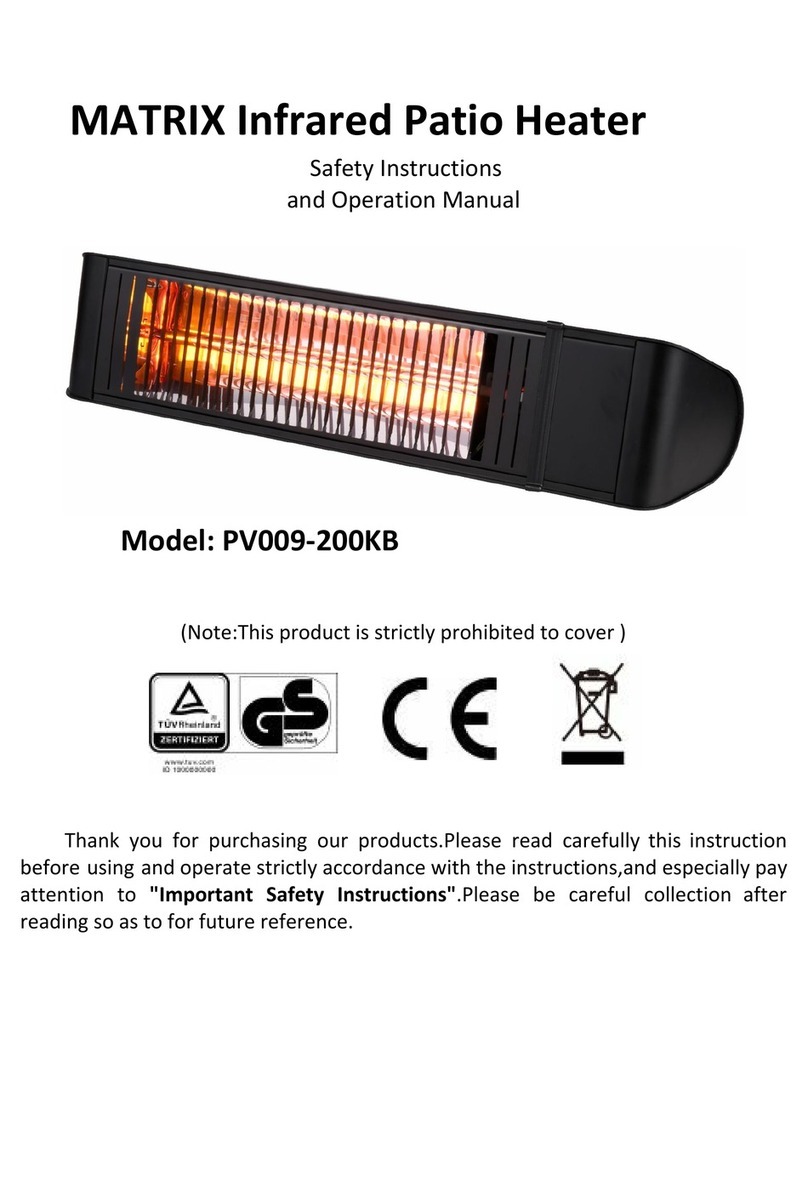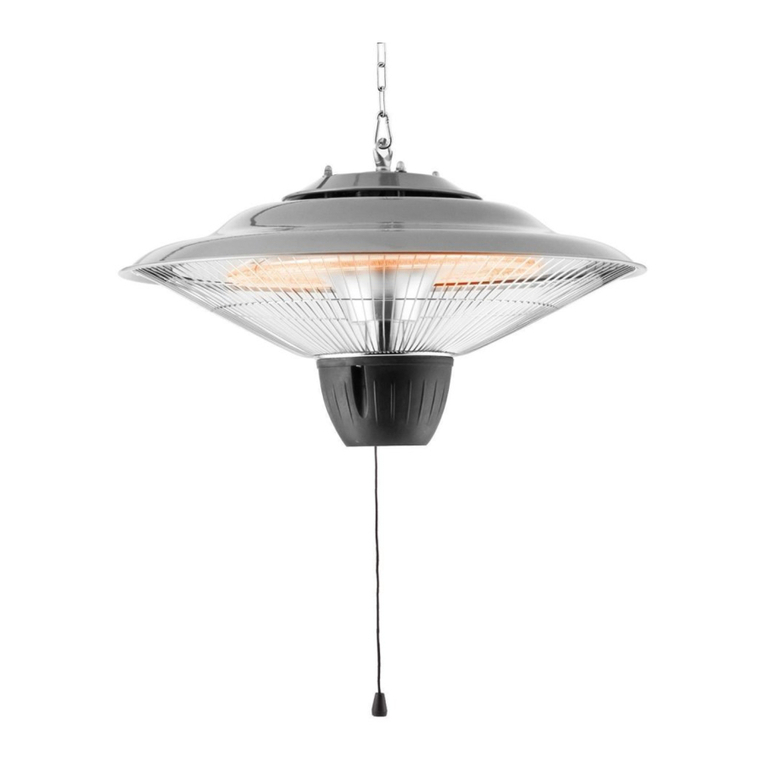
2.7kW 360°Electric Patio Heater
Important
These instructions should be read carefully and left
with the user of the product for future reference.
Before use
You must inspect the appliance including its cable and
plug for any signs of damage. If the product is
damaged, DO NOT use it, and contact London Cool
immediately.
Operation
Plug the mains lead into a 13 amp mains socket that is
protected by a 30mA residual current device (RCD).
Never use equipment outdoors that is connected to a
socket that is not protected by an RCD.
If collecting via an extension lead, make sure that the
lead is rated at 13 amps, and that it is fully unwound.
If the socket or extension lead is outdoors then a
suitably waterproof connector must be used.
Switch the unit on at the mains socket.
The three push-button switches labelled H1, H2 and
H3 control the three heating elements. Press to turn
on, press again to turn off. The circular indicator
beneath the heating element illuminates if the element
is switched on – this makes it possible to tell if an
element is switched on before it has reached operating
temperature, or if it is switched off and has yet to cool
down.
The push-button labelled L controls the lamp at the top
of the appliance. Press to turn on: press again to turn
off.
Do not touch the fireguards when the heater is in
operation, because the will be hot and may cause
burns.
Unplug the heater from the mains when not in use.
Product safety
•This appliance is not intended for use by
persons (including children) with reduced
physical, sensory or mental capabilities, or
lack of experience and knowledge, unless they
have been given supervision or instruction
concerning use of the appliance by a person
responsible for their safety.
•Children should be supervised to ensure that
they do not play with the appliance.
•Ensure that curtains and other flammable
materials are at least 600mm (2”) from the top
and 1.5m from the sides of the heater.
•Do not use unless correctly installed.
•Do not cover when in use. This symbol shown
on the casing of the heater means that the
heater should not be covered when in use.
•Do not place the mains lead beneath a carpet
or rug.
•Do not use the heater in locations where paint,
petrol or other flammable liquids are used or
stored.
•Do not insert any object into the heater
through the grilles. This may damage the
heater or result in overheating or electric
shock.
•If used outdoors, the heater must be
connected via a residual current device (RCD)
rated at 30mA or less.
•Do not use this heater in the immediate
surroundings of a bath, shower, Jacuzzi, hot-
tub, swimming pool, pond or water feature.
•Not suitable for use in boats, caravans or
similar locations.
•This heater must not be connected to a timer
or other type or programmable switch (a fire
hazard exists if the heater is covered when the
timer switches it on).
•Do not touch the fireguard when the heater is
in use, as it is hot and may cause burns.
•The fireguard of this heater is intended to
prevent direct access to the heating elements
and must be in place when the heater is in
use.
•The fireguard does not give full protection for
young children and for infirm persons.
Maintenance
Before cleaning, turn the heater off, disconnect
from the mains supply and allow to cool down. The
heater may then be cleaned using a damp cloth
with a drop of washing up liquid to remove any


