manuals.online logo
Brands
  1. Home
  2. •
  3. Brands
  4. •
  5. Hobby King
  6. •
  7. Toy
  8. •
  9. Hobby King Mig-15 EDF User manual

Hobby King Mig-15 EDF User manual

Mig-15 EDF Model
High performance fibreglasss jet
Warning!
This model is not a toy Please read this manual carefully before construction and
operation of this model
Specifications:
Wingspan: 1125mm
Length: 1110mm
Rotor Diamater: 90mm
Equipment required (not included):
l 5 channel radio and reciever
l Suitable motor and speed controller
l Servo extension wires
l Micro servos x8
l Epoxy (5 and 30min) and CA glue
l Velcro
l Drill or dremel, 2mm and 10mm bits
l Small screwdrivers and allen (hex) keys
l Craft knife
l Sandpaper
Step 1: Rudder servo
The correct location for the rudder servo is shown below:
Begin by attaching a servo horn and an extension wire of adequate length (between
70cm and 1m) to the rudder servo Make sure the servos are centered (use your radio)
before attaching the servo horns as this will be difficult to rectify later! Next, test fit
the servo in its slot (note, servo thickness must be less than 15mm) To attach, first
roughen the farside of the servo using sandpaper and glue in place using 5 minute
epoxy
Next, locate the servo door covers You can see how these are installed in the image
above You will need to cut out a small slot in the covering film using a craft knife to
complete the instillation This must accommodate the full range of servo motion so be
sure to allow for this Attach the servo cover to the vertical stabilizer using screws or
5 min epoxy Finally, feed the servo extension wire through the plane to the nose
Step 2: Rudder hinge, control horn and clevises
The aircraft is supplied with the rudder attached to the tail surface, however it is not
glued in place To attach it securely, first remove the rudder and hinges from the
plane Use a small drop of CA glue to secure each hinge to the rudder, making sure
appx half of each hinge remains exposed Next, drop a small drop of CA on the very
tip of each hinge and slide it into place
The control horns are attached to the rudder using screws First, find a control horn
and line it up with the servo horn Drill four small pilot holes using a 2mm bit and
secure with screws
Rudder servo
Note the correct position and orientation of the servo horns is shown below
Finally, install a push rod and clevis between the servo and rudder control horns to
complete this step The pushrod may have to be cut to the desired length Take care
when cutting these
Step 3: Elevator servos
Due to the shape of the aircraft’s tail, two servos must be used to control the elevators,
as you can see on the next page
Begin by attaching servo horns (as before) and extension wires of adequate length to
each servo (again, between 70cm and 1m) Next, position each servo as shown in the
following image, making sure that they fit as required These servos will need to be
glued in place Roughen the surface of each servo with sandpaper and glue in the
correct position (as before, 5 minute epoxy may be used)
Next, locate the servo door covers These will be attached like so:
Before they can be installed, cut out a small slot as before Again, note that the full
range of the servo must be accommodated Attach using screws or 5 min epoxy
Step 4: Installing the horizontal stabilizer
Both tail surfaces will be attached using epoxy To ensure the strongest possible bond,
roughen the surface to which the wings will be attached using sandpaper Next, locate
the short (125 mm) carbon fibre rod, and locator pins and install without gluing (refer
to the image on the next page)
Next, install both tail surfaces Do not glue them at this point, simply line them up
Ensure that they are the correct orientation (red side up in this case) and that they are
in line with one another It is reccommended to remove the elevator surfaces at this
point to prevent them being glued Apply glue and tape or clamp both surfaces and
support using blocks if necessary Use 30 minute epoxy (or longer) to ensure a good
bond
Step 5: Elevator hinge, control horns and clevises
Once the glue from the previous step has dried, install the elevators, hinges and horns
To attach the elevator control surfaces to the horizontal stabilizer and the control
horns to the elevators, repeat the same procedure used with the rudder Affix using
screws as before Finally, attach pushrods and clevises
Locator
pin
CF rod
Step 6: Installing aileron and flap servos
First, centre servos, install servo horns and attach servo extension wires (30cm for
flaps, 50cm for ailerons) The procedure for installing both aileron and flap servos
into the wings is slightly different than before so care must be paid First locate the
four gray servo covers and as before, cut a slot in the covering film in each Note, as
each wing is a mirror image of the other these will not all be identical Cut as shown
below:
Next, attach a servo to the underside of each of these, once more noting the full range
of the servos This may be done with 5 minute epoxy, or by gluing two small blocks
(provided) to the underside of these covers and screwing the servos to these (see
following image)
Next, take the two main wings and find the servo bays These are covered over in the
factory so this covering film will need to be removed Cut away with a craft knife as
shown below
Next, take the two aileron servos and covers, and feed the extension wires through the
slot between the aileron and flap compartments Make sure you are choosing the
correct servo and cover to install, refer to the next image or guidance This may prove
tricky and some sort of wire will be helpful These can now be attached securely to
the wing This should be done using four screws as shown below Make sure you drill
small pilot holes using the 2mm bit before you attach, to prevent the wood splitting
Next, take a flap servo and cover, again making sure it is for the correct side (note, for
each wing, it should be identical to the aileron servo and cover just installed) Pull
both the aileron and flap servo wires through the styrofoam and through the hole in
the wing provided Then, attach the flap servo using the same procedure
Step 7: Control surface, horn and clevis attachment
Control surfaces and horns should be attached exactly as before Use CA glue to hold
the surfaces in place and screws for the control horns Don’t forget to line up the
control horns with the servos just installed and to drill 2mm pilot holes for the screws
before attachment! Finish off by installing clevises and pushrods
Step 8: Main wing attachment
As with the tail surfaces, the main wings are to be attached using 30 minute epoxy
First, roughen the fuselage where the wings are to be attached as above Next, drill a
hole in the fuselage that will allow the servo wires to pass through freely (Hint,
distance between edge of fibreglass spar and centre of hole is 35mm Also, a 10mm
hole should be adequate) Next, locate the two fibreglass spars and four locator pins,
identical to those used for the tail and slide them into position
Finally, slide on the wings and feed servo wires through the holes just drilled Again,
do not glue at this point, simply make sure that everything fits together as planned
Ensure that the surface of the wing and fuselage come into contact If they do not, the
fibreglass spar may need to be shortened by a few mm After you have acquired the
correct position, you may apply glue and tape or clamp both surfaces in position
Step 9: EDF instillation
Before the EDF can be installed, assemble the fan and motor securely Check that
there are no excessive vibrations when the motor is run Also, to simplify the later
seps of construction, make sure that the motor is orientated in the EDF unit as shown
below
Provided in you kit are four 25x15x10mm balsa blocks Begin the installation
procedure by attaching two of these as shown below to the EDF housing
Drill first and attach with screws Repeat for both sides
Next, apply 30 minute epoxy to the faces of the blocks and install as shown below It
may be a good idea to test fit this arrangement before gluing Note: do not glue the
plastic housing to anything, at least not at this point!
Before allowing the glue to set, make sure that the fan is orientated such that its line
of thrust is exactly in line with the body of the aircraft “Down and right” thrust does
not apply when the motor is positioned near the CG of the aircraft!
After this glue has fully set, remove the four screws and the EDF unit Attach the
remaining two blocks as shown in the image below using 30 minute epoxy
Reattach the EDF to complete this step
Step 10: Exit duct
To allow for undisturbed airflow within the aircraft, a fiberglass sheet has been
provided, from which you can fabricate an exit duct Cut out the following shape:
Roll up this sheet and install in the aircraft as below
You can use strong tape to hold the shroud in position at this end
310mm
260mm
500mm
15mm
50mm
30mm
If you measured correctly, there should be a little bit of shroud exposed at the rear of
the aircraft Glue this to the fuselage using 5 minute epoxy or perhaps strong CA and
trim
Step 11: Main wing landing gear
If you intend to use the provided non-retractable landing gear, first begin by cutting
out the correct shape from the covering film in the main wing as shown below
Next, install the metal struts in the fixed landing gear attachment These are generally attached in
such a manner that the bar to which the wheels will slide onto points inwards, towards the
fuselage Glue with 30 minute epoxy Once this is dry you may attach this arrangement to the
wing using screws Once more, don’t forget to pre-drill pilot holes Also attach wheels to the metal
struts using the collars provided, with one collar either side of each wheel
Step 12: Nose landing gear
Locate the parts required for the nose landing gear (see below) and arrange them as shown Glue
the two pieces of wood together using CA
Install this arrangement in the nose of the aircraft using screws Also install a servo, pushrods and
clevises as shown below
Step 13: Battery and electronics instillation
First, glue the wooden plate in position as shown below:
Batteries and electronics should be placed in this location These should be secured
using velcro
Step 14: CG adjustment
Position the battery such that the CG is within 5mm of the position shown below
145 9mm
Step 15: Finishing touches
Finally, install the entry duct “splitter” for realistic Mig-15 looks and go flying!
l Assistance from experienced pilot is necessary for beginners
l Pre-flight adjustment and trimming must be done before flying Check all
linkages, nuts, servo horns, linkage nuts and screws are tightened Make sure
thread lockers are applied
l Ensure the flying field is spacious and safe to fly
l Bench test the electronic equipment on load for 5 minutes Check the
temperature of the ESC, BEC and battery This is to ensure the power
system and the BEC are reliable and compatable All EDF should be run in to test
for vibrations and loose shaft
l Check all electronic equipment Range check the radio equipment Test all
control surface are moving in their assigned directions
l Check battery voltage before use, even the battery are recently charged
l At the first flight, it is prudent to check the C G
l In runway takeoff, slight finger pressure at the trailing edge of the elevator
should be able to pitch up the aircraft
Attention!

Other Hobby King Toy manuals

Hobby King Decathlon User manual

Hobby King

Hobby King Decathlon User manual

Hobby King Ezio 1500 EP User manual

Hobby King

Hobby King Ezio 1500 EP User manual

Hobby King Angel 920 User manual

Hobby King

Hobby King Angel 920 User manual

Hobby King HUMMER EPP-3D User manual

Hobby King

Hobby King HUMMER EPP-3D User manual

Hobby King Plug-N-Fly Paramotor User manual

Hobby King

Hobby King Plug-N-Fly Paramotor User manual

Hobby King Tanager Glider User manual

Hobby King

Hobby King Tanager Glider User manual

Hobby King Waco SRE User manual

Hobby King

Hobby King Waco SRE User manual

Hobby King Decathlon-46 User manual

Hobby King

Hobby King Decathlon-46 User manual

Hobby King 450 User manual

Hobby King

Hobby King 450 User manual

Hobby King Gulfstream G500 ARF User manual

Hobby King

Hobby King Gulfstream G500 ARF User manual

Hobby King B-17 F User manual

Hobby King

Hobby King B-17 F User manual

Hobby King 12A BEC User manual

Hobby King

Hobby King 12A BEC User manual

Hobby King SU-35 FIGHTER User manual

Hobby King

Hobby King SU-35 FIGHTER User manual

Hobby King Electrolyte User manual

Hobby King

Hobby King Electrolyte User manual

Hobby King Typhoon -EP User manual

Hobby King

Hobby King Typhoon -EP User manual

Hobby King T­-46 Programming manual

Hobby King

Hobby King T­-46 Programming manual

Hobby King MXS-R User manual

Hobby King

Hobby King MXS-R User manual

Hobby King DODGER-EP User manual

Hobby King

Hobby King DODGER-EP User manual

Hobby King FALCON TRAINER User manual

Hobby King

Hobby King FALCON TRAINER User manual

Hobby King EXTRA260P User manual

Hobby King

Hobby King EXTRA260P User manual
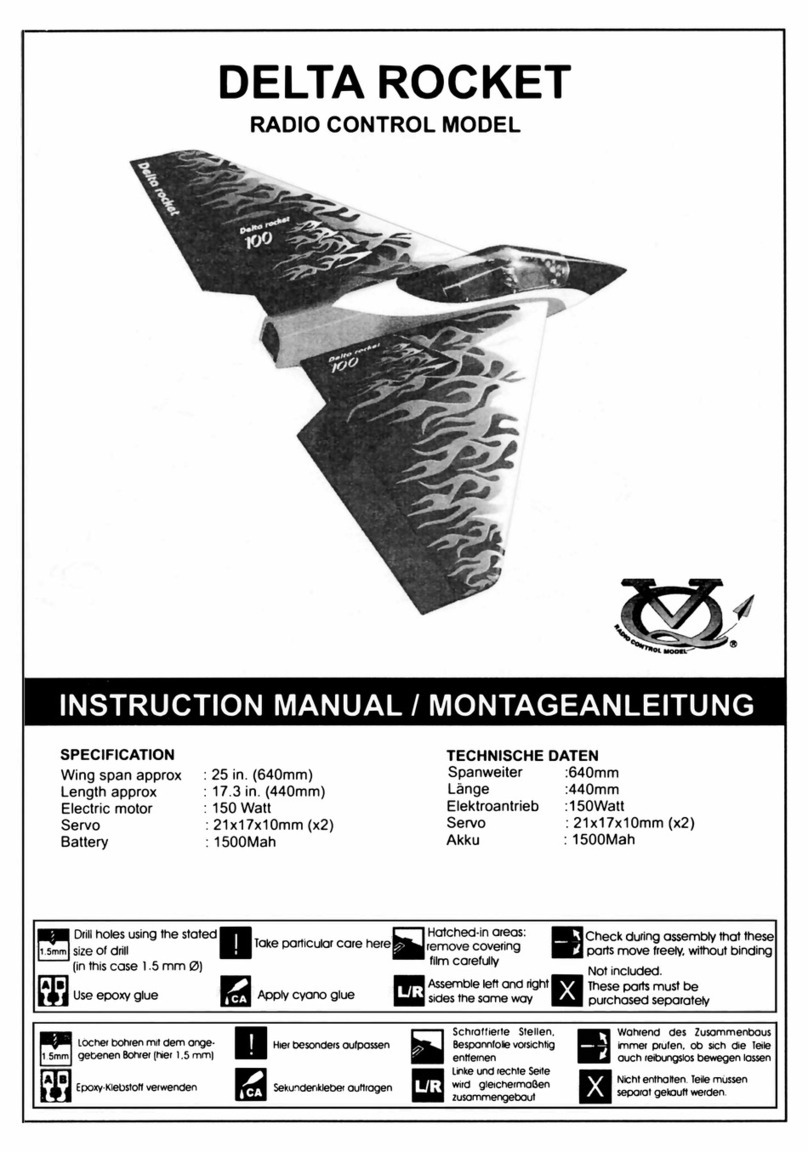
Hobby King Delta Rocket 100 User manual

Hobby King

Hobby King Delta Rocket 100 User manual

Hobby King YAK54 20CC EP User manual

Hobby King

Hobby King YAK54 20CC EP User manual

Hobby King ME-163 User manual

Hobby King

Hobby King ME-163 User manual

Hobby King Stinson Reliant User manual
Hobby King

Hobby King Stinson Reliant User manual

Popular Toy manuals by other brands

Hasbro G.I.JOE WOLF HOUND quick start guide

Hasbro

Hasbro G.I.JOE WOLF HOUND quick start guide

TSA model INFUSION 700N instruction manual

TSA model

TSA model INFUSION 700N instruction manual

Lionel Electric Trains Tinplate No. 6 Operator's manual

Lionel Electric Trains

Lionel Electric Trains Tinplate No. 6 Operator's manual

Eduard Zoom F-14D quick start guide

Eduard

Eduard Zoom F-14D quick start guide

marklin 39013 user manual

marklin

marklin 39013 user manual

Modellbau Laffont Z1701 Assembly instructions

Modellbau Laffont

Modellbau Laffont Z1701 Assembly instructions

Mattel Barbie J8916-0520 instructions

Mattel

Mattel Barbie J8916-0520 instructions

M.T.H. Premier Genesis Diesel Locomotive Operator's manual

M.T.H.

M.T.H. Premier Genesis Diesel Locomotive Operator's manual

Razor Dirt Rocket MX125 owner's manual

Razor

Razor Dirt Rocket MX125 owner's manual

marklin 78071 user manual

marklin

marklin 78071 user manual

Little Tikes lil' ocean explorers manual

Little Tikes

Little Tikes lil' ocean explorers manual

THE WORLD MODELS AirMaster 5000 instruction manual

THE WORLD MODELS

THE WORLD MODELS AirMaster 5000 instruction manual

REVELL KIT 1879 Assembly manual

REVELL

REVELL KIT 1879 Assembly manual

ROBBE Charter NXG Instruction and user's manual

ROBBE

ROBBE Charter NXG Instruction and user's manual

Trix GG-1 manual

Trix

Trix GG-1 manual

GREAT PLANES EP FALCON ARF instruction manual

GREAT PLANES

GREAT PLANES EP FALCON ARF instruction manual

TILLIG BAHN 85323 quick start guide

TILLIG BAHN

TILLIG BAHN 85323 quick start guide

Fisher-Price RESCUE HEROES manual

Fisher-Price

Fisher-Price RESCUE HEROES manual

manuals.online logo
manuals.online logoBrands
  • About & Mission
  • Contact us
  • Privacy Policy
  • Terms and Conditions

Copyright 2025 Manuals.Online. All Rights Reserved.