5. Switch the transmitter on, then switch the receiver on.
6. Always perform a range check with your transmitter. Make sure your plane is secure to prevent
damage to people and property.
7. Check plane responds properly to control signals.
8. Re-check all your control services, airframe, screws and undercarriage etc.
9. If there is no interference, the plane is now ready to fly.
FLIGHT
Take-off:
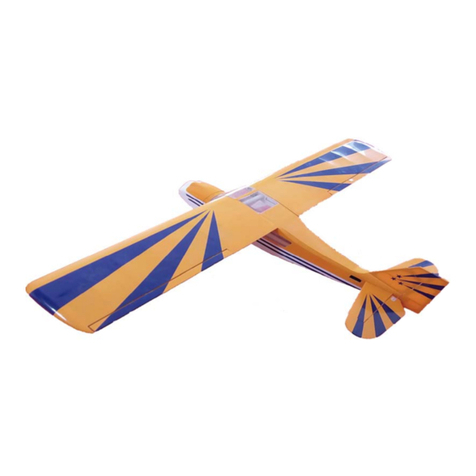
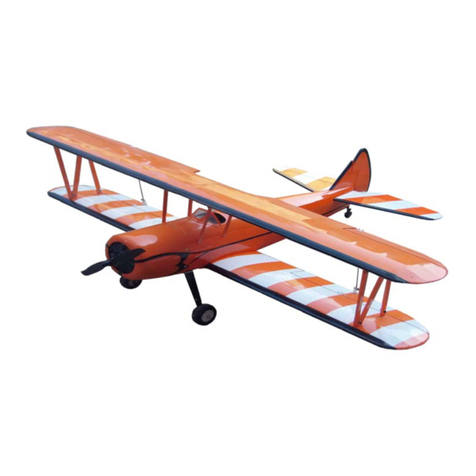
1. Face into the wind, slowly increase the throttle, use the rudder to keep the cub flying straight. Slowly
add elevator and throttle to rotate and become airborne.
2. Start to turn your cub downwind slowly gaining height, once at height and you are comfortable with
the flying attitude of your plane start your trimming of your control surfaces. With 50% of throttle the
cub should fly straight and level.
3. Be careful not to over control the plane, just keep steady and straight and climb to a safe height. At
this point you should start to make circular climbs and then into level flight. Become more familiar with
your H-King Navy Cub. As your flying confidence develops the more manoeuvres you can add to your
flying.
Flight:
1. The plane should fly level at around 50% of full throttle.
2. The flight time will be prolonged if you allow the plane to sometimes glide at a safe altitude.
Landing:
Now you have flown your first flight, it’s time to land. Make sure you do a practice approach. After this
approach start your landing pattern beginning with a downwind leg, reducing throttle to slow the cub to
a suitable speed. Turn onto your base leg part of the circuit, use your rudder elevator and ailerons to
fly a co-ordinated turn. Turn onto final approach keep flying the cub straight using the rudder to adjust
yaw control, the elevator controls your attitude and the throttlecontrols your altitude. Using thismethod,
the cub is easy to control. Slowly decrease throttle and slowly fly the cub onto its main landing gear
when cub settles on its main landing gear then you can slowly cut the throttle and slowly apply elevator
