manuals.online logo
Brands
  1. Home
  2. •
  3. Brands
  4. •
  5. Hobby King
  6. •
  7. Toy
  8. •
  9. Hobby King EPP-P51D User manual

Hobby King EPP-P51D User manual

EPP-P51D
EPP-P51DEPP-P51D
INSTRUCTIONS
ALMOST UNBREAKABLE
Before operating this unit, please read these instructions completely.
Features:
Epp-P51D is epp fun fighters for outdoor flying.
Profile-scale high performance.Model is produced
by modern technology on CNC machines from EPP
“almost unbreakable” material. The flying time of
P51D is between 8 to 15 minutes, it depends on the
flying figures. It is very easy to land with the model ,
you are able to do it into your hand if you want like
with hand launch glider.
ProductSpecifications:
Fuselage length: 680mm (26.8in.)
Wingspan: 840mm (33.0in.)
Flying Weight:320-350g (with battery)
Motor: 2208 KV 1450
ESC: 20Amp
Propeller: GWS 8040
Servo: 8g micro servo * 3pcs
Radio: 4/more channels
Battery: 11.1V 600-1000mAh Li-po 20C
ALMOST UNBREAKABLE
CG Position:
45-55mm from the leading edge of the wing,.
2
Recommended FlyingSetup
Max servo travelofaileron:15degreesupand15degreesdown(8mm)
Max servo travelofelevator:15 degreesupand15degreesdown(10mm)
Max servo travel of rudder: 20degrees left and 20 degrees right (
Do not fly under the conditions below
Wind strong enough to make the trees rustle
A street with many trees or street lamps
Close to high voltage electrical wires
High Population density areas
Cautions for flying
front lawns and parks make excellent flying areas. Make sure you
have permission to fly and follow safety guidelines set by local
authorities. The calmer the wind, the better!
Note for Storage
Please disconnect the lipo packs when finished flying
Do not press or crush the airplane when storing
The best way to store is to hang the airplane to keep the control
surface rigid
45-55mm45-55mm
Body parts included in the packing
1 Fuselage 1pcs
2 canopy 1pcs
3 Wing with aileron (right and left) 2pcs
4 Elevator (stabilizer) 1pcs
5 vertical fin 1pcs
1
2
3
45
A Motor mount 1pcs
B Extension of the arm 1pcs
C pushrod connector 4pcs
D Screw 5pcs
E Pvc 1pcs
F Control arm 4pcs
A
B
C
D
F
E
Carbon fiber fittings
Glass fiber rod 3pcs diameter.1.5mm*800mm(L)
Plastic tube 2pcs size: 2*230mm
Z wire 2pcs 0.8mm*360mm
Z wire 2pcs 1.2 mm *220mm
The items below are required for assembly
3
Cut a a straight slot on the fuselage to 580mm by knife as picture
shown. The slot must be 3mm deep and ensure the 1.5mm carbon
rod inset.
press the wire into the slot.
On the flat board glue the carbon rod into fuselage using CA glue.
In the same manner install it on the opposite side of the fuselage
CA
90
90
Glue the motor mount as shown .Use CA glue
Insert motor mount into the fuselage .use CA glue.
Screw motor into the motor mount , using 4pcs screws.
Cut opening for ESC .insert ESC into opening –the hole must be
about 1mm smaller,The fuselage foam will hold the ESC in the right
position.
Using sharp knife cut an opening for rudder and elevator servos
and for receiver .
The opening for servos must be 1mm smaller from each side .
4
Insert the servos into the hole as shown .use CA glue .
Install the pushrod connector to the servo arm, insert the quick lock
onto the pushrod connector .
Use your radio system and determine which hole in the servo arms
will give the desired control throw. Install the servo arms on the
servos.
Into the fuselage drill 8mm deep slot for servo cable of the ESC
.Install the servo cable into this slot for receiver.
Using sharp knife cut the slot for the tube at left side of the fuselage
.the slot must be 3mm deep .position slot as shown.
60mm
Press the tube into the slot in fuselage as shown .glue it using CA
glue .
Install the other end of the Z wire (elevator pushrod) to the elevator
servo arm.
Install the other end of the Z wire (rudder pushrod) to the rudder servo
arm
Using sharp knife cut an opening for ailerons servo .The opening
must be 1mm smaller from each side.
15mm
Into the fuselage drill the 8mm hole for aileron servo cable up to
the space for receiver.
Glue the extension of the servo arm onto the ailerons servo arm
using CA glue.
Before gluing rough the arm and extension.
Insert connectors into extension of the servo horn .
Insert the ailerons servo into the hole and put through the servo
cable into the opening for receiver .glue the servo using fusion
glue.
Using sharp knife cut an opening for ailerons servo horn.
Switch on the RC-set for to have the servo in neutral .install the
servo horn on the servo.
Insert the receiver into place .the fuselage foam will hold it in place
.plug the elevator ,rudder and aileron servos and ESC conectors
into receiver.
Put the servo cables into the opening around the receiver.
5
6
90
90
The horizontal stabilizer into the fuselage glue arround the edge
with CA glue .check the perpendicularity as shown .
Put the elevator horn onto the “Z” wire as shown .mark the position
for slot .Cut the slot 6mm deep.
Glue the elevator horn into the elevator with CA glue as shown.
Glue vertical fin on the fuselage using CA glue .Check the
perpendicularity and alignment as shown.
Bend the elevator as shown . put the rudder horn onto the “Z”wire
as shown .mark the position for slot .cut the slot 6mm deep.glue the
horn into the rudder with CA glue as shown .
Switch on the RC set. Put the control surfaces to the neutral as
shown . Tighten the connector screws .cut the pushrods as shown .
Put control surfaces into neutral
Glue the wing panels together using CA glue .
40mm 40mm
800mm
Cut the slot in the wing using sharp knife .the slot must be 3mm
deep and 800mm length.
Press the wire into slot in the wing .
7
Glue the wire into upper side of the wing using CA glue and activator
spray .
Use the same procedure glue the wire on the bottom side of the wing .
12mm
Cut a slots in the ailerons of wing for the control horns as shown .
Glue the control horns into the ailerons using CA glue and activator
spray .
A
BA=B
90 C=D
Insert wings into the fuselage as shown . check if the wings is the
centre and in the right alignment .Also check if the wing is
perpendicular to the fuselage side .
Glue the wing in place using CA glue . Apply glue at the top and
than to the bottom (as shown)
Insert the control wires into the ailerons horns and into pushrod
connector as shown .switch on the RC-system for to have the servo
in neutral .put the ailerons in neutral .Now the pushrod connectors
screws must be tightened.
Hollow out the canopy with sharp knife and make enough space for
servo arm working
44mm
Install the canopy to the fuselage with screw and connector
Install the the propeller and spinner to the motor .tighten properly.
Moving the accu pack make the model balance .
cut opening In the fuselage for accu pack –the hole must be about
1mm smaller of each side ,the fuselage foam will hold the accu
pack in the right position.
The accu pack press into the hole in fuselage .
FinalCheck
Checkthe model.Itmustbesymmetrical andnot twisted.
Radiocontrol setinstallation
review top and side view, showing a basic radio installation. Put accu
pack in fuselage as shown. Accu pack will be used for balancing the
P51D. Use instruction guidefor speed controllerfor operating with electro
powerset.
Centre of gravity
Support your model with your fingertips. It should balance, slightly nose
down, when your finger tips are 45-55mm behind the leading edge of the
wing. Move the battery to balance your modell properly. Do not try to fly
anout-of balancedmodel, asitwillcrash!
Flying
Check each control surface for the correct movement and adjust
pushrods. Checking running of the motor. For taking of you need a flying
fieldabout 100m longwithout treesaround. Holdyour modelon the hand ,
put ¡±full gas¡±.Throw the model in the air little bit nose up .Move elevator a
littlebitupand warbirdwillbein theair .
Fix the end of PVC without hole to the front of the canopy with glue.

Other Hobby King Toy manuals

Hobby King DODGER-EP User manual

Hobby King

Hobby King DODGER-EP User manual

Hobby King Electrolyte User manual

Hobby King

Hobby King Electrolyte User manual

Hobby King go Discover User manual

Hobby King

Hobby King go Discover User manual

Hobby King MXS-R 64 User manual

Hobby King

Hobby King MXS-R 64 User manual

Hobby King Aether 3700 EP User manual

Hobby King

Hobby King Aether 3700 EP User manual

Hobby King Skipper 40228 User manual

Hobby King

Hobby King Skipper 40228 User manual

Hobby King T­-46 Programming manual

Hobby King

Hobby King T­-46 Programming manual

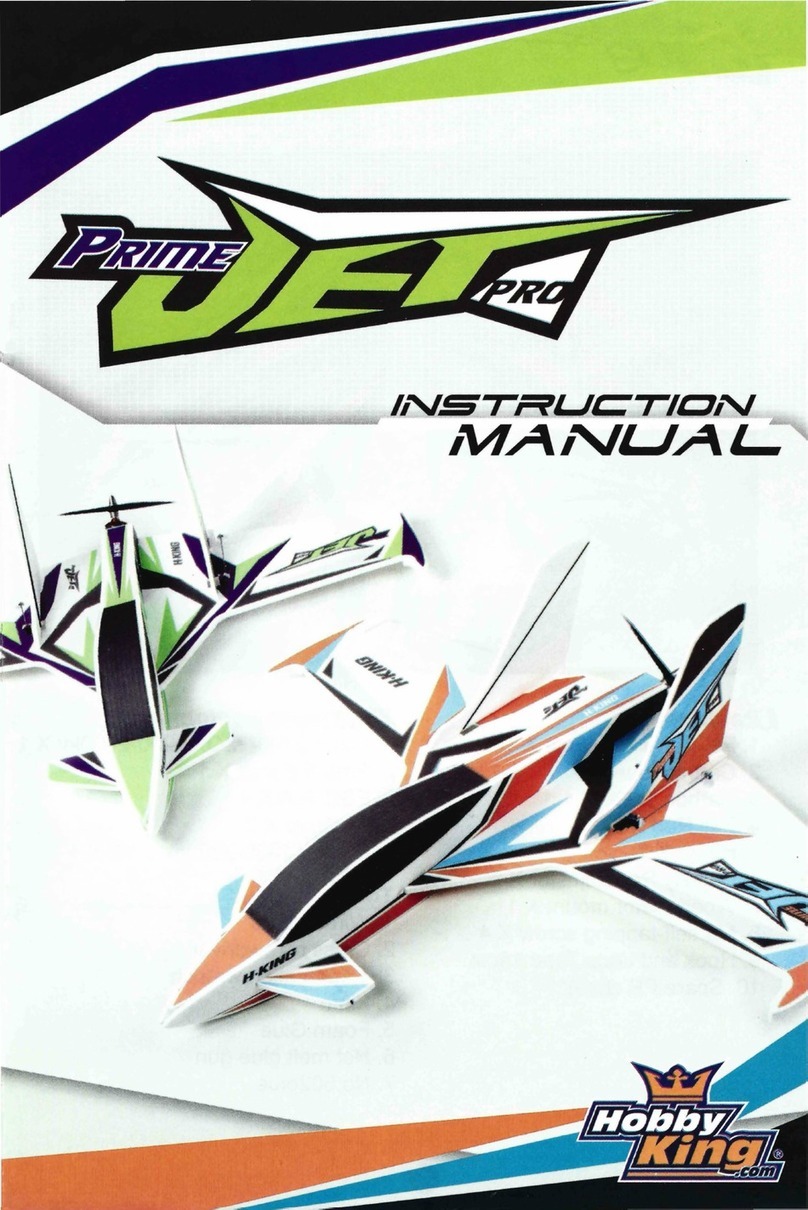
Hobby King Prime Jet Pro User manual

Hobby King

Hobby King Prime Jet Pro User manual

Hobby King Decathlon-46 User manual

Hobby King

Hobby King Decathlon-46 User manual

Hobby King YAK54 20CC EP User manual

Hobby King

Hobby King YAK54 20CC EP User manual

Hobby King YAK- EPP User manual

Hobby King

Hobby King YAK- EPP User manual

Hobby King Gulfstream G500 ARF User manual

Hobby King

Hobby King Gulfstream G500 ARF User manual

Hobby King Assault 100 User manual

Hobby King

Hobby King Assault 100 User manual

Hobby King YAK 54 EP ARF User manual

Hobby King

Hobby King YAK 54 EP ARF User manual

Hobby King Fokker E.111 Fighter Aircraft User manual

Hobby King

Hobby King Fokker E.111 Fighter Aircraft User manual

Hobby King Estrella Sport-50E User manual

Hobby King

Hobby King Estrella Sport-50E User manual

Hobby King Mellizo-50e User manual

Hobby King

Hobby King Mellizo-50e User manual

Hobby King SuperG User manual

Hobby King

Hobby King SuperG User manual

Hobby King J3 NAVY CUB User manual

Hobby King

Hobby King J3 NAVY CUB User manual

Hobby King BAE Hawk User manual

Hobby King

Hobby King BAE Hawk User manual

Hobby King Fokker Dr.I User manual

Hobby King

Hobby King Fokker Dr.I User manual

Hobby King spitfire User manual

Hobby King

Hobby King spitfire User manual

Hobby King Angel 920 User manual

Hobby King

Hobby King Angel 920 User manual

Hobby King Ezio 1500 EP User manual

Hobby King

Hobby King Ezio 1500 EP User manual

Popular Toy manuals by other brands

Eduard P-40E Kittyhawk manual

Eduard

Eduard P-40E Kittyhawk manual

HobbyZone Super Cub DSM instruction manual

HobbyZone

HobbyZone Super Cub DSM instruction manual

HSP Troian Pro instruction manual

HSP

HSP Troian Pro instruction manual

Faller BLACK FOREST FARMYARD instructions

Faller

Faller BLACK FOREST FARMYARD instructions

Spirit Victorian Railways QR bogie 3 door wagon Assembly

Spirit

Spirit Victorian Railways QR bogie 3 door wagon Assembly

REVELL C-160 Transall Assembly manual

REVELL

REVELL C-160 Transall Assembly manual

Faller 3071 quick start guide

Faller

Faller 3071 quick start guide

LEGO creator 31019 Assembly information

LEGO

LEGO creator 31019 Assembly information

Eduard Shackleton AEW.2 landing flaps quick start guide

Eduard

Eduard Shackleton AEW.2 landing flaps quick start guide

Playskool Chip Chainsaw instructions

Playskool

Playskool Chip Chainsaw instructions

GREAT PLANES Escapade Mx instruction manual

GREAT PLANES

GREAT PLANES Escapade Mx instruction manual

Amewi AMXFLIGHT CARTOON CORSAIR F4U manual

Amewi

Amewi AMXFLIGHT CARTOON CORSAIR F4U manual

Learning Resources Jump 'N' Jam Jungle Use and care guide

Learning Resources

Learning Resources Jump 'N' Jam Jungle Use and care guide

DTS DTS300 manual

DTS

DTS DTS300 manual

THUNDER TIGER TITAN X50 - instruction manual

THUNDER TIGER

THUNDER TIGER TITAN X50 - instruction manual

Oregon Scientific PR18 user guide

Oregon Scientific

Oregon Scientific PR18 user guide

Kyosho Calmato Alpha40 Sports instruction manual

Kyosho

Kyosho Calmato Alpha40 Sports instruction manual

Kavan F1H instruction manual

Kavan

Kavan F1H instruction manual

manuals.online logo
manuals.online logoBrands
  • About & Mission
  • Contact us
  • Privacy Policy
  • Terms and Conditions

Copyright 2025 Manuals.Online. All Rights Reserved.