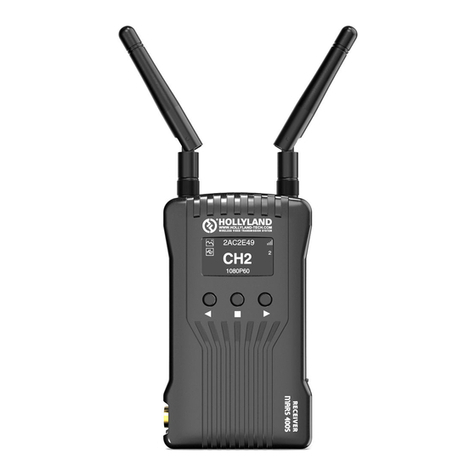
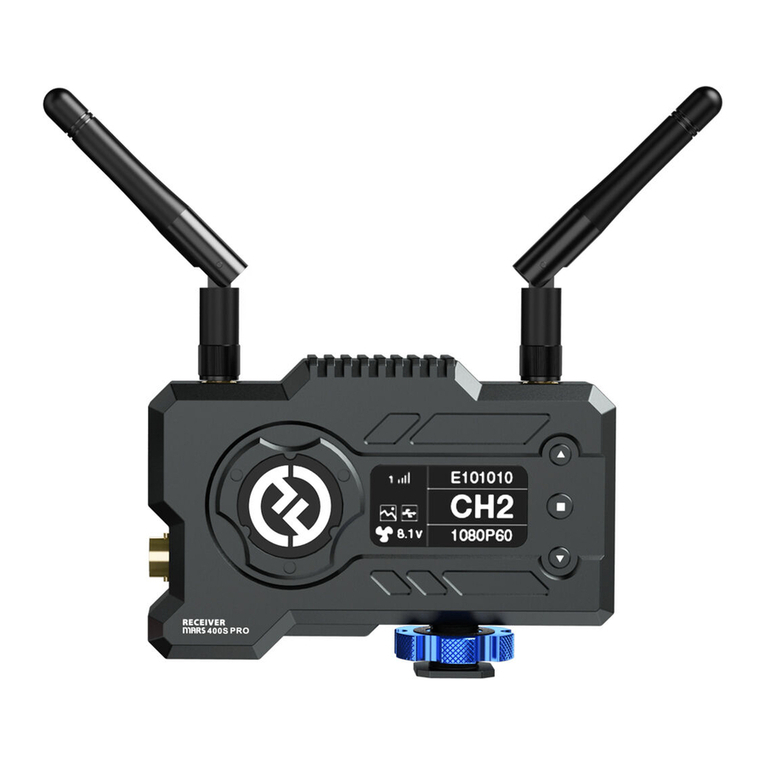
Hollyland CH12 User manual

1
PRODUCT INFORMATION
DESCRIPTION
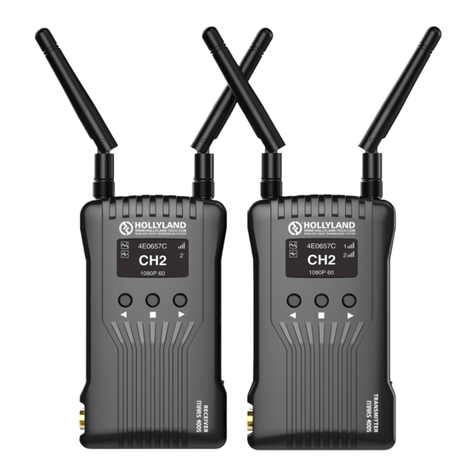
Thankyou for purchasing Hollyland wireless HD video transmission system. Theproduct uses currently
newest encode, decode and 5G wireless transmission technologies.And can achieve ultra-low latency video
transmission. It transmits over 600FTwith a clean line of sight (LOS), supportsup to 1080P 60Hz resolution,
and in the end achieves Full HD HDMI video transmission.
KEY FEATURES
200m Transmission Range
Less than 0.1s Latency
HDMI Input &HDMI Loop Out, Dual HDMI Output
Mounting Batteries for Both the Transmitter and Receiver
6~16V DC Power Input
1 Transmitter withMultiple Receivers
Smart Terminal Monitoring
Smart ChannelSelecting
USB Firmware Upgrade
OLED Display
Stable & Reliable Industrial Metal Case
APPLICATIONS
Filmmaking
Live Broadcasting
Sports Activities
Education Recording
Wedding Ceremonies
Corporate Events
PACKING LIST

2
①Transmitter x1
②Receiver x1
③Antenna x5
④Quick Guidex1
⑤Cold Shoe x1
⑥Expansion Accessory x1
⑦DC Adapter x1
⑧Type-C Converter x1

3
STANDARD SETUP
This wireless HD video transmission systemuses the latest wireless communication technology,
andtransmits ultra-low latency HD video transmission.The transmitter supports HDMI Input and HDMI
loop out, while the receiver supports dualHDMI output. It is equipped with OLED display screen and
supports Smart Terminal Monitoring.

4
PRODUCT INTERFACES
A Transmitter
①Antenna Interface
②HDMI Input
③HDMI Loop Out
④DC Input
⑤OLED Display
⑥Button Down
⑦Button OK
⑧Button UP
⑨USB Upgrade Interface
⑩Fan Air Outlet
⑪Power Switch
⑫1/4 Screw Hole
B Receiver
①Antenna Interface
②HDMI Output
③DC Input
④OLED Display
⑤Button Down
⑥Button OK
⑦Button UP
⑧USB Upgrade Interface
⑨Fan Air Outlet
⑩Power Switch
⑪1/4 Screw Hole

5
INSTALLATION
①Install the antenna as demonstrated
②Mount and fixedthe transmitter&receiver
③Connect to a power supply
④Turn on the device

6
OLED DISPLAY
A Transmitter
①Device ID
②Scene Mode
③USBDisk Detection Display
④BatteryStatus
⑤Signal Strength
⑥ReceiverNumber
⑦Channel Display
⑧Video Format
B Receiver
①Device ID
②Scene Mode
③USBDisk Detection Display
④Battery Status
⑤Signal Strength
⑥Device Number
⑦Channel Display
⑧Video Format
STATUS DESCRIPTION
1. When the devices are disconnected, a cross “x” will appear above the signal strength bars on both the
transmitter and receiver.As shown in the above diagram, device 1 is on connected status, device 2 is
on disconnected status.
2. Asshown in the above diagram,“NO VIDEO” willappearon the screenif there is no video input
detected,and the video format will appear if there is a video input detected.

7
3. The black and bold text on white background means that it is the DFS channel, while the white text on
the black background is the non-DFS channel.
4. When the device detects the USB disk connected, the USB disk detection display lights up.
5. When the voltage is too low, the low battery alarm willbe triggered and the icon willflash slowly.
Caution
1. When the receiver is not connected, it will not display the hotpot number.
2. When the receiver is turned on, the channel number will not be displayed before the receiver is
connected with transmitter.
CHANNEL CHANGE
Press the channel button “UP/DOW N” on the transmitter or receiver to change the current channel.
Press “OK” to confirmthe channel, then the channel of the transmitter and receiver will be
automaticallyandsynchronously changed.
DEVICE UPGRADE
1. Copy upgrade firmware to a USBstick.
2. Insert the USB stick into the OTG converter andconnect it with the USB Type-C upgrade interface on
the transmitter.
3. Reset the device, and enter into upgrade interface.
4. Once the upgrade is complete, it will display “upgrade successfully”, and device will be
automatically upgraded.
Caution
USB disk should be at FAT32 or exFAT format.
QUICK GUIDE
Transmitter
1. Long press “OK” button for about 3 seconds, enteringintothe root menu interface, it includes scene
mode, systemsetting, version information options.
2. Select “SCENEMODE”, then click “OK” button, you can select “IMAGE MODE”, “BALANCE
MODE”, “SPEED MODE”.
3. Select “SYSYTEM SETTING”,then clicking “OK” button, you can select “LANGUAGE
(Ch inese/English)”, “PAIR”, “RESET”.
4. Select “VERSION INFO”, thenclick “OK” button, you can check the version information.
Receiver

8
1. Press“OK” button for about 3 seconds, entering into the root menu interface which includes channel
scan, systemsetting, version information options.
2. Select “CHANNEL SCAN”, then click “OK” button, the device will scan and detect the current
frequency environment, available “√”, unavailable “╳”.
3. Select “SYSTEM SETTING”, then click “OK” button, you can select “Language (Chinese/English)”,
“PAIR”, “RESET”.
4. Select “VERSION INFO”, thenclick “OK” button, you can check the version information.
SMART TERMINAL MONITORING
Android system installation and use
1. The application name is “Holly View” . It is available on Hollyland's official website and Android
APP store.
2. No.1
Scan the device QR code, the APP will be automatically connected to the device.Enterthe main
interface, you can monitor the video.
No.2
Input the device ID number, manually connect the device, enter the main interface, and you can
monitor the video.
IOS systeminstallation and use
1. The applicationname is “Holly View”. It is available at APP Store.
2. Using methodsare the same as theabove.
PARAMETERS
Transmitter
Receiver
Interface
HDMI Input (Type A Female)
HDMI Output 1 (Type A Female)

9
HDMI Loop Out (Type A Female)
2 Antenna Interfaces (RP-SMA
Male)
DC Input, Type-C USB;
HDMI Output 2 (Type A Female)
2 Antenna Interfaces (RP-SMA Male)
DC Input, Type-C USB;
Supply Power
Range
6~16V DC
6~16V DC
Power
Consumption
<10W
<6W
Net Weight
165g
165g
Size
(LxWxH): 110*62*28mm
External antennas and battery plate
excluded
(LxWxH): 110*62*28mm
External antennas and battery plate
excluded
Input Video
Format
HDMI:
480P60,576P50,720P50/60,
1080i50/60,1080P30/50/60
/
Output Video
Format
/
HDMI:
480P60,576P50,720P50/60,
1080i50/60,1080P30/50/60
Frequency
5GHz
5GHz
Modulation Mode
OFDM
OFDM
Transmission
Power
Maximum 21dBm
/
Receiver
Sensitivity
/
-80dBm
Transmission
Latency
Less than 0.1s
Bandwidth
20MHz
20MHz
FAQ
ConnectionIssues
1. Please check and make surethe power suppliesfunction well ofthe transmitter and receiver.
2. If the battery indication showsat itslow battery, please replace the battery in time.
3. Please try to change to another channel andconnectthe devices again.
4. Please re-pair the devices.
5. Please check if the antennasonthe transmitter and receiver arecorrectlyinstalled.
Display Issues
1. Please check if the video source is correctly connected with the HDMI IN interface.
2. Please check if the transmitter shows a video format.If not, please check if the HDMI cable is
connected with transmitter and camera successfully and if there is a video output from camera.
3. Please check if the camera output video format is compatible with this device.
Image Low Quality Issues
1. Please set “SCENEMODE” to “IMAGEMODE”.
2. Please check HDMI (IN/OUT) cable is stably connected.
3. Please make surethe transmitter and receiver are installedat least 1.5mabove the ground.
4. Please check the signal strength status. If it is with only 1 bar signal, it means that the signal strength is
veryweak. In this case, please change the channelor shorten the device distance.

10
APP Connecting Issues
1. For Android systems, pleasemake sureto selectNon DFS channel.
2. Please check the number of APP devices. One transmitter supportsmaximum 1receiver and4 App
monitoring devices, or 1 transmitter with maximum2 receivers, withno APP monitoring.
FCC WARNING
This device complies with part 15 of the FCC Rules. Operation is subject to the following two
conditions: (1) this device may not cause harmful interference, and (2) this device must accept
any interference received, including interference that may cause undesired operation.
Any changes or modifications not expressly approved by the party responsible for compliance
could void the user's authority to operate the equipment.
NOTE: This equipment has been tested and found to comply with the limits for a Class B
digital device, pursuant to Part 15 of the FCC Rules. These limits are designed to provide
reasonable protection against harmful interference in a residential installation. This equipment
generates, uses and can radiate radio frequency energy and, if not installed and used in
accordance with the instructions, may cause harmful interference to radio communications.
However, there is no guarantee that interference will not occur in a particular installation.
Ifthis equipment does cause harmful interference to radio or television reception,
which can be determined by turning the equipment off and on, the user is encouraged to try to
correct the interference by one or more of the following measures:
-- Reorient or relocate the receiving antenna.
-- Increase the separation between the equipment and receiver.
-- Connect the equipment into an outlet on a circuit different
fromthat to which the receiver is connected.
-- Consult the dealer or an experienced radio/TV technician for help.
To maintain co mp liance with FCC’s RF Exposure guidelines, This equipment should be
installed and operated with minimum distance between 20cmthe radiator your body:Use
only the supplied antenna.
Table of contents
Other Hollyland Microphone System manuals

Hollyland
Hollyland HOLLYVIEW LARK 150 Installation guide

Hollyland
Hollyland MARS 400S PRO User manual

Hollyland
Hollyland MARS 400S PRO User manual

Hollyland
Hollyland HLWH009 User manual

Hollyland
Hollyland MARS 400S User manual

Hollyland
Hollyland HLHF200 User manual

Hollyland
Hollyland COSMO 1200 User manual

Hollyland
Hollyland MARS 400S Quick start guide

Hollyland
Hollyland MARS 300 User manual

Hollyland
Hollyland COSMO 2000 User manual