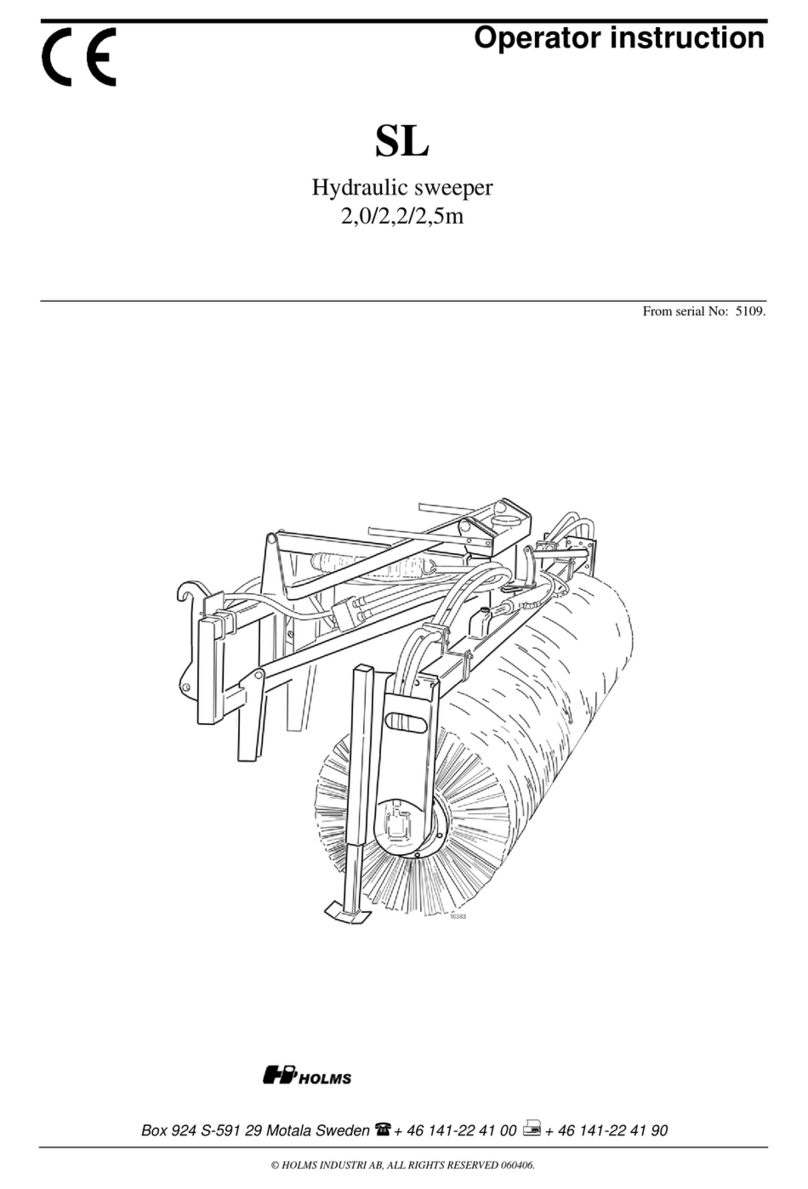
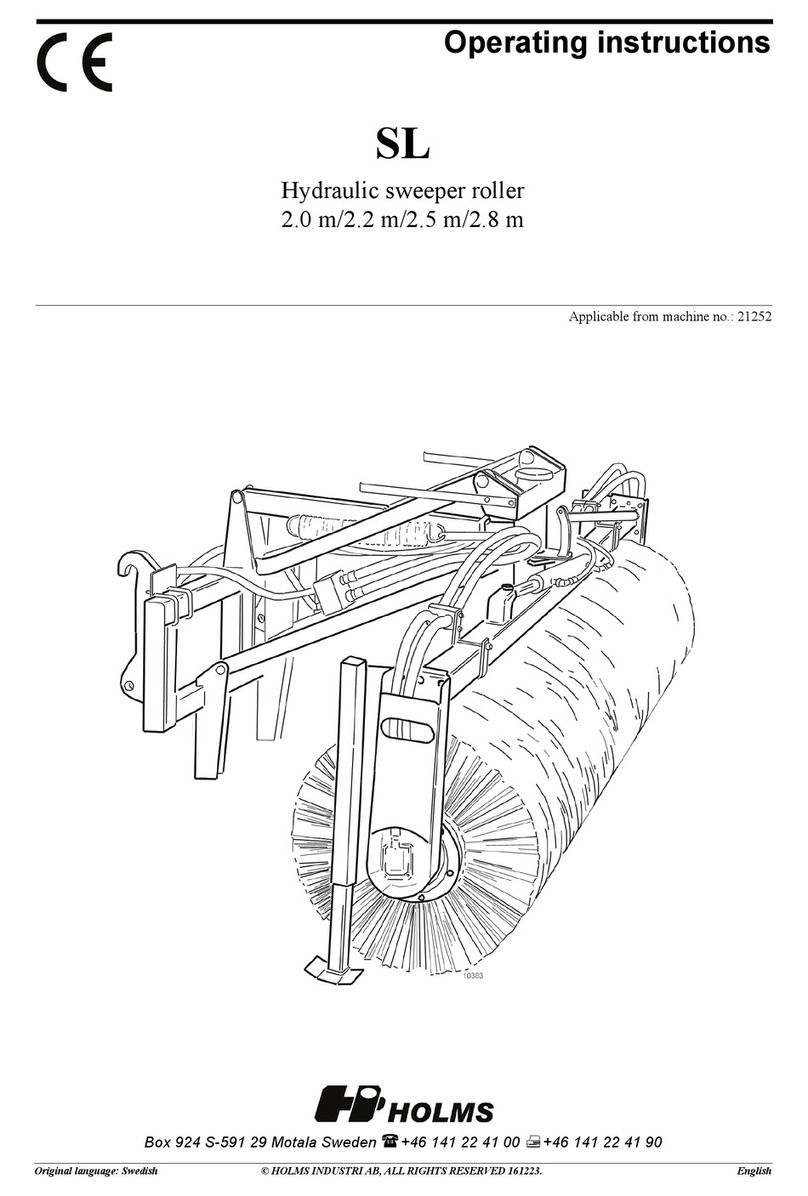
HOLMS 300L Specifications

OPERATOR INSTRUCTION
Box 924 S-591 29 Motala Tel +46 141 - 22 41 00 Fax +46 141 - 22 41 90
© HOLMS INDUSTRI AB, ALL RIGHTS RESERVED 4/4/06
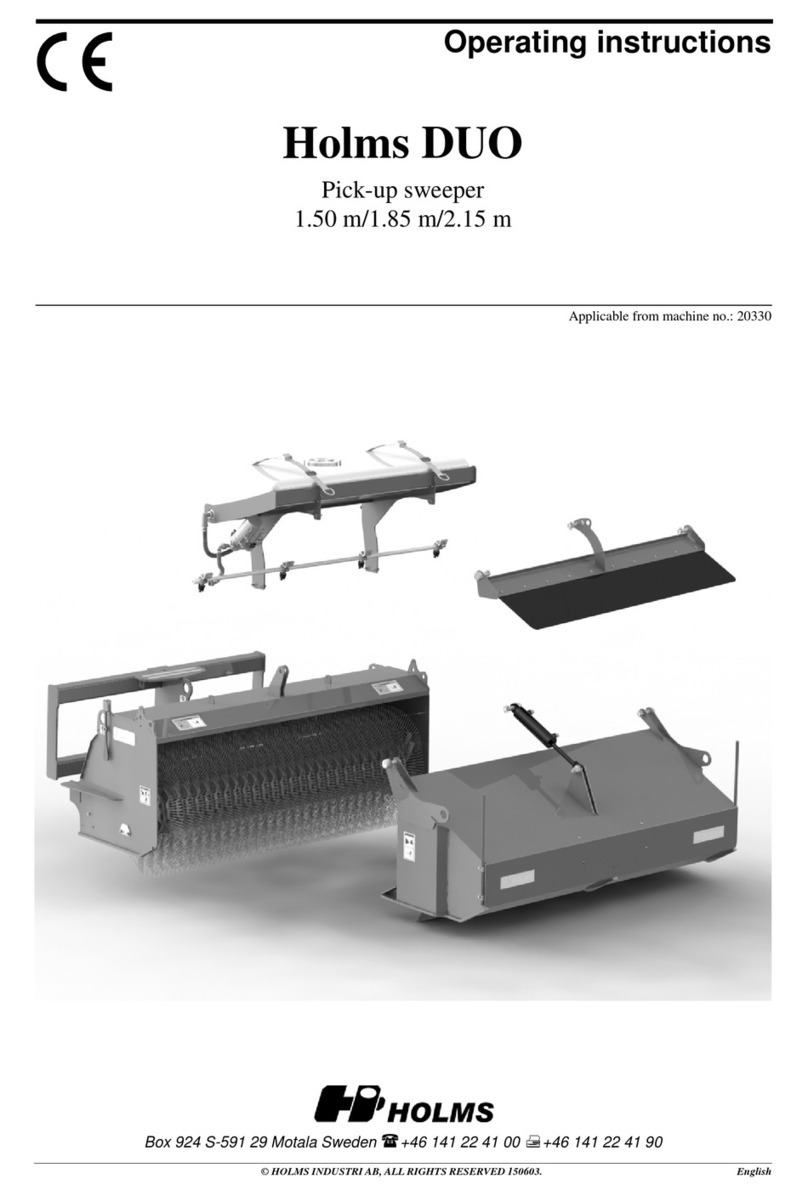
HOLMS 300 / 300L
From serial No: 5020
Serial No:
300 - 2,0 - 2000
300 - 2,0 - 4000
300 - 2,2 - 2000
300 - 2,2 - 4000
300 - 2,5 - 2000
300 - 2,5 - 4000
300L - 2,5 - 2000
300L - 2,5 - 4000
300L - 3,0 - 2000
300L - 3,0 - 4000
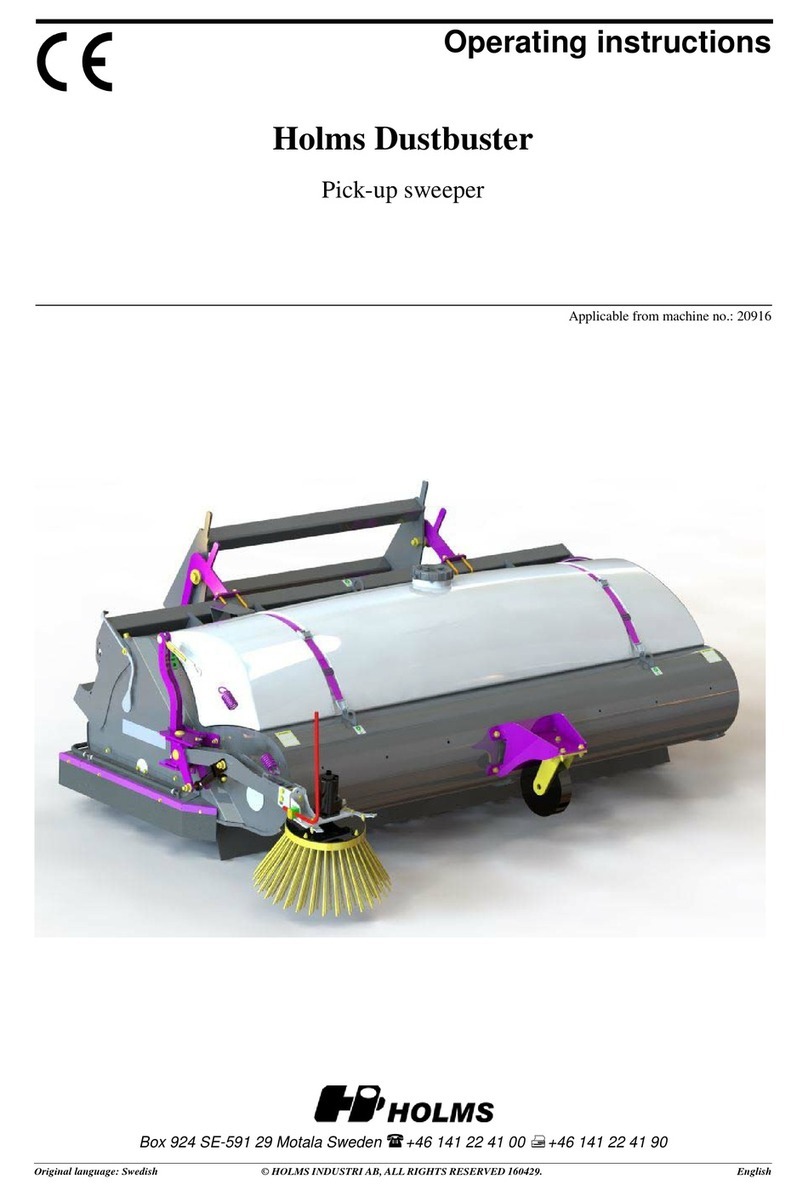
Pick-up sweeper

2
© HOLMS INDUSTRI AB, ALL RIGHTS RESERVED 4/4/06
HOLMS INDUSTRI AB
MOTALA SWEDEN
HOLMS 300 / 300L
Foreword
This manual is intended to be a guide for correct use and
maintenance of the equipment. Study the manual before
starting up and operating or before any prevention mainte-
nance is carried out.
Be confidentwiththe equipmentand alltheinstructionsand
keep the manual so it will always be used before taking the
equipment into operation.
OBS! This manual is made to suit all our markets. There
might be some differences and if this is the case for you,
please do not take notice.
We are continuously working on improvements and we re-
serve the right to make design changes and improvements
without notice.
The operator is obliged to:
- Look after ev. warning signs to be readable.
- See to that no unauthorized person uses the equip-
ment or is within the operating area during work or
maintenance work
- Check that the carrier is appropriate to the attachment
(hydraulic flow, stability etc.)
When ordering spare parts or by other contacts with Holms
or your local dealer, always inform about the attachment
type and series No. This number you will find on the ma-
chine plate.
When ordering packing set for hydraulic motors inform
about the motors serial number. This number you will find
on the gable of the motor.
CONTENT: PAGE:
Product facts 3
Generally 4
Operator instruction 5-6
Connecting to carrier 5
Sweeper setting,
height and tilt 5
Setting of ground pressure 6
Emptying the waste container 6
Disconnecting from carrier 6
Dust control 7
Side brush
(extra equipment) 7
Maintenance 8
Important safety
regulations 8
Change of brushes 8-10
Dismounting of sweeper roll 8
Change of brushes 9
Mounting of sweeper roll 10

3© HOLMS INDUSTRI AB, ALL RIGHTS RESERVED 4/4/06
HOLMS INDUSTRI AB
MOTALA SWEDEN
HOLMS 300 / 300L
Model 2,0 2,2 2,5 2,5L 3,0L
Working width (m)2,0 2,2 2,5 2,5 3,0
Max width (m) 2,2 2,4 2,7 2,7 3,2
Max height excluding hook (m) 1,3 1,3 1,3 1,3 1,3
Water tank volume 400 L 400 L 400 L 400 L 400 L
Effective waste volume 300 L 300 L 300 L 580 L 580 L
Weight (empty) 515* 530* 560* 620* 700*
Centre of gravity, A in sketch
(empty) 150mm* 140mm* 130mm* 140mm* 130mm*
Centre of gravity, B in sketch
(empty) 320mm* 320mm* 320mm* 340mm* 340mm*
Max oilflow (l/min)
2000/4000 motors 130/200 130/200 130/200 130/200 130/200
Max returnpressure (Bar)
2000/4000 motors 140/105 140/105 140/105 140/105 140/105
A
B
1. Centre of gravity
*) With VME 4000 bracket.

4
© HOLMS INDUSTRI AB, ALL RIGHTS RESERVED 4/4/06
HOLMS INDUSTRI AB
MOTALA SWEDEN
HOLMS 300 / 300L
2. Holms 300
Generally
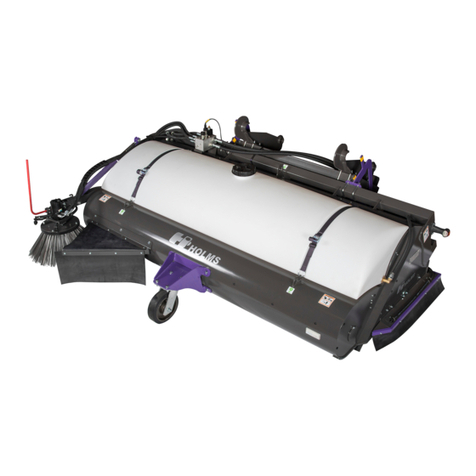
Holms 300 is a pick up sweeper adapted to front mounting
on wheel loaders or tractors.
The sweeper operates with two direct acting hydraulic
motors which can be delivered in two sizes, 2000 motors
(195 cm³) made for an oil flow of 40-130 l/min, or 4000
motors (311 cm³) made for an oil flow of 70-200 l/min.
The brush element is of tufted type, straight in the middle
and curved at the ends.
The curve on the brush element throws the waste forward/
inside, to obtain the best result.
The waste container is in two sizes, 300 (300 litre effective
volume) and 300L (580 litre effective volume).
The suspension of the sweeper gives a constant and
evenly applied pressure against the ground. This gives
minimal brush wear and insensitiveness to unevenness,
grooves, kerb stones etc.
Holms 300 is in standard design equipped with a 400 l.
water tank and an electric driven water pump.
The attachment hooks are attached by screws
to the chassis which makes side shift
possible, and it´s also easy
to shift between
different carriers.

5© HOLMS INDUSTRI AB, ALL RIGHTS RESERVED 4/4/06
HOLMS INDUSTRI AB
MOTALA SWEDEN
HOLMS 300 / 300L
Operating instruction
Connecting to carrier
1. Connect the sweeper to the carrier by tilting the equip-
ment bracket forward, see picture 3, connect the hooks, lift
and tilt backwards. This is important, otherwise the
loaderarms can damage the sweeper. The equipment
can now be locked (look in the carrier´s manual).
2. Connect the driving hose quick couplings to the 3:rd
hydraulic function or to the carrier hydraulic motor outlet.
3. Connect the electric cable harness of the waterpump to
the carrier. Electric circuit see page 19.
4. Start the sweeper by moving the control lever for the
3:rd function to its locking position or activate the hydraulic
motor circuit.
5. Check the sweeper rotation direction. If the sweeper
rotates in the opposite direction in locked position, shift
locked position of the lever or shift the quick couplings for
the 3:rd, or motor hydraulic function.
Sweeper setting, height and tilt
1. Lift up the sweeper and put the parking supports in oper-
ating position
2. Start the sweeper with the 3:rd hydraulic function or with
the hydraulic motor circuit.
3. Tilt the sweeper until the tilting indicator markers are in
line.
4. Slowly lower the sweeper until the height indicators yel-
low markers are in line*. See picture 4.
5. Eventual readjustment of the tilt as described in point 3.
*) This is valid when the brush is new. When it starts to be
worn the height indicator shall be adjusted. Control and
adjustment must be done as described below:
- Lower the machine towards the ground until the waste-
container is 10-15 cm above the ground. Loosen the height
indicator adjusting screw, picture 4, and move the indicator
until the yellow markers are in line.
4. Height indicator with adjusting screw
5. Tilt indicator
3. Connect and disconnect

6
© HOLMS INDUSTRI AB, ALL RIGHTS RESERVED 4/4/06
HOLMS INDUSTRI AB
MOTALA SWEDEN
HOLMS 300 / 300L
Setting of ground pressure
The sweeper´s ground pressure can be adjusted for differ-
ent requirements. The adjustment is done by means of the
two rigging screws. See picture 6.
Attention! Do not use the carrier lifting or tilting function
for ground pressure setting.
Warning!
Always stop the broom completely before
making any adjustments.
1. Set the sweeper height and tilt.
2. Let the sweeper rotate a short while against the ground.
3. Measure the clean-swept stripe, it shall normally be ca
10 cm (4 inch).
Decrease the ground pressure by tightening the rigging
screw and increase the ground pressure by unscrewing
the rigging screw.
The best way of checking that the ground pressure is even
is to put a balance under each support stand. The waste
container shall then be about 15 cm above the ground.
A weight of about 25 kg on each side is a good starting
point.
Emptying the waste container
Lift up the machine, tilt it backwards and the waste comes
out. ATTENTION! Make sure that the bartube doesn’t
clamp against the loaderarms when lifting the machine.
Disconnecting from carrier
1.Lower and secure the support stands in parking position.
Attention!
The sweeper brushes can be deformed
if the support stands are not used
when sweeper is parked.
2. Loosen the locking pins on the equipment bracket and
tilt the bracket maximum forward.See picture 3. The
machine can now be put down to the ground. This is
important, otherwise the sweeper can be damaged by
the loader arms.
3. Loosen the hydraulic quick couplings and the electric
cable harness.
6. Rigging screws ~ 10 cm

7© HOLMS INDUSTRI AB, ALL RIGHTS RESERVED 4/4/06
HOLMS INDUSTRI AB
MOTALA SWEDEN
HOLMS 300 / 300L
7. Water filter
8. Bottom plug
Dust control
• The pump shall not operate dry too long. When running
out of water the pump is to be shut-off.
• The machine is equipped with a water filter to avoid dirt
coming into the system. This can be cleaned and reused.
See picture 7.
• When temperature below 0°C empty the water-tank,
pump and hoses. Begin with emptying the tank, then start
the pump for 20-30 seconds until it is empty. The water-
tank is designed with the pump hose end above the bottom
of the tank in order to get bigger particles to stay at the
bottom of the tank. When emptying the tank, remove the
bottom plug. See picture 8.
Side brush(extra equipment)
Holms 300 / 300L can be equipped with an extra side
brush to obtain even better result close to kerbstones etc.It
can be mounted on the left or the right side.
When the side brush is not used, lift it up and lock it with
the pin, see picture 9.
The side brush is driven hydraulically and connected in
series with the right or left sweeper roll motor, see page 23.
Note that when the side brush is used the oilflow shall be
max 130 l/min.
Setting
The forward angling of the brush is set by loosening the
two nuts (A), put the brush in position and tighten the nuts.
The side angling is set by loosening the screw (B), and
then unscrew or tighten the rigging screw to obtain the right
angle.
By letting the brush rotate a short while against the ground
and then lift it up, the brush pattern can be checked. It’s
only the front-outer part that shall have ground contact, see
picture 10.
9. Side brush
A
B
Rigging
Pin
10. Brush pattern
screw
Left
mounted Right
mounted

8
© HOLMS INDUSTRI AB, ALL RIGHTS RESERVED 4/4/06
HOLMS INDUSTRI AB
MOTALA SWEDEN
HOLMS 300 / 300L
Maintenance
After running
• Wash the sweeper which increases the lifetime and makes it
easier to detect eventual leakage or other defects.
• Inspect the sweeper concerning damages on hoses, brush pro-
tectors, springs or frame work. Also check eventual oil leakage.
Important safety regulations to
be noticed
• Be sure the tractor/loader is designed to carry/operate this
attachment with it´s weight.
• Be sure that unqualified persons are not in the operating area
during work or maintenance.
• Always use the quick coupling plugs and put the hose-ends
into the holders when the machine is disconnected, to avoid dirt
coming into the hydraulic system and to protect the hoses.
Change of brushes
Place the supports into driving position and slowly lower the con-
tainer against the ground.
Dismounting of sweeper roll
1. Loosen the hydraulic hose brackets on the bar tube.
2. Remove the four bolts from the gable side.
3. Avoid the bare tube to spring up by holding a foot on the plate
of the support stand, then carefully remove the gable. See pic-
ture 13.
ATTENTION! Avoid clamping.
4. Pull off the sweeper roll from the motor on the other gable.
5. Lift up the machine and take away the sweeper roll.
11. Bracket for hydraulic hoses
12. Removing the bolts
13. Removing gable side
Do not make any modifications, changes, rebuilt work etc.
which are not approved by Holms Industri AB. We also ask you to pay
attention to spare parts not approved by us.

9© HOLMS INDUSTRI AB, ALL RIGHTS RESERVED 4/4/06
HOLMS INDUSTRI AB
MOTALA SWEDEN
HOLMS 300 / 300L
Change of brushes
1. Loosen the screws and take away the sweeper roll end
ring.
2. Put shackles in the two holes for the brush core mount-
ing screws and put a lifting wire loop through the shackles.
3. Lift the sweeper roll in vertical position by using a
traverse crane or similar equipment.
4. Lift up the roll from the floor and pull down the brush
sections and the distance rings. Lower the sweeper roll.
5. Check the core free from damage.
6. Fasten one end ring with screws on the core.
7. Lift the sweeper core up with the end ring downwards.
8. Place one curved brush. See picture 16.
9. Place one distance ring.
10. Place alternating brush element and distance rings. At
the end of the brush core curved brushes and in the mid-
dle straight. See picture 16.
11. Fasten the other end ring with screws.
14. End ring screws
15. End ring mounting
ATTENTION! No distance ring
Finish with a
16. Mounting of brush element
Curved brush element
2,0 m - 12 pcs
2,2 m - 14 pcs
2,5 m - 17 pcs
Straight brush element
2,0 m - 21 pcs
2,2 m - 21 pcs
2,5 m - 21 pcs
Curved brush element
2,0 m - 12 pcs
2,2 m - 14 pcs
2,5 m - 17 pcs
Finish with a
brush element brush element
3,0 m - 17 pcs 3,0 m - 32 pcs 3,0 m - 17 pcs

10
© HOLMS INDUSTRI AB, ALL RIGHTS RESERVED 4/4/06
HOLMS INDUSTRI AB
MOTALA SWEDEN
HOLMS 300 / 300L
Mounting of sweeper roll
1. Lift the machine and put the sweeper roll in position,
lower the machine.
2. Put the sweeper roll on the fixed gable side carrier
housing.
3. Put the gable side with the hydraulic motor and carrier
housing on the two guide pins. Hold down the bar tube
with your foot. See picture 17.
ATTENTION! Avoid clamping.
4. Mount the four gable side bolts. Make sure not to clamp
any brush straws.
5. Mount the hydraulic hose bracket on the bar tube.
17. Mounting gable side
18. Gable side bolts
19. Bracket for hydraulic hoses
This manual suits for next models
1
Table of contents
Other HOLMS Blower manuals