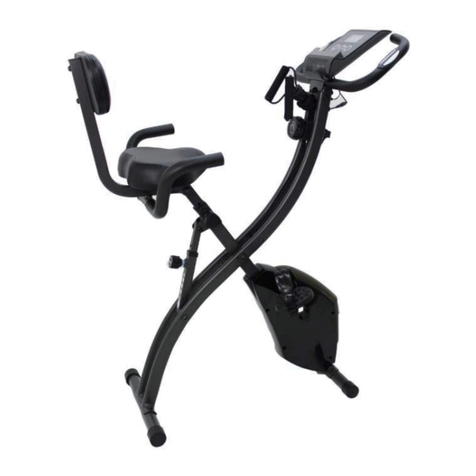
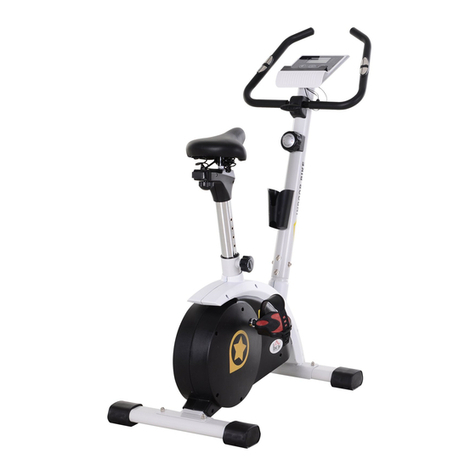
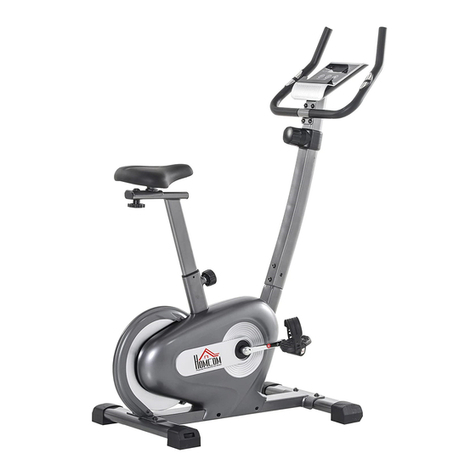
HOMCOM A90-196 User manual

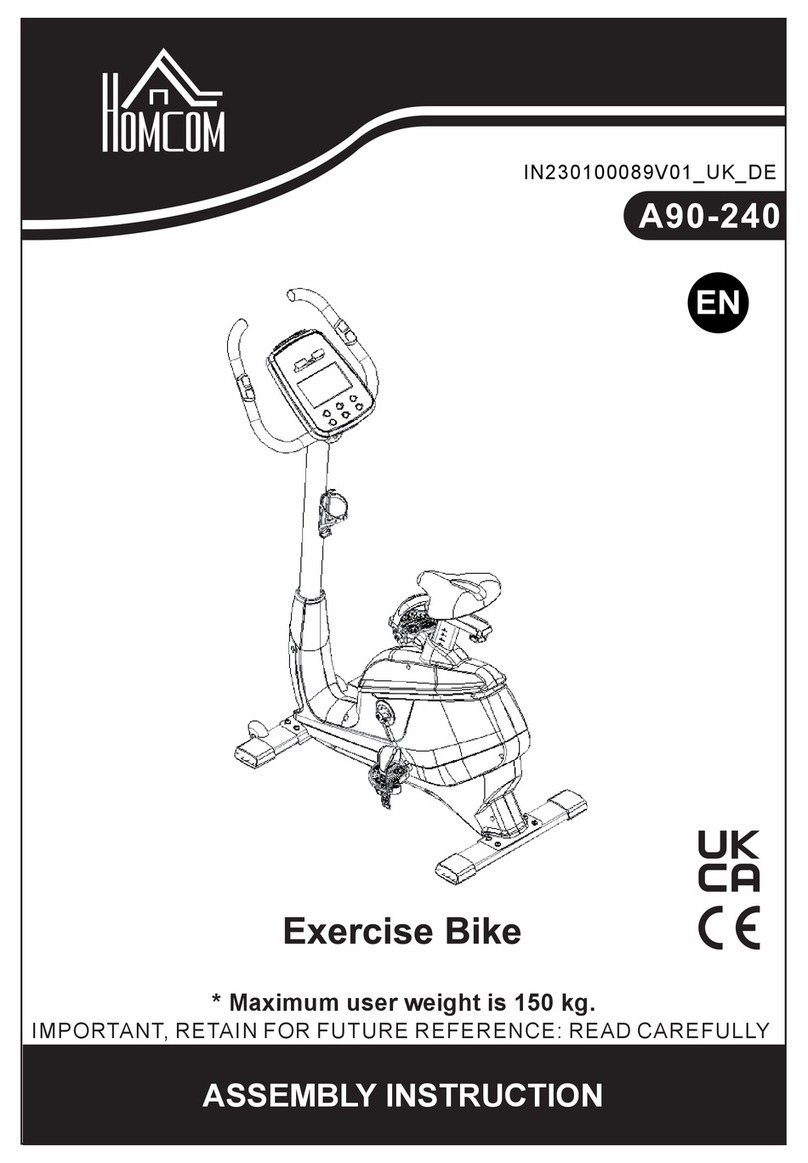
EXERCISE BIKE
ASSEMBLY INSTRUCTION
INada084V01_UK
A90-196
READ AND SAVAE THIS INSTRUCTION FOR FUTURE USE

CONTENTS
SAFETY INFORMATION .............................................................................................................................................1
COMPONENTS –PARTS............................................................................................................................................3
COMPONENTS - TOOLS ............................................................................................................................................4
ASSEMBLY INSTRUCTIONS......................................................................................................................................5
ADJUSTMENT/FOLDING............................................................................................................................................9
COMPUTER OPERATION.........................................................................................................................................10
EXERCISING INSTRUCTIONS..................................................................................................................................12
CARE AND MAINTENANCE.....................................................................................................................................14
EXPLODED PARTS DIAGRAM.................................................................................................................................15
PARTS LIST...............................................................................................................................................................16
Important! - Please read and understand these instructions before assembly or
using.
These instructions contain important information which will help you get the best from your
equipment and ensure safe and correct assembly, use and maintenance.

~ 1 ~
SAFETY INFORMATION
Important! Please read and understand this instruction manual fully before assembly
or using.
To reduce the risk of serious injury, read the entire manual before you assemble or operate the Folding
Magnetic Exercise Cycle. Pay particular attention to the following safety precautions:
ASSEMBLY
Check you have all the components and tools listed on pages 3 and 4. , bearing in mind that, for ease of
assembly, some components are pre-assembled.
Keep children and animals away from the work area. The bike has small parts which are a choking
hazard.
Ensure you have enough space to layout the parts before starting.
Assemble the item as close to its final position (in the same room) as possible.
Position the equipment on a clear, level surface. Dispose of all packaging carefully and responsibly.
SAFE USAGE
It is the responsibility of the owner to ensure that all users of this product are appropriately advised to the
safe operation of this product.
This product is intended for domestic use only. Do not use in any commercial, rental, or institutional
setting.
Before using the equipment, always warm up properly.
If the user experiences dizziness, nausea, chest pain, or other abnormal symptoms stop the workout
and seek immediate medical attention.
Only one person at a time should use the equipment.
Keep hands away from all moving parts.
Always wear appropriate workout clothing when exercising. Do not wear loose or baggy clothing which
may get caught in the equipment. Wear athletic shoes to protect your feet while exercising.
•Do not place any sharp objects around the equipment.
•Persons (including children) with reduced physical, sensory, or mental capabilities, or lack of
experience and knowledge, Disabled persons should not use the equipment without a qualified
person or doctor in attendance.
•Keep unsupervised children away from the equipment.
~ 2 ~
•Injuries to health may result from incorrect or excessive training. The equipment shall be installed
on a stable base and properly levelled.
•The braking system is adjustable.
BATTERY SAFETY
Warning: Incorrect installation of batteries may cause battery leakage and corrosion, resulting in
damage to the computer.
Do not mix old and new batteries, or batteries of different types.
Do not dispose of batteries in a fire.
Do not dispose of batteries with normal household waste, take to a local recycling centre.
Warning: Before beginning any exercise program, consult your Doctor. This is
especially important for persons over the age of 35 or persons with pre-existing
health problems.
You MUST read all instructions before using any fitness equipment. we assume no
responsibility for personal injury or property damage sustained by or using this
product.
The pedal crank training equipment is not suitable for therapeutic purposes. Heart rate monitoring
systems may be inaccurate.

~ 3 ~
COMPONENTS –PARTS
Please ensure you have all the parts listed below.
Most of the listed assembly hardware has been packaged separately, but some hardware items have
been preinstalled in the identified assembly parts. In these instances, simply remove and reinstall the
hardware as assembly is required. Please refer to the individual assembly steps and make note of all
preinstalled hardware.
Total mass of the product is 14.5kg/32lb. foot print of the product is 82cm x 49cm/32.3in x 19.3in.
1

~ 4 ~
COMPONENTS - TOOLS
Please ensure you have the tools listed below to assemble your bike.

~ 5 ~
ASSEMBLY INSTRUCTIONS
NOTICE!
Before assembly:
a) Please ensure you have enough space around the machine.
b) Please use the provided tools.
c) Check the parts and the hardware first.
STEP 1
Remove and unpack the Main frame (1) from
the carton, unfolding it and aligning the inner
adjust tube(25). Screw together with the ball pin
(24) to secure.
STEP 2
Connect the Front (2) and Rear (3) bottom tube to the
Main Frame (1) with 4 x M8*62 nuts (6), 4 x M8 Curved
washer (5) and 4 x M8 x 62 screws (4).

~ 6 ~
Connect the cushion (11) to the seat tube (9) using a M8 flat washer (12), M8x62) nut (13). Then screw
in the seat support tube (26) with knob (10).
STEP 4
Connect the backpack frame (14) to the seat tube (9) with bolt (15), washer (12), Nut (13) and screw the
backpack (18) to the backpack frame (14) with a bolt (19).
STEP 3

~ 7 ~
Attach the rear handlebar (16) to the backpack frame (14) with bolt (17) and a curved washer (5). Screw
the left (8) and right (7) pedal to their respective cranks.
Note: The left pedal (8) should be locked clockwise, and he right pedal (7), should be locked counter
clockwise. Always keep the pedals in a locked state during exercise. Failure to do so will cause the
threads to be damaged.
STEP 6
Screw the handlebar (20) to Front Support Tube (27). Align the
holes, and secure with Screw (19), Spring Washer (21) and
Curved Washer (5)
STEP 5

~ 8 ~
STEP 7
First connect the Monitor wire (30) with the Sensor wire (31), Handle pulse wire (32), then screw the
Monitor (22) to the monitor support (33) with 2 x M5x10 (23) screw.
STEP 8
Finally, double check each screw to ensure they are tightened.

~ 9 ~
ADJUSTMENT/FOLDING
ADJUSTMENT POSITION
Loosen the Bike Angle Adjustment knob (28) and pull
outward. At the same time, adjust the Front frame to
your preferred position. Release and fix the Bike Angle
Adjustment Knob (28). There are 3 positions for
workouts and 1 position for storage
SEAT HEIGHT ADJUSTMENT
Unlock the adjustable knob and pull or push the seat to
adjust your desirable height.

~ 10 ~
COMPUTER OPERATION
FUNCTIONS AND OPERATIONS
FUNCTIONAL BUTTONS:
MOD: Push down for selecting functions. Press and hold down the MODE button to reset the values to
zero.
SET: to set the values of time, distance, pulse, and calories when not in SCAN mode.
RESET: - push down to reset all values. The current data will change to zero (0). If you long press the
RESET button, apart from the ODO values, all other data will reset to zero (0).
FUNCTION AND OPERATION
SCAN:Press the MODE button until “SCAN” appears on the display. The monitor will rotate
through all the five functions: - TIME, SPEED, DEISTANE, CALORIE ODO and PULSE. Each
display will be held for 5 seconds.
TIME: Counts the total time from the start to the end of the exercise. Press the MODE button
until TIME appears on the display and press “SET” button to set time duration. When the “SET”
button is zero, the computer will sound an alarm for 10 seconds.
SPEED: displays the current speed.
DIST: counts the distance from the start to the end of the exercise. Press the “MODE” button
until “DIST” appears on the display and press “SET” button to set time duration. When the “SET”
button is zero, the computer will sound an alarm for 10 seconds.
CALORIES: Counts the total calories burnt during the exercise. Press the MODE button until
“CAL” appears on the display and press “SET” button to set time duration. When the “SET”
button is zero, the computer will sound an alarm for 10 seconds.
ODO: The total distance which has been covered from the beginning. Please note: This will
reset to zero when the batteries are replaced.
PULSE RATE: Press the “MODE” button until “PULSE” is displayed on the monitor. Before
measuring your pulse rate, please place the palms of your hands on both contact pads and the
monitor will show your current heart beat rate per minute (BPM) on the LDC after 6-7 seconds.
CAUTION! During the process of pulse measuring, due to the contacts jamming, the
measurement value may be higher than the virtual pulse rate during the first 2-3 seconds and will
return to a normal level. The measurement value should not be taken as the basis of medical
treatment.
ALARM: The computer will sound a “beep” when “MODE”, “SET”, and “RESET” buttons are
pressed.
AUTO ON/OFF AND AUTO START/STOP: If the machine does not detect any input for 4
minutes, the power will switch off automatically.

~ 11 ~
SPECIFICATIONS:
FUNCTION
OPERATION
Auto Scan Every 5 seconds
Running Time 00:00 –99:59
Current speed 0.0-999.9 (ML/KM/hour)
Trip Distance 0.0-999.9 (ML/KM/hour)
Total Distance (ODO) 0.0-999.9 (ML/KM/hour)
Calories 0.0-9999Kcal
Pulse Rate 40-240BPM
Battery Type 2 x AAA
Operating Temperature 0oC - +40oC
Storage Temperature -10oC - +60oC

~ 12 ~
EXERCISING INSTRUCTIONS
Before starting..
Exercise has been proven essential for good health and general wellbeing. Regular exercise will:
Relieve tension and stress
Provide enjoyment and fun
Stimulate the mind
Help maintain stable weight
Control appetite
Boost self-image
Improve muscle tone and strength
Improve flexibility
Lower blood pressure
Relieve insomnia
A good exercise program consists of a warm-up, aerobic exercise, and a cool down. Do the entire
program at least two to three times a week, resting for a day between workouts.
1. WARM UP PHASE
The WARM-UP is an important part of any workout. It should begin every session to prepare your
body for more strenuous exercise by heating up and stretching your muscles, increasing your
circulation and pulse rate, and delivering more oxygen to your muscles. Each stretch should be
held for approximately 30 seconds, do not force, or jerk your muscles into a stretch - - if it hurts,
STOP! See below.

~ 13 ~
2. THE EXERCISE PHASE
This is the stage where you put the effort it. After regular use, the muscles in your legs will
become more flexible. Work at your own pace but it is especially important to maintain a steady
tempo throughout. The rate of work should be sufficient to raise your heart rate into the target
zone shown on the graph below.
This stage should last for a minimum of 12 minutes though most people start at about 15-20
minutes.
3. THE COOL DOWN PHASE
At the end of your workout repeat the same warm up exercises to allow your cardio-vascular
system and muscles to wind down.
MUSCLE TONING
To tone muscle whilst using your bike, you will need to have the resistance set quite high. This will put
more strain on your leg muscles and may mean you cannot train for as long as you would like. If you are
also trying to improve your fitness you will need to alter your training programme. You should train as
normal during the warm up and cool down phases, however, towards the end of the exercise phase, you
should increase the resistance by making your legs work harder than normal. You will have to reduce
your speed to keep you heart rate in the target zone.
WEIGHT LOSS
The important factor here is the amount of effort you put in. The harder and longer you work the more
calories you will burn. Effectively this is the same as if you were training to improve your fitness, the
difference is the goal.

~ 14 ~
CARE AND MAINTENANCE
1. Examine the equipment regularly to ensure any damage or wear caused through usage is detected to
maintain a safe working condition.
2. Lubricate moving parts with light oil periodically to prevent premature wear.
3. Inspect and tighten all parts before using the equipment, replace any defective parts immediately and DO
NOT use the equipment again until it is in perfect working order.
4. Pay particular attention to components most susceptible to wear
5. The equipment can be cleaned using a soft damp cloth and mild non-abrasive detergent. DO NOT use
solvents
6. DO NOT attempt to repair this equipment yourself. Should you have any difficulty with assembly,
operation, use or if you think you may be missing parts, contact the manufacturer or their approved service
agent.
INFORMATION FOR USERS ON DISPOSAL OF OLD EQUIPMENT AND BATTERS (EUROPEAN UNION
ONLY)
These symbols indicate that equipment with these symbols should not
be disposed of as general household waste. If you want to dispose of
the product or battery, please consider the collection systems or
facilities for appropriate recycling,

~ 15 ~
EXPLODED PARTS DIAGRAM

~ 16 ~
PARTS LIST

Other manuals for A90-196
1
Table of contents
Other HOMCOM Exercise Bike manuals

HOMCOM
HOMCOM A90-194 User manual

HOMCOM
HOMCOM A90-196 Installation guide

HOMCOM
HOMCOM A90-259 Installation guide

HOMCOM
HOMCOM A90-189 User manual

HOMCOM
HOMCOM A90-240 User manual

HOMCOM
HOMCOM A90-230 User manual

HOMCOM
HOMCOM A90-301 User manual

HOMCOM
HOMCOM A90-200 User manual

HOMCOM
HOMCOM A90-254 Installation guide

HOMCOM
HOMCOM A90-301 User manual