manuals.online logo
Brands
  1. Home
  2. •
  3. Brands
  4. •
  5. HOMCOM
  6. •
  7. Motorized Toy Car
  8. •
  9. HOMCOM 370-233V70 User manual

HOMCOM 370-233V70 User manual

ASSEMBLY INSTRUCTION
INfnb001_UK
370-233V70
IMPORTANT, RETAIN FOR FUTURE REFERENCE: READ CAREFULLY
CHILDREN'S ELECTRONIC
MOTORCYCLE
3-6
3-8
100-240V 50/60Hz 0.3A
35W #550*2
12V 1000mA
About your new vehicle
On the purchase of your new ride-on.
To ensure the user rides safely, please read these instructions carefully. Keep this manual for
future reference.
●Do not recharge non-rechargeable batteries.
●Before charging rechargeable batteries, remove them from the vehicle.
●Batteries must be charged under adult supervision.
●Different types of batteries or new and used batteries must not be mixed.
●Insert batteries with the correct polarity.
●Remove dead batteries from the ride-on.
●Do not short-circuit the supply terminals.
3
18
18
PREVENTING POSSIBLE INJURY OR DEATH:
● NEVER LEAVE CHILDREN UNATTENDED. ADULT SUPERVISION IS
ALWAYS REQUIRED. Keep children in your view when they use this vehicle.
● A certain amount of skill is required when using this vehicle, preventing falls or
collisions. This ride-on must be used with caution.
● Protective equipment must be worn.
● Never use on roads, steep slopes or steps, or near swimming pools.
● Always wear shoes and sit on the seat.
● Do not use in traffic.
● Not for children under three years because of its maximum speed. Maximum
load is 30kg.
● This ride-on has no brake.
● Keep children in safe riding areas:
● Never use on roads, near motor vehicles, on lawns or on steep slopes and steps.
Do not use near swimming pools.
● Only use on flat surfaces. Safe locations include inside your house, garden or
playground.
● Never use in the dark – children could collide with obstacles. Only use this ride-on
in the daytime or in a properly lit area.
● It is prohibited to change the circuit or add other electric parts.
● Regularly inspect wires and connections of the vehicle.
● When the vehicle is moving, ensure children do not touch or get near the wheels.
● This ride-on has adjustable seatbelts. Teach children how to properly fasten the
seatbelt before using.
1. Insert the connecter on foot pedal R into the connector on the
vehicle body.
2. Inert the tabs on foot pedal R into the groove on the right side of
the body.
3. Insert the tabs on foot pedal L into the groove on the left side of
the body.
Turn the ride-on upside down.
1. Place the wide wheel onto the vehicle body.
2. Insert Ø4x12 screws *6 and Ø4x30 screws *3, then tighten with
a screwdriver.
Place the ride-on upright.
3. Fit the rear foot pedal into the hole on the body – push until you
hear it 'click' into place. Repeat for the other rear pedal.
1. Remove a lock from the front axle with two spanners.
2. Place a Ø10 washer onto the front axle.
3. Slide the front axle through the hole on the right side of the front
fender, and out of the hole on the right side of the handlebar fork.
4. Place a Ø12 washer onto the front axle.
5. Place the front wheel onto the front axle.
6. Place a Ø12 washer onto the front axle.
7. Keep pushing the front axle, until it passes through the hole on the
left side of the handlebar fork, and out through the hole on the right
side of the front fender.
8. Place a Ø10 washer onto the front axle.
9. Tighten a locknut onto the end of the front Axle. Tip: An extra
spanner has been provided to hole the locknut, which is on the
other side of the front axle, while tightening the locknut on the
other side.
10. Fit the hub caps to both sides of the front fender.
1. Plug the connector on the faceguard into the connector on the vehicle
body.
2. Fit the tabs on the faceguard into the grooves on the vehicle body, then
push until it is in place.
3. Insert two Ø4x16 screws and tighten.
Attach the faceguard and handlebar
1. Remove the screw on the top of the seat with a screwdriver, then
remove the seat.
2. Plug the red connector on the vehicle body into the red connector
from the battery,
3. Put the seat back.
1.Power button:
Turn the unit on and off.
2. Foot pedal:
●To move the vehicle, press the pedal
down.
●To brake or slow down, release
pressure from the pedal.
3. Lights switch:
Turn the front lights on and off.
4. Forward/reverse lever:
●To move the vehicle forward at high
speed, shift the lever to top position.
●To move the vehicle forward at
normal speed, shift the level to middle
position.
●To move the vehicle backward, shift
the lever to middle position.
TIP: The vehicle will operate at low
speed in reverse.
A. USB slot
B. TF card slot (reads Mp3 format only)
C. AUX input
D. Previous/decrease volume
E. Play/pause
F. Next/increase volume
G. Change the audio input (if you insert two or more audio input devices). It also
controls the Bluetooth (if equipped) and FM functions (if equipped).
H. Display screen: Shows power level of the battery when the vehicle stops. When it is at
less than 12, recharge the battery.
AN ADULT MUST CHARGE THE BATTERY!
This product has a charging protection: when charging, all
functions will cut off.
● The power switch must be turned off when charging.
● Before first use, charge the battery for 4-6 hours. Do not recharge
the battery for more than 10 hours to avoid overheating.
● When the vehicle starts running slowly, charge the battery.
1. Plug the charger port into the input socket (above the right foot
pedal).
2. Plug the charger plug into a wall outlet – the battery will begin
charging.
Battery is not fully charged.
The maximum load has been
exceeded.
Loose wires or connectors.
'Dead spot' means the electric power is not being
delivered to the terminal connection, which means
the ride-on needs repairing. Please contact the
distributor.
Check the battery connectors are firmly plugged
into each other. If wires are loose around the
motor, please contact the distributor.
Ensure the vehicle is completely stopped,
then shift. See 'Use your new ride-on'.
Check the battery connectors are firmly plugged
into each other.
Check the charger is plugged into a working wall
outlet.
Please contact the distributor.
● It is the adult's responsibility to check main parts of this ride-on before
using. It is important to regularly inspect the battery, charger, cable or
cord and plug. Ensure screws are tightened. If any damages occur, do
not use this ride-on until properly fixed.
● Ensure plastic parts of the vehicle are not cracked or broken.
● Occasionally use a lightweight oil to lubricate moving parts, such as the
wheels.
● Park the vehicle indoors or cover with a tarp, so it is protected from wet
weather.
● Keep this ride-on away from sources of heat, such as stoves and
heaters – plastic parts could melt.
● Charge the battery after each use. Only an adult can handle the
battery. When not being used, ensure the battery is charged at least
once a month.
●Do not wash this ride-on with a hose or with soap and water. Do not
drive in rainy or snowy conditions. Water will damage the motor,
electric system and battery.
● Clean the vehicle with a soft, dry cloth. To keep plastic parts looking
pristine, use a non-wax furniture polish. Do not use car wax or abrasive
cleaners.
● Do not drive the vehicle in mud, sand or fine gravel – this could damage
moving parts, motors or the electric system.
● When not using, ensure the ride-on is turned off and unplugged.
The battery has a thermal fuse with a rest fuse, which automatically cuts all
power to the vehicle if the motor, electric system or battery overloads. The
fuse will reset and power will be restored after the unit has been off for 20
seconds, the turned on. If the fuse trips repeatedly during normal use, the
ride-on may need to be repaired. Please contact the distributer.
To avoid losing power, follow these guidelines:
● Do not overload the vehicle.
● Do not tow anything behind the vehicle.
● Do not drive up steep slopes.
● Do not drive into fixed objects, which may cause the wheels to spin,
causing the motor to overheat.
● Do not drive in very hot weather, components may overheat.
● Keep water and other liquids away from the battery and other electrical
components.
● Do not tamper with the electric system – this could trip the fuse.

Other HOMCOM Motorized Toy Car manuals

HOMCOM 370-227V70 User manual

HOMCOM

HOMCOM 370-227V70 User manual

HOMCOM Audi RS e-tron GT Ride-on User manual

HOMCOM

HOMCOM Audi RS e-tron GT Ride-on User manual

HOMCOM BENTLEY MULSANNE User manual

HOMCOM

HOMCOM BENTLEY MULSANNE User manual

HOMCOM 370-160V70 User manual

HOMCOM

HOMCOM 370-160V70 User manual

HOMCOM Audi RS Q e-tron User manual

HOMCOM

HOMCOM Audi RS Q e-tron User manual

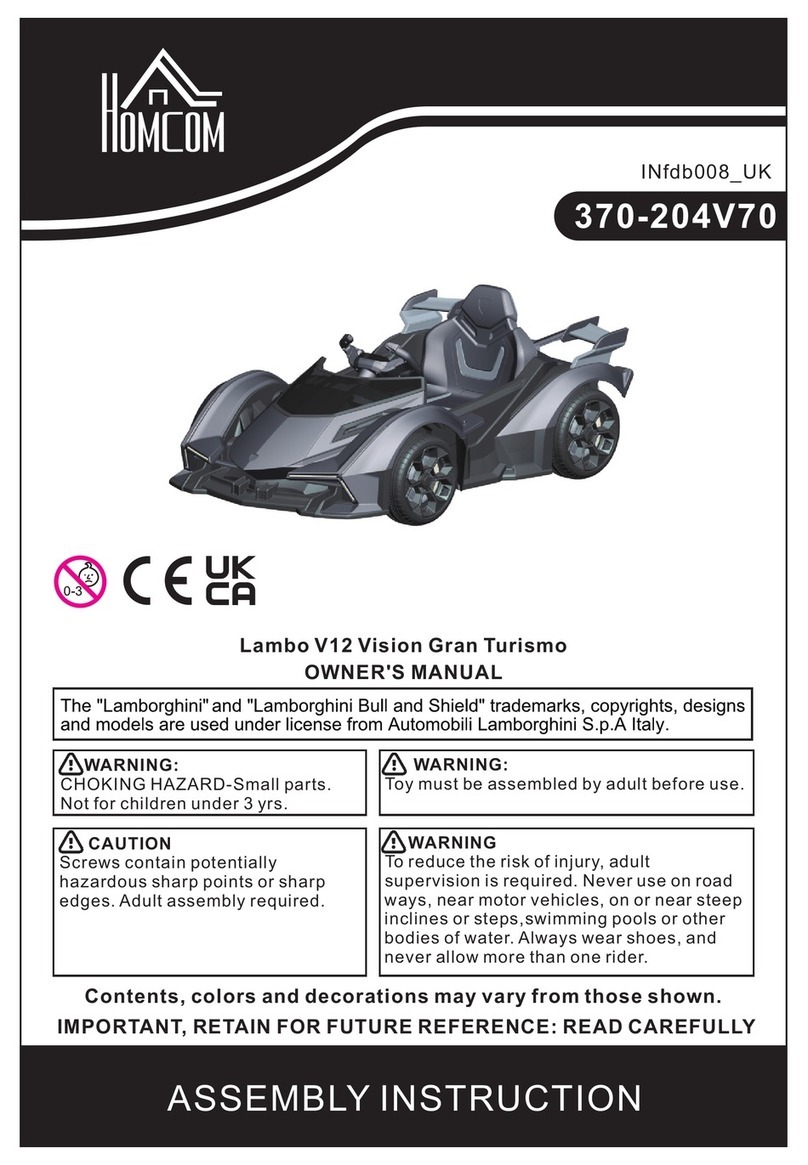
HOMCOM Lambo V12 Vision Gran Turismo User manual

HOMCOM

HOMCOM Lambo V12 Vision Gran Turismo User manual

HOMCOM 370-288V70 User manual

HOMCOM

HOMCOM 370-288V70 User manual

HOMCOM 370-138 User manual

HOMCOM

HOMCOM 370-138 User manual

HOMCOM 370-240V90 User manual

HOMCOM

HOMCOM 370-240V90 User manual

HOMCOM 370-187V70 User manual

HOMCOM

HOMCOM 370-187V70 User manual

HOMCOM 370-168V70 User manual

HOMCOM

HOMCOM 370-168V70 User manual

HOMCOM 370-079V70 User manual

HOMCOM

HOMCOM 370-079V70 User manual

HOMCOM 370-289V90 User manual

HOMCOM

HOMCOM 370-289V90 User manual

HOMCOM 370-188V90 User manual

HOMCOM

HOMCOM 370-188V90 User manual

HOMCOM 370-066 User manual

HOMCOM

HOMCOM 370-066 User manual

HOMCOM 370-096 User manual

HOMCOM

HOMCOM 370-096 User manual

HOMCOM BMW i4 Datasheet

HOMCOM

HOMCOM BMW i4 Datasheet

HOMCOM 370-169V70 User manual

HOMCOM

HOMCOM 370-169V70 User manual

HOMCOM 370-159V90 User manual

HOMCOM

HOMCOM 370-159V90 User manual

HOMCOM 370-217V70 User manual

HOMCOM

HOMCOM 370-217V70 User manual

HOMCOM BENTLEY BACALAR User manual

HOMCOM

HOMCOM BENTLEY BACALAR User manual

HOMCOM 370-097 User manual

HOMCOM

HOMCOM 370-097 User manual

HOMCOM 370-188V70 User manual

HOMCOM

HOMCOM 370-188V70 User manual

HOMCOM 370-173 User manual

HOMCOM

HOMCOM 370-173 User manual

Popular Motorized Toy Car manuals by other brands

Jamara Cocoon EP RTR 2,4 GHz Instruction

Jamara

Jamara Cocoon EP RTR 2,4 GHz Instruction

FTX OUTBACK MINI 2.0X instruction manual

FTX

FTX OUTBACK MINI 2.0X instruction manual

Peg-Perego John Deere use and care manual

Peg-Perego

Peg-Perego John Deere use and care manual

Matco Tools ROCK ROVER RC CAR owner's manual

Matco Tools

Matco Tools ROCK ROVER RC CAR owner's manual

Reely ROAD 23 59 28 operating instructions

Reely ROAD

Reely ROAD 23 59 28 operating instructions

Famosa Feber TT Rifle quick start guide

Famosa

Famosa Feber TT Rifle quick start guide

REVELL KIT 2164 Assembly manual

REVELL

REVELL KIT 2164 Assembly manual

Kyosho PureTen GP FASER instruction manual

Kyosho

Kyosho PureTen GP FASER instruction manual

Yokomo YD-2S manual

Yokomo

Yokomo YD-2S manual

Team Losi 8ight RTR Operation guide

Team Losi

Team Losi 8ight RTR Operation guide

Xray X12 instruction manual

Xray

Xray X12 instruction manual

Traxxas Slash Mike Jenkins Edition quick guide

Traxxas

Traxxas Slash Mike Jenkins Edition quick guide

Team Losi Mini-Late Mode owner's manual

Team Losi

Team Losi Mini-Late Mode owner's manual

Element Enduro KNIGHTWALKER OFF-ROAD 4X4 Owners build manual

Element

Element Enduro KNIGHTWALKER OFF-ROAD 4X4 Owners build manual

Jamara 460205 instructions

Jamara

Jamara 460205 instructions

RC4WD 1/14 8x8 Armageddon Hydraulic Dump Truck... quick start guide

RC4WD

RC4WD 1/14 8x8 Armageddon Hydraulic Dump Truck... quick start guide

Team Losi Night Crawler user guide

Team Losi

Team Losi Night Crawler user guide

ECX Torment ECX4000S instruction manual

ECX

ECX Torment ECX4000S instruction manual

manuals.online logo
manuals.online logoBrands
  • About & Mission
  • Contact us
  • Privacy Policy
  • Terms and Conditions

Copyright 2025 Manuals.Online. All Rights Reserved.