Home Accents Holiday 725 051 User manual
Other Home Accents Holiday Light Fixture manuals

Home Accents Holiday
Home Accents Holiday 1002 377 664 User manual

Home Accents Holiday
Home Accents Holiday TY232-2014-1 User manual

Home Accents Holiday
Home Accents Holiday 1005356557 User manual

Home Accents Holiday
Home Accents Holiday TY523-2014 User manual

Home Accents Holiday
Home Accents Holiday 21RT1772111 User manual

Home Accents Holiday
Home Accents Holiday TY116-1724-1 User manual

Home Accents Holiday
Home Accents Holiday W12H1562 User manual

Home Accents Holiday
Home Accents Holiday 21RT0702124 User manual

Home Accents Holiday
Home Accents Holiday Adorable Dogs LED Husky User manual

Home Accents Holiday
Home Accents Holiday 21RT32621141 User manual

Home Accents Holiday
Home Accents Holiday TY305-1414-0 User manual

Home Accents Holiday
Home Accents Holiday TY732-1614-1 User manual

Home Accents Holiday
Home Accents Holiday TY052-1924-1 User manual

Home Accents Holiday
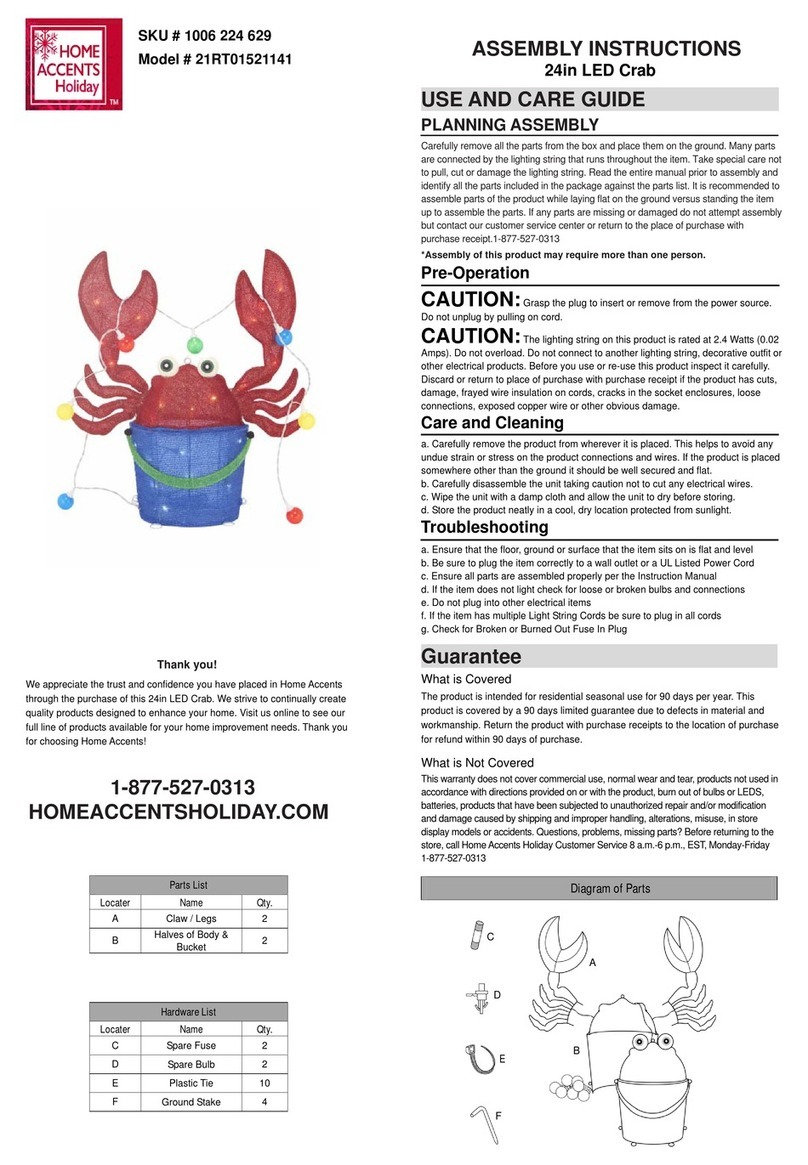
Home Accents Holiday 21RT01521141 User manual

Home Accents Holiday
Home Accents Holiday TY336-1911-2 User manual

Home Accents Holiday
Home Accents Holiday 21RT3272114 User manual

Home Accents Holiday
Home Accents Holiday 22RT13722111 User manual
Popular Light Fixture manuals by other brands

Emos
Emos CLASSIC ZY1431T manual

Westinghouse
Westinghouse Outdoor Lighting Fixture owner's manual

Hedler
Hedler C 12 silent Operation manual

Blizzard Lighting
Blizzard Lighting Puck: CSI manual

Energetic Lighting
Energetic Lighting ELYSL-5004 Series installation instructions

Lightmaxx
Lightmaxx Shaft 5R user manual

Cooper Lighting
Cooper Lighting Halo L3232E Specification sheet

Stageline
Stageline ODW-2410RGBW instruction manual

Light Sky
Light Sky Tornado Series user manual

Lightolier
Lightolier Paralyte 2424 PLA2G9LS26U specification

Lightolier
Lightolier Lytespan 83ED17S specification

Lightolier
Lightolier Calculite CS8226 specification


