manuals.online logo
Brands
  1. Home
  2. •
  3. Brands
  4. •
  5. HOME8
  6. •
  7. Security System
  8. •
  9. HOME8 H13012US User manual

HOME8 H13012US User manual

Other HOME8 Security System manuals

HOME8 AlarmShield User manual

HOME8

HOME8 AlarmShield User manual

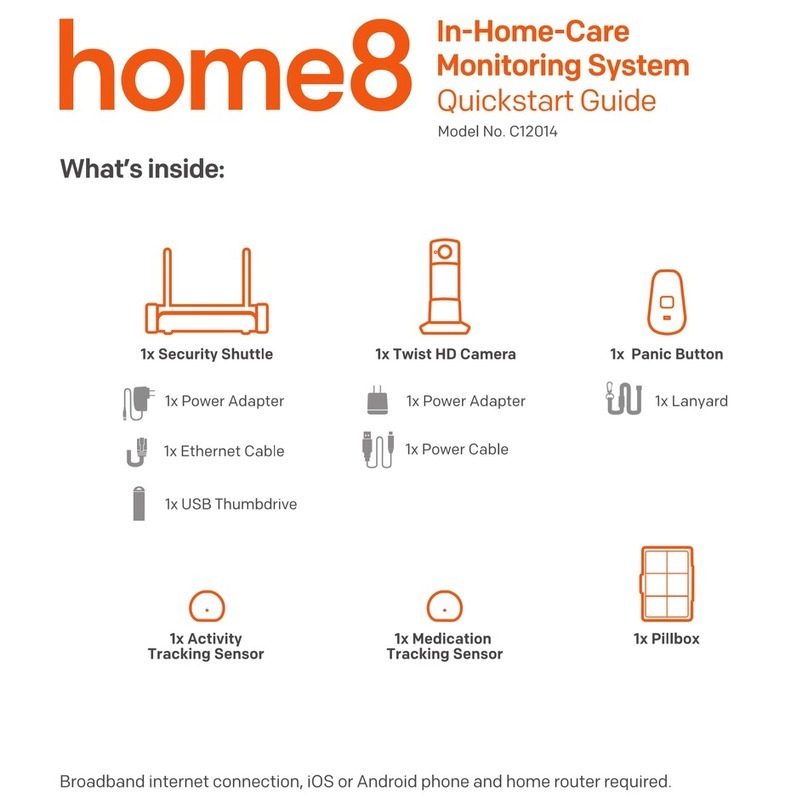
HOME8 C12014 User manual

HOME8

HOME8 C12014 User manual

HOME8 V63020US User manual

HOME8

HOME8 V63020US User manual

HOME8 ActionView User manual

HOME8

HOME8 ActionView User manual

HOME8 TripleShield C2S6 User manual

HOME8

HOME8 TripleShield C2S6 User manual

HOME8 C13011US User manual

HOME8

HOME8 C13011US User manual

HOME8 SRN1300 User manual

HOME8

HOME8 SRN1300 User manual

HOME8 IAP1301 User manual

HOME8

HOME8 IAP1301 User manual

HOME8 V43020US User manual

HOME8

HOME8 V43020US User manual

HOME8 PNB1301 User manual

HOME8

HOME8 PNB1301 User manual

Popular Security System manuals by other brands

Polon-Alfa 4000 Installation and maintenance manual

Polon-Alfa

Polon-Alfa 4000 Installation and maintenance manual

Nexcom NViS 14162 Series user manual

Nexcom

Nexcom NViS 14162 Series user manual

Eminent EM8670 Quick install

Eminent

Eminent EM8670 Quick install

urmet domus alpha 1060 INSTALLATION AND USE BOOKLET

urmet domus

urmet domus alpha 1060 INSTALLATION AND USE BOOKLET

SmartPool YardGuard YG03 manual

SmartPool

SmartPool YardGuard YG03 manual

DSC PC5964 Mounting instructions

DSC

DSC PC5964 Mounting instructions

Secure USAB-1 operating instructions

Secure

Secure USAB-1 operating instructions

B&B 480 SERIES Operation & maintenance manual

B&B

B&B 480 SERIES Operation & maintenance manual

ADEMCO VISTA-20P Series Installation and setup guide

ADEMCO

ADEMCO VISTA-20P Series Installation and setup guide

Inner Range Concept 2000 user manual

Inner Range

Inner Range Concept 2000 user manual

Johnson Controls PENN Connected PC10 Install and Commissioning Guide

Johnson Controls

Johnson Controls PENN Connected PC10 Install and Commissioning Guide

Aeotec Siren Gen5 quick start guide

Aeotec

Aeotec Siren Gen5 quick start guide

Swann SW-P-MC2 Specifications

Swann

Swann SW-P-MC2 Specifications

Ecolink Siren+Chime user manual

Ecolink

Ecolink Siren+Chime user manual

EDM Solution 6+6 Wireless-AE installation manual

EDM

EDM Solution 6+6 Wireless-AE installation manual

Siren LED GSM operating manual

Siren

Siren LED GSM operating manual

Detection Systems 7090i Installation and programming manual

Detection Systems

Detection Systems 7090i Installation and programming manual

FRIEDLAND MA10 Installation and operating instructions

FRIEDLAND

FRIEDLAND MA10 Installation and operating instructions

manuals.online logo
manuals.online logoBrands
  • About & Mission
  • Contact us
  • Privacy Policy
  • Terms and Conditions

Copyright 2025 Manuals.Online. All Rights Reserved.

What’s inside:
Smart Garage
Ultra-Secure Starter Kit
Quickstart Guide
What you’ll need:
1x Mini Cube HD camera1x Security Shuttle 1x Garage door control button
1x Ethernet cable
3x Power adapters
3x Power cables Mounting accessories
and double-sided tape
2x U-fork wires
2x 18-gauge wires
• Broadband Internet • iPhone or Android phone
• Phillips screwdriver • Home router
• Existing powered garage door
opener
Model No. H13012US
Step 1: Assemble your hardware
Step 2: Set up your smartphone
Step 3: Choose your installation method
Option 1: Use it with your wall existing switch Option 2: Replace your existing wall switch
Replacing existing switch Remove switch completelyWith existing wall switch Attach U-fork wires
Unpack all of your hardware within 1-10 feet of your home router.
• Connect Security Shuttle to your DHCP-enabled router with the included Ethernet cable
• Connect Security Shuttle, Mini Cube HD camera, and garage door control button to their individual power
adapters and plug them in
Your phone will disrupt the setup process if it goes to sleep. So before you register your devices, disable
the autolock feature on your smartphone. You can turn it on after you’ve set up your system. Next:
• Connect your smartphone to your home Wi-Fi
• Download the Home8 app from the App Store or Google Play
• Follow the on-screen instructions and set up your account
Review the 3 installation options below and refer to the user manual of your specific garage door opener
before you install your garage door control button.
For more information, including a list of compatible garage door openers, visit home8systems.com/faq.
• Unscrew your existing garage door wall switch
• Locate the two wires that connect to your garage
motor. Loosen the screws that hold them in place
• Attach one U-fork wire under each screw and
tighten
• Re-mount your existing wall switch
• Continue to step 4
• Unscrew your existing garage door wall switch
• Locate the two wires that connect to your garage
motor. Loosen the screws that hold them in place.
• Remove your garage door wall switch completely
• Continue to step 4
Step 4: Connect and mount your garage door control button
Step 5: Test your garage door opener
Insert wires and power
Attached to motor Wire to garage door motor
Option 3: Attach it to your garage door motor
112
• Access the wire panel on your garage door motor unit
• Locate the two wires that connect to your garage door
wall switch. If you have trouble finding them, please
refer to the user manual of your garage door motor to
determine which wires connect to your wall switch. Or
give us a call, we’ll be happy to help.
1. Insert the loose wires into the bottom of your Home8 garage door control
button (one per hole, the order doesn’t matter)
2. Plug in your Home8 garage door control button with the included power
cable and adapter, then mount your control button with screws or
double-sided tape
In the Home8 app, navigate to Automation > Garage Door Opener and press the red power button.
Your app should now be able to operate your garage door.
Step 6: Mount your devices
Before you mount your sensor, see if they’re within Security Shuttle’s range.
• Take your sensors to the rooms you want to use them in
• Open the battery cover of each device you want to install
If you get a notification that says your device has been tampered with, it’s within range. Replace the battery
cover and mount the device with the included screws or double-sided tape.
• Depending on your motor, use U-fork wires or straight wires to connect your new garage door control button to
your garage door motor
• Continue to step 4
Need help installing your Home8 system?
Troubleshooting Tips
Are your devices listed in your app?
Are your devices communicating with Security Shuttle?
Do you need to reset your camera?
• If your devices don’t connect to Security Shuttle, they might be too far away. Take them to a location
that’s closer to Security Shuttle and try again.
• If they do connect, you’ll know the range of your device and where to install a range extender.
• Alternatively, you can move Security Shuttle closer to your device.
• If your devices still don’t communicate with Security Shuttle, even when they’re in the same room, navigate to
> Device Management > +on the Home8 app to add your devices again.
If you’re having trouble installing your devices, see if they’re listed in your Home8 app:
• Navigate to > Device Management to see if all your devices are listed
• Tap +next to the device category and follow the on-screen instructions to add any missing devices
V1.0
If your camera isn’t communicating with Security Shuttle, your app may ask you to reset your camera.
• Locate the pinhole on the left side of the camera
• Insert a pin and hold for 3-5 seconds until you hear a beep
• Return to the app and follow the onscreen instructions
Call 1-844-800-6482, Mon-Fri 9am-7pm, Pacific.
http://www.home8systems.com/faq/
[email protected]
99200230MIG