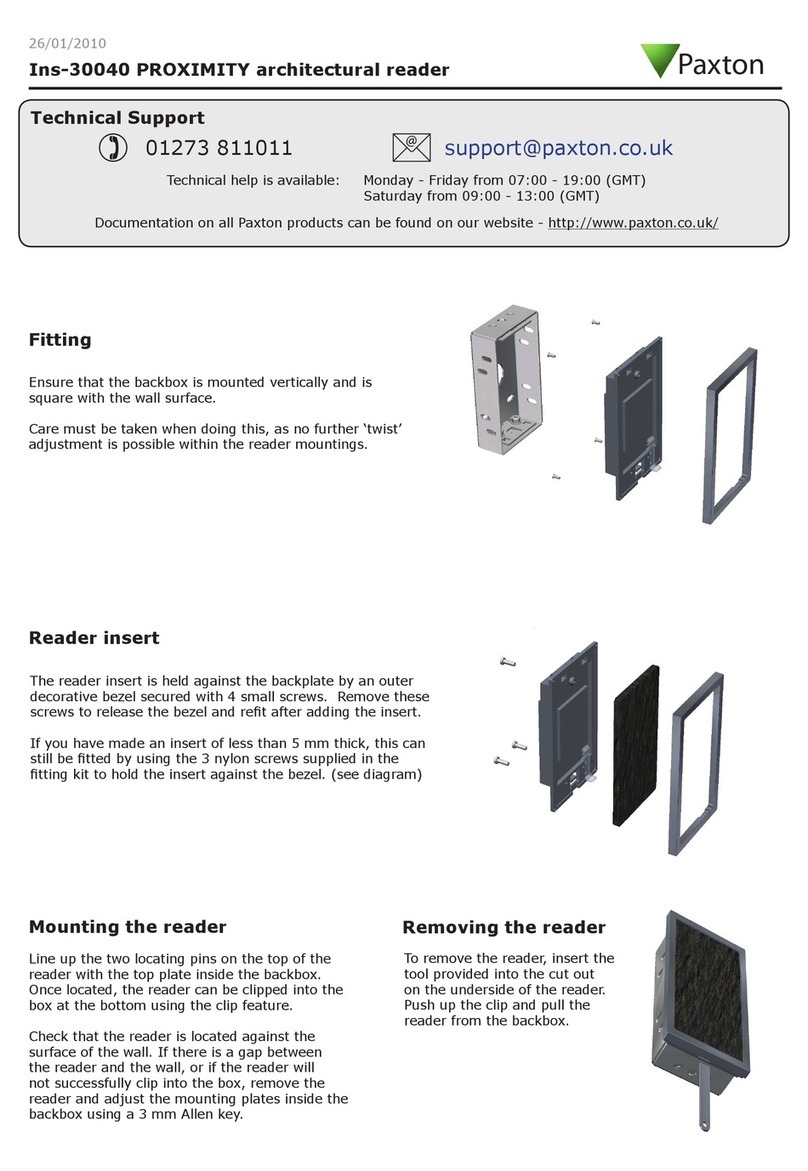
Honeywell IH40 User manual

IH40
UHF RFID Reader
Quick Start Guide
IH40-RFID-EN-QS-01 Rev B
3/22

1
Out of the Box
Make sure that your shipping box contains these items:
• IH40 UHF RFID Reader (Model IH40-0 or IH40-1)
• Rechargeable Li-ion battery (see page 3)
• Product documentation
If you ordered accessories for your RFID reader, verify that they
are also included with the order. Be sure to keep the original
packaging in case you need to return the reader for service.
RFID Reader Features
The IH40 UHF RFID Reader provides Ultra High Frequency
(UHF) Radio Frequency Identification (RFID) connected to a
mobile terminal through USB and Bluetooth™. The unit can read
and write to QR codes and UHF RFID tags.
Note: RFID reader may differ slightly from illustrations
depending on the model.

2
Bracket socket
Power button
Trigger
UHF antenna
Mode button
Status indicators
Charging contacts
Battery release
latches

3
Battery Installation and Removal
The RFID reader ships with a Li-ion battery manufactured for
Honeywell International Inc.
Install the battery before using the reader for the first time.
When installing or removing the battery, hold the unit upside
down in the palm of your hand.
We recommend use of Honeywell Li-ion battery
packs. Use of any non-Honeywell battery may result
in damage not covered by the warranty.
Nous recommandons l’utilisation de batteries Li-ion
de la marque Honeywell. L’utilisation d’une batterie
d’un autre fabricant est susceptible de provoquer des
dommages non couverts par la garantie.
Before you attempt to use, charge or replace the
battery in the device, carefully read all labels,
markings and product documentation provided in the
box or online at sps.honeywell.com. To learn more
about Battery Maintenance for Portable Devices, go
to honeywell.com/PSS-BatteryMaintenance.
Avant d’essayer d’utiliser, de charger ou de remplacer
la batterie de l’appareil, lisez attentivement toutes les
étiquettes, marquages et documentation du produit
fournis dans la boîte ou en ligne à sps.honeywell.com.
Pour en savoir plus sur l’Entretien de Batteries pour
Appareils Portables, consultez-le honeywell.com/
PSS-BatteryMaintenance.
4
1. To access the battery compartment, squeeze the battery
cover latches and slide the door out.

5
2. Insert the battery into the battery compartment.

6
3. Slide the battery cover into the unit.
To uninstall the battery:
1. Squeeze the battery cover latches then slide the battery
cover out.
2. Slide the battery out of the unit.

7
Charging
Before using the reader for the first time, ensure the battery is
fully charged.
The IH40 RFID Reader is compatible with all existing CT40
charge bases and universal dock chargers. To charge the IH40
RFID Reader with a booted charge dock, place a non-booted
device adapter sleeve into the charging cup.
The RFID Reader can be charged alone or with a mobile device
attached. If a mobile computer is attached to the IH40 when it is
placed in the charger, both devices will charge simultaneously.
Note: When charging, make sure the charging indicator is always
on.
We recommend the use of Honeywell accessories and
power adapters. Use of any non-Honeywell
accessories or power adapters may cause damage not
covered by the warranty.
Nous recommandons d’utiliser des accessoires et des
adaptateurs secteur de marque Honeywell.
L’utilisation de tout accessoire ou adaptateur secteur
d’une autre marque est susceptible de provoquer des
dommages non couverts par la garantie.
Ensure all components are dry prior to mating the
computers and batteries with peripheral devices.
Mating wet components may cause damage not
covered by the warranty.
Assurez-vous que tous les composants sont secs avant
d’insérer la batterie dans l’ordinateur. L’insertion de
composants humides risque de provoquer des
dommages non couverts par la garantie.

8
1. If the charge base has a booted cup, insert the device
adapter sleeve into the charge dock.
2. Place the RFID Reader into the cup.
Adapter required with
booted charge base.

9
Fitting/Unloading Bracket and Attaching Device
Note: Bracket may differ slightly from illustration depending on
model.
1. Insert the mobile computer into the bracket and press it
down.
Note: When installing the bracket, pay attention to the angle and
pressure to avoid damaging the product.
2. Before installing the device, ensure that the charge base
plug and charge base socket on the reader are clean and
free from dirt or debris.

10
3. Align the bracket with the charge base socket, ensuring that
it is parallel, and press the two parts together firmly until
they click into place.

11
To unload the mobile terminal:
1. Hold the RFID Reader by the handle.
2. Pull the mobile computer upwards out of the bracket.
3. To remove the bracket, hold the handle with one hand and
lift the bracket up from the RFID Reader with the other
hand.

12
Reading RFID Tags
You can use the HonRFID application to demonstrate IH40
functions and tag operation. This app can be downloaded at
https://hsmftp.honeywell.com.
1. Turn on power to the reader. It beeps one time.
2. Power on the mobile terminal and launch the HonRFID app.
3. Touch the Connect icon on the home screen to go to the
Connect screen.
4. To use Auto Connect:
a. Tap Auto Connect to switch this function on.
b. Tap the Search button. The mobile device will search for
the available Bluetooth device and connect to it
automatically. It beeps one time when successfully
connected.
c. Tap CREATE READER at the bottom of the screen to
pair with the IH40 and go to the Scan screen.
5. To manually connect:
a. Tap Auto Connect to switch the function off.
b. Tap the Search button and wait until the available
Bluetooth devices are displayed in the list.
c. Select IH40 to connect. The unit beeps one time when
successfully connected.
d. Tap CREATE READER at the bottom of the screen to
pair with the IH40 and go to the Scan screen.

13
6. To connect using a QR code:
a. Tap on the right top corner of the Connect screen
and select the barcode reading option to scan the QR
code on the IH40 to pair with it.
7. Press the MODE button and release within 3 seconds to
check IH40's operation mode. (Not applicable for Model
IH40-0.)
• If the RFID LED lights up, the IH40 is in RFID mode.
• If the 1D/2D LED lights up, the IH40 is in Barcode mode.
• Press and hold the MODE button for at least 3 seconds to
switch to RFID mode.
8. Press the trigger button to read tags.
Note: The barcode reading option is only supported by
Honeywell mobile devices.
Switch on the Bluetooth function and Location (Settings >
Security & location> Location) on the mobile device before
connecting, or the connection will fail.
RFID tags can be read when they are in range. The range
(typically 0.2ft-20ft) at which a tag can be read depends on
the tag type and size and the number of tags in the field.

14
MODE Button and Status Indicators
Note: MODE button functionality does not apply to model
IH40-0. Model IH40-0 uses RFID mode only.
Indicator Definition
Press the MODE button to display the
current mode indicator. Release the button
within 3 seconds to turn the mode light off.
Press and hold the MODE button for at least
3 seconds to switch between 1D/2D and
RFID mode and the current mode light is on.
Release the button: the current mode light is
off.
MODE
MODE

15
Support
Go to honeywell.com/PSStechnicalsupport to search our
knowledge base for a solution or to log into the Technical
Support portal.
Documentation
For the user guide and other documentation, go to
sps.honeywell.com.
Limited Warranty
For warranty information, go to sps.honeywell.com and select
Support > Warranties.
Patents
For patent information, see www.hsmpats.com.
Solid amber: Charging
Solid green: Fully charged
Red flash/Green and amber flash alternately:
Charge error
Solid red: Battery low warning (<20%
capacity remaining.)
Blue slow flash: Bluetooth disconnected (two
beeps when disconnect from PDA)
Solid blue: Bluetooth connected (one beep
when connected successfully)
Indicator Definition

16
Trademarks
Android is a trademark of Google LLC.
Disclaimer
Honeywell International Inc. (“HII”) reserves the right to make
changes in specifications and other information contained in
this document without prior notice, and the reader should in all
cases consult HII to determine whether any such changes have
been made. HII makes no representation or warranties
regarding the information provided in this publication.
HII shall not be liable for technical or editorial errors or
omissions contained herein; nor for incidental or consequential
damages resulting from the furnishing, performance, or use of
this material. HII disclaims all responsibility for the selection
and use of software and/or hardware to achieve intended
results.
This document contains proprietary information that is
protected by copyright. All rights are reserved. No part of this
document may be photocopied, reproduced, or translated into
another language without the prior written consent of HII.
Copyright 2021-2022 Honeywell International Inc. All rights
reserved.
This manual suits for next models
2
Table of contents
Other Honeywell RFID System manuals

Honeywell
Honeywell 026366.00 User manual

Honeywell
Honeywell IM11-PRT User manual

Honeywell
Honeywell Connected Home SPR-S8EZS User manual

Honeywell
Honeywell IH25 User manual

Honeywell
Honeywell IH25 User manual

Honeywell
Honeywell IH25 User manual

Honeywell
Honeywell IH45 User manual

Honeywell
Honeywell ARC-X User manual

Honeywell
Honeywell Home SPR-S8EZS User manual

Honeywell
Honeywell IF1C User manual