manuals.online logo
Brands
  1. Home
  2. •
  3. Brands
  4. •
  5. Honeywell
  6. •
  7. Security Camera
  8. •
  9. Honeywell HBD2PR1 User manual

Honeywell HBD2PR1 User manual

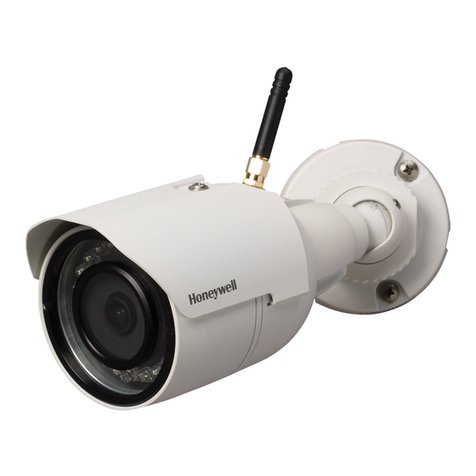
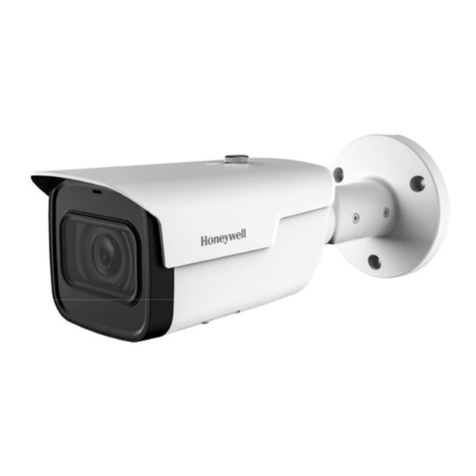
HBD2PR1(X) 1080p TDN IR Bullet IP Camera
Document 800-17077V1 – Rev A – 07/2014 1
Quick Installation Guide
Document 800-17077V1 — Rev A— 07/2014
Thank you for purchasing a HBD2PR1(X) 1080p True
Day/Night IR Bullet IP Camera to complement your
Honeywell Embedded NVR. Follow the instructions
in this guide to install and log in to your camera. For
instructions on configuring the camera, refer to the
Performance Series IP Cameras User Guide on the
software and documentation CD that came with your
camera. If you require additional assistance, please
call the number shown below.
Cautions and Warnings
WARNING
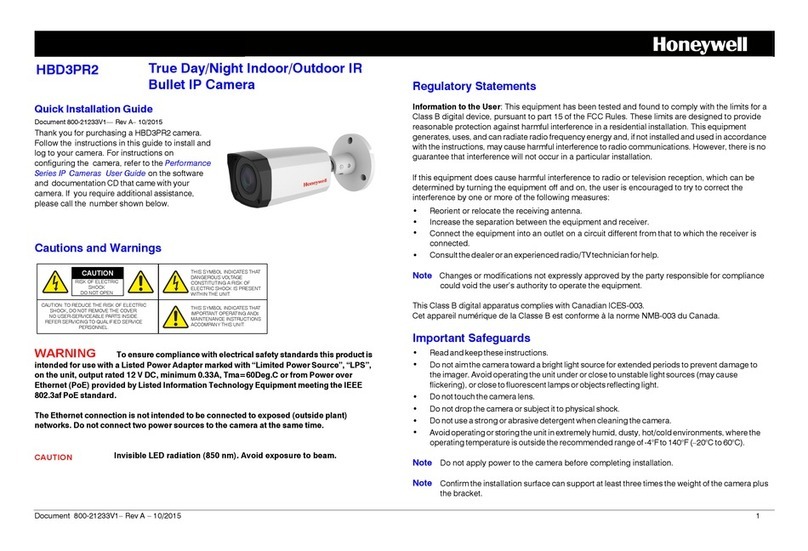
To ensure compliance with electrical safety standards this product is
intended for use with a Listed Power Adapter marked with “Limited Power Source”, “LPS”,
on the unit, output rated 12 V DC, minimum 0.33A, Tma=60Deg.C or from Power over
Ethernet (PoE) provided by Listed Information Technology Equipment meeting the IEEE
802.3af PoE standard.
The Ethernet connection is not intended to be connected to exposed (outside plant)
networks. Do not connect two power sources to the camera at the same time.
Caution Invisible LED radiation (850 nm). Avoid exposure to beam.
Regulatory Statements
Information to the User: This equipment has been tested and found to comply with the limits
for a Class B digital device, pursuant to part 15 of the FCC Rules. These limits are designed to
provide reasonable protection against harmful interference in a residential installation. This
equipment generates, uses, and can radiate radio frequency energy and, if not installed and
used in accordance with the instructions, may cause harmful interference to radio
communications. However, there is no guarantee that interference will not occur in a particular
installation.If this equipment does cause harmful interference to radio or television reception,
which can be determined by turning the equipment off and on, the user is encouraged to try to
correct the interference by one or more of the following measures:
• Reorient or relocate the receiving antenna.
• Increase the separation between the equipment and receiver.
• Connect the equipment into an outlet on a circuit different from that to which the receiver
is connected.
• Consult the dealer or an experienced radio/TV technician for help.
Note Changes or modifications not expressly approved by the party responsible for compliance could
void the user’s authority to operate the equipment.
This Class B digital apparatus complies with Canadian ICES-003.
Cet appareil numérique de la Classe B est conforme à la norme NMB-003 du Canada.
Important Safeguards
• Read and keep these instructions.
• Do not aim the camera toward an bright light source for extended periods to prevent damage to
the imager. Avoid operating the unit under or close to unstable light sources (may cause
flickering), or close to fluorescent lamps or objects reflecting light.
• Do not touch the camera lens.
• Do not drop the camera or subject it to physical shock.
• Do not use a strong or abrasive detergent when cleaning the camera.
• Avoid operating or storing the unit in extremely humid, dusty, hot/cold environments, where the
operating temperature is outside the recommended range of -4°F to 140°F (–20°C to 60°C).
Note Do not apply power to the camera before completing installation.
Note Confirm the installation surface can. at the minimum, support three times the weight of the camera
plus the bracket.
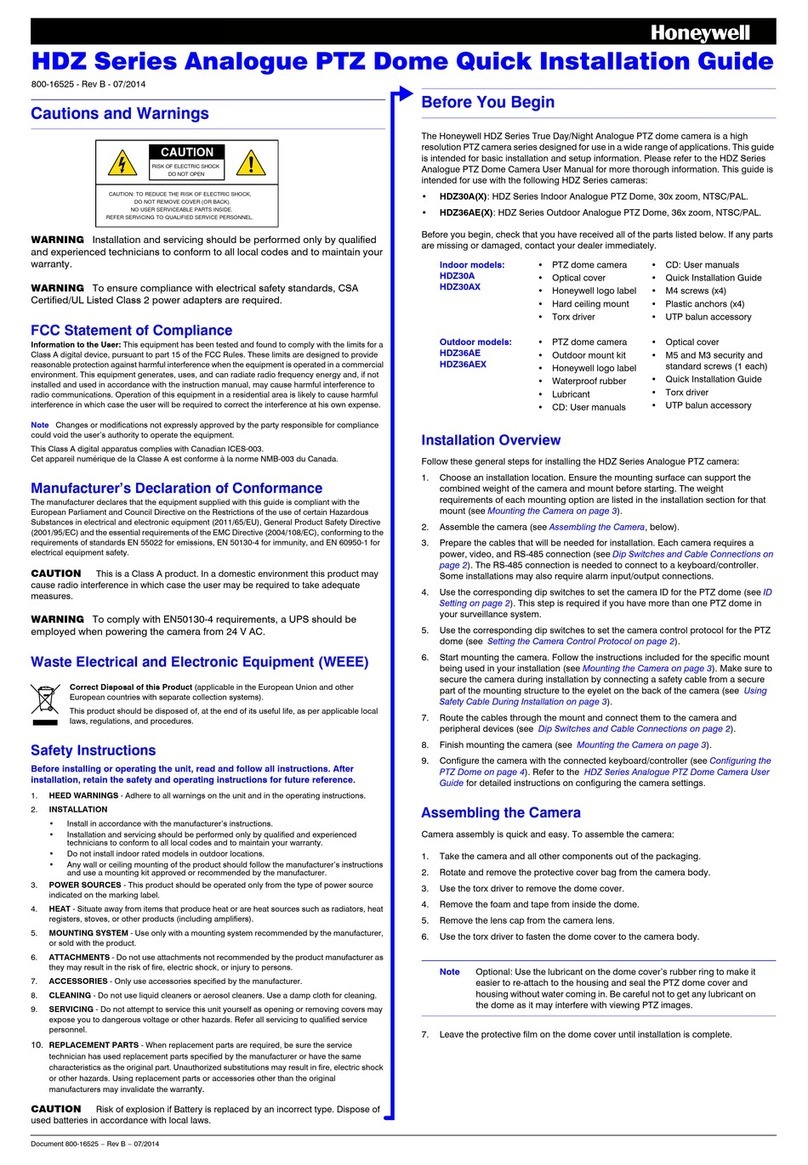
HBD2PR1(X) 1080p TDN IR Bullet IP Camera
www.honeywell.com/security
+1 800 323 4576 (North America only)
https://www.honeywellsystems.com/ss/techsupp/index.html
Document 800-17077V1 – Rev A – 07/2014
© 2014 Honeywell International Inc. All rights reserved. No part of this publication may be reproduced by any means without written permission from Honeywell. The information in this publication is believed to be accurate in all respects. However,
Honeywell cannot assume responsibility for any consequences resulting from the use thereof. The information contained herein is subject to change without notice. Revisions or new editions to this publication may be issued to incorporate such changes.
Before You Begin
Before you begin, check that you have received all of the parts listed below. If any parts are
missing or damaged, contact your dealer immediately.
Caution Installation and servicing should be performed only by qualified and
experienced technicians to conform to all local codes and to maintain your
warranty.
Required tools:
• A Phillips screwdriver
• A drill with an appropriately-sized drill bit for pre-drilling holes for the wall anchors.
Preparing the Mounting Surface
1. Place the mounting template on the mounting surface where you want to install the camera.
2. Drill a hole and pull the cables through the mounting surface.
3. Use the drill to pre-drill holes for the wall anchors, then insert the four wall anchors and secure
them in place.
Mounting the Camera
1. Position the camera so that the screw holes on the base align with the screw holes on the
mounting template and the holes for the wall anchors.
2. Insert the four self-tapping screws through the holes in the bullet camera’s base, into the wall
anchors, and then tighten them to secure the bullet camera in place.
Connecting the Wires
Connect the IP cable to the RJ-45 port on the camera.
Adjusting the Field of View
1. Use the star-shaped Allen key (supplied) to loosen, but not remove, the adjusting screw on the
camera base.
2. Adjust the bullet camera to the desired field-of-view angle, and then re-tighten the adjusting
screw to secure the camera in place.
Note The adjusting screw must be loosened before you can adjust the camera field-of-view direction
and/or angle. Please secure it tightly when finished with these adjustments.
Note When the camera body and installation chassis for a 90° angle, and the adjusting screw is tight,
please do not rotate the camera body more than 360°.
•Camera
• Documentation CD
• Quick install guide
• Mounting template
• Self-tapping screws (×5)
• Plastic wall anchors (×5)
• Allen key
Wall or ceiling
Mounting template
Wall anchor
Installation screw
Camera
1
2
3
4
Adjusting screw

Other manuals for HBD2PR1

1

Other Honeywell Security Camera manuals

Honeywell 2450Cm Series User manual

Honeywell

Honeywell 2450Cm Series User manual

Honeywell HD40 Series User manual

Honeywell

Honeywell HD40 Series User manual

Honeywell HCC334E User manual

Honeywell

Honeywell HCC334E User manual

Honeywell EQUIP HD3MDIHX User manual

Honeywell

Honeywell EQUIP HD3MDIHX User manual

Honeywell HD3DS User manual

Honeywell

Honeywell HD3DS User manual

Honeywell HCD484LX User manual

Honeywell

Honeywell HCD484LX User manual

Honeywell HD31H(X) User manual

Honeywell

Honeywell HD31H(X) User manual

Honeywell HD5 Series User manual

Honeywell

Honeywell HD5 Series User manual

Honeywell HD4D Series User manual

Honeywell

Honeywell HD4D Series User manual

Honeywell 2450Cm Series User manual

Honeywell

Honeywell 2450Cm Series User manual

Honeywell HD3HRSX User manual

Honeywell

Honeywell HD3HRSX User manual

Honeywell HED2PER3 User manual

Honeywell

Honeywell HED2PER3 User manual

Honeywell EQUIP Series User manual

Honeywell

Honeywell EQUIP Series User manual

Honeywell 4 Inch Dome Camera User manual

Honeywell

Honeywell 4 Inch Dome Camera User manual

Honeywell Performance HBD3PR2 User manual

Honeywell

Honeywell Performance HBD3PR2 User manual

Honeywell Lyric C1 User manual

Honeywell

Honeywell Lyric C1 User manual

Honeywell HD73P Series User manual

Honeywell

Honeywell HD73P Series User manual

Honeywell HD14 User manual

Honeywell

Honeywell HD14 User manual

Honeywell HCD92534 User manual

Honeywell

Honeywell HCD92534 User manual

Honeywell HD3D User manual

Honeywell

Honeywell HD3D User manual

Honeywell HCC334L User manual

Honeywell

Honeywell HCC334L User manual

Honeywell HDZ302LIK User manual

Honeywell

Honeywell HDZ302LIK User manual

Honeywell HD4DIR User manual

Honeywell

Honeywell HD4DIR User manual

Honeywell 35 Series User manual

Honeywell

Honeywell 35 Series User manual

Popular Security Camera manuals by other brands

Dynamic CCTV DYN-SD/INT/A user manual

Dynamic CCTV

Dynamic CCTV DYN-SD/INT/A user manual

nclebo AID9836 instruction manual

nclebo

nclebo AID9836 instruction manual

VStarcam C Series user manual

VStarcam

VStarcam C Series user manual

Vivotek MD8563-HF2 user manual

Vivotek

Vivotek MD8563-HF2 user manual

Panasonic WVBP120 - CCTV CAMERA operating instructions

Panasonic

Panasonic WVBP120 - CCTV CAMERA operating instructions

ATV C700TDN instruction manual

ATV

ATV C700TDN instruction manual

Denver HSM-5003 quick start guide

Denver

Denver HSM-5003 quick start guide

Avigilon 8.0MP-HD-DOME-360 installation guide

Avigilon

Avigilon 8.0MP-HD-DOME-360 installation guide

AVer FC2020-P1 user manual

AVer

AVer FC2020-P1 user manual

Vista VVRD28V12CM960H / U installation manual

Vista

Vista VVRD28V12CM960H / U installation manual

LevelOne FCS-4041 user manual

LevelOne

LevelOne FCS-4041 user manual

Wisenet XNV-8083RZ user manual

Wisenet

Wisenet XNV-8083RZ user manual

Motorola HMVC3050 quick start guide

Motorola

Motorola HMVC3050 quick start guide

Idis DC-T4233WRX quick guide

Idis

Idis DC-T4233WRX quick guide

TKH security FD2002v2M quick start guide

TKH security

TKH security FD2002v2M quick start guide

Sony IPELA SNC-CH110 Specifications

Sony

Sony IPELA SNC-CH110 Specifications

Vitek Transcendent Series quick start guide

Vitek

Vitek Transcendent Series quick start guide

Ezviz HUSKY Air CS-CV310 Series quick start guide

Ezviz

Ezviz HUSKY Air CS-CV310 Series quick start guide

manuals.online logo
manuals.online logoBrands
  • About & Mission
  • Contact us
  • Privacy Policy
  • Terms and Conditions

Copyright 2025 Manuals.Online. All Rights Reserved.