manuals.online logo
Brands
  1. Home
  2. •
  3. Brands
  4. •
  5. Horizont
  6. •
  7. Power Supply
  8. •
  9. Horizont EQUISTOP M1 User manual

Horizont EQUISTOP M1 User manual

85035G - 4/15
Type 10621
230 V AC / 2 W
EQUISTOP M1
Leerlaufspannung - Voltage at no load
Tension à vide - Voltaggio senza carico
Töltés nélküli feszültség 8500 V
Spannung bei 500 (Tierberührung) - Voltage at 500 (animal contact)
Tension à 500 - Voltaggio a 500 (contatto animale)
Feszültség 500 - os terhelésnél (állatokkal történ érintkezés) 3200 V
Max. Zaunlänge - Max. fence line length
Longueur électrifiée - Lunghezza massima recinzione
Max. kerítés hossz 25 km ( CEE )
horizont group gmbh
Division agrartechnik
Postfach 13 29
34483 Korbach
Homberger Weg 4-6
34497 Korbach
GERMANY
Telefon: +49 (0) 56 31 / 5 65-1 00
Telefax: +49 (0) 56 31 / 5 65-1 20
[email protected]
www.horizont.com
horizont
ORIGINALBEDIENUNGSANLEITUNG
Elektrozaungerät
de
Instruction manual
Electric Fencer
en
Mode d´emploi
Électrificateur de Clôture
f
Istruzioni d’uso
Recinto Elettrico
it
KEZELÉSI ÚTMUTATÓ
Készülék elektromos kerítéshez
hu
2horizont.com 3
96175-10621
94581
( 4x )
90493
94581
( 2x )
94353 / 97265
90443
( 2x )
84719
( 2x )
81045
( 2x )
89923
90429
90659
83761
89224
83403
83709
88707
Betriebsanweisung des Elektrozaungerätes
in Verbindung mit den Errichtungs- und Sicherheitshinweisen für
Elektrozaungeräte SECURA ( www.horizont.com )
Montage und Anschluss:
Die Aufstellung kann in einem Gebäude erfolgen, aber nicht in feuergefährdeten Betriebsstätten. Bei Außen-
montage ist das Gerät senkrecht anzubringen und vor direkter Sonneneinstrahlung zu schützen.
Die Erdleitung wird an die Klemme mit dem Erdungszeichen, die Zaunleitung an die Klemme mit dem Blitz-
zeichen angeschlossen.
Inbetriebnahme:
Die Netzversorgung herstellen, nach einigen Sekunden hört man ein gleichmäßiges Ticken, das Gerät ist in
Betrieb. Die Funktionskontrollampe leuchtet im Rhythmus der elektrischen Impulse auf.
Erdung:
Eine gute Erdung des Zaunes ist äußerst wichtig für den einwandfreien Betrieb und die optimale Leistung
des Gerätes, deshalb soll die Erdung an einer möglichst feuchten und bewachsenen Stelle vorgenommen
werden.
Einen 1m tiefen Erdstab (z.B.Rundstab 12 mm ø) und/oder einen zusätzlichen 5m Banderder (2 Spaten tief)
einsetzen. Bei trockenem Boden und langem Zaun sollte ein zusätzlicher Erdleiter mit Zwischenerdern (alle
50m) am Zaun entlang verlegt werden. Die Betriebserde der Elektrozaunanlage muss von der Schutz- und
Betriebserde des Netzes im Hof getrennt sein (Abstand mind. 10m).
Vorschriften:
Das Gerät entspricht den Sicherheitsvorschriften.
Service:
Wenn das Gerät nicht ordnungsgemäß arbeitet, ist die Leiterplatte auszutauschen. Blitzschäden erkennt man
an Brandspuren. In diesem Fall muss das Gerät zur Reparatur eingeschickt werden.
Wenn die Netzanschlussleitung dieses Gerätes beschädigt wird, muss sie durch den Hersteller oder seinen
Kundendienst oder eine ähnlich qualifizierte Person ersetzt werden, um Gefährdungen zu vermeiden.
Service und Reparaturen nur durch autorisierte Fachleute !
Technische Änderungen vorbehalten !
UK = 81837
de
4horizont.com 5
Operating instruction for electric fence controller
in connection with SECURA safety hints ( www.horizont.com )
Installation and connection:
The installation can be made inside a building but not where there is a risk of fire. In case of outside installa-
tion the controller must be mounted in the vertical position. Protect from bright sunshine.
Fence and earth leads must be attached to the marked fence and earth terminals.
Operating:
Plug the mains cable in a 230V supply socket. After a few seconds a slight tic-tac can be heard. The control
lamp flashes with the pulses.
Grounding:
For a faultless operation and to obtain best possible output a good grounding is very important. There fore the
grounding must be made at a rather moisty and overgrown place. An 1 m earth stake ( e.g. 12mm ø ) and or
an additional 5m strip type earth conductor (two spades deep) shall be used.
With long fences and on dry soil a ground return wire with intermediate groundings (every 50 m) is necessary.
The distance between the system earth and the protective and system earth of the supply net work shall be
at least 10m.
Requirements: The controller is desigend to conform to the corresponding standard.
Service:
Replace the circuit board if the controller does not work properly. Lightning damages can be recognized by
burned traces. In this case return the controller to service station.
If the connecting cable of this device is damaged, the manufacturer, his after-sales service or a similarly
qualified person must replace it in order to avoid hazard.
Services and repairs only by authorized experts !
Subject to alterations !
Mode d‘emploi de l‘électrificateur
en liaison avec les remarques sur l‘installation et la sécurité des électrificateurs de clôture SECURA
(www.horizont.com)
Montage et raccordement:
L‘appareil peut être monté dans un bâtiment mais pas dans un lieu d‘exploitation facilement inflammable. Lors
d’un montage à l‘extérieur, l‘appareil est à fixer verticalement. Ne pas exposé directement du soleil.
Le conduit de prise de terre sera raccordée à la borne marquée du symbole de prise de terre et le conduit de
la clôture sera raccordée à la borne marquée du symbole éclair.
Mise en service:
Raccorder au secteur. Quelques secondes après on entend un tic-tac régulier, l’appareil est en marche. La
lampe témoin de la clôture clignote à la cadence des impulsions électriques.
Prise de terre:
Une bonne prise de terre est particulièrement importante pour le bon fonctionnement et la performance ma-
ximum de l‘électrificateur; c’est pourquoi la prise de terre doit être faite à un endroit le plus humide possible
et couvert de végétation. Placer une barre de fer à 1 m de profondeur (par exemple une barre ronde de 12 mm
de diamètre) ou une bande supplémentaire de mise à la terre (2 profondeurs de bêche). Par sol sec et clôture
longue, on devra poser un conducteur de terre supplémentaire avec des prises de terre intermédiaires (tous
les 50 m) le long de la clôture. La prise de terre de l’installation de clôture doit être séparée de la prise de terre
des bâtiments (distance au moins l0 m).
Prescriptions:
L‘électrificateur est construit d‘après les normes de sécurité.
Boîte de courant de service:
Quand l'appareil ne fonctionne pas correctement veuillez changer la carte de circuit. Les dégâts sont recon-
naissables par des traces de brûlure. Dans ce cas là veuillez retourner l'appareil ou service après vente.
Lorsque la ligne de raccordement de cet appareil est endommagée, elle doit être remplacée par le fabricant ou
son SAV ou par une personne d‘une qualification équivalente, pour éviter les mises en danger.
Service et réparations à faire effectuer par des spécialistes autorisés !
Sous réserve de changements techniques !
en f
6horizont.com 7
Istruzioni per l´uso della centralina per il recinto elettrico
Rispondente alle norme costruttive e di sicurezza per gli apparecchi elettrificatori di recinzioni
SECURA ( www.horizont.com )
Montaggio e collegamenti:
L´installazione di detta centralina può avvenire in un immobile, ma non in locali dove c´è pericolo d´incendio.
Se montata all´aperto, essa richiede una posizione verticale. Il cavo interrato viene fissato al morsetto con il
segno “massa” ed il cavo di alimentazione al morsetto con il segno “fulmine”.
Messa in esercizio:
Realizzare l´alimentazione di rete e dopo pochi secondi si sentirà un lieve ticchettio a conferma che la centra-
lina funziona. La lampada spia s´accende al ritmo degli impulsi elettrici.
Collegamento a terra:
Un´ adeguata messa a terra del recinto è estremamente importante sia per il perfetto funzionamento che il
buon rendimento dell´impianto. E´per quest, che si raccomanda, per il suo montaggio, un posto piuttosto umido
e ricoperto di vegetazione. Piantare un paletto di 1m (p.es. tondino di 12 mm) e/o una supplementare presa di
terra a nastro di 5 m (sotterrato a 2 vanghe di profondità). Se il recinto fosse molto lungo ed il suolo soffice si
dovrebbe prevedere un ulteriore conduttore di terra lungo il recinto con prese a intervalli di 50 m. La barra di
terra della centralina del recinto elettrico deve essere separata dal collegamento a terra e dalla barra di terra
della rete nel cortile (come minimo a una distanza di 10 m).
Prescrizioni:
L´apparecchio risponde alle norme di sicurezza.
Assistenza:
Qualora la centralina non funzionasse regolarmente, si deve cambiare la piastra di circuito. Tracce di bruciato
sono chiari segni dei danni causati da fulmine. In questo caso affidarla all´Assistenza tecnica per la riparazione.
Se il cavo di allacciamento di quest‘apparecchio viene danneggiato, dev‘essere sostituito dal fabbricante,
dall‘assistenza tecnica oppure da uno specialista sufficientemente qualificato per evitare rischi di infortuni.
Assistenza tecnica e riparazioni devono essere eseguiti esclusivamente da personale specializzato !
Con riserva di eventuali modifiche !
elektromos kerítés vezérlegység kezelési útmutatója
a SECURA biztonsági útmutatásokkal kapcsolatban ( www.horizont.com )
Telepítés és összekapcsolás:
Épületben, tz védett helyen elhelyezhet. Kültéri elhelyezés esetén a vezérlegységet függlegesen kell felszerelni.
Védje az ers napfénytl.
A kerítést és a földel kábeleket a jelzett kerítés- és a földel csatlakozókhoz kell kapcsolni.
Mködés:
Dugja be a hálózati fkábelt 230 V feszültség konnektorba. Néhány másodperc elteltével halk ketyegést lehet
hallani. Az ellenrz lámpa ütemesen villog.
Földelés:
A hibátlan mködés és a lehet legjobb teljesítmény elérése érdekében a jó földelés nagyon fontos. Ezért a
földelést egy elég nedves és elburjánzott területen kell elhelyezni. Egy 1 méteres földelést (pl.: 12 mm ø) kell
használni és/vagy egy további 5 méter széles sávot föld vezetként (két ásónyomnyira).
Hosszú kerítés és száraz talaj esetén a földel kábelt közbensleg (50 méterenként) földelni kell. A rendszer
részét képz földterület és az ellátó hálózat rendszeréhez tartozó véd földterület közötti távolságnak legalább
10 méternek kell lennie.
Követelmények:
A vezérlegységet a vonatkozó szabványokhoz igazítva tervezték.
Szerviz:
Cserélje ki az áramköri lapot, ha a vezérlegység nem megfelelen mködik. A villámkárok az égési nyomokból
észrevehetek. Ebben az esetben vigye vissza a vezérlegységet a szervizbe.
Ha ennek a készüléknek a csatlakozó kábele sérült, azt a gyártónak, viszonteladóinak vagy hasonló képesí-
téssel rendelkez személynek kell kicserélnie a kockázatok elkerülése érdekében.
Csak engedéllyel rendelkez szakért láthatja el a szervizelési és javítási feladatokat.
Mszaki módosítás tárgya !
it hu
8

Other Horizont Power Supply manuals

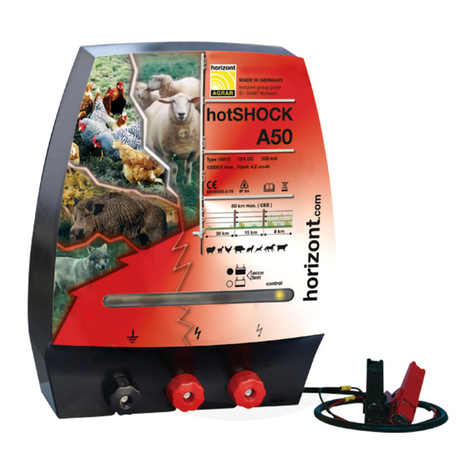
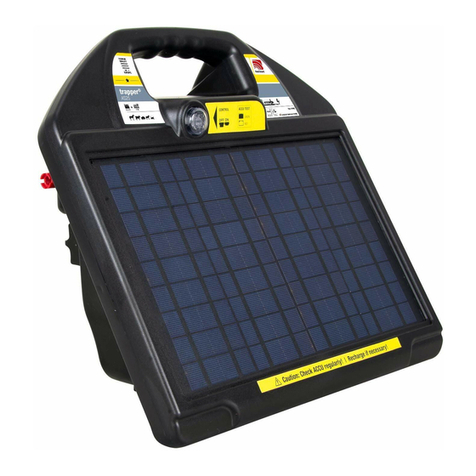
Horizont TRAPPER AN8 User manual

Horizont

Horizont TRAPPER AN8 User manual

Horizont ranger B29 User manual

Horizont

Horizont ranger B29 User manual

Horizont FARMER AN15 User manual

Horizont

Horizont FARMER AN15 User manual

Horizont intelliSTOP AN25 User manual

Horizont

Horizont intelliSTOP AN25 User manual

Horizont ranger AN2000 User manual

Horizont

Horizont ranger AN2000 User manual

Horizont ranger AS120 User manual

Horizont

Horizont ranger AS120 User manual

Horizont farmer ABN30 User manual

Horizont

Horizont farmer ABN30 User manual

Horizont ranger N420 User manual

Horizont

Horizont ranger N420 User manual

Horizont ranger N270 User manual

Horizont

Horizont ranger N270 User manual

Horizont hotshock ABN37 User manual

Horizont

Horizont hotshock ABN37 User manual

Horizont farmer AN1000 Solar User manual

Horizont

Horizont farmer AN1000 Solar User manual

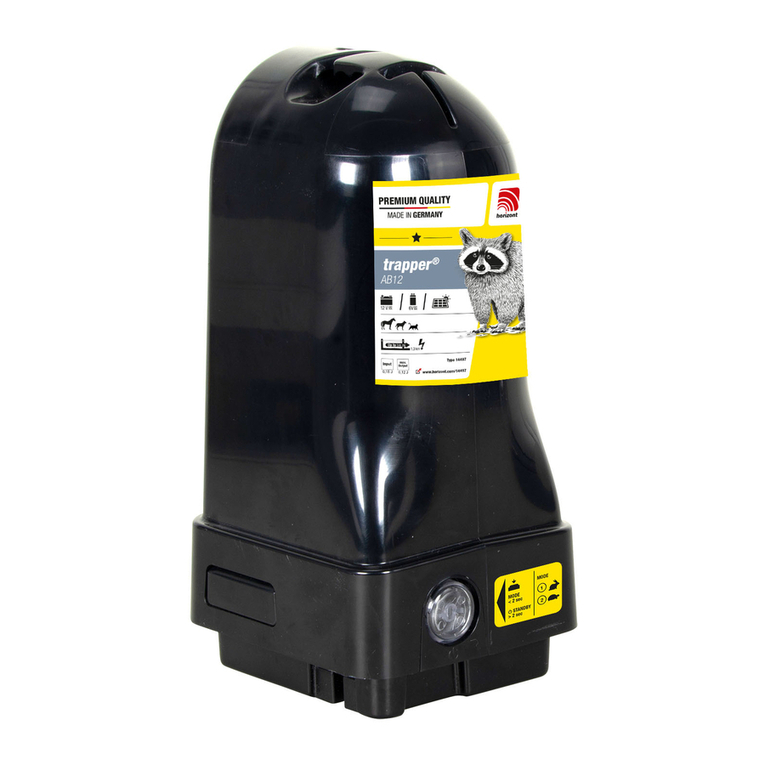
Horizont trapper AB12 User manual

Horizont

Horizont trapper AB12 User manual

Horizont Hotline 47HLM100S User manual

Horizont

Horizont Hotline 47HLM100S User manual

Horizont FARMER AS70 User manual

Horizont

Horizont FARMER AS70 User manual

Horizont farmer N100 User manual

Horizont

Horizont farmer N100 User manual

Horizont 10613 User manual

Horizont

Horizont 10613 User manual

Horizont S40 User manual

Horizont

Horizont S40 User manual

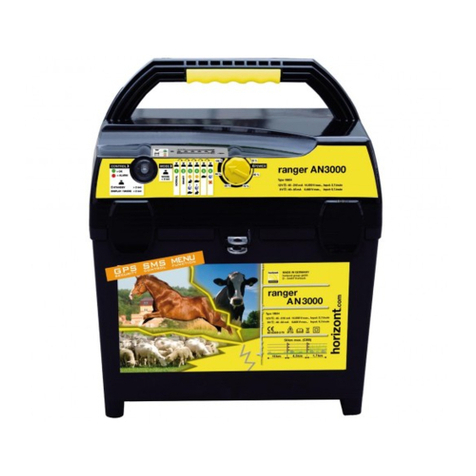
Horizont ranger AN3000 User manual

Horizont

Horizont ranger AN3000 User manual

Horizont FARMER AS70 User manual

Horizont

Horizont FARMER AS70 User manual

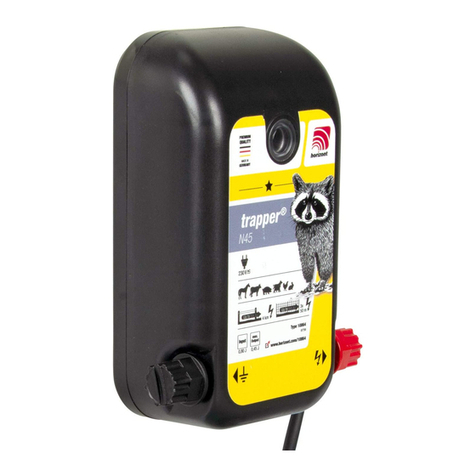
Horizont trapper N45 User manual

Horizont

Horizont trapper N45 User manual

Horizont ranger AN2000 User manual

Horizont

Horizont ranger AN2000 User manual

Horizont trapper AS25 User manual

Horizont

Horizont trapper AS25 User manual

Horizont Farmer N200 User manual

Horizont

Horizont Farmer N200 User manual

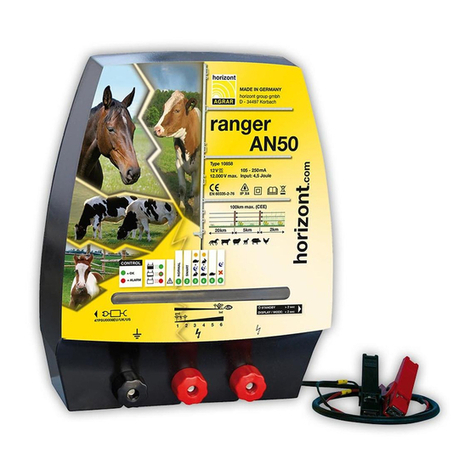
Horizont ranger AN50 User manual

Horizont

Horizont ranger AN50 User manual

Popular Power Supply manuals by other brands

KEPCO FAW 5-20K instruction manual

KEPCO

KEPCO FAW 5-20K instruction manual

Axio MET AX-3020L instruction manual

Axio MET

Axio MET AX-3020L instruction manual

qtran QOM-eLED+DMX installation instructions

qtran

qtran QOM-eLED+DMX installation instructions

Speed Link PECOS SL-6915-SSV-01 manual

Speed Link

Speed Link PECOS SL-6915-SSV-01 manual

Corsair VX450W Brochure & specs

Corsair

Corsair VX450W Brochure & specs

qtran QTM60 installation instructions

qtran

qtran QTM60 installation instructions

Meanwell MP450 instruction manual

Meanwell

Meanwell MP450 instruction manual

Corsair HX1200 manual

Corsair

Corsair HX1200 manual

KEPCO BOP-MG/ME 1KW Operator's manual

KEPCO

KEPCO BOP-MG/ME 1KW Operator's manual

Black Box KV7004A manual

Black Box

Black Box KV7004A manual

I-Tech IT7900 Series Programming guide

I-Tech

I-Tech IT7900 Series Programming guide

FOR-A USF-105S Operation manuals

FOR-A

FOR-A USF-105S Operation manuals

KEPCO KLN 1500W Operator's manual

KEPCO

KEPCO KLN 1500W Operator's manual

AimTTi QPX750SP instruction manual

AimTTi

AimTTi QPX750SP instruction manual

GOAL ZERO YETI 1500X user manual

GOAL ZERO

GOAL ZERO YETI 1500X user manual

KEPCO RKE 1500W SERIES Operator's manual

KEPCO

KEPCO RKE 1500W SERIES Operator's manual

I-Tech IT6821 user guide

I-Tech

I-Tech IT6821 user guide

Delta LYTE DRL-24V480W1A Series Technical data sheet

Delta

Delta LYTE DRL-24V480W1A Series Technical data sheet

manuals.online logo
manuals.online logoBrands
  • About & Mission
  • Contact us
  • Privacy Policy
  • Terms and Conditions

Copyright 2025 Manuals.Online. All Rights Reserved.