manuals.online logo
Brands
  1. Home
  2. •
  3. Brands
  4. •
  5. Horizont
  6. •
  7. Power Supply
  8. •
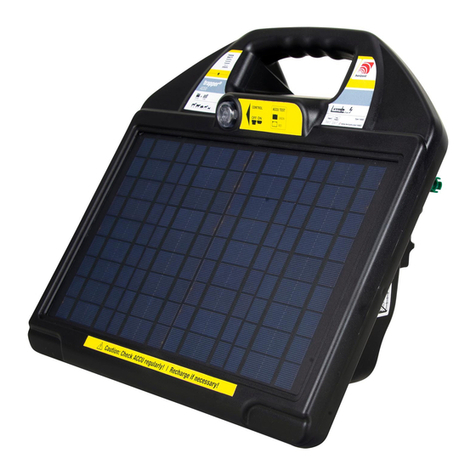
  9. Horizont FARMER AS70 User manual

Horizont FARMER AS70 User manual

14475BA_A 12/15
ORIGINALBEDIENUNGSANLEITUNG
Elektrozaungerät
Instruction manual
Electric Fencer
Mode d´emploi
Électrificateur de Clôture
INSTRUCCIONES DE USO
Cercado Electrico Accionado
de
en
f
es
FARMER AS70
Type 14475
horizont
horizont group gmbh
Division agrartechnik
Postfach 13 29
34483 Korbach
Homberger Weg 4-6
34497 Korbach
GERMANY
Telefon: +49 (0) 56 31 / 5 65-1 00
Telefax: +49 (0) 56 31 / 5 65-1 20
[email protected]
www.horizont.com
2horizont.com 3
Ersatzteile | Spare parts | Pièces détachées | pieza de recambio
47BC-EU
47BC-UK
60496
60495
rot|red|rouge: 47PLAS0092 &
grün|green|verte: 47PLAS0212
Montage und Anschluss | Installation and connection |
Montage et raccordement
1
4
7
11
2
5
8
3
6
9
84793 47RPCHLS67
47TX5873
12V / 12Ah: 94683
10
4horizont.com 5
FUNKTIONSPRINZIP:
Der Solargenerator erzeugt bei Lichteinstrahlung elektrischen Strom, wobei intensives Sonnenlicht sehr viel mehr Strom
produziert als Tageslicht bei Regenwetter. Das Elektrozaungerät benötigt einen konstanten Strom bei Tag und Nacht. Der
erzeugte Strom wird zunächst in einen Speicherakkumulator eingespeist, aus dem das Gerät einen konstanten Dauerstrom
entnimmt. Der Solargenerator ist nicht immer in der Lage, bei Betrieb des Gerätes - insbesondere in den Wintermonaten
(ca. Oktober-Februar) eine ausreichende Akkuladung sicherzustellen.
Abhilfe: Rechtzeitig extern nachladen!
LAGERUNG, NACHLADEN, AUFSTELLUNG UND ANSCHLUSS:
Bei Nichtgebrauch muss das Gerät immer unter Licht gelagert werden; z.B. am Fenster (Richtung Süden), besonders im
Winter. Nur so kann man sicherstellen, dass der eingebaute Akku nicht tiefentladen wird. Ggf. monatlich die Akkuspannung
prüfen und den Akku mit dem Batterieladegerät nachladen.
Vor und nach Gebrauch immer erst an der Sonne mindestens 1 Tag (nach)laden, gegebenenfalls auch extern nur mit
beigefügten Batterieladegerät laden, damit eingebauter Akku funktionstüchtig bleibt (siehe Fig. 3)! Nur mit dem Batterie-
ladegerät 47BC-EU nach laden. Während des Nachladens darf das Gerät nicht an den Weidezaun angeschlossen sein und
betreiben werden (siehe Fig. 3 und Fig 4.)
Akkuanzeige nur bei Tagesanbruch (ohne Sonnenlicht) kontrolllieren.
Das Gerät mit dem Erdpfahl an einer feuchten Stelle in den Boden einsetzen und Zaun- und Erdkabel anschließen. Das
Panel nach Süden ausrichten! Gerät mit Drucktastenschalter on/off 1einschalten - nach einigen Sekunden blinkt die
LED im Rhythmus der Impulse. Leuchtet die LED nicht auf, ist entweder der Akku leer oder es liegt ein Defekt im Gerät vor.
AKKUANZEIGE:
Nur bei Tagesanbruch kontrollieren! Spätestens wenn der Akku zu 80 % entladen ist (nur noch 20% Ladekapazität) muss
er nachgeladen werden, um eine Tiefenentladung zu verhindern.
Die Batterieanzeige leuchtet:
Bitte beachten Sie, dass diese Werte in Abhängigkeit der Temperatur (Kapazität) und Messabweichungen (Spannung)
schwanken können.
STROMSPARSCHALTUNG:
Bei diesem Gerät mit der eingebauten Stromsparschaltung passt sich der Stromverbrauch dem Zustand des Zaunes
automatisch an. Dies bedeutet weniger Stromverbrauch bei gut isolierten Zäunen und einen höheren Stromverbrauch bei
schlecht isolierten Zäunen (Ableitungen durch Bewuchs etc.).
ERDUNG:
Eine gute Erdung des Weidezaungerätes ist äußerst wichtig für den einwandfreien Betrieb und die optimale Leistung des
Gerätes, deshalb soll die Erdung an einer möglichst feuchten und bewachsenen Stelle vorgenommen werden. Mindestens
einen 1m langen Erdstab und/oder weitere 1 oder 2 längere Erdstäbe einsetzen. Die Betriebserde der Elektrozaunanlage
muss von der Schutz- und Betriebserde des Netzes im Hof getrennt sein (Abstand mind. 10m).
SERVICE:
Reparaturen dürfen nur von qualifizierten Personen durchgeführt werden.
Es sind nur die vom Hersteller vorgeschriebenen Ersatzbauteile zu verwenden.
TECHNISCHE ÄNDERUNGEN VORBEHALTEN!
ACHTUNG! Nicht an netzbetriebene
Versorgung einschliesslich
Batterieladegeräte anschliessen!
WARNING! Do not connect to mains-ope-
rated equipment including battery chargers!
MISE EN GARDE! Ne pas relier à un
appareil alimenté par le secteur, y compris à
un chargeur de batterie!
¡ATENCIÓN! ¡No conectar a una alimenta-
ción operada por red incluyendo cargadores
de batería!
Montage und Anschluss | Installation and connection |
Montage et raccordement
ON / OFF
Fig. 2
Fig. 3 Fig. 4
Originalbetriebsanleitung farmer AS70
in Verbindung mit den Errichtungs- und Sicherheitshinweisen für Elektrozaungeräte
SECURA ANIMAL (www.horizont.com)
de
1
Restkapazität
Blinklicht grün 40-100% Akku gut
Blinklicht rot/grün 20-40% Akku laden
Dauerlicht rot 0-20% Akku schwach
LED:
grün = Akku geladen
green = fully charged
verte = Batterie chargée
verde = Acumulador cargado
rot = Akku wird geladen
red = charging
rouge = Batterie en chargée
rojo = El acumulador se carga
6horizont.com 7
Operating instruction farmer AS70
in connection with SECURA ANIMAL or SECURA SECURITY safety hints (www.horizont.com)
en Mode d’emploi farmer AS70
en relation avec les conseils de sécurité SECURA ANIMAL ou SECURA SECURITY (www.horizont.com)
f
WORKING PRINCIPLE:
The solarpanel produces electric current when beeing exposed to daylight, where sunlight produces much more current
than the light of rainy day. The fence controller requires a constant current, day and night. Thus the panel current is stored
in an integrated accumulator which delivers the controller current. The solarpanel is not always capable to fully ensure the
battery charge -especially in the winter month (ca. October-February)
Help: Recharge the battery externally in time!
STORAGE, RECHARGE, MOUNTING AND CONNECTIONS:
If not used the unit has to be stored in light: e.g. in a south window especially during winter time. This is the only way to
safeguard the built-in accumulator against low level discharge. As the case may be, please check the battery voltage
monthly and recharge it with the battery charging unit.
Before and after use always recharge the energizer first in the sun - in minimum 1 day - as the case may be, please
charge the battery only with the included battery charging unit, so that the battery will stay in good working order (see Fig. 3).
For charging use only battery charger 47BC-EU. During charging do not use the energiser and do not connect it to the fence
(see Fig. 3 and Fig. 4).
Control the accumulator indication only at daybreak (without sunlight)!
Drive the ground rod into moist ground. Connect the earth lead to the earth terminal and the fence connecting lead to the
fence terminal. The panel must be oriented to the south.
Buttons: Turn on with button on/off 1- after few seconds a green LED control flashing with the pulses. If there is no flas-
hing either the accu is flat or there is a fault in the controller.
ACCUMULATOR INDICATION (FIG. 2):
Control only at daybreak! The battery need to be charged at the latest, when it is discharged of 80% (only 20% charging
capacity), so that a deep discharge can be prevented. The battery indicator light „accu-test“ is
Please note, that this values can vary due to the dependence of temperature (capacity) and mesuring deviation (tension).
ENERGY SAVING FUNCTION:
This electric fencing equipment with integrated energy saving function adapts the energy usage automatically to the
condition of the fence. This means less energy usage regarding well insulated fences and higher energy usage regarding
badly insulated fences (conduction due to vegetation etc.)
GROUNDING:
For a faultless operation and to obtain best possible output a good grounding is very important. Therefore the grounding
must be made at a rather moisty and overgrown place.
Minimum an 1m earth stake ( e.g. 12mm ø ) and / or additional 1 – 2 longer earth stakes shall be used. With long fences
and on dry soil a ground return wire with intermediate groundings (every 50 m) is necessary. The distance between the
system earth and the protective system earth of the supply net work shall be at least 10 m.
SERVICE:
Repair is only to be made by qualified service personnel. Only by the manufacturer commanded replacement parts
must be used.
SUBJECT TO TECHNICAL ALTERATIONS !
PRINCIPE DE FONCTIONNEMENT:
Sous la lumière, le générateur solaire produit du courant électrique. La lumière intensive du soleil produit beau-
coup plus de courant que la lumière du jour sous la pluie. L’électrificateur a besoin de courant permanent jour et
nuit. DL’électrificateur a besoin de courant permanent jour et nuit. Le courant généré alimente d’abord un accu, dont
l’électrificateur tire une alimentation constante. Le generateur solaire n‘est pas toujours en mesure d‘assurer la recharge
complète de la batterie nottamment aux mois d‘hiver (ev. Octobre- Fèvrier).
Remède: Recharger l‘accu en temps voulu en mode extérieur!
STOCKAGE, RECHARGE, INSTALLATION ET RACCORDEMENT:
Si on ne l‘utilise pas, l‘appareil doit être stocké à la lumière, p. e. à la fenêtre, en particulier pendant l‘hiver. C‘est la seule
manière d‘assurer que l‘accumulateur intégré ne se décharge pas trop. Le cas échéant, vérifier mensuellement la tension
de la batterie et la recharger avec le chargeur de batterie.
Avant et après l‘usage rechargez l‘appareil à la solaire - une jounée au moins. Le cas échéant, recharger la batterie
uniquement avec le chargeur de batterie inclus, afin qu‘elle reste opérationnelle (v. Fig. 3). À charger uniquement avec le
chargeur 47BC-EU. Pendant le rechargement il faut que l‘appareil est debranché de la clôture (et n‘est pas utilisé). (voir
image 3 et image 4).
Accu/pile indication: Controllez seulement à la pointe du jour (sans lumière solaire!)
Enfoncez le piquet de terre dans une position humide du sol. Raccordez le câble de clôture et le câble de terre. Ajustez
l’appareil avec le panneau solaire vers le sud! Allumez l’appareil avec le bouton 1poussoir on/off. Après quelques
secondes, une lampe LED verte control s’allume au rythme des impulsions.
Si la lampe ne clignote pas, la batterie est déchargée ou il y a un défaut dans l’appareil.
ACCU/PILE INDICATION:
La batterie se recharge au plus tard, quand elle est déchargée de 80% (ou capacité de charge seulement 20%), de sorte
qu‘une décharge profonde peut être évitée. „accu-test“ lumière:
Veuillez noter que ces valeurs peuvent varier en fonction de la température (capacité) et des écarts de mesure (tension).
FONCTION À L‘ÉCONOMIE D‘ÉLECTRICITÉ:
Cette clôture avec fonction à l‘économie d‘électricité incorporé s’adapte la consommation d’électricité automatique à la
condition de la clôture. Cela représente moins consommation d’électricité aux clôtures bien isolée et haute consommation
d’électricité aux clôtures mal isolée (branchements à cause de la végétation etc.).
LA PRISE DE TERRE:
Une bonne prise de terre est particulièrement importante pour le bon fonctionnement et la performance maximum de
l‘électrificateur; c’est pourquoi la prise de terre doit être faite à un endroit le plus humide possible et couvert de végé-
tation. Veuillez utiliser au moins un piquet de terre d‘un mètre de long e/ou 1 ou 2 piquets de terre supplémentaires. La
distance entre électrificateur/piquet de terre et la prise de terre sur laquelle est branché l’électrificateur doit être d’au
moins 10 m.
SERVICE:
Les réparations ne doivent être faites que par des personnes qualifiées.
Utiliser uniquement les pièces détachées et composants du fabricant.
SOUS RÉSERVE DE CHANGEMENTS TECHNIQUES!
residual capacity
flashing light green 40-100% good battery
flashing light red/green 20-40% charge the battery
continious light red 0-20% low battery
capacité résiduelle
Voyant lumineux clignotant vert 40-100% Batterie chargée
Voyant lumineux clignotant rouge/vert 20-40% Batterie en charge
Voyant lumineux continu rouge 0-20% fragile Batterie
8horizont.com 9
PRINCIPIO DE FUNCIONAMIENTO:
El generador solar genera durante la radiación luminosa una corriente eléctrica, en donde la luz solar intensa produce mucho

más corriente que la luz diurna con tiempo lluvioso. El dispositivo de valla eléctrica necesita una corriente constante de día y
de noche. La corriente generada se alimenta primeramente en un acumulador de reserva, del cual el dispositivo extrae una
corriente permanente constante. El generador solar no siempre está en condiciones, durante el servicio del dispositivo; espe-
cialmente en los meses de invierno (aprox. de octubre a febrero) de asegurar una carga de acumulador suficiente.
Solución: ¡Recargar externamente a tiempo!
ALMACENAJE, RECARGA, INSTALACIÓN Y CONEXIÓN:
En caso de no ser utilizado el dispositivo siempre debe ser almacenado bajo la luz; p.ej. en la ventana (orientación sur), espe-
cialmente en invierno. Solo de este modo se puede asegurar, que el acumulador incorporado no sufra una descarga total. En
caso dado, comprobar mensualmente la tensión del acumulador y recargar el mismo con el cargador de baterías.
¡Antes y después del uso (re)cargar siempre primero en el sol como mínimo 1 día, en caso necesario también externamente
solo con el cargador de baterías adjunto, para que el acumulador incorporado mantenga su capacidad de funcionamiento
(véase Fig. 3)! Recargar solamente con el cargador de baterías 47BC-EU. Durante la recarga el dispositivo no puede estar
conectado ni ser operado en la valla para pastos (véase Fig. 3 y Fig. 4)
Contralar la indicación del acumulador solo al amanecer (sin luz solar).
Colocar el dispositivo con un poste de puesta a tierra en un punto húmedo y conectar el cable de la valla y de puesta a tierra.
¡Orientar el panel hacia el sur! Conectar el dispositivo con el interruptor de pulsador on/off; tras algunos segundos parpadea el
LED al ritmo de los impulsos. Si el LED no se enciende, la batería está descargada o hay un defecto en el dispositivo.
INDICACIÓN DEL ACUMULADOR:
¡Controlar solo al amanecer! A más tardar cuando el acumulador está descargado en un 80% (solo 20% de capacidad de
carga) este debe ser recargado para impedir una descarga total.
La indicación de la batería está encendida:
Por favor observe que estos valores pueden oscilar dependiendo de la temperatura (capacidad) y la desviación de medición
(tensión).
CIRCUITO DE AHORRO
En este dispositivo con circuito de ahorro de corriente incorporado, el consumo de corriente se adapta automáticamente
al estado del vallado. Esto significa un consumo de corriente menor con vallados bien aislados y un consumo de corriente
superior en vallados deficientemente aislados (descargas por crecimiento de plantas etc.).
PUESTA A TIERRA:
Una buena puesta a tierra de la valla de pastos es extremadamente importante para un servicio impecable y una prestación
óptima del dispositivo, por esta razón la puesta a tierra debe ser realizada en lo posible en un punto húmedo y cubierto de
plantas. Como mínimo emplear una varilla de puesta a tierra de 1m y/o 1 o 2 varillas de puesta a tierra adicionales. La puesta
a tierra de servicio de la instalación de la valla eléctrica debe estar separada de la puesta a tierra de protección y servicio de la
red en la granja (distancia mín. 10 m).
SERVICIO TÉCNICO:
Las reparaciones solo pueden ser ejecutadas por personal cualificado.
Se deben emplear únicamente los componentes de repuesto especificados por el fabricante.
¡MODIFICACIONES TÉCNICAS RESERVADAS!
Technische Daten | Technical data | Données techniques
TECHNISCHE ÄNDERUNGEN VORBEHALTEN!
SUBJECT TO TECHNICAL ALTERATIONS!
SOUS RÉSERVE DE CHANGEMENTS TECHNIQUES!
¡MODIFICACIONES TÉCNICAS RESERVADAS!
CEE: MAX. ZAUNLÄNGE | MAX. FENCE LINE LENGTH | LONGUEUR ÉLECTRIFÉE
farmer AS70 = 18 km farmer AS70 = 18 km / 3
farmer AS70 20-50
mA
0,65
Joule max. 10500 V ~ 11000 V ~ 3600 V ~ 4000 V ~ 2400 V
5 km
5 k ȍ
5 km
500 ȍ
0 km 0,25 km
1 M ȍ
0,25 km
500 ȍ
RED
~ 1 m
12V DC Input
Instrucciones farmer AS70
en combinación con las indicaciones de preparación y de seguridad para dispositivos de valla eléctrica
SECURA ANIMAL (www.horizont.com)
es
Capacidad remanente
Luz intermitente verde 40-100% Acumulador bien
Luz intermitente rojo/verde 20-40% Cargar acumulador
Luz continua verde 0-20% Acumulador débil
10 horizont.com 11
12

Other manuals for FARMER AS70

1

Other Horizont Power Supply manuals

Horizont farmer AS50 User manual

Horizont

Horizont farmer AS50 User manual

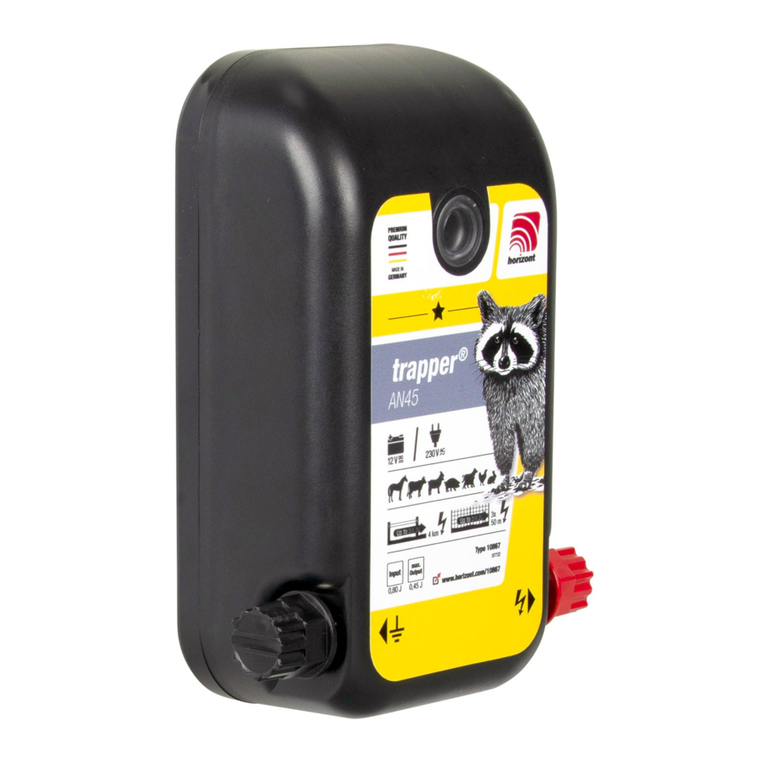
Horizont trapper AN45 User manual

Horizont

Horizont trapper AN45 User manual

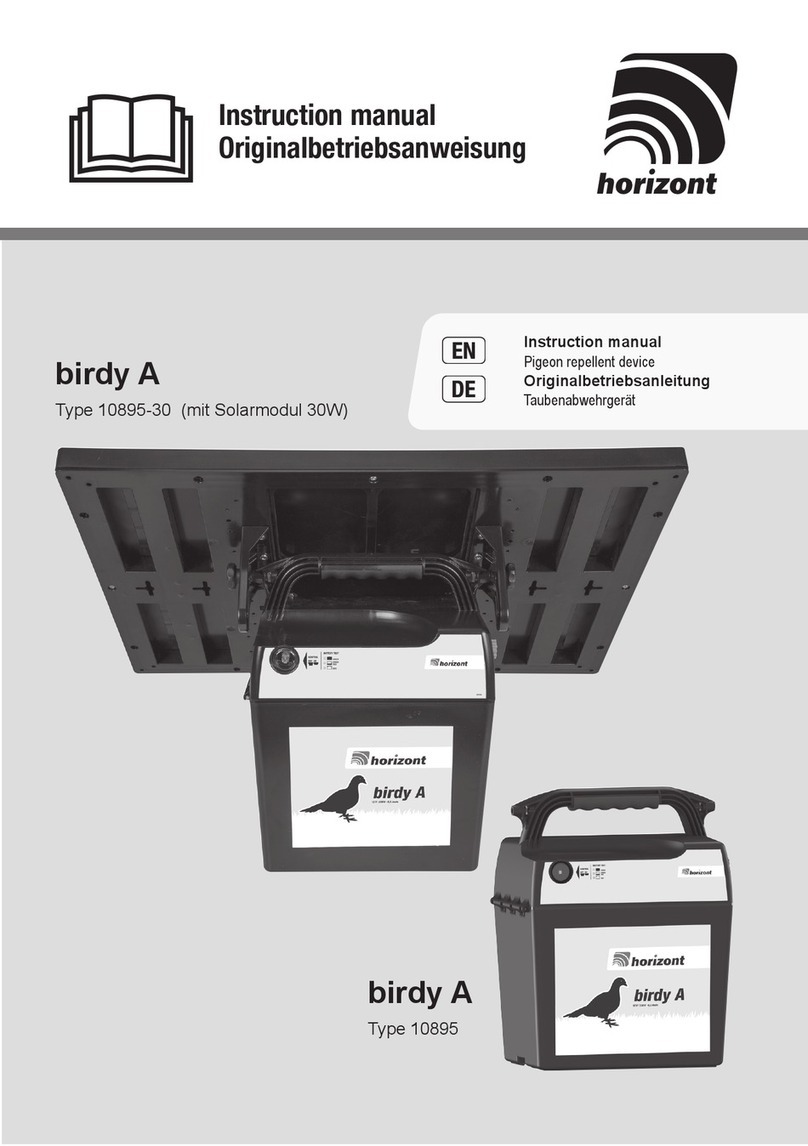
Horizont birdy A User manual

Horizont

Horizont birdy A User manual

Horizont ranger N420 User manual

Horizont

Horizont ranger N420 User manual

Horizont trapper N15 User manual

Horizont

Horizont trapper N15 User manual

Horizont farmer AN1000 Solar User manual

Horizont

Horizont farmer AN1000 Solar User manual

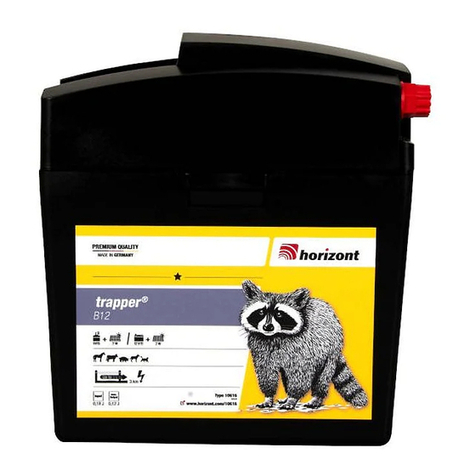
Horizont trapper AB12 User manual

Horizont

Horizont trapper AB12 User manual

Horizont ranger AN3000 User manual

Horizont

Horizont ranger AN3000 User manual

Horizont ranger B User manual

Horizont

Horizont ranger B User manual

Horizont FARMER AN15 User manual

Horizont

Horizont FARMER AN15 User manual

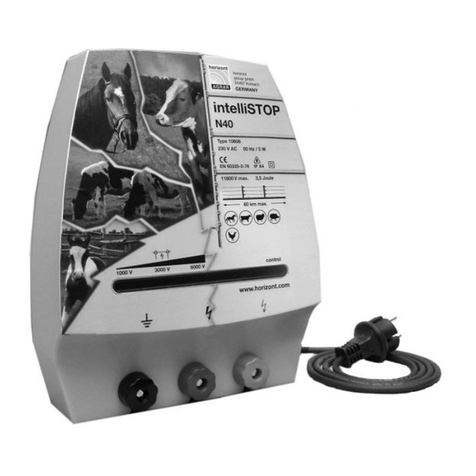
Horizont intelliSTOP N40 User manual

Horizont

Horizont intelliSTOP N40 User manual

Horizont hobbygard B User manual

Horizont

Horizont hobbygard B User manual

Horizont ranger AN2000 User manual

Horizont

Horizont ranger AN2000 User manual

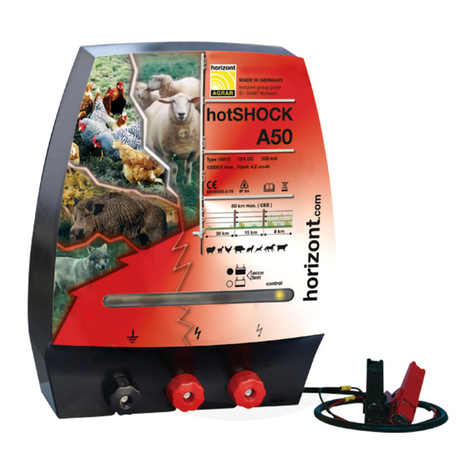
Horizont hotSHOCK N50 User manual

Horizont

Horizont hotSHOCK N50 User manual

Horizont farmer AN1000 Solar User manual

Horizont

Horizont farmer AN1000 Solar User manual

Horizont Hotline Hobby Operating and maintenance manual

Horizont

Horizont Hotline Hobby Operating and maintenance manual

Horizont 10613 User manual

Horizont

Horizont 10613 User manual

Horizont trapper N45 User manual

Horizont

Horizont trapper N45 User manual

Horizont ranger AN2000 User manual

Horizont

Horizont ranger AN2000 User manual

Horizont S40 User manual

Horizont

Horizont S40 User manual

Horizont Hotline Gemini 40 Operating and maintenance manual

Horizont

Horizont Hotline Gemini 40 Operating and maintenance manual

Horizont PIKO A100 User manual

Horizont

Horizont PIKO A100 User manual

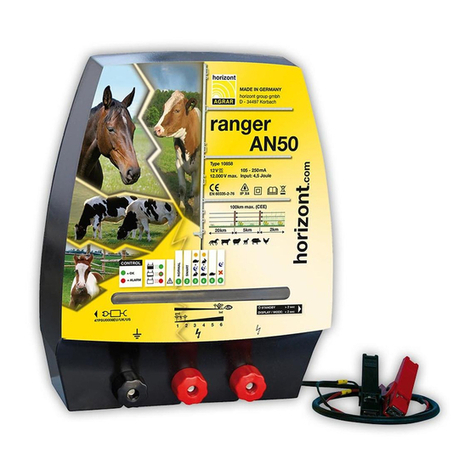
Horizont ranger AN50 User manual

Horizont

Horizont ranger AN50 User manual

Horizont SECURA User manual

Horizont

Horizont SECURA User manual

Popular Power Supply manuals by other brands

MICRO-EPSILON scanCONTROL 2600 Assembly instructions

MICRO-EPSILON

MICRO-EPSILON scanCONTROL 2600 Assembly instructions

Gallagher M5000i instructions

Gallagher

Gallagher M5000i instructions

Omron S8VK-G Series instruction manual

Omron

Omron S8VK-G Series instruction manual

Larson Electronics BPLI-400W user manual

Larson Electronics

Larson Electronics BPLI-400W user manual

Altronix AL400ULX installation guide

Altronix

Altronix AL400ULX installation guide

IBM Power System AC922 Quick install guide

IBM

IBM Power System AC922 Quick install guide

Rockwell Automation Allen-Bradley 1606-XLE120ED installation instructions

Rockwell Automation

Rockwell Automation Allen-Bradley 1606-XLE120ED installation instructions

Kodak PPS2400 user manual

Kodak

Kodak PPS2400 user manual

ESD CPCI-PS24 Hardware manual

ESD

ESD CPCI-PS24 Hardware manual

Pulsar PS-2002470 manual

Pulsar

Pulsar PS-2002470 manual

ABB CPS6000 quick start guide

ABB

ABB CPS6000 quick start guide

nextys NPS2400 user manual

nextys

nextys NPS2400 user manual

Televes T12 quick start guide

Televes

Televes T12 quick start guide

Antec TruePower Classic TP-450C user manual

Antec

Antec TruePower Classic TP-450C user manual

SECO-LARM ENFORCER PC-U0405-PULQ manual

SECO-LARM

SECO-LARM ENFORCER PC-U0405-PULQ manual

LOXONE 200001 instruction manual

LOXONE

LOXONE 200001 instruction manual

Omron ZEN-PA03024 datasheet

Omron

Omron ZEN-PA03024 datasheet

AP&T AP-DY6702 user manual

AP&T

AP&T AP-DY6702 user manual

manuals.online logo
manuals.online logoBrands
  • About & Mission
  • Contact us
  • Privacy Policy
  • Terms and Conditions

Copyright 2025 Manuals.Online. All Rights Reserved.