manuals.online logo
Brands
  1. Home
  2. •
  3. Brands
  4. •
  5. Hornady
  6. •
  7. Scale
  8. •
  9. Hornady GS-350 User manual

Hornady GS-350 User manual

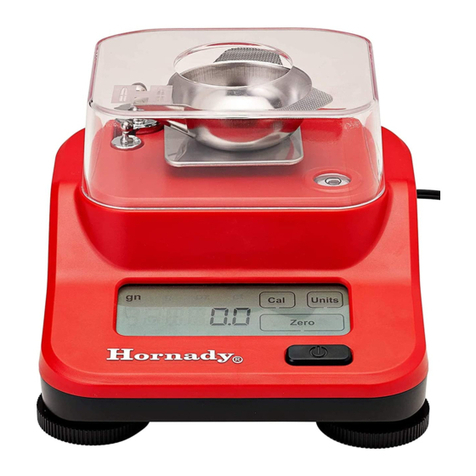
Hornady Electronic Scale
Instruction Manual
Model GS-350
Congratulations on your selection of a quality Hornady product.
With proper care and use, this product will provide years of depend-
able service. Hornady is committed to providing products that t your
needs, manufactured to the highest of quality standards. If you have
any comments or suggestions concerning this product please mail
them to:
Hornady Manufacturing
P.O. Box 1848
Grand Island, NE 68802-1848 USA
Please read all the operating instructions to ensure the best performance from
your Hornady Electronic Scale.
CAPACITY/ACCURACY:
350grain / 23 grams x 0.1grain / 0.01gram
POWER SOURCE:
Two “AA” alkaline batteries
BATTERY INSERTION:
1. Turn scale upside down and locate battery compartment cover.
2. Push tab toward compartment cover. Lift cover off.
3. Insert two “AA” alkaline batteries. ensure that battery polarities are
aligned properly.
4. Replace battery compartment cover and secure.
5. The scale is now ready for use.
Note: Do not use excessive force in removing or replacing battery compart-
ment cover.
TARE (<0>):
The TARE (<0>) feature is designed to allow the user to compensate for the
weight of objects that they do not want to include in the total weight calculated
— such as trays or beakers that may be used to contain the item they are
weighing. To use this function:
1. Place the empty ‘container’ on the weighing tray.
2. Wait for a stable reading.
3. Press ON/OFF key. The unit will now return to zero and the weight value of
the container is permanently removed from the remainder of the procedure.
Note: When all weight is removed from the weighing tray, the TARED (<0>) value
of the container will be displayed as a negative number. Press ON/OFF again to
return to zero.
AUTO OFF:
This unit comes with an auto-off feature to conserve battery power. The scale
will automatically turn off after approximately 4 minutes of inactivity.
CAUTION:
Do not place more than the capacity of the scale on the weighing platform.
Excessive weight will overload the scale and cause the display to read E
(error)
.
Abuse of this type can cause damage to the scale and void the warranty.
This scale is a sensitive electronic instrument. Avoid vibrations, strong electrical
or magnetic elds, and rapid changes in humidity or temperature as they can
adversely affect accuracy.
CARE AND MAINTENANCE:
•Avoid lengthy exposure to extreme heat or cold. To achieve optimum functioning,
allow this unit to acclimatize.
•Allow scale a minimum of thirty seconds to warm up before calibration to allow
internal components to stabilize.
•Keep this product clean. Dust, dirt, and moisture can adversely affect the reliability
and accuracy of this scale.
•Vibrations, air currents and proximity to other electronic equipment may affect
accuracy of this product. Avoid disturbing the environmental conditions when
weighing. Be sure weighing is done with scale on a at surface in a sheltered area.
•Handle with care. Although this product is durable, rough treatment may permanently
damage the internal sensor.
•Remember to replace batteries regularly.
KEY PAD FUNCTIONS:
ON/OFF Key
a) Press and hold to turn unit on or off.
b) Once unit is on, this key operates the tare function. Press to compensate for
the weight of weighing tray or other object.
MODE/CAL Key:
a) Press and hold to begin calibration procedure (see Calibration Procedure).
b) Press and release to change weight unit, i.e., from grams to grains.
CALIBRATION:
Important: always allow a minimum of thirty seconds for the scan to stabilize.
During prolonged periods of use repeat this procedure at regular intervals for
optimum accuracy.
Note: Any attempt by the end user to internally calibrate the scale will void warranty.
DIGITAL AUTO CALIBRATION PROCEDURE:
1. Place scale on a at surface in a sheltered area.
2. Turn scale on by pressing ON/OFF key. Allow unit to stabilize for at least
thirty seconds.
3. Press and hold CAL key until the display shows a ashing weight reading.
The ashing weight reading indicates the correct weight that must be
placed on the tray.
4. With the display still ashing, press the ON/OFF key. The display will read
CAL 0.
5. Wait for 3 seconds and then gently place the correct calibration weight in
the center of the tray.
6. When the calibration is complete the unit will briey display
CAL F and then return to normal operating mode. The calibration is
complete when the display correctly shows the weight that is placed on the
weighing tray and the display has stabilized.
7. Remove the calibration weight and press the TARE (<0>) key to reset the
zero point.
Note: If CAL E appears instead of CAL F, this indicates an error has occurred.
Turn the scale off and repeat the procedure.
OPERATION:
1. Place scale on a at surface in a sheltered area.
2. Press and hold the ON/OFF button to turn the scale on.
3. Open draft shield and place tray on weighing platform. (You may also place
objects directly on the weighing platform.)
4. Allow the scale to stabilize for at least 30 seconds. When initially turned on,
the scale will read 8888 before returning to zero.
5. Gently place object(s) to be weighed in the weighing tray. Do not overload.
6. Wait for reading to stabilize.
7. Read weight.
8. To change weighing units (from grams to grains) press the MODE/CAL key.
FEATURES:
DIGITAL AUTO CALIBRATION:
Allows for convenient user digital calibration from the keypad.
POWER UP TEST:
When the unit is initially turned on, all segments of the display will appear. This
will remain for approximately 3 seconds. The scale will then reset to zero. This
is an internal self-test procedure.
RIGHT READING INDICATION:
A right facing arrow will appear on the right side of the display to indicate
the weighing mode currently in use. When weight is placed on the tray, this
arrow will disappear while the scale stabilizes and will reappear once the
stable weight reading is achieved.
OVERLOAD:
When a load that exceeds this unit’s capacity is applied to the weighing platform,
an E (error) will appear on the display. Remove this load immediately. The unit
should then return to normal operation unless damage has occurred.
NEGATIVE VALUE RECORDING:
Any “tared” value or value left in memory will be displayed as a negative
number once all weight is removed from the unit. Press the TARE (<0>) key to
return the unit to zero.
(continued)
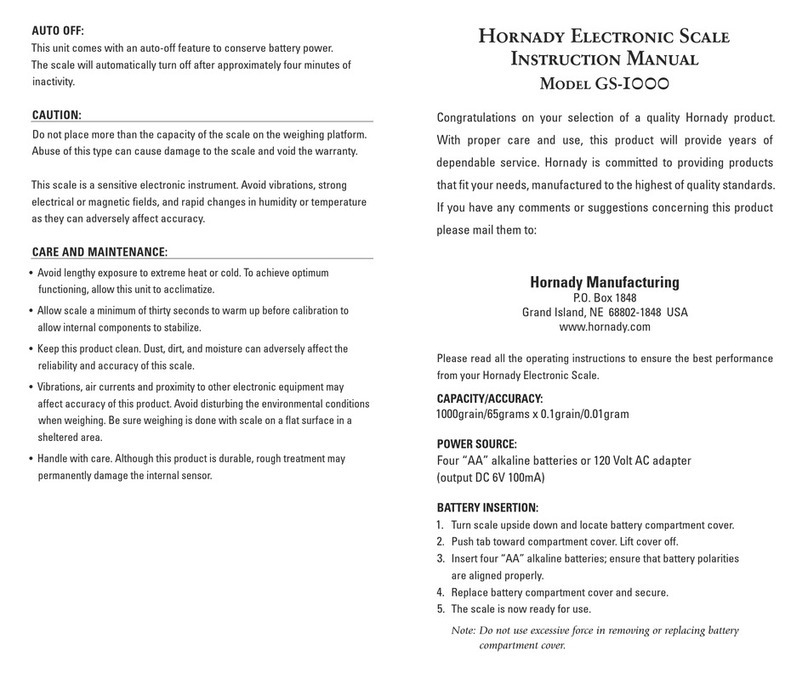
Other Hornady Scale manuals

Hornady 050118 User manual

Hornady

Hornady 050118 User manual

Hornady LOCK-N-LOAD 050109 User manual

Hornady

Hornady LOCK-N-LOAD 050109 User manual

Hornady LOCK-N-LOAD 050109 User manual

Hornady

Hornady LOCK-N-LOAD 050109 User manual

Hornady LOCK-N-LOAD User manual

Hornady

Hornady LOCK-N-LOAD User manual

Hornady GS-1000 User manual

Hornady

Hornady GS-1000 User manual

Hornady AUTO CHARGE PRO User manual

Hornady

Hornady AUTO CHARGE PRO User manual

Hornady M2 050111 User manual

Hornady

Hornady M2 050111 User manual

Hornady G3-1500 User manual

Hornady

Hornady G3-1500 User manual

Hornady Model M User manual

Hornady

Hornady Model M User manual

Hornady GS-1500 User manual

Hornady

Hornady GS-1500 User manual

Popular Scale manuals by other brands

OHAUS 5000 user guide

OHAUS

OHAUS 5000 user guide

KERN MCN-M Service manual

KERN

KERN MCN-M Service manual

Clatronic KW 3366 instruction manual

Clatronic

Clatronic KW 3366 instruction manual

KERN DS 3K0.01S operating instructions

KERN

KERN DS 3K0.01S operating instructions

Redmond RS-730-E user manual

Redmond

Redmond RS-730-E user manual

TEFAL Opal PP3200V0 quick start guide

TEFAL

TEFAL Opal PP3200V0 quick start guide

Beurer BF 54 Instructions for use

Beurer

Beurer BF 54 Instructions for use

Alecto ACW-45 user manual

Alecto

Alecto ACW-45 user manual

Escali SLR200 product manual

Escali

Escali SLR200 product manual

Xavax Rita-Magic operating instructions

Xavax

Xavax Rita-Magic operating instructions

OHAUS RC31P1502 instruction manual

OHAUS

OHAUS RC31P1502 instruction manual

Trume LAH5CB4-BT owner's manual

Trume

Trume LAH5CB4-BT owner's manual

Pennsylvania Scale Company 7600 Operation manual

Pennsylvania Scale Company

Pennsylvania Scale Company 7600 Operation manual

Health O Meter 3001KL-AM User instructions

Health O Meter

Health O Meter 3001KL-AM User instructions

KERN 572-30 operating instructions

KERN

KERN 572-30 operating instructions

Wilfa KW-4 instruction manual

Wilfa

Wilfa KW-4 instruction manual

Weighstation DE121 instruction manual

Weighstation

Weighstation DE121 instruction manual

Tescoma Accura 634514 Instructions for use

Tescoma

Tescoma Accura 634514 Instructions for use

manuals.online logo
manuals.online logoBrands
  • About & Mission
  • Contact us
  • Privacy Policy
  • Terms and Conditions

Copyright 2025 Manuals.Online. All Rights Reserved.