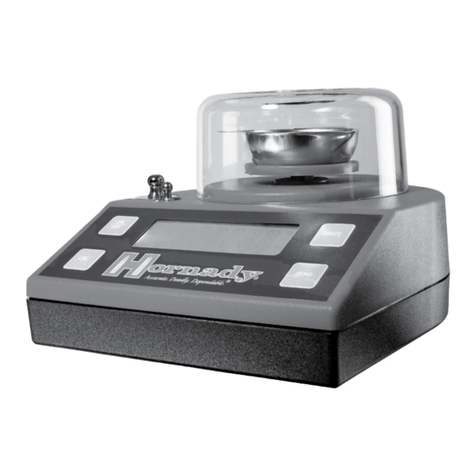
Hornady 050118 User manual

Item No. 050118
INSTRUCTIONS
PRECISION LAB SCALE

IMPORTANT SAFETY FUNCTIONS
WARNING - BEFORE OPERATING THE UNIT, PLEASE CAREFULLY READ
AND UNDERSTAND THIS DOCUMENT.
• Internal components are very sensitive. Do not shake, drop, or overload unit.
• Handle unit with care, treating it as the sensitive instrument it is.
• If spilled powder gets inside unit, do not operate. Call Hornady Customer Service
at 1-800-338-3220.
POWER SUPPLY
Wall Charger:
Input: AC100-240V - 50Hz/60Hz
Output: DC 9V 1A
Portable Battery Pack (not included):
Output: DC 5V/0.5A
To operate the unit on portable power, use either the included RS232 cable or
the Micro USB Cable
Load Cell:
Weight Limit: 3,000gn
Accuracy: +/-0.04gn
TIPS TO IMPROVE PERFORMANCE
• Fluctuations in temperature, even of a few degrees, can cause scale readings to vary.
While scale can be used immediately, optimal performance will occur after unit has
warmed up for 5-15 minutes.
• Always place the scale on a flat, level, and stable surface when in operation.
• Electrical interference can cause scale readings to vary. Keep other electronic
devices (power strips, florescent lights, motors, radios, phones, etc.) away from scale
when in operation.
• Do not let a fan, air conditioner, heater, or open window blow on scale.
• Using clear cover over powder pan will improve accuracy and lessen effects of
outside variables.
1

POWDER
PAN
SCALE TRAY
10g
CALIBRATION
WEIGHT
9V POWER SUPPLY
-US PLUG ADAPTER
-EURO PLUG ADAPTER
LEVELING FEET
LCD TOUCH SCREEN
BUBBLE LEVEL
WINDSCREEN
FRONT WINDOW
WINDSCREEN
HOUSING
50g
CALIBRATION
WEIGHT
WINDSCREEN
SIDE WINDOW
WINDSCREEN
TOP WINDOW
PARTS LIST
2

KEYPAD BUTTON FUNCTIONS
ON/ OFF (mechanical button): Tap to turn on. Hold for three seconds to turn off.
CALIBRATE: Hold for three seconds to calibrate.
MODE: Tap to toggle units (G, GN, OZ). Hold for three seconds to enter “Mode Menu.”
See “Mode Menu” section for operation.
PRINT: Tap to output weighing data. Can only be used when connected with included
RS232 cable to a computer. See “Outputting Data” section for operation.
SAMPLE: Tap to round last decimal place. Hold for three seconds to turn beeps off.
ZERO: Tap to zero the scale
CAL + ZERO + ON/OFF: Factory Reset
CALIBRATION
• For optimal performance, turn unit on and allow 5-15 minutes to warm up.
• Verify powder pan has been removed, and that the metal scale plate is empty.
• Press CALIBRATE for three seconds until the unit displays “CAL---”.
• When 10.00g is flashing, place the 10g weight on the center of the scale plate. The unit
will show “-----” while calibrating the 10g weight.
• When 10.00g appears again, remove the weight.
• When 50.00g is flashing, place the 50g weight on the center of the scale plate. The unit
will show “-----” while calibrating the 50g weight.
• When 50.00g appears again, remove the weight.
• After calibration the unit will briefly display “PASS” before returning to
normal operation.
3

MODE MENU
Holding the MODE button for three seconds will enter the mode menu.
The MODE menu has the following options:
• SETTINGS: the settings menu allows you to set the scale speed and change the units
being used. (See Settings section)
• COMPARE: the compare function allows you to set a nominal weight, along with a
tolerance range, and easily compare items to your acceptable range.
(See COMPARE section)
• PERCENT: the percent function allows you to set a nominal weight and compare items to
your acceptable weight in percentage form. (See Percent section)
• PIECE: the piece function allows you to count the number of parts in a batch based off
the weight of a small sample size. (See Piece section)
Use the following buttons at any time in the MODE menu:
› SAMPLE: tap to toggle through menu options forward
› PRINT: tap to toggle through menu options backwards
› ZERO: tap to select or deselect option
› CALIBRATE: tap to return to the main menu
› MODE: tap to return to the main weighing screen
SETTINGS (select with ZERO button)
• The settings menu offers two options:
› SPEED: this is displayed as SENSITIVITY on the main weighing screen.
»HI: the most sensitive setting for the scale, and the most likely to be affected by
external elements. Will also have the fastest response time.
»LOW: the least sensitive setting for the scale, and the least likely to be affected by
external elements. Will also have the slowest response time.
› UNITS: This allows for more unit options that are not found when tapping the mode
button. Once a unit is selected using the zero button it will display when tapping
through the mode options for units. These units will also need to be deselected in the
units menu to be removed from the mode button toggling.
»CT, LB, OZT, MOM, dWT, T, MS.
4

COMPARE (select with ZERO button)
› Use “Sample” button to toggle through options forward
› Use “Print” button to toggle through options backwards. (options: ON,OFF)
› Use “Zero” button to select option and enter the options menu.
› Use “Calibrate” to return to Main Menu
› Use “Mode” at any time to exit all menus and return to standard weighing or last used
weighing mode.
• ON (select with ZERO button, double tap ZERO to enter the COMPARE – ON settings)
› Use “Sample” button to toggle through options forward
› Use “Print” button to toggle through options backwards.
(options: NOM WT, TOL HI, TOL LOW)
› Use “Zero” button to select and enter options menu
› Use “Calibrate” to return to Compare Menu
› Use “Mode” at any time to exit all menus and return to or start comparing.
• NOM WT (select with ZERO button)
› Tap and Hold “Zero” to use current weight on scale for nominal weight
› Use “Sample” button to toggle through place holders forward
› Use “Print” button to toggle through place holders backwards
› Tap “Zero” button to edit place holder
»Use “Sample” button to toggle through selected place holder (0-9)
»Use “Print” button to toggle through selected place holder (9-0)
»Tap “Zero” again to select place holder value
› Use “Calibrate” when finished, or at any time to return to COMPARE- ON menu
› Use “Mode” at any time to exit all menus and return to or start comparing
• TOL HI (select with ZERO button)
› This number is the number of units away from your nominal weight you are allowing.
»Example: 10g +/- .4g | Tol HI: .4g
»Use “Sample” button to toggle through place holders left to right
»Use “Print” button to toggle through place holders right to left
»Tap “Zero” button to edit place holder
° Use “Sample” button to toggle through selected place holder (0-9)
° Use “Print” button to toggle through selected place holder (9-0)
° Tap “Zero” again to select place holder value
»Use “Calibrate” when finished, or at any time to return to COMPARE- ON menu
»Use “Mode” at any time to exit all menus and return to or start comparing
5

• TOL LOW (select with ZERO button)
› This number is the number of units away from your nominal weight you are allowing.
»Example: 10g +/- .4g | Tol LOW: .4g
»Use “Sample” button to toggle through place holders left to right
»Use “Print” button to toggle through place holders right to left
»Tap “Zero” button to edit place holder
° Use “Sample” button to toggle through selected place holder (0-9)
° Use “Print” button to toggle through selected place holder (9-0)
° Tap “Zero” again to select place holder value
»Use “Calibrate” when finished, or at any time to return to COMPARE- ON menu
»Use “Mode” at any time to exit all menus and return to or start comparing
• OFF (select with ZERO button)
› Turn off Compare function.
PERCENT (select with ZERO button)
› Use “Sample” button to toggle through options forward
› Use “Print” button to toggle through options backwards. (options: ON,OFF)
› Use “Zero” button to select option and enter the options menu.
› Use “Calibrate” to return to Main Menu
› Use “Mode” at any time to exit all menus and return to standard weighing or last used
weighing mode.
• ON (select with ZERO button, double tap ZERO to enter the PERCENT – ON menu)
› Tap and Hold “Zero” to use current weight on scale for 100% weight
› Use “Sample” button to toggle through place holders forward
› Use “Print” button to toggle through place holders backwards
› Tap “Zero” button to edit place holder
› Use “Sample” button to toggle through selected place holder (0-9).
› Use “Print” button to toggle through selected place holder (9-0)
»Tap “Zero” again to select place holder value
› Use “Calibrate” when finished, or at any time to return to Percent Menu
› Use “Mode” at any time to exit all menus and return to or start comparing
• OFF (Select with ZERO button)
› Turn off Percent function.
6

PIECE (select with ZERO button)
› Use “Sample” button to toggle through options forward.
› Use “Print” button to toggle through options backwards. (options: ON,OFF)
› Use “Zero” button to select option and enter the options menu.
› Use “Calibrate” to return to Main Menu
› Use “Mode” at any time to exit all menus and return to standard weighing or last used
weighing mode.
• ON (Select with ZERO button, double tap to enter the Count menu)
› Use “Sample” button to toggle through options forward.
› Use “Print” button to toggle through options backwards. (options: 5,10,15)
› Use “Zero” button to select option & Enter the options menu.
› Use “Calibrate” to return to Piece Menu
› Use “Mode” at any time to exit all menus and return to standard weighing or last used
weighing mode.
• 5(Select with ZERO button)
› Tap and Hold “Zero” to use current weight on scale for nominal weight
› Use “Sample”button to toggle through place holders forward.
› Use “Print”button to toggle through place holders backwards
› Tap “Zero” button to edit place holder
»Use “Sample” button to toggle through selected place holder (0-9)l
»Use “Print” button to toggle through selected place holder (9-0)
»Tap “Zero” again to select place holder value
› Use “Calibrate” when finished, or at any time to return to PC-ON Menu
› Use “Mode” at any time to exit all menus and return to or start comparing
• 10 (Select with ZERO button)
› Tap and Hold “Zero” to use current weight on scale for nominal weight
› Use “Sample” button to toggle through place holders forward.
› Use “Print” button to toggle through place holders backwards
› Tap “Zero” button to edit place holder
»Use “Sample” button to toggle through selected place holder (0-9).
»Use “Print” button to toggle through selected place holder (9-0)
»Tap “Zero” again to select place holder value
› Use “Calibrate” when finished, or at any time to return to PC-ON Menu
› Use “Mode” at any time to exit all menus and return to or start comparing
7

• 15 (Select with ZERO button)
› Tap and Hold “Zero” to use current weight on scale for nominal weight
› Use “Sample” button to toggle through place holders forward.
› Use “Print” button to toggle through place holders backwards
› Tap “Zero” button to edit place holder
»Use “Sample” button to toggle through selected place holder (0-9.
»Use “Print” button to toggle through selected place holder (9-0)
»Tap “Zero” again to select place holder value
› Use “Calibrate” when finished, or at any time to return to PC-ON Menu
› Use “Mode” at any time to exit all menus and return to or start comparing
• Off (Select with ZERO button)
› Exit menu and return to standard weighing screen
OUTPUTTING DATA
The Hornady Precision Lab Scale has the ability to output the weighing data into the
spreadsheet program of choice. To do this:
• Plug the included RS232 cable into the back of the scale
› Plug the USB side of this cable into the computer
• Open a spreadsheet
• Place an item on the scale and tap print
› This will print out the value displayed on the screen to the spreadsheet
› A “P” will be displayed on the screen once the print button is tapped, the P will be
displayed until the unit is removed and the scale returns to zero
8

WARRANTY
All Hornady®reloading tools and accessories are warranted against material defects
and workmanship.
Hornady electronic components are covered by a one-year warranty from the date
of purchase.
This warranty is void if the product (1) has been damaged by accident or unreasonable
use, neglect, improper service or other causes not arising out of defects in material or
workmanship; or (2) has been altered or repairs have been made or attempted by other
than authorized factory personnel; (3) is used commercially; or (4) has been altered or
defaced in any way.
This warranty supersedes all other warranties for Hornady®products either written or
oral. No other warranty is expressed or implied.
PRODUCT REGISTRATION
AND SERVICE
You must register your product to obtain Warranty Service.
Complete the registration form at hornady.com/warranties.
TO RECEIVE WARRANTY SERVICE
To report a warranty claim, call Hornady®at 800-338-3220 to
request a return authorization number. Returns will not be
accepted without prior return authorization by Hornady.®
POST-WARRANTY SERVICE
INFORMATION
For issues concerning service after the Limited Warranty
expires, contact Hornady®at 800-338-3220.
Scan to register your
product to receive the full
benefit of its warranty.
9

PRODUCT SERIAL NUMBER AND REFERENCE INFORMATION
You must register your product in order to obtain warranty service. In the event you
should need service for your product, please note the following information:
Serial Number___________________________________________________________
Date Purchased__________________________________________________________
Retailer ________________________________________________________________
FCC STATEMENT
This equipment has been tested and found to comply with the limits for a Class B
digital device, pursuant to part 15 of the FCC Rules. These limits are designed to
provide reasonable protection against harmful interference in a residential installation.
This equipment generates, uses and can radiate radio frequency energy and, if not
installed and used in accordance with the instructions, may cause harmful interference
to radio communications. However, there is no guarantee that interference will not
occur in a particular installation. If this equipment does cause harmful interference to
radio or television reception, which can be determined by turning the equipment o
and on, the user is encouraged to try to correct the interference by one or more of the
following measures:
• Reorient or relocate the receiving antenna.
• Increase the separation between the equipment and receiver.
• Connect the equipment into an outlet on a circuit dierent from that to which the
receiver is connected.
• Consult the dealer or an experienced radio/TV technician for help.
10

586029 22HMC0040 |03/2023
Hornady Manufacturing Company
P.O. Box 1848, Grand Island, NE 68802-1848
hornady.com/contact
Table of contents
Other Hornady Scale manuals

Hornady
Hornady GS-1000 User manual

Hornady
Hornady GS-350 User manual

Hornady
Hornady AUTO CHARGE PRO User manual

Hornady
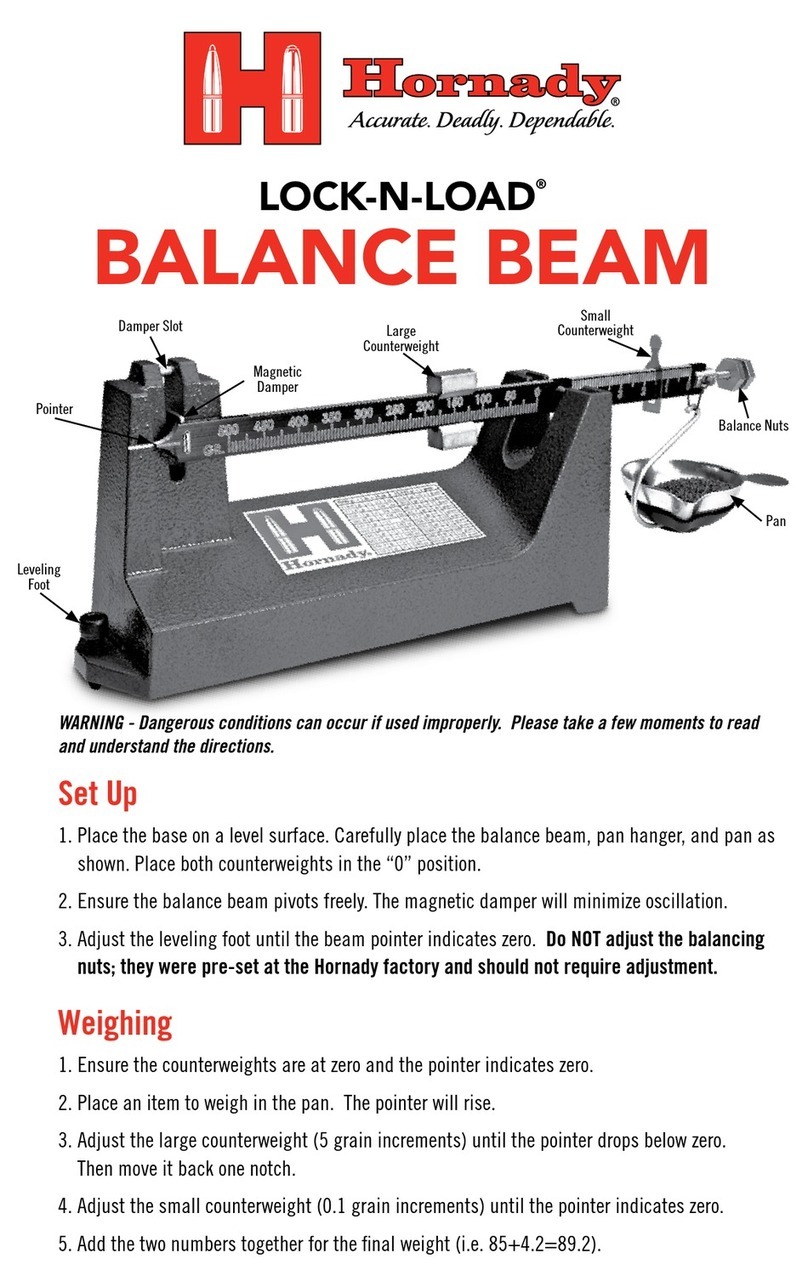
Hornady LOCK-N-LOAD User manual

Hornady
Hornady M2 050111 User manual

Hornady
Hornady Model M User manual

Hornady
Hornady G3-1500 User manual

Hornady
Hornady LOCK-N-LOAD 050109 User manual

Hornady
Hornady GS-1500 User manual

Hornady
Hornady LOCK-N-LOAD 050109 User manual