HORNER ETG-LRP Series User manual

LMAN0009-03-EN
ETG-LRP INSTALL SHEET
6/20/2014 No part of this publication may be reproduced without the prior agreement and written permission of Horner Lighting Group, LLC. Information in this document is subject to change without notice. Page 1of 5
ETG-LRP
LED Remote Phosphor Linear High Bay and Low Bay Lighting
1. INTRODUCTION
Advanced LED Remote Phosphor (LRP) lighting provides superior efficacy, reduced glare, and even lighting output.
These lighting products are designed for indoor facility lighting, ranging from 15’-60’ ceilings, such as industrial or
retail applications. A wide variety of lighting options, along with the LRP series’ glass-free, long lifetime, dimmable
design, make it a great lighting solution in many different setting
Precautions
This luminaire is designed to be used in ambient temperatures of -40C to +45C (-40F to +113F) and be
mounted horizontally with the light source down as shown above. This luminaire should be installed
indoors. It should not be mounted in wet locations in which water can drip, splash, or flow into the
luminaire.
WARNING
Risk of electrical shock. Disconnect power before servicing or installing product.
Risque de choc électrique. Coupez l'alimentation avant l'entretien ou l'installation du produit.
WARNING
Risk of injury or damage. Unit will fall if not installed properly. Follow installation instructions.
Risque de blessures ou de dommages. Unité va tomber s'il n'est pas installé correctement. Suivez les instructions
d'installation.
CAUTION
Risk of injury. Wear safety glasses and gloves during installation and servicing.
Risque de blessure. Porter des lunettes de sécurité et des gants lors de l'installation et de l'entretien.

LMAN0009-03-EN
ETG-LRP INSTALL SHEET
6/20/2014 No part of this publication may be reproduced without the prior agreement and written permission of Horner Lighting Group, LLC. Information in this document is subject to change without notice. Page 2of 5
2. GETTING STARTED
2.1 Shipping Weight
ETG-LRP1060 –1 Tube –3.53 lbs. | ETG-LRP2160 –2 Tube –7.30 lbs.
ETG-LRP3240 –3 Tube –10.9 lbs. | ETG-LRP4320 –4 Tube –14.6 lbs.
ETG-LRP6480 –6 tube –21.8 lbs.
2.2 Unboxing
Our packaging is designed to protect the luminaire during shipping. Please inspect to confirm it was
not damaged in during the process.
2.3 Handling
Once unpacked, the luminaire can become damaged if mishandled. Do not stack luminaires after
unpacking. Protect the remote phosphor plate from scratching.
2.4 Package Contents
- Light fixture - LED tubes, power supply, heat sinks (assembled)
- Installation Instructions
- Reflector
- Reflector Lock Clips
2.5 Recommended Accessory (Mounting)
- ETG-YSM-05: Y-mounting cables with hook ends.
- Pendant Mount System
3. INSTALLATION
It is recommended to first mount the LRP fixture in the desired position before installing reflectors. The
LRP series come packaged with the selected reflector as ordered to suit a variety of applications.
3.1 Mounting
The LRP can be mounted using a variety of hardware, such as cable, hook, or chain. The following
steps utilize the recommended ETG-YSM-05 Mounting Cables:
1) Install cable to the desired fixture height using proper hardware based on application (follow local
code if necessary).
2) Loop cable around mounting point or hardware and slide through locking mechanism.
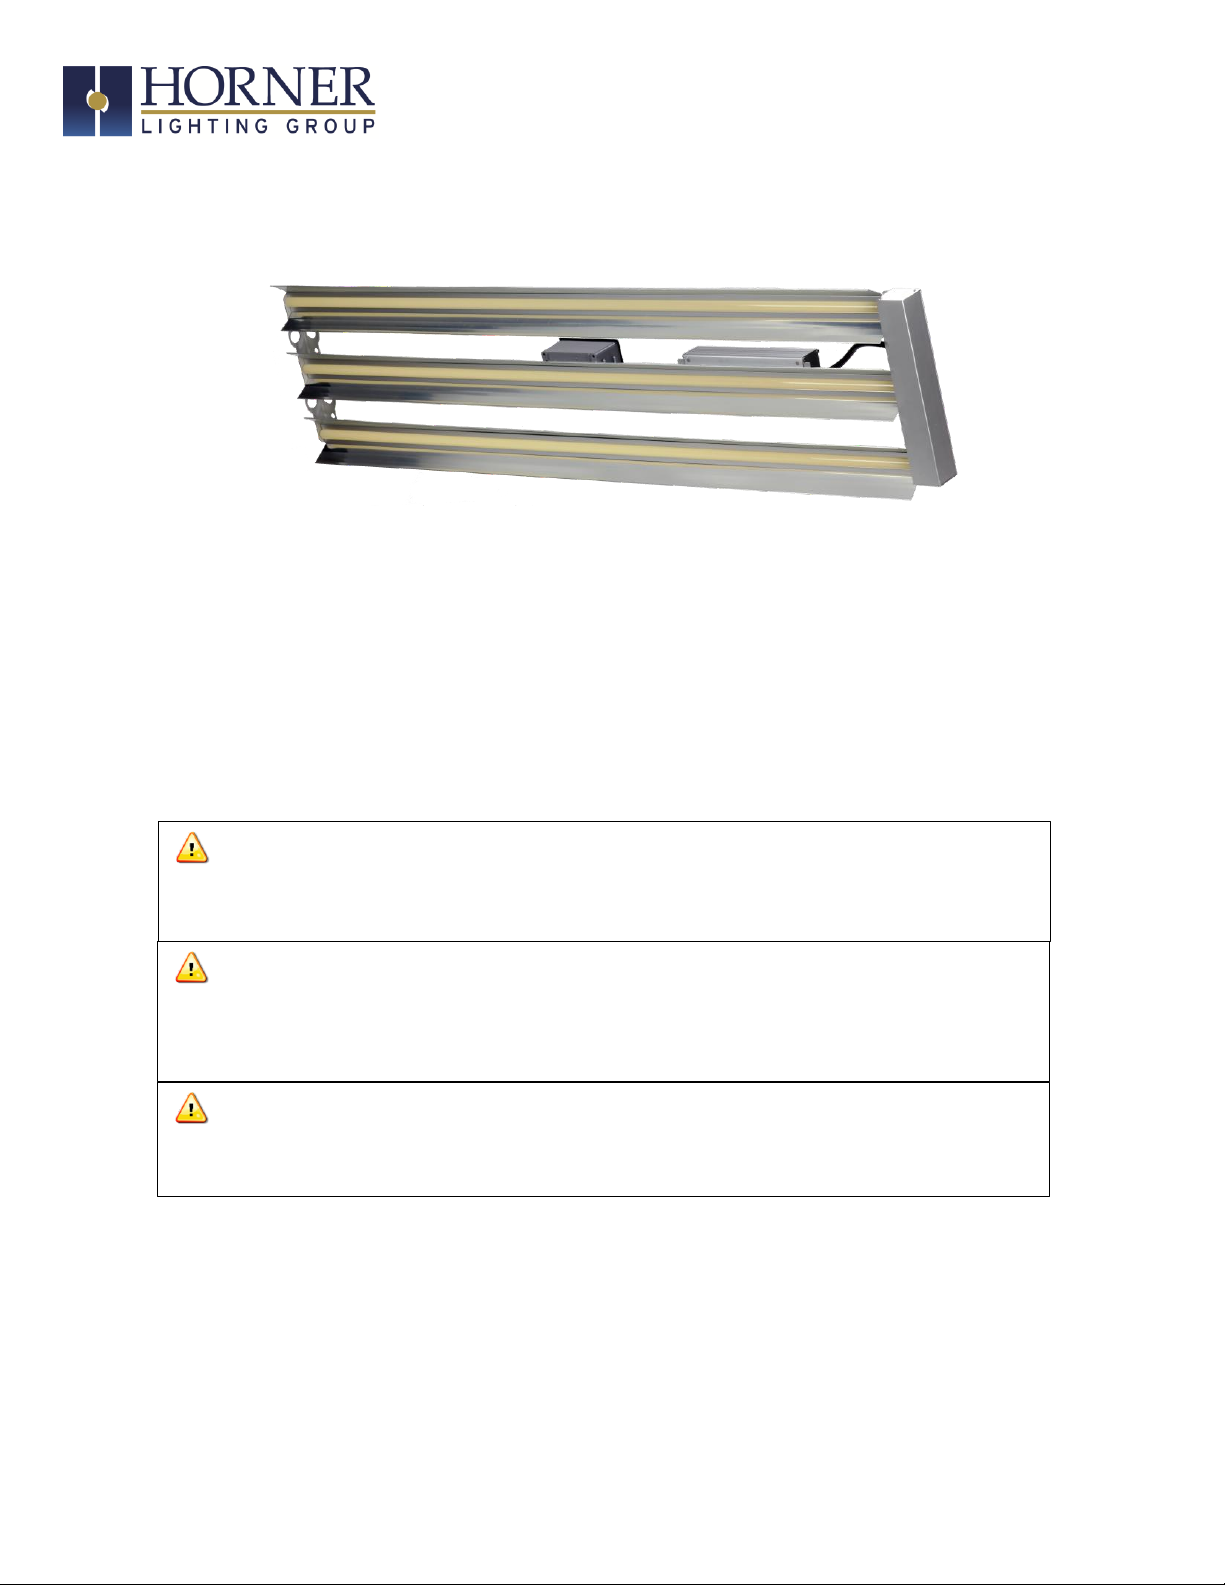
3) Locate Mounting Holes in bracket (shown in Figure 1).
4) Loop hooks from mounted cable through set of holes on each end of the fixture –4 hooks total.
Note: 3, 4, and 6 tube fixtures will have multiple sets of holes to be used for adjustment
depending on installed height. Make sure to use set closest to center or closest to edge of
bracket for level alignment.
5) Using a leveling tool, adjust the cable length at the Locking Mechanism to level the fixture
horizontally.
Figure 1 - ETG-LRP Mounting Bracket

LMAN0009-03-EN
ETG-LRP INSTALL SHEET
6/20/2014 No part of this publication may be reproduced without the prior agreement and written permission of Horner Lighting Group, LLC. Information in this document is subject to change without notice. Page 3of 5
3.2 Reflectors
1) Obtain pair of reflectors for each tube.
2) Slide flat edge of reflector into slot on the light housing (heat sink) with reflective side facing
down.
3) Gently slide outside edge down so that the reflector tab going into the fixture becomes flush
against the housing.

LMAN0009-03-EN
ETG-LRP INSTALL SHEET
6/20/2014 No part of this publication may be reproduced without the prior agreement and written permission of Horner Lighting Group, LLC. Information in this document is subject to change without notice. Page 4of 5
4) Clip a reflector lock on each end of the tube by pressing down evenly in the center (refer to
arrows in figure 2), locking them into place.
5) Remove protective coating from the reflector prior to powering on the light.
6) Clean reflectors with a non-abrasive mild soap or neutral PH cleaner to rid them any installation
smudges.
4. WIRING
WARNING
Risk of electrical shock. Disconnect power before servicing or installing product.
Risque de choc électrique. Coupez l'alimentation avant l'entretien ou l'installation du produit.
Make all electrical connections in accordance with the National Electrical Code and local code
requirements.Verify that supply voltage is correct by comparing it to the nameplate.
The wire lead from the luminaire power supply should be connected to the service wiring.
The standard power supply will have the following connections:
Wire Color
Function
Green/Yellow
Ground
Brown
A/C Live
Blue
A/C Neutral
If the 0-10V dimming option is added, the following two-wire terminal block will be added to the luminaire:
Wire Color
Function
Blue
DIM +
White
DIM -
Figure 2 - Reflector installed

LMAN0009-03-EN
ETG-LRP INSTALL SHEET
6/20/2014 No part of this publication may be reproduced without the prior agreement and written permission of Horner Lighting Group, LLC. Information in this document is subject to change without notice. Page 5of 5
5. CLEANING
The exposed surface of the remote phosphor panel is a tough, impact resistant polycarbonate. To
maintain efficiency, it should be cleaned with a mild soap or neutral PH cleaner. Abrasives or
cleaners containing chlorinated or aromatic hydrocarbons should not be used. Once clean, rinse with
cold water and wipe dry with a soft cloth.
6. TECHNICAL SUPPORT
Tel: 317 916-4274 Fax: 317 639-4279
This manual suits for next models
3
Table of contents
Other HORNER Lighting Equipment manuals
Popular Lighting Equipment manuals by other brands

Osram
Osram OTi50W Installation and troubleshooting guide

thomann
thomann stairville dj lase performance 150 RGY user manual

SUNTERRA
SUNTERRA 300420 owner's guide

American DJ
American DJ Laser Widow owner's manual

MaxLite
MaxLite ML2LALABNU249CSEM operating instructions

LED2WORK
LED2WORK UNILED II operating instructions