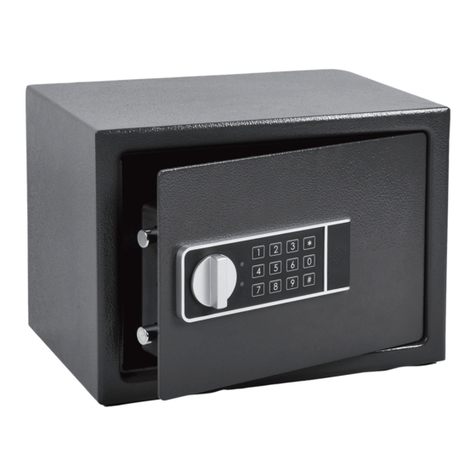
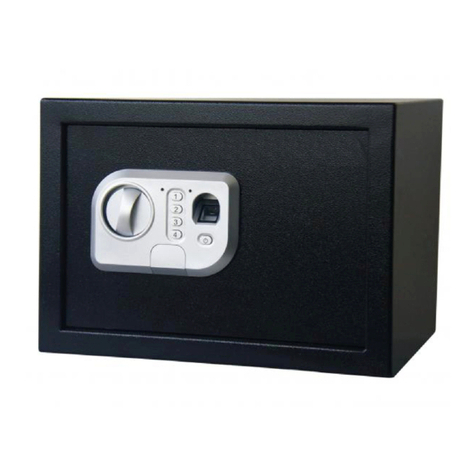
Hotel Preferred HPSAF15BLK User manual

Thank you very much for buying this product. Before using this product,please read
this operation manual to ensure thatyou gain the maximum benefit from it.
CONTENTS
Digital Display Safe
PAGE
USER MANUAL
Model No: HPSAF15BLK
HPSAF17BLK
HPSAF19BLK

Warning:
•Please install the safe to a fixed object before you use it.
•After installation, please put in the batteries and revise the password at once.
•Please do not put your emergency key into the safe.
X. Internal LED light:
•When the safe is open, the LED light will be on automatically and last for 90 seconds on
the door side.
( IMPORTANT NOTE: PLEASE PLACE THE EMERGENCY KEY AT A SAFE PLACE OTHER THAN
INSIDE THIS SAFE.)
Technical Data
Working Voltage: four pieces of AA size alkaline batteries (1.5V).
Model No.
External
Dimension
(WXHXD)
Internal Dimension
(WXHXD)
Net
Weight
(KG)
Gross
Weight
(KG)
HPSAF15BLK 400X310X245 355X260X190 7.5 8.1
HPSAF17BLK 465X255X425 460X240X415 10.1 11.1
HPSAF19BLK 495X200X400 490X194X350 13 14.5
Maintaining
•Suggest to use alkaline batteries
•Please take out the batteries if the safe will be left un-used for a long time;
•Please do not take apart the safe once malfunction happens. Contact the after sale
service for advice.
V. Remove the display of password:
•Please enter“LOCK/UNLOCK”then enter “CANCEL”before opening the safe, after that,
the password won’t be displayed on the LCD until the next opening (Displaying function
will be recovered after the safe is opened).
VI. Setting the date, time, weekday:
•After the batteries are installed, the LCD will display: 00-01-01 (Year-month-date) and
Week 1 (Monday) 00-00(time).
2
7

•Press “CANCEL”, the LCD will display “00-01-01 00-00” with the first “00” flickering
(ready to set). Press “8” to increase and press “0” to decrease, to increase or decrease
one by pressing “8” or “0” one time. User could switch among year, month, date, time
and week day by pressing “LOCK/UNLOCK”. The setting will be displayed after 7
seconds.
VII. Opening records tracking:
•With the door open , after ”OPEN” display on the LCD vanishes, press “8”or “0”when
the blue LCD background light is still on.
•The LCD will display the current opening record with the following content:
No 001 (Opening count)
PASS 1 (Personal password)
PASS 2 (Managing password)
•The year-month-date, time and day of the week when open
•Press “0”before the displaying record vanishes, you could track the previous records
in this way.
•Likewise, you could track the pass 199 opening records.
VIII. Battery life/level indicator
•When the safe is open, the LCD will display the battery state, the symbol indicates
the battery is sufficient; while indicates the battery level is low, please replace the
batteries as at the same time.
IX. Emergency opening:
•When the battery level is too low, please use the external power inlet to supply thepower
and enter the correct password to open the safe or use the emergency key.
•If passwords are forgotten, Please use the emergency key to open the safe.
Parts and Features
Install your safe
•When installing your safe, be sure the location is sturdy enough to support the unit and
is both secure and easy to access.
•Safe can be installed onto either a concrete or wooden surface
•When installing use 10mm drill bit and screw
•To prevent removal of your safe, it is recommended to use Allen type screw( not included)
to affix the unit to the installation location
Operation Instruction
I. Preparation:
•Open the safe with emergency key or emergency external power inlet.
•Install 4 pieces of AA size (1.5V) batteries to the battery compartment which is on the
back of the door.
•“ALL READY” will be displayed on the LCD display for one second, the safe will go into
the standby mood. The LCD display will show the year, month, day,week, time.
•Using the keypad, enter the initial setup password “1234” or the administrator password
“8888”
Your Security Safe is supplied with the following:
1 – Security Safe Unit 4 – 1.5V – AA Size
Batteries
4 – Rubber Feet
2 – Emergency Access Keys 1 – Felt Liner
1 Installation / Usage Guide
Installation Screws
3
5
4
6
3

II.Reset the guest password:
•With the door open ,Please enter 4 digital codes as new code and press “LOCK/UNLOCK”
to confirm. “CLOSE” will be displayed on the LCD, the door will be locked automatically
•Please press “LOCK/UNLOCK”, “CLOSE” will be displayed on the LCD, the door will be
locked automatically.
III.Open and close
•Enter the password on the keypad and press “LOCK/UNLOCK” to confirm. The LCD
display will display “OPEN” and the door will be opened automatically, at the same time
the LCD blue background light will turn on; If the password is wrong, the LCD display
will shoe “ERROR”.
•Please press “LOCK/UNLOCK” directly if you do not want to change the guest password,
“CLOSE” will be displayed on the LCD, the door will be locked automatically
IV.Reset the administrator password
•With the door open , press “LOCK/UNLOCK”to activate the keypad, press “0”
•twice then press the red button at the back of the door once, the safe will sound “DI--
-”and the LCD will show “----”. Please enter 4 digits as your new
•administrator password then press “LOCK/UNLOCK”to confirm. When the LCD shows
“INTO”, it means that the new password is set successfully.
5
4
This manual suits for next models
2
Table of contents