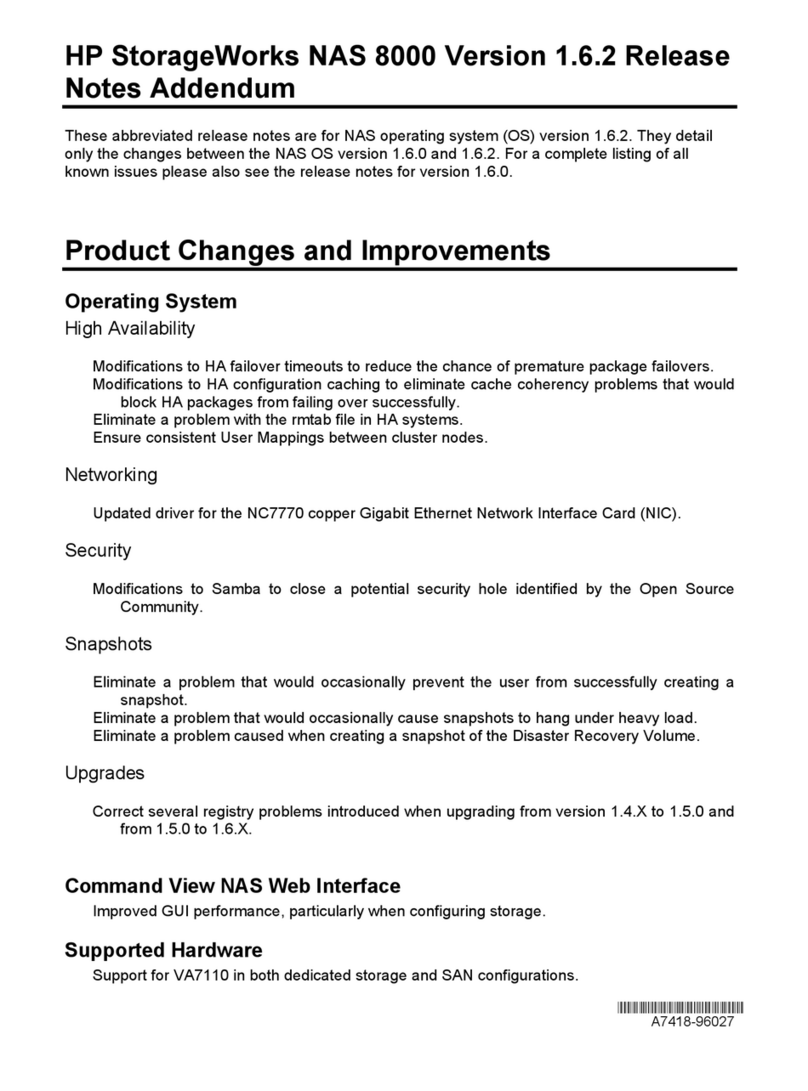
HP C7745NB - SureStore DLT Tape Autoloader 1/9 User manual
Other HP Storage manuals
HP
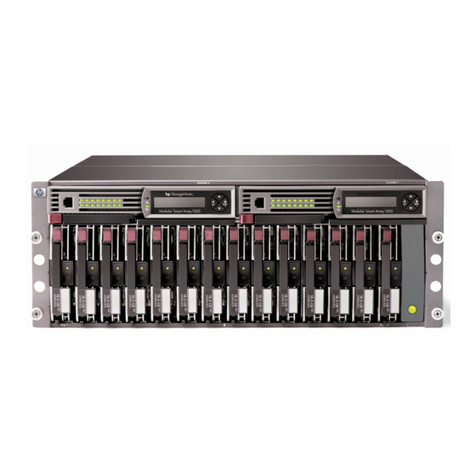
HP 201723-B21 - HP StorageWorks Modular SAN Array 1000 Hard... Manual
HP
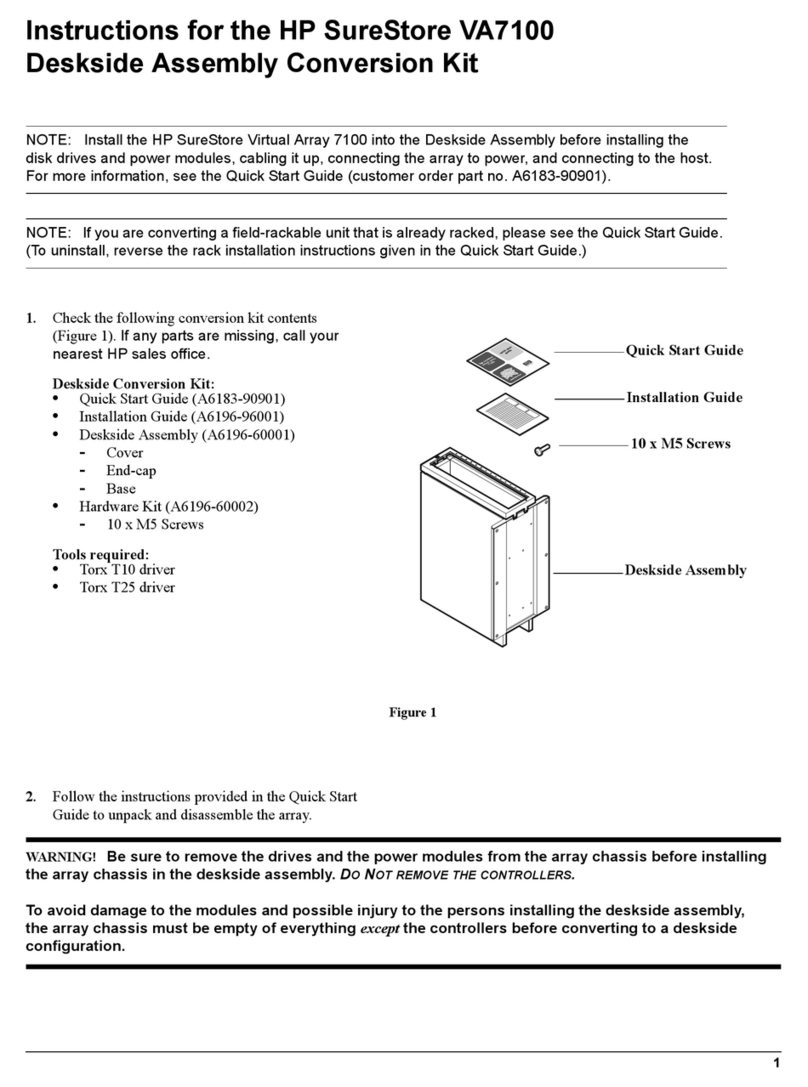
HP StorageWorks 7110 - Virtual Array User manual
HP
HP StorageWorks XP1024 Quick guide
HP
HP AA988A - Modular Smart Array Storage Controller... User manual

HP
HP D2D User manual
HP
HP 7942 User manual

HP
HP Dv4 1140go - Pavilion Entertainment - Core 2 Duo... User manual
HP
HP Xw8200 - Workstation - 1 GB RAM Reference manual

HP
HP P9000 User manual
HP
HP StorageWorks XP10000 - Disk Array User manual

HP
HP Surestore 64 - Director Switch User manual
HP
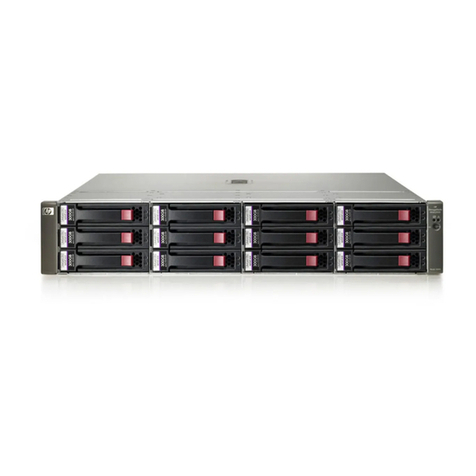
HP StorageWorks P2000 User manual
HP
HP Surestore 64 - Director Switch User manual
HP
HP StorageWorks 4000/6000/8000 - Enterprise Virtual... Instruction Manual
HP
HP XP7 User manual
HP
HP Storevirtual 4000 User manual
HP
HP Surestore 6164 - Switch User manual
HP
HP 330834-B21 - StorageWorks Ultrium 460 Tape Library Drive... Product manual
HP
HP StorageWorks NAS 8000 - Version 1.6.X User manual

HP
HP Invent Q1573 Series Assembly instructions
Popular Storage manuals by other brands

Panasonic
Panasonic LKM-F931-1 instruction manual

Tabernus
Tabernus Enterprise Erase E2400 user guide

Rocstor
Rocstor COMMANDER 3F series user manual

Western Digital
Western Digital Ultrastar Data60 installation guide
Dell
Dell PowerVault MD3600f Series Getting started

CFI
CFI TERA STOR SATA RAID IV user manual


