manuals.online logo
Brands
  1. Home
  2. •
  3. Brands
  4. •
  5. HSM
  6. •
  7. Paper Shredder
  8. •
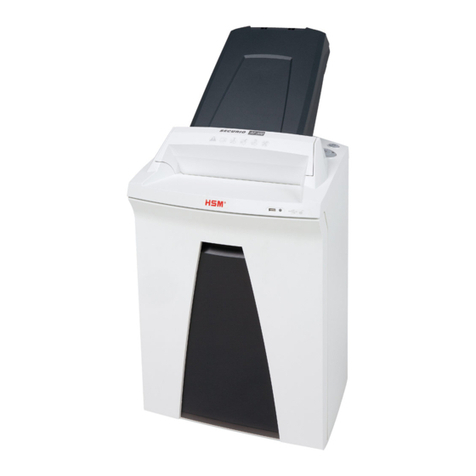
  9. HSM Profipack 400 User manual

HSM Profipack 400 User manual

Other HSM Paper Shredder manuals

HSM Primo 2700 User manual

HSM

HSM Primo 2700 User manual

HSM Pure 120 User manual

HSM

HSM Pure 120 User manual

HSM securio C18 User manual

HSM

HSM securio C18 User manual

HSM Pure 740 User manual

HSM

HSM Pure 740 User manual

HSM Securio B35s User manual

HSM

HSM Securio B35s User manual

HSM SECURIO AF300L4 User manual

HSM

HSM SECURIO AF300L4 User manual

HSM Classic 108.2 User manual

HSM

HSM Classic 108.2 User manual

HSM classic 70.2 User manual

HSM

HSM classic 70.2 User manual

HSM classic User manual

HSM

HSM classic User manual

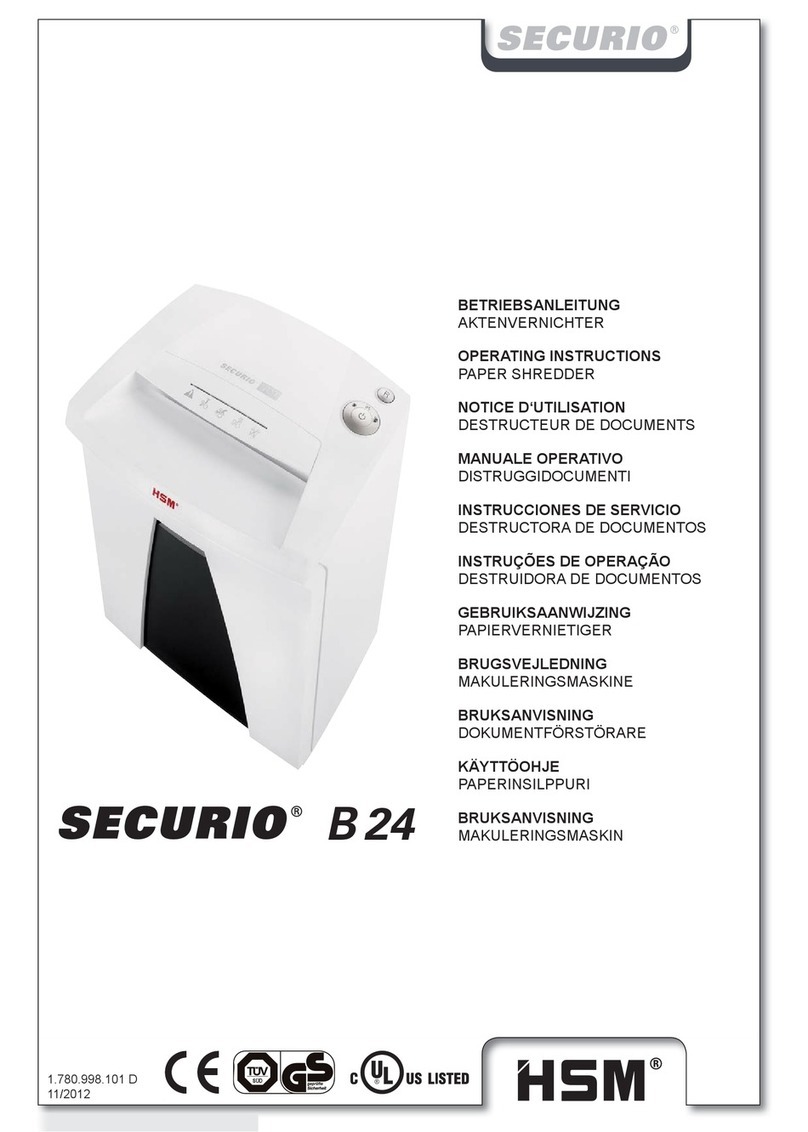
HSM Securio B24 User manual

HSM

HSM Securio B24 User manual

HSM Securio C18s User manual

HSM

HSM Securio C18s User manual

HSM 104.3 User manual

HSM

HSM 104.3 User manual

HSM SP 4040 User manual

HSM

HSM SP 4040 User manual

HSM Securio B34c User manual

HSM

HSM Securio B34c User manual

HSM Primo 3901 User manual

HSM

HSM Primo 3901 User manual

HSM 105.3 User manual

HSM

HSM 105.3 User manual

HSM SECURIO B24c User manual

HSM

HSM SECURIO B24c User manual

HSM SECURIO P44i User manual

HSM

HSM SECURIO P44i User manual

HSM Securio B35c User manual

HSM

HSM Securio B35c User manual

HSM HSM-1911 User manual

HSM

HSM HSM-1911 User manual

HSM Powerline 450.2 User manual

HSM

HSM Powerline 450.2 User manual

HSM Securio AF500 User manual

HSM

HSM Securio AF500 User manual

HSM Primo 1200 User manual

HSM

HSM Primo 1200 User manual

HSM securio C16 User manual

HSM

HSM securio C16 User manual

Popular Paper Shredder manuals by other brands

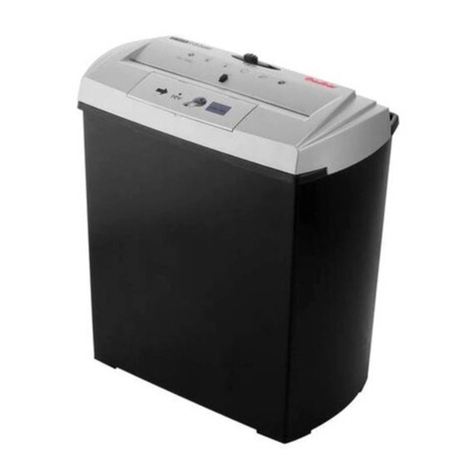
Fellowes Powershred PS-77Cs user guide

Fellowes

Fellowes Powershred PS-77Cs user guide

Garner FLASHPRO operating instructions

Garner

Garner FLASHPRO operating instructions

Swingline STACK-AND-SHRED200X&200XL 60X Start here

Swingline

Swingline STACK-AND-SHRED200X&200XL 60X Start here

GBC ShredMaster CC055 instruction manual

GBC

GBC ShredMaster CC055 instruction manual

UNITED OFFICE UAV 190 A1 operating instructions

UNITED OFFICE

UNITED OFFICE UAV 190 A1 operating instructions

Rexel Optimum AutoFeed+ 45X instruction manual

Rexel

Rexel Optimum AutoFeed+ 45X instruction manual

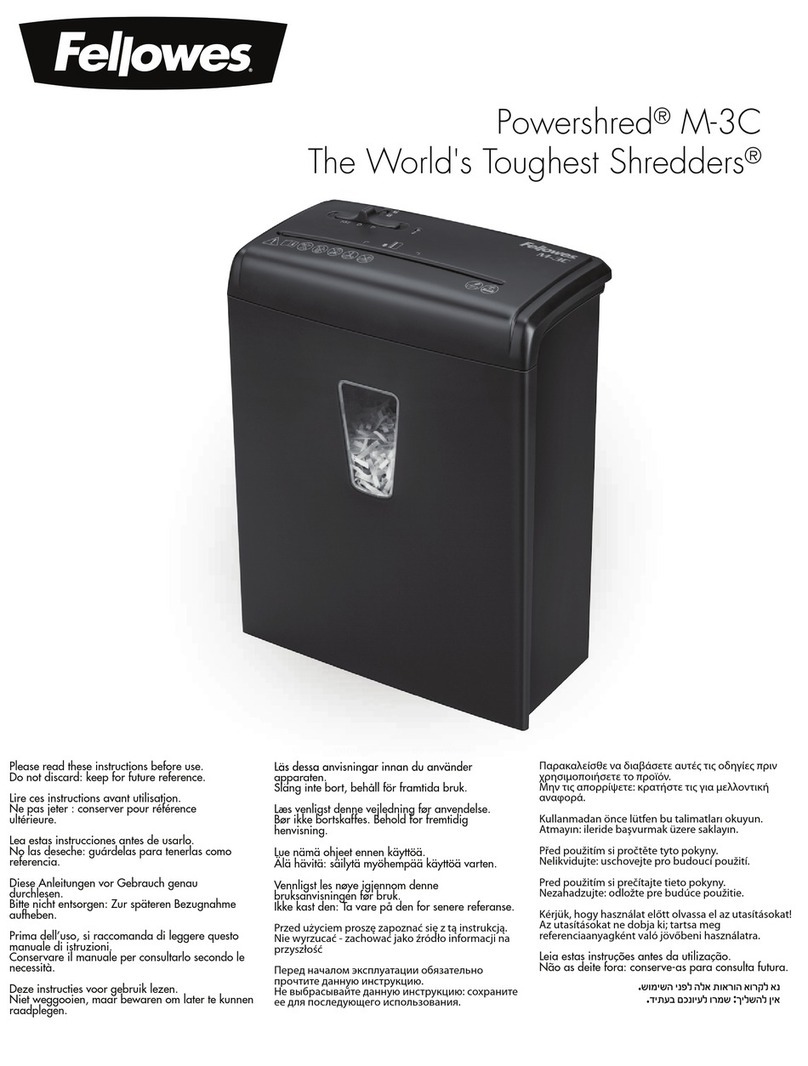
Fellowes Powershred M-3C manual

Fellowes

Fellowes Powershred M-3C manual

Martin Yale 227284S1 instruction manual

Martin Yale

Martin Yale 227284S1 instruction manual

Bonsaii DocShred C223-A instruction manual

Bonsaii

Bonsaii DocShred C223-A instruction manual

TRU RED TR-BMC20A Operator's manual

TRU RED

TRU RED TR-BMC20A Operator's manual

Fellowes 50S instructions

Fellowes

Fellowes 50S instructions

Gude GH 2600 P operating instructions

Gude

Gude GH 2600 P operating instructions

Ativa DQ80M operating instructions

Ativa

Ativa DQ80M operating instructions

Q-Connect Q8CC instruction manual

Q-Connect

Q-Connect Q8CC instruction manual

Fellowes POWERSHRED C-325CI instructions

Fellowes

Fellowes POWERSHRED C-325CI instructions

Olivetti Privacy 5000C Operational manual

Olivetti

Olivetti Privacy 5000C Operational manual

Dahle paperSAFE 22022 instructions

Dahle

Dahle paperSAFE 22022 instructions

Formax OnSite FD 87 Operator's manual

Formax

Formax OnSite FD 87 Operator's manual

manuals.online logo
manuals.online logoBrands
  • About & Mission
  • Contact us
  • Privacy Policy
  • Terms and Conditions

Copyright 2025 Manuals.Online. All Rights Reserved.

Cardboard Converter
https://www.supplychimp.com
OPERATING INSTRUCTIONSOPERATING INSTRUCTIONS
4. Safety instructions
• Read all instructions before start-up of the device and save these instructions
for later use.
• Follow all warnings and instructions marked on the product.
• Make sure no liquid is spilled on or in the device.
• Keep product out of the reach of children.
• The device should be operated only with an operator in attendance.
• You are not allowed to carry out repairs on your own.
• If there is damage or the device is not functioning properly, switch it off, pull out
the plug and call customer service.
Risk of injury!
Never reach into the slit of the feed opening.
Risk of injury by pulling in!
Keep long hair, loose articles of clothing, ties, scarves, jewelry
etc. away from feed opening. Material with the tendency to
form loops, e.g. tapes, strapping material, etc. must not be
processed.
Before changing the location, cleaning or anything else other
than normal
operation
turn off and unplug the device!
Maintenance and service work may be performed only by:
• customer service
• specially trained staff (e.g. qualified electricians)
• service technicians from our contracting partners
5. Installation
• The device must not be set up near a heating element or another source of
warmth.
• Take care that the main plug can be reached easily.
• Before plugging in the main plug, check that the the voltage and frequency of
your main supply are in accordance with the specifications on the type plate.
6. Cleaning
• Switch the device off and unplug it.
• Cleaning must only be performed with a soft fabric and a mild soapwater
solution. The use of abrasive material, petrol or thinner is forbidden.
7. Operation
Switching on
• Press rocker switch pos. 1.
• Cutting unit starts.
Feeding cardboard boxes

1
• Cardboard boxes are processed up to a width of 16.33”.
• Wider cardboard is automatically cut.
Switching off
Tap rocker switch pos. 2.
• Rocker switch resets to zero position, cutting unit stops.
8. Fault elimination
To remove material when there`s a fault, press and hold down
rocker switch pos. 2.
• Cutting unit moves backwards.
If there`s a fault, before notifying customer service, please check:
• Is the main plug inserted?
•Is the device switched on?
• Is the motor overloaded? Allow motor to cool down for approx. 15–20 min.
2
2
16.33”
https://www.supplychimp.com
OPERATING INSTRUCTIONSOPERATING INSTRUCTIONS
4. Safety instructions
• Read all instructions before start-up of the device and save these instructions
for later use.
• Follow all warnings and instructions marked on the product.
• Make sure no liquid is spilled on or in the device.
• Keep product out of the reach of children.
• The device should be operated only with an operator in attendance.
• You are not allowed to carry out repairs on your own.
•If there is damage or the device is not functioning properly, switch it off, pull out
the plug and call customer service.
Risk of injury!
Never reach into the slit of the feed opening.
Risk of injury by pulling in!
Keep long hair, loose articles of clothing, ties, scarves, jewelry
etc. away from feed opening. Material with the tendency to
form loops, e.g. tapes, strapping material, etc. must not be
processed.
Before changing the location, cleaning or anything else other
than normal
operation
turn off and unplug the device!
Maintenance and service work may be performed only by:
• customer service
• specially trained staff (e.g. qualified electricians)
• service technicians from our contracting partners
5. Installation
• The device must not be set up near a heating element or another source of
warmth.
• Take care that the main plug can be reached easily.
• Before plugging in the main plug, check that the the voltage and frequency of
your main supply are in accordance with the specifications on the type plate.
6. Cleaning
• Switch the device off and unplug it.
•Cleaning must only be performed with a soft fabric and a mild soapwater
solution. The use of abrasive material, petrol or thinner is forbidden.
7. Operation
Switching on
• Press rocker switch pos. 1.
• Cutting unit starts.
Feeding cardboard boxes

1
• Cardboard boxes are processed up to a width of 16.33”.
• Wider cardboard is automatically cut.
Switching off
Tap rocker switch pos. 2.
• Rocker switch resets to zero position, cutting unit stops.
8. Fault elimination
To remove material when there`s a fault, press and hold down
rocker switch pos. 2.
• Cutting unit moves backwards.
If there`s a fault, before notifying customer service, please check:
• Is the main plug inserted?
• Is the device switched on?
•Is the motor overloaded? Allow motor to cool down for approx. 15–20 min.
2
2
16.33”
https://www.supplychimp.com