manuals.online logo
Brands
  1. Home
  2. •
  3. Brands
  4. •
  5. HSP
  6. •
  7. Automobile Accessories
  8. •
  9. HSP LID-LIGHT-01 User manual

HSP LID-LIGHT-01 User manual

FI Doc No: FI11793 - Issue: 2 - 12/04/17
HSP UTE LIDS
05
© Lumen Australia 2017
Hard Lid Light Wiring Kit
Fitting Instructions
Kit Part No: LID-LIGHT-01
Fitting Time: 30 minutes
- Read through the fitting instructions before installation of accessory.
- Always install the Hard Lid Light Wiring Kit following the workshop manual and instructions provided. Failure to
do so may cause damage to the vehicle or the accessory.
- Ensure all recyclable components and packaging are discarded and recycled following local recycling
regulations.
- It is always recommended that the is fitted by a qualified automotive technician.
- Safely store and protect any removed vehicle components.
fitting
Hard Lid Light Wiring Kit
- Check that all work practices comply with safety standards.
- Please wear appropriate clothing and use safety equipment.
30 minutes
General Notes
Safety Notes
Fitting Time
Page 02 of
Parts Supplied
Tools and Materials Required
H
G
Phillips Head Screwdriver Spanner Set Ratchet & Socket Set
Drill
Drill Bit Stepped Drill Bit
Ø14mm
Tape
Scissors Side Cutters
10mm Spanner Socket Set
Ø4.5mm
Foam Tape
100 x 40 x 3mm x2
Template
(Pages 9) x2
C
LED Lamp x1
D
Push Button Switch x1
or
A
Light Wiring
Harness x1
B
Battery Power
Harness x1
E
Cable Tie Mount x1
F
Cable Tie x1
G
Fitting Instructions x1
FI Doc No: FI11793 - Issue: 2 - 12/04/17
HSP UTE LIDS
05
© Lumen Australia 2017
Important
Always refer to the vehicle’s Workshop Manual when
removing vehicle components.
Page 03 of
Step 2
Step 3
Step 1
P
P
Nissan pointers
P
P
• Disconnect the vehicle battery (1).
• Disconnect the ring terminals and fuse holder from the battery
power harness at the 2-way connector.
• Route the battery power harness, starting from the front of the
tub, along the chassis rail, up to the engine bay to the vehicle
battery.
Note: Do not connect to the battery yet.
• Connect the Battery Power Harness 2-way connector to the
mating connector on the wires pre-run in the ute lid.
• Remove the end caps (1) covering the screw holes on the LED
Lamp (2) and retain them for fitting at the end of the installation.
• Install the Push Button Switch (3) and LED Lamp (2) on to the cover
(4) as shown.
4
3
2
1
• Remove the plastic cover (1) from the hard lid locking
mechanism by removing the 4 screws (2) (retain the screws for
later use).
22
1
112
2
2
FI Doc No: FI11793 - Issue: 2 - 12/04/17
HSP UTE LIDS
05
© Lumen Australia 2017
Page 04 of
Step 6
Step 4
• Connect the male and female terminals on the Light Wiring
Harness (1) to the mating terminals on the wires pre-run in the ute
lid for 12V power and ground (2).
• Refit the plastic cover (1) to the hard lid using the four screws (2)
retained from step 2. Note: The two front screws must pass
through the holes on the LED lamp (3) and the plastic cover (1).
• Replace the end caps on the LED Lamp (3).
1
2
Step 5
• On the underside of the plastic cover, connect the two small
female terminals (1) on the Light Wiring Harness (2) to the male
terminals on the Push Button Switch (3).
• Connect the 2-way connector (4) on the Light Wiring Harness (2)
to the mating connector on the LED lamp (5).
• In the location shown, stick the supplied Cable Tie Mount (6) to
the cover (clean the area first before applying).
• Use the supplied Cable Tie to secure the Light Wiring Harness (2) to
the cover.
1
3
2
6
5
2
22
2
1
3
4
FI Doc No: FI11793 - Issue: 2 - 12/04/17
HSP UTE LIDS
05
© Lumen Australia 2017
Page 05 of
Step 7
• Connect the Battery Power Harness to the battery, reconnect the
battery, and test operation of the system. The light should
illuminate when the switch is pressed on.
E. & O.E. This document is copyright and must not be used except as permitted below or under the Copyright Act 1968. You may reproduce
and publish this document in whole or in part for your or your organisation's own personal or internal compliance, educational or non-
commercial purposes. You must not alter or amend this document in any way. You must not reproduce or publish this document for
commercial gain without the prior written consent of the copyright owner.
Important
Reprogram all radio stations and clock settings by
referring to the vehicle's owner manual.
Important
Refit all trims and other items removed in reverse order
and secure all fasteners as per Service Manual torque
specifications.
FI Doc No: FI11793 - Issue: 2 - 12/04/17
HSP UTE LIDS
05
© Lumen Australia 2017

Other HSP Automobile Accessories manuals

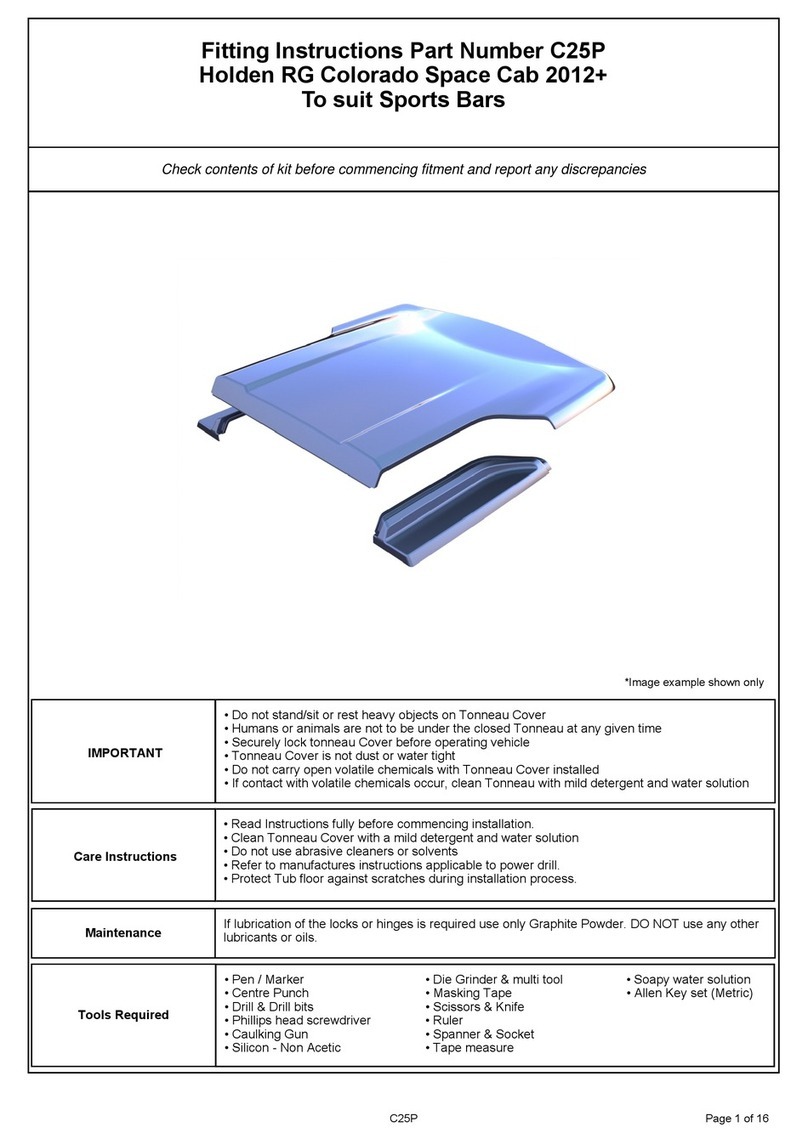
HSP C25P User manual

HSP

HSP C25P User manual

HSP FALCON UTE User manual

HSP

HSP FALCON UTE User manual

HSP Premium LID NP25P User manual

HSP

HSP Premium LID NP25P User manual

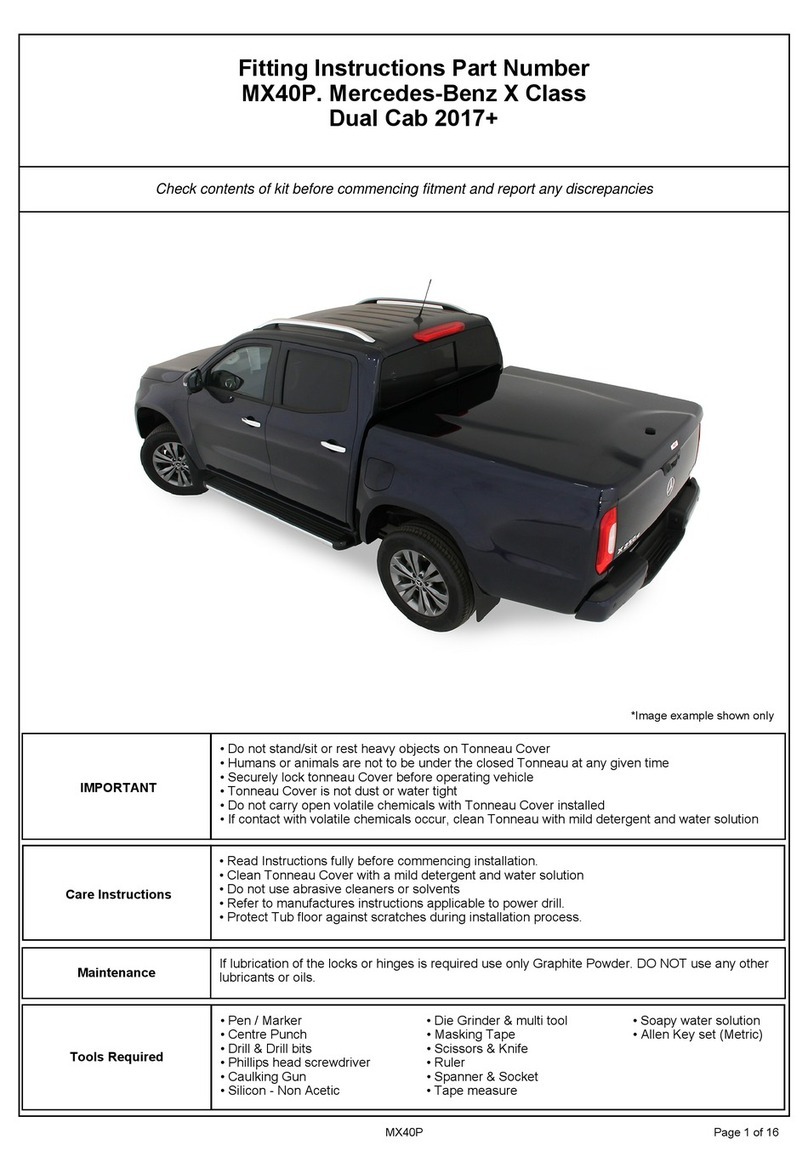
HSP MX40P User manual

HSP

HSP MX40P User manual

HSP ROLL.R.COVER 3 Series Instruction manual

HSP

HSP ROLL.R.COVER 3 Series Instruction manual

HSP Roll R Cover Holden Z71 Colorado User manual

HSP

HSP Roll R Cover Holden Z71 Colorado User manual

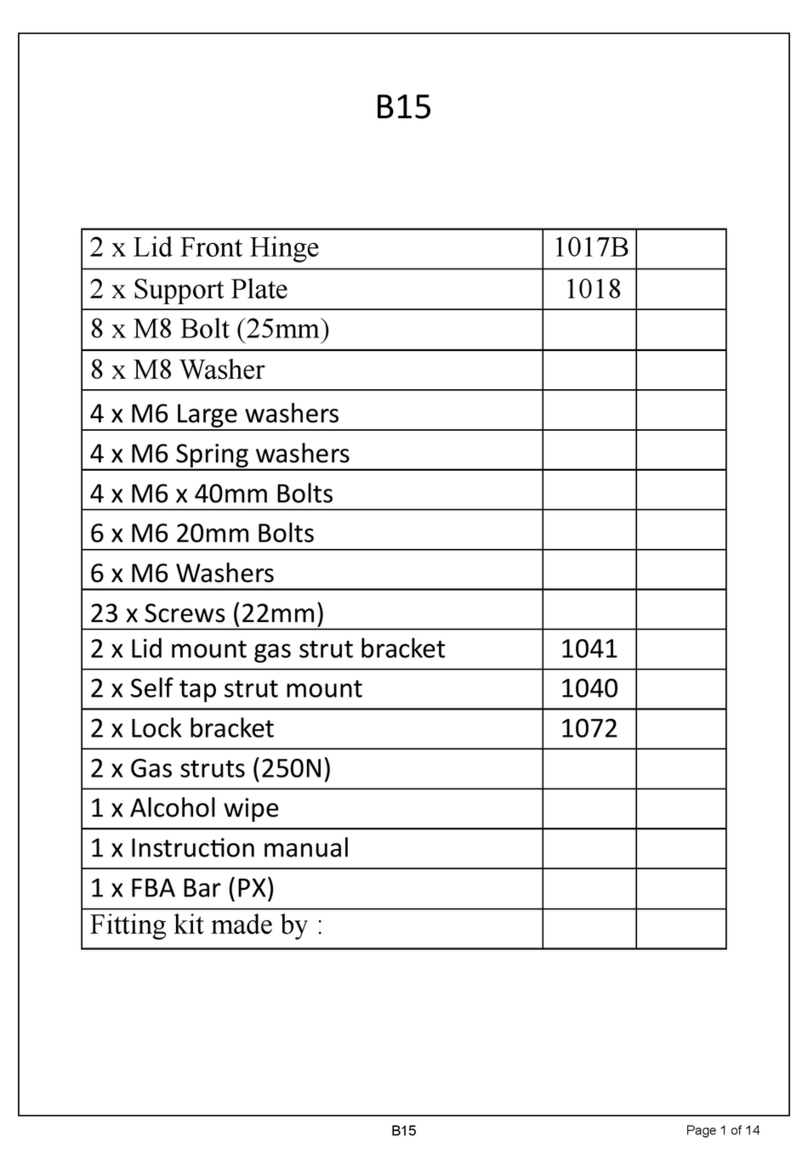
HSP B15 User manual

HSP

HSP B15 User manual

HSP Tail Lock User manual

HSP

HSP Tail Lock User manual

Popular Automobile Accessories manuals by other brands

bosal 024941 Mounting instruction

bosal

bosal 024941 Mounting instruction

Circontrol Wallbox eNext Series installation manual

Circontrol

Circontrol Wallbox eNext Series installation manual

Gadgetree 8045736 operating instructions

Gadgetree

Gadgetree 8045736 operating instructions

AutoMaxi SKI PRO Fitting instructions

AutoMaxi

AutoMaxi SKI PRO Fitting instructions

Thule 307620 User instructions

Thule

Thule 307620 User instructions

AUSSIE TONNEAU ATB01152 FITTING INSTRUCTION

AUSSIE TONNEAU

AUSSIE TONNEAU ATB01152 FITTING INSTRUCTION

WHEEL MONITOR Reverse-A-Matic RM70 Operator's manual

WHEEL MONITOR

WHEEL MONITOR Reverse-A-Matic RM70 Operator's manual

Phonocar 4/084 Mounting instructions

Phonocar

Phonocar 4/084 Mounting instructions

Thule 968 user manual

Thule

Thule 968 user manual

Ultra-tow 603638 owner's manual

Ultra-tow

Ultra-tow 603638 owner's manual

Westin 31-0190 installation instructions

Westin

Westin 31-0190 installation instructions

Strut King SK06-HPDL-RMT01 installation instructions

Strut King

Strut King SK06-HPDL-RMT01 installation instructions

Thule Speedway 961xt user manual

Thule

Thule Speedway 961xt user manual

Audiovox Pursuit Series owner's manual

Audiovox

Audiovox Pursuit Series owner's manual

iDataLink maestro Rr install guide

iDataLink

iDataLink maestro Rr install guide

Front Runner BRONCO TBRA040 quick start guide

Front Runner

Front Runner BRONCO TBRA040 quick start guide

Connects2 adaptiv mini ADVM-BM1 FITTING & USER GUIDE

Connects2

Connects2 adaptiv mini ADVM-BM1 FITTING & USER GUIDE

Metra Electronics 99-9401 installation instructions

Metra Electronics

Metra Electronics 99-9401 installation instructions

manuals.online logo
manuals.online logoBrands
  • About & Mission
  • Contact us
  • Privacy Policy
  • Terms and Conditions

Copyright 2025 Manuals.Online. All Rights Reserved.