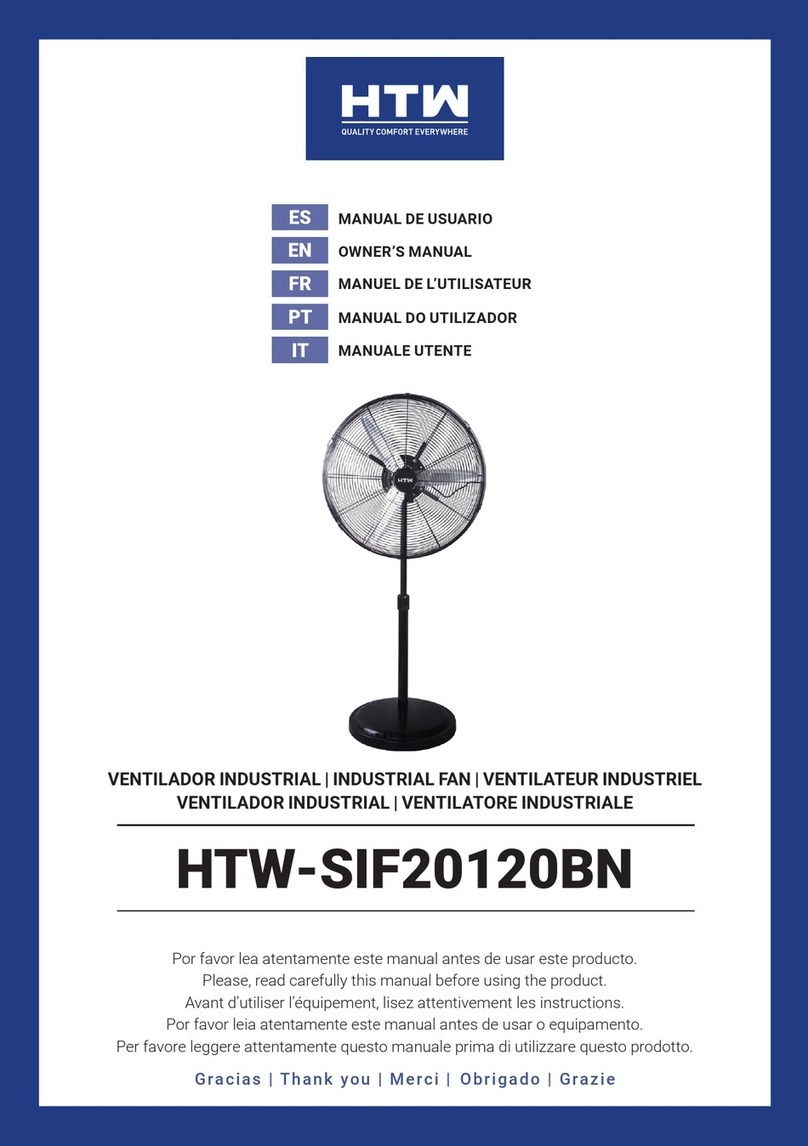
HTW SF4035WYWIND User manual

ES
EN
FR
PT
IT
MANUAL DE USUARIO
OWNER’S MANUAL
MANUEL DE L’UTILISATEUR
MANUAL DO UTILIZADOR
MANUALE UTENTE
Por favor lea atentamente este manual antes de usar este producto.
Please, read carefully this manual before using the product.
Avant d’utiliser l’équipement, lisez attentivement les instructions.
Por favor leia atentamente este manual antes de usar o equipamento.
Per favore leggere attentamente questo manuale prima di utilizzare questo prodotto.
Gracias | Thank you | Merci | Obrigado | Grazie
HTW-SF4035WYWIND
VENTILADOR DE PIE | PEDESTAL FAN | VENTILATEUR SUR PIED
VENTILADOR PEDESTAL | VENTILATORE IN PIEDI


MANUAL DE USUARIO
ESPAÑOL
VENTILADOR DE PIE
HTW-SF4035WYWIND

1
Instrucciones de seguridad importantes
Lea atentamente las reglas y las instrucciones para un
funcionamiento seguro.
Precaución
ADVERTENCIA
Esta marca indica que este producto no debe desecharse
con otros desechos domésticos en toda la UE. Para evitar
posibles daños al medio ambiente o la salud humana
debido a la eliminación incontrolada de desechos,
recíclelos de manera responsable para promover la
reutilización sostenible de los recursos materiales. Para
devolver su dispositivo usado, utilice los sistemas de
devolución y recolección o comuníquese con el minorista
donde compró el producto. Pueden llevar este producto
para un reciclaje seguro para el medio ambiente.
1.
Si el cable de alimentación está dañado, debe ser sustituido
por el fabricante o su agente de servicio o una persona
similarmente cualificada para evitar un peligro.
2.
Uso en interiores solamente.
3.
Para proteger el riesgo de descarga eléctrica, no sumerja la
unidad, el cable o el enchufe en agua u otro líquido.
4.
Este aparato puede ser utilizado por niños a partir de 8 años
y por personas con capacidades físicas, sensoriales o
mentales reducidas o con falta de experiencia y
conocimientos, siempre y cuando hayan recibido supervisión
o instrucciones sobre el uso del aparato de forma segura
comprendan los peligros que conlleva. Los niños no deben
jugar con el aparato. La limpieza y el mantenimiento del
usuario no deben ser realizados por los niños sin supervisión.
5.
Cuando el aparato no esté en uso y antes de limpiarlo,
desenchúfelo de la toma de corriente.
6.
Cuando el ventilador haya sido montado, la protección de las
aspas del rotor no deberá quitarse más.
7.
Elimine correctamente este producto.

REGLAS PARA UNA OPERACIÓN SEGURA
1.
Nunca inserte los dedos, lápices o cualquier otro objeto a través
de la rejilla cuando el ventilador esté funcionando.
2.
Desconecte el ventilador cuando se traslade de un lugar a otro.
3.
Asegúrese de que el ventilador esté sobre una superficie estable
cuando esté funcionando para evitar que se vuelque.
4.
NO use el ventilador en la ventana, la lluvia puede crear un
peligro eléctrico.
5.
Solo para uso doméstico.
2

Instalar
alineando
4
1
2
3
5
6
INSTRUCCIONES DE INSTALACIÓN
Nombre de componentes
NO. Descripción
1 Motor
2Parrilla trasera
3Apriete la perilla
4Poste
5 Base
6Perno de ángulo recto
Instalación de la Base
Alinee la columna con la ranura de la base y fíjelas
juntas con un perno en ángulo recto.
Sugerencia a considerar:
Retire las piezas del componente antes de realizar
la instalación.
3

Contratuerca de parrilla
Contratuerca del aspa
Aspas
Atornille la contratuerca de la parrilla en el sentido
de las agujas del reloj y, mientras tanto, fije la
parrilla trasera.
Bloquee la tuerca de
la hoja en sentido
antihorario y luego
instale la cubierta del
ventilador frontal.
Ponga las aspas a girar después de la
instalación, a fin de asegurarse de que
puedan girar correctamente.
Parrilla
delantera
Seguro
Instalación de protección delantera y trasera
1
2
3
1
2
3
Alinee el cierre del protector
delantero con la posición
ilustrada del protector trasero.
Presione los protectores
secuencialmente con
ambas manos.
Instalación Self-Catch
4
INSTRUCCIONES DE INSTALACIÓN

2
3
1
4
Instrucciones para la llave del mando a distancia
INSTRUCCIONES DE USO
Pilas AAA, 1.5v
NO. Descripción
1
Botón “SPEED”
2
Botón “ON/OFF”
3
Botón “TIMER”
4
Botón “OSC”
Sugerencia a considerar:
Alcance efectivo del control remoto: a una distancia de 5 my una desviación de
30 grados frente al producto. Utilice pilas alcalinas o de manganeso de tipo
"AAA". No use baterías recargables.
5

Control integrado
Instrucciones para el funcionamiento del cuerpo
INSTRUCCIONES DE USO
Gire en sentido antihorario y afloje para
realizar el ajuste de altura.
Ajuste altura
Rotor de ajuste
de altura
6
Display
tiempo
Display
velocidad viento
Botón
oscilador
Botón
velocidad viento
Botón
On/Off

7
1.
Antes de limpiar y ensamblar, el ventilador debe estar desenchufado.
2.
Para asegurar una circulación de aire adecuada al motor, mantenga las rejillas
de ventilación en la parte trasera del motor libres de polvo. No desmonte el
ventilador para quitar el polvo.
3.
Limpie las partes exteriores con un paño suave empapado en un detergente
suave.
4.
No utilice detergentes abrasivos ni disolventes para evitar rayar la superficie.
No use ninguno de los siguientes como limpiador: gasolina, diluyente.
5.
No permita que entre agua ni ningún otro líquido en la carcasa del motor ni en
las piezas interiores.
INSTRUCCIONES DE MANTENIMIENTO
El ventilador requiere poco mantenimiento. No intente arreglarlo usted mismo.
Refiérase a personal de servicio calificado si necesita servicio.
LIMPIEZA
1. Asegúrese de desenchufarlo de la fuente de suministro eléctrico antes de limpiar.
2. Las piezas de plástico deben limpiarse con un paño suave humedecido con
jabón suave. Retire completamente la película de jabón con un paño seco.
Datos de prueba
Artículo Símbolo Unidad Valor
Flujo máximo del ventilador
Fm3/min 62.4
Entrada de energía del ventilador
P W 24.1
Valor de servicio
SV (m3/min)/W 2.6
Consumo de energía en espera
PSB W 0.4
Consumo estacional de electricidad
Q kWh/a 8.2
Nivel de potencia sonora del ventilador
LWA dB(A) 59
Velocidad máxima del aire
c
m/s
2.9

OWNER’S MANUAL
ENGLISH
HTW-SF4035WYWIND
PEDESTAL FAN

1
Important safety instructions
Read Rules for Safe Operation and Instructions Carefully.
Caution
WARNING
This marking indicates that this product should
not be disposed with other household wastes
throughout the EU. To prevent possible harm to
the environment or human health from uncon-
trolled waste disposal, recycle it responsibly to
promote the sustainable reuse of material
resources. To return your used device, please
use the return and collection systems or contact
the retailer where the product was purchased.
They can take this product for environmental safe
recycling.
1. If the supply cord is damaged, it must be replaced by manufac-
turer or its service agent or a similarly qualified person in order
to avoid a hazard.
2. Indoor use only.
3. To protect against the risk of electrical shock, do not immerse
theunit, cord or plug in water or other liquid.
4. This appliance can be used by children aged from 8 years and
above and persons with reduced physical, sensory or mental
capabilities or lack of experience and knowledge if they have
been given supervision or instruction concerning use of the
appliance in a safe way and understand the hazards involved.
Children shall not play with the appliance. Cleaning and user
maintenance shall not be made by children without supervision..
5. When the appliance is not in use and before cleaning, unplug
the appliance from the outlet.
6. When the fan was assembled, the rotor blade guard shall not be
taken off anymore
.
7. Correct Disposal of this product
.

RULES FOR SAFE OPERATION
1. Never insert fingers, pencils, or any other object through the
grille when fan is running.
2. Disconnect fan when moving from one location to another.
3. Be sure fan is on a stable surface when operating to avoid
overturning.
4. DO NOT use fan in window, rain may create electrical hazard.
5. Household use only.
2

Install by
aligning
4
1
2
3
5
6
INSTALLATION INSTRUCTIONS
Name of components
NO. Description
1 Motor
2 Rear grill
3 Tighten knob
4 Pole
5 Base
6 Right-angle bolt
Base Installation
Align the column with the groove on the base and
fix them together using a right-angle bolt.
Considerate Hint:
Remove parts from the component before
performing installation.
3

Lock nut of grill
Lock nut of blade
Blade
Screw the lock nut of grill clockwise,
and in the meantime, fix the rear grill.
Lock nut of blade
anticlockwise,
and then install the
front fan cover.
Pull the blade to rotate after installing,
so as to ensure that the blade can be
normally rotated.
Front grill
Guard
Catch
INSTALLATION INSTRUCTIONS
Front and Rear Guard Installation
1
2
3
1
2
3
Align Catch of the Front Guard
with the illustrated position of
the Rear Guard.
Press guards sequentially
with both hands.
Self-Catch Installation.
4

2
3
1
4
Instructions for key of remote controller
INSTRUCTIONS FOR USE
AAA Battery, 1.5v
NO. Description
1
“SPEED” key
2
“ON/OFF” key
3
“TIMER”key
4
“OSC” key
Considerate Hint:
Effective Range of Remote Control: within 5 m distance and 30-degree
deflection in front of Product. Use manganese or alkaline batteries of type
"AAA". Do not use rechargeable batteries.
5

Body Control
Instructions for operation of body
INSTRUCTIONS FOR USE
Turn counterclockwise and loosen for
performing height adjustment.
Height Adjustment
Height Adjustment
Key
6
Timing
display
Wind speed
display
Oscillating
button
Wind speed
button
On/off
button

7
The fan requires little maintenance. Do not try to fix it by yourself. Refer it to
qualified service personnel if service is needed.
1. Before cleaning and assembling, fan must be unplugged.
2. To ensure adequate air circulation to the motor, keep vents at the rear of the
motor free of dust. Do not disassemble the fan to remove dust.
3. Please wipe the exterior parts with a soft cloth soaking a mild detergent.
4. Do not use any abrasive detergent or solvents to avoid scratching the surface.
Do not use any of the following as a cleaner: gasoline, thinner.
5. Do not allow water or any other liquid into the motor housing or interior parts.
MAINTENANCE INSTRUCTION
CLEANING
1. Be sure to unplug from the electrical supply source before cleaning.
2. Plastic parts should be cleaned with a soft cloth moisten with mild soap.
Thoroughly remove soap film with dry cloth.
Test Data
Item Symbol Unit Value
Maximum fan flow rate Fm3/min 62.4
Fan power input P W 24.1
Service value SV (m3/min)/W 2.6
Standby power consumption PSB W 0.4
Seasonal electricity consumption Q kWh/a 8.2
Fan sound power level LWA dB(A) 59
Maximum air velocity c meters/sec 2.9

MANUEL DE L’UTILISATEUR
FRANÇAIS
HTW-SF4035WYWIND
VENTILATEUR SUR PIED

1
Instructions de sécurité importantes
Veuillez lire attentivement les règles et les instructions pour une
utilisation en toute sécurité.
Mise en garde
AVERTISSEMENT
Cette marque indique que ce produit ne doit pas être jeté avec
les autres déchets ménagers dans toute l'UE. Pour éviter les
dommages potentiels à l'environnement ou à la santé humaine
résultant de l'élimination incontrôlée des déchets, veuillez
recycler les déchets de manière responsable afin de
promouvoir la réutilisation durable des ressources matérielles.
Pour retourner votre appareil usagé, utilisez les systèmes de
retour et de collecte ou contactez le revendeur chez qui vous
avez acheté le produit. Ils peuvent prendre ce produit pour un
recyclage sûr pour l'environnement.
1.
Si le cordon d'alimentation est endommagé, il doit être
remplacé par le fabricant, son agent de service ou une
personne de qualification similaire afin d'éviter tout danger.
2.
Utilisation à l'intérieur uniquement.
3.
Pour éviter tout risque d'électrocution, n'immergez pas
l'appareil, le cordon ou la fiche dans l'eau ou dans un autre
liquide.
4.
Cet appareil peut être utilisé par des enfants à partir de 8 ans
et par des personnes aux capacités physiques, sensorielles ou
mentales réduites ou manquant d'expérience et de
connaissances, à condition qu'ils aient reçu une surveillance
ou des instructions concernant l'utilisation de l'appareil en
toute sécurité et qu'ils comprennent les risques encourus. Les
enfants ne doivent pas jouer avec l'appareil. Le nettoyage et
l'entretien par l'utilisateur ne doivent pas être effectués par des
enfants sans surveillance.
5.
Lorsque l'appareil n'est pas utilisé et avant de le nettoyer,
débranchez-le de la prise de courant.
6.
Lorsque le ventilateur a été assemblé, la protection des pales
du rotor ne doit plus être enlevée.
7.
Mise au rebut correcte de ce produit.
Table of contents
Languages:
Other HTW Fan manuals
Popular Fan manuals by other brands

Siegenia
Siegenia AEROVITAL Original operating instructions

Helios
Helios VDD T120 Series Installation and operating instructions

Venmar
Venmar 3055 COMPACT user manual

Uberhaus
Uberhaus FTA30-U2 owner's manual

Sulion
Sulion DENIM 1004847 manual

Weinmann
Weinmann Emergency MEDUMAT Easy Description and instructions for use

Chore-Time
Chore-Time Endura 57" Fan Installation and operator's manual

NSA
NSA SFC-200B instruction manual

Fanelite
Fanelite TF-35R Instruction book

YUHAO
YUHAO Retractable ceiling fan with lights installation instructions

Maico
Maico EDR 25 Mounting and operating instructions

Dimplex
Dimplex GDC-TF75RW instruction manual