The cabinet tops are clean and free of foreign objects.
Power-On Commissioning
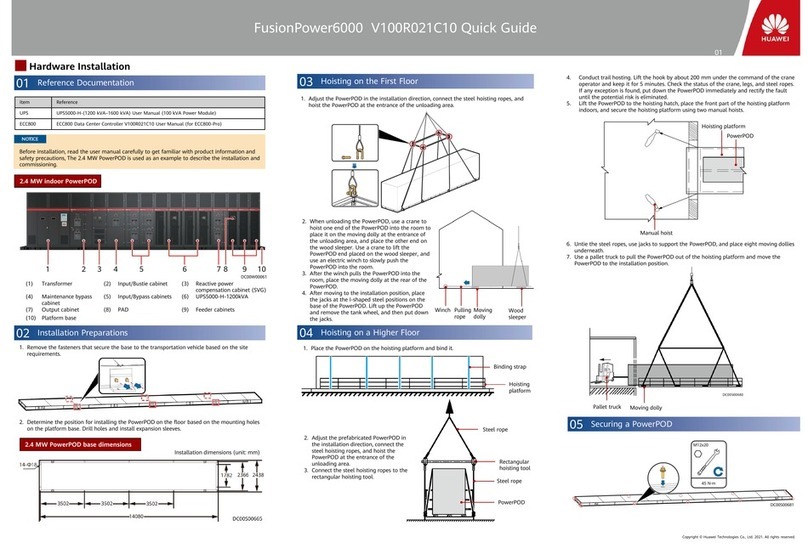
2.4 MW Power distribution system architecture
1Power-On Commissioning for the Power Supply and
Distribution System
Commissioning the Low-Voltage PDF
1.1
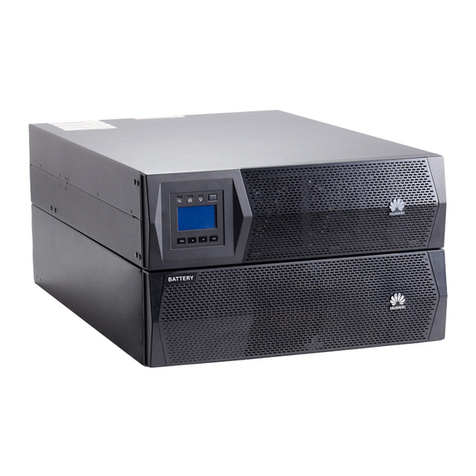
Powering On and Starting the UPS
1.2
1. Download and install the Service Expert app, On the app home screen, tap StartUp to access
the Set Startup screen.
2. Set the language, time, network parameters, system parameters, and battery parameters on
the Settings Wizard screen.
Obtaining Startup Password
1. Turn on the SPD switches 1QFS and 2QFS.
2. Turn on the upstream bypass and mains input switches.
Starting the Inverter on the LCD
1. Choose Common Functions > Inv. ON.
2. On the displayed login screen, select a user name and enter the password.
3. In the displayed dialog box, tap Yes to start the inverter.
Starting the Inverter on the WebUI
1. In the address box of the browser, enter https://UPS IP address.
2. Enter the correct user name and password and click Login.
3. On the WebUI, choose Monitoring > UPS System > Running Control, and click Inv. ON, and
confirm the operation to start the inverter.
1. Check that the voltage, current, and frequency of the upstream circuit breaker for the low-
voltage PDF meet requirements.
2. Switch on the upstream input circuit breaker and check the indicator on the low-voltage PDF.
If they light on, the PDF is powered on properly.
3. Switch the input circuit breaker to the Test position. Switch the interlocked standby circuit
breaker to the Test position.
4. Switch on and off the two circuit breakers respectively to perform an impact test.
5. Switch the input circuit breaker to the working position, perform the impact test again and
switch on the circuit breakers.
6. Check that the downstream equipment is properly connected. Then measure or check whether
the output voltage and current meet requirements. If yes, switch on the output circuit breaker
to power on the equipment.
Preparations and WebUI Login
2.1
1. Connect a network cable between the PC network port and the WAN_1 port on the
ECC800-Pro.
2. Configure the PC IP address and the WAN_1 IP address in the same network segment.
3. Set LAN parameters.
4. Set Internet Explorer parameters.
5. Log in to the ECC800-Pro WebUI.
2Power-On Commissioning for the Management System
Preparations and App Login
2.2
Commissioning the Configuration Wizard
2.3
1. Log in to the ECC800-Pro WebUI as an administrator.
2. Choose Maintenance > Configuration Wizard to access the parameter configuring
page for the deployment wizard.
3. Configure related parameters on the page as instructed. For details, see the function
description on the left of the page.
4. After configuring the parameters, click Finish.
5. After confirming that the commissioning Result is normal, enter the Checker Name and
Check Date, and click Configuration Completed.
1. Download and install the FusionModule app from Huawei AppGallery.
•Huawei AppGallery installed on the PAD: Log in to the Huawei AppGallery client, search
for FusionModule, and tap Install.
•Huawei AppGallery not installed on the PAD:
Method 1: Log in to Huawei AppGallery (https://appgallery.huawei.com/), search for
FusionModule, and tap Install.
Method 2:Log in to the ECC800-Pro WebUI on a PC and scan the QR code to install the
app.
2. Hold down the SW button on the ECC800-Pro for less than 3s to enable the WiFi function.
3. (Optional) Enable the WiFi function on the ECC800-Pro WebUI.
4. Log in to the app.
Setting the Date and Time
2.4
1. Choose System Settings > System Parameters > Time.
2. Set the time zone, date, and time based on the site requirements or click Obtain Local
Time, and click Submit.
Adding a Device
2.5
1. Choose System Settings > Device Management > Add Device.
2. After a device is added, the details about the device connected to the PowerPOD are
displayed.
•Devices to be manually added: reactive power compensation cabinet (SVG) and
transformer.
•Devices that can be automatically discovered: UPS, feeder cabinet, and low-voltage
cabinet.
Adding a Transformer
1. Log in to the ECC800-Pro WebUI as an administrator.
2. Add a transformer.
