Humimeter RP6 User manual

User manual
recycling paper moisture meter
humimeter RP6
Version 1.1
© Schaller GmbH
2016

page2 version 1.1
Measuring procedure
1.) For a correct measurement please ensure that the device has
the same temperature (+/-3°) than the material under test. For
that reason, let your humimeter adjust to the surrounding
temperature of the material for at least half an hour before
measuring (protect from direct sunlight!).
2.) Switch on the device: Press the key or the button on the
handle bar for 3 seconds.
3) Please note that the accuracy of the
measurement depends on the size of the
contact area of the sensor. Hold the device
with adequate pressure to the paper bale in
one hand and ensure that the whole sensor
area rests on the paper bale. There must not
be any wire below the sensor. The display
instantly shows the water content.
4.) In the same way, take further measurements
at different positions of the paper bale and
save the measuring values. The saving is
done in the store menu by pressing the
button on the handle bar shortly. The storage
was successful when the number in front of
the symbol increased.
The humimeter RP6 automatically calculates
the average moisture content of the saved
values. Please avoid measurements at
apparently wet areas of the bale, as they do
not represent the average moisture content of
the bale.
To name the saved results press the button.
5.) In the type selection menu (press once) you
can change the calibration curve resp. the
switch setting using the arrow keys.

page3 version 1.1
Start-up
Your humimeter RP6 moisture meter for determination of water
content of recycling paper bales is delivered with loaded
accumulator and can be used immediately. Switch on the device by
pressing the power button ( ) for 3 sec. Now the display starts
glowing. During the startup for a short time the serial number, the
software version, the battery state and the free memory space are
displayed. After that the humimeter RP6 is ready to use. For
switching off the device, press the power button ( ) for 5 seconds.
If you do not push any button for 4 minutes, the device switches off
automatically.
Design of the device
measuring
value:
water content
USB interface
handle bar
connector for
external
sensor
calibration curve /
density
Power button
resp. saving
measuring
value:
temperature
measuring
plate

page4 version 1.1
List of calibration curves
Pressing the or key in the measuring window
for at least 3 seconds, a list of all available
calibration curves will appear. Select your desired
calibration curve by pressing or and confirm
by pressing the key. Calibration curves
displayed in grey are not available for the actual
sensor and cannot be chosen.
Determination of the paper type
Due to the addition of diverse substrates during paper manufacturing and
diverse paper densities resp. compressed densities, the adequate calibration
curve has to be determined once before measuring. This is effected by a
comparison measurement by calibrateable methods corresponding to norm
E20287 (drying chamber resp. kiln drying). For that, take samples from
different places all over the measuring field, at least the size of the sensor
plate and up to a depth of 50 cm.
The compressed density is determined as follows:
Calculate the volume:
Volume (m³) = length(m) * breadth(m) * height(m)
and weigh the material.
Specific wet weight (kg/m³) = weight (kg) / volume (m³)
calibration curve paper type switch setting
300 Recycl.Paper
Corrugated paper, white multi-
layer
cardboard
S1
350 Recycl.Paper
Chipboard,
mixed cardboard without
corrugated paper
S2
400 Recycl.Paper
Light newsprint
S3
450 Recycl.Paper
Newsprint,
paper and cardboard
packaging
S4
500 Recycl.Paper
Mixed wastepaper,
assorted coloured
documents, offset paper
S5
550 Recycl.Paper
Coated paper
S6
600 Recycl.Paper
Multiprint, white documents wood-free
S7
650 Recycl.Paper
S8

page5 version 1.1
Menu level overview
Overview main menu
Edit logs
Manual logs
Clear logs
Print logs
Last log
All logs
Clear logs
Send logs
Manual logs
Clear logs
Options
Date/time
Datalog time
Language
Unlock
°C / °F
Lighting time
Auto off time
Setting
Materialcalib.
Password
Reset
Status
Keypad symbols
Measuring window:
rolling menu
power ON / OFF
switch upper
switch lower
save
hold
watch saved data
enter supplier´s
data
Menu:
enter
switch upper
switch lower
exit
enter numbers
enter letters
next or right
left
yes
no
Shift
OK
Switch lower
Main menu
Type selection menu
Store menu
Next calibration curve
Previous calibration curve
Number of logs
Watch or edit saved logs
Enter new log
S
witch off
Switch upper
Open this menu enter

page6 version 1.1
Operating the instrument
Switching on: Press for three seconds.
Setting date and time: two times -> Options -> date/time
Saving: Press the button to save the shown
measuring value. To name the saved
results press the button.
Hold: Select the menu item „Options“, then
select „datalog time“. Activate the Hold
function there and change to the
measuring window again. When the
symbol is pressed, the shown measuring
value is frozen on the display until another
button is pressed.
Display lighting: Press the key briefly; the display lighting
switches off automatically after approx. 30
seconds. The lighting is activated
automatically when pressing any button.
Switching off: Press the key in the measuring window
for 5 seconds. The instrument switches off
after releasing the key. The instrument
switches off automatically after approx.
four minutes.
Measuring range: If the measuring value is
blinking in grey, the
measuring range has
been exceeded. In this
case the measuring accuracy is
decreasing.
Activation of the “superuser” function
2 times - Options – Unlock
Enter the 4-digit password by using the button (standard is the
4-digit serial number) and confirm by pressing the button.

page7 version 1.1
Measurement with plug-in sensor
(available optionally)
To ensure accurate measuring values let the plug-in sensor adjust
to the surrounding temperature of the material for at least half an
hour before starting your measurement. Then plug the sensor into
the connector. Your humimeter automatically recognizes the
sensor and activates the corresponding air humidity calibration
curves. The following calibration curves are available:
Calibration curves
Relative air humidity
Absolute moisture wastepaper
Absolute moisture Kraftliner
Absolute moisture Testliner
Absolute air humidity
Plug the sensor into the material to measure and let it adjust for
approx. 15 minutes. Switch on the humimeter RP6 and select the
desired calibration curve. The display immediately shows the
measuring result.
The calibration curve “Absolute moisture wastepaper” has been
developed from a mixture of different paper types and is
determined for a quick orientation. The fine adjustment to special
applications or particular paper types has to be effected by the
customer resp. can be effected by Schaller GmbH for a fee.
Adjustment (device calibration)
Switch on the instrument and select the calibration curve „test
characteristic“ using the arrow keys. Hold the humimeter RP6 up in
the air with one hand. There must not be any wall or other objects
within a distance of 1 meter from the device.

page8 version 1.1
The measuring value shown on the display
should range between +1.5 and -0.5. If the
measuring value is out of this range, we
recommend an adjustment by zero-point
calibration. This can be effected as follows:
Press the left key twice to reach the menu
level. Navigate to the menu item „Options“
using the arrow keys. Confirm by pressing
the button.
Select the menu item „Calibrate“ using the
arrow keys and confirm by pressing .
This menu item has to be unlocked. For
that enter the 4-digit serial number of your
humimeter RP6. You can find it on the top
right edge of the display a short time after
switching on the instrument.
Press the third button as often as the black
bar shows the first digit of your serial
number. After a waiting time of a few
seconds the device accepts the entered
digit. Now the other 3 digits have to be
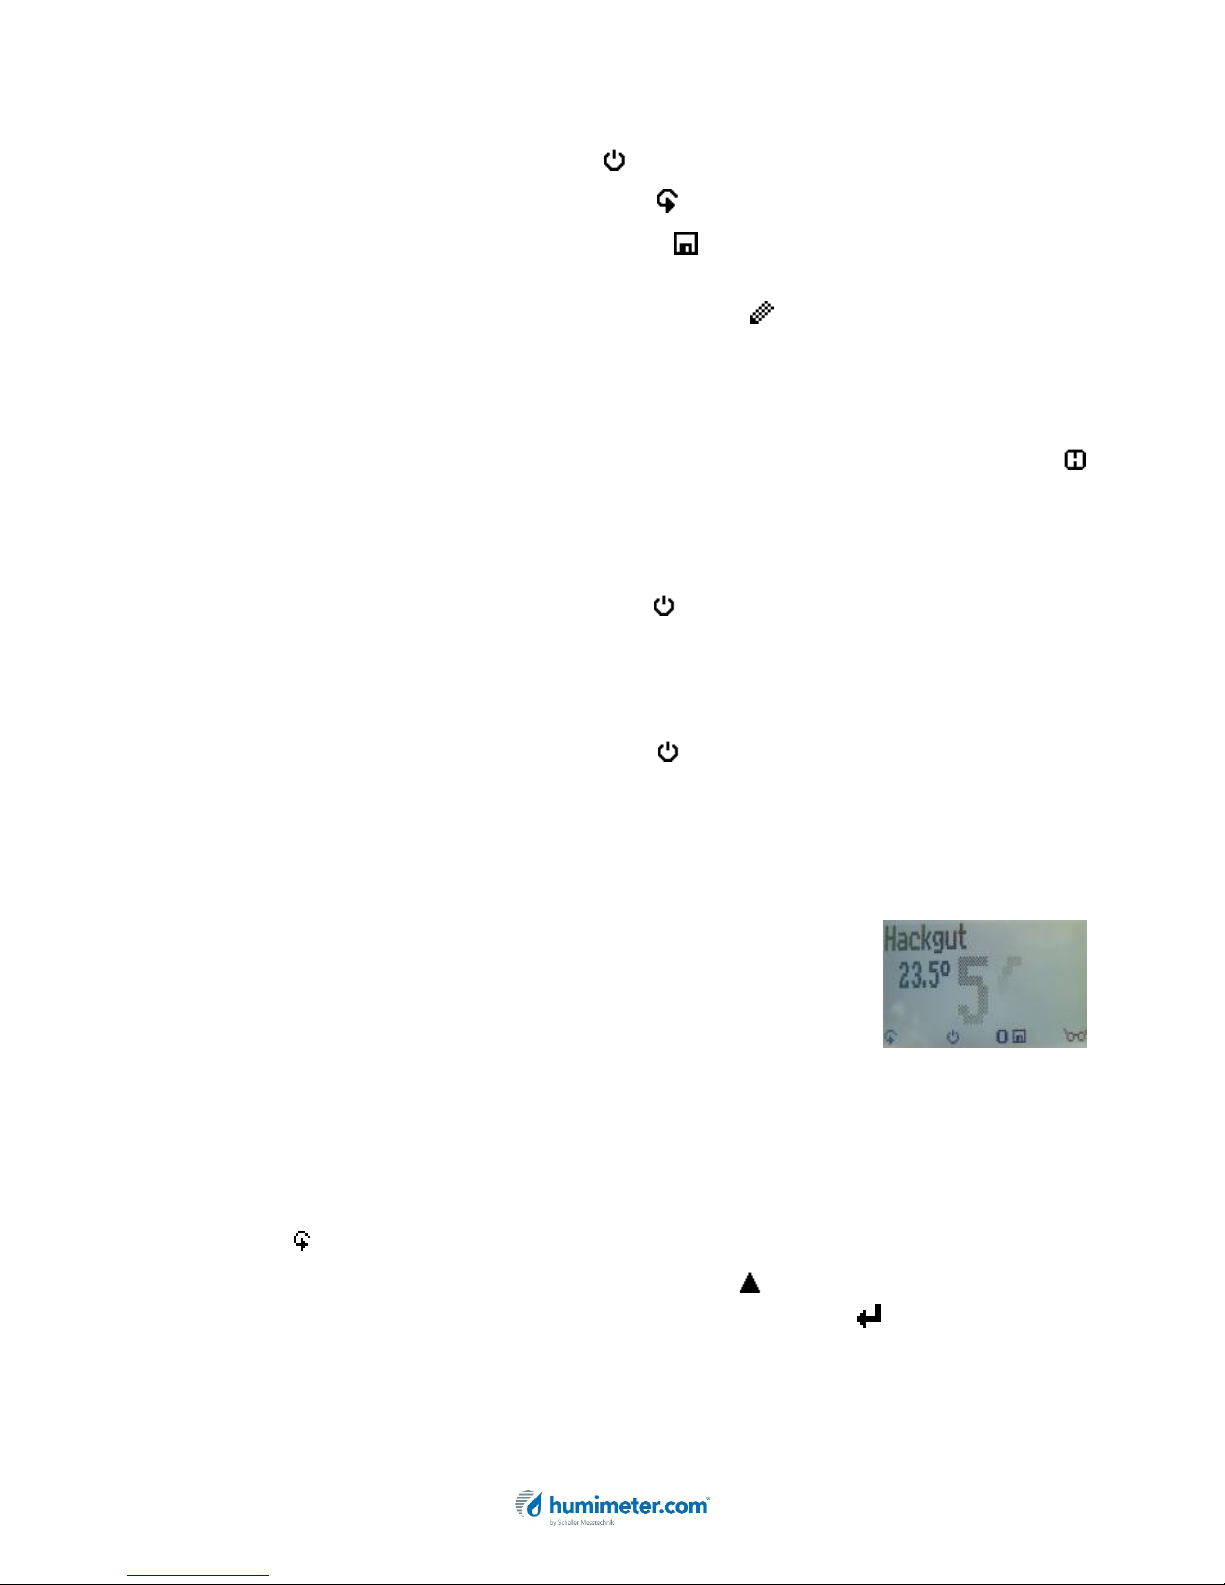
entered in the same way. When the 4-digit
number has been entered correctly (see
picture), press the button to confirm.
Now the display will show the query
„Calibrate?“. Hold the humimeter RP6 in
one hand up in the air and make sure that
nothing stands behind the sensor plate.
Then confirm the query by pressing . The
device will effect a zero point adjustment.
As soon as the measuring window appears,
the instrument is ready for use again.
If an exclamation mark (!) appears on the
display, the zero point adjustment is not
possible, as the calibration is out of the
adjustable range. In this case please
contact your dealer.

page9 version 1.1
Battery charge
If the battery symbol appears in the measuring window resp. if a
critical charge of battery is shown in the status (!), the batteries
have to be charged IMMEDIATELY.
Charging the batteries
Connect the provided USB cable to the device and the other end of
the cable to a PC or another USB charging adapter. It takes about
6 hours to charge the completely discharged batteries. Please
make sure that the temperature during the charging process is
between 0°C and 45°C, as otherwise the batteries may be
destroyed.
Device maintenance instructions
To provide a long life of your device please do not expose it to
strong mechanical loads or heat e.g. dropping it or direct sunlight
exposure. Clean your device using a dry cloth.
Any kind of wet cleaning damages the device. The device is
splash-proof (IP64), but not rainproof. Do not expose your device
to the rain.
Exemption from liability
For misreadings and wrong measurements and of this resulting
damage we refuse any liability. This is a device for quick
determination of moisture. The moisture depends on multiple
conditions and multiple materials. Therefore we recommend a
plausibility check of the measuring results. Each device includes a
serial number and the guarantee stamp. If those are broken, no
claims for guarantee can be made. In case of a faulty device,
please contact Schaller GmbH (www.humimeter.com) or your
dealer.

page10 version 1.1
Transfer saved data to the PC
To send your saved logs to the PC, connect
the humimeter device to your PC using the
USB cable that was delivered with
yourdevice. Carefully loose the protection
cap on your humimeter and plug in the USB
mini B connector. The bigger connector has
to be connected to a USB slot on your PC.
Start the LogMemorizer software on your
PC and switch on your humimeter RP6.
The data transfer can be started on your
humimeter or on the software:
Starting the data transfer on the humimeter:
Press the key until you reach the menu
(see image on the right). Then select „Send
Logs“ and confirm by pressing the key.
Now select „Manual Logs“ and confirm by
pressing again. All saved logs will be sent
to your PC.
Starting the data transfer on your PC:
Press the button „remote control“ in the
LogMemorizer software. A drop-down menu
with several options opens (see image
below).
For transferring the data you can select
„Import last manual log“ (the last saved
measuring series is transferred) or „Import
all manual logs“ (all saved logs are
transferred).
If you click on one of these menu items, the
transfer starts immediately.
For the basic adjustments of the software
please look through the instructions on the
LogMemorizer USB flash drive.

page11 version 1.1
Print saved data (logs)
(only with optionally available printer)
To print your saved data, connect the device
to the printer using the printer cable that was
delivered with your device. Carefully loose
the protection cap on the humimeter RP6. At
first plug in the side of the connector with
the close plastic casing at the humimeter
RP6. Then switch on the device.
Not till then the other side of the cable has
to be plugged in at the printer. Switch on the
printer by pressing . Now the green LED is
blinking. If it does not blink, please change
the batteries and try again.
Press the button at your humimeter until
you reach the menu (see image on the
right). Select „Print Logs“ and confirm by
pressing .
Now you can select if you want to print the
last saved measuring series or all saved
measuring series (logs).Confirm by pressing
again. The selected logs are printed out
now.
To save paper, please think of clearing the
data storage regularly.

page12 version 1.1
Hardware Reset
In case that your humimeter device does not respond to any key
press or cannot be switched on any more, you can carry out a
hardware reset. Please make sure that the accumulator has been
charged before starting the following procedure:
Remove the blue plastic handle by sliding it off. Open the moisture
meter by pulling the two half sides apart. Then push the small push
button on the right upper edge of the moisture meter. Now the
humimeter will restart. Put the two sides together again. (Do not
use any force, if it is not possible to put the sides together easily,
flush them again and try again.)
If the humimeter is not restarting, please contact your technical
support.

page13 version 1.1
Technical data
Measuring depth max. 500mm
Calibration curves 23
Resolution 0.5 % water content; 0.5 °C/°F
Measuring range 0.0 – 50.0% water content
Temperature range -10 °C to +50 °C (0.5 °C), 14 to 122 °F (0.5
°F)
Operating temperature 0 °C to 50 °C, 32 to 122 °F
Storage temperature -20 °C to +60 °C, -4 to 140 °F
Memory approx. 10,000 measuring values
Temperature compensation automatic
Menu languages English, German, French, Italian, Spanish,
Russian
Power supply LI-Ion accumulator 1950mAh
(for 60 to 100 operating hours)
Current consumption 40mA (with light)
Display 128 x 64 matrix display, lighted
Dimensions 620 mm x 100 mm x 147 mm
Weight 1 kg (incl. accumulator)
Degree of protection IP 64
Scope of supply RP6 with integrated accumulator, user
manual, plastic case, USB interface incl.
cable and PC software, calibration
certificate
Optional Bluetooth module, portable printer, proof
plate in wooden case, external plug-in
sensor

page14 version 1.1
!IMPORTANT! please read
Most common reasons for misreadings
•Product temperature out of application range
The temperature of the measuring device and the material under
test should be approximately the same. Put the humimeter
device to the material half an hour before starting the
measurement in order to ensure a temperature adjustment.
•Wrong calibration curve resp. switch setting
Double-check the selection of the correct calibration curve before
measuring.
•Unbalanced pressing
•Uneven contact surface
Choose a relatively flat surface for
measuring. If the measuring plate doesn´t
rest on the material evenly, the device will
show too low measuring values.
•Inadequate thickness of material or bale
There has to be at least 50 cm of material
below the sensor plate.
•Electrically conductive material/wire in the measuring field
Any kind of metal as well as electrically conductive packaging
film e.g. paper polluted by soot or wire has a negative influence
on the measuring result. Please make sure that there is no metal
or electrically conductive material in an area of 50 cm below the
sensor plate.
•Connected USB cable during measuring
During the measurement, the USB cable must not be connected
to the device, as the measuring value may be
falsified by more than 10 %.
Other manuals for RP6
1
Table of contents
Other Humimeter Measuring Instrument manuals
Popular Measuring Instrument manuals by other brands

Labom
Labom GA261 Series operating instructions

Abaxis
Abaxis Piccolo Xpress AB-801-110-0000 Quick reference guide

PCE Instruments
PCE Instruments PCE-VT 3700-ICA user manual

Spectrum
Spectrum FieldScout manual

PureAire
PureAire Air Check EX instruction manual

NoiseMeters Limited
NoiseMeters Limited CR800C manual