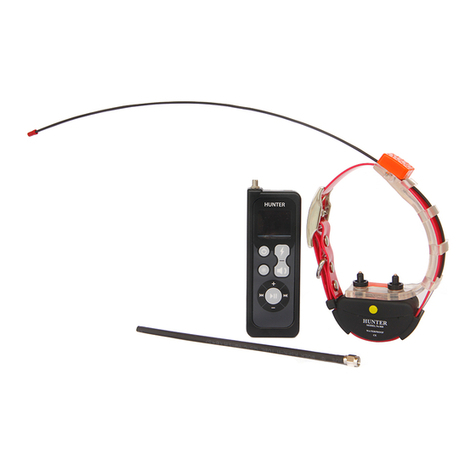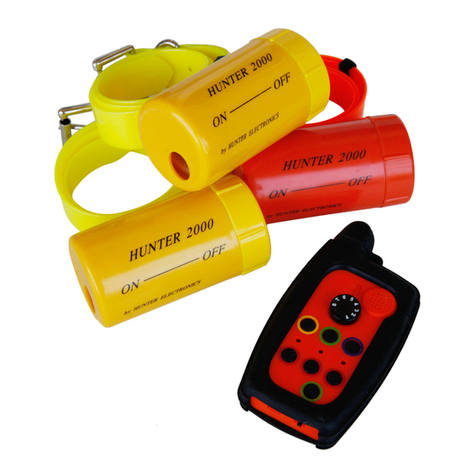
Each time you press the TONE or the TONE&SHOCK button, the corresponding LED1, or LED2 or LED3 ashes, indicating the sending of the
commands. Furthermore, the LED on the top of the remote ashes to indicate the sending of the commands.
The shock levels are adjusted by turning the rotary switch of the remote, from 1 to 8.
Level 1 is the lowest level and level 8 is the highest level.
After use, you can switch OFF the remote using the ON/OFF switch.
TIPS & FITTING OF THE DOG TRAINING COLLAR WITH REMOTE
The dog training collar with remote is specially designed for hunting dogs and it works under hard conditions (rain, dense vegetation).
It has a lightweight durable design, and it is suitable for all dogs, either small or big.
The dog training collar with remote, should be placed under your dog’s neck. The two probes should touch the skin of your dog, so the dog
can feel the stimulation. The dog training collar with remote should be tted tightly on your dog’s neck. If your dog has a long fur, it is advised
to trim the fur a little, so the two probes can directly contact the skin of the dog.
You should nd the correct stimulation level for your dog. You will start with level 1 stimulation (lowest). If you see no reaction by your dog,
use level 2 stimulation. Increase the stimulation level until you see a reaction. When you see a reaction, this is the correct stimulation
level that you should use.
If you use level 8 stimulation (highest), and you do not see any reaction by your dog, then the dog training collar has not been tted
correctly. It should be tted tightly on your dog’s neck. If your dog has a long fur, you should trim a little the fur, at the place where the two
probes contact the skin
Use the short or long probes provided depending on the dog’s fur.
It is advised to charge your dog training collar and the remote, prior to each use.
GPS TRACKER
The dog collar has a build-in a GPS antenna, and the remote control has a build-in Bluetooth module. The remote communicates with
a mobile phone or tablet via Bluetooth.
The application is provided by us via email. The mobile or tablet should be Android 4.4 or newer and Bluetooth version 4 or 5.
.To pair the remote with your mobile follow these steps:
1. Download and install the application on your mobile.
2. Turn on the remote control from the slide switch .
3. Run the app.
4. You will see the picture below. Choose start scan, then hit the Bluetooth item on second picture, then you will go directly to the map.
5: You can see on the map a dog's head which is the collar position (collar must be turn on and placed outside in open sky).
6: By hitting on dog's head symbol the app shows the distance between the user and the dog collar.
The following pictures show how to choose inteval time for the GPS info, and the remote control buttons on app.
You can choose 2=60 seconds, 3=30 seconds, 4=20 seconds, 5=15 seconds, 10=2 seconds for interval time GPS info packet.
WARRANTY We oer one-year warranty, and quick service after its end. The warranty does not cover the built-in rechargeable battery of the
collar and the remote.


