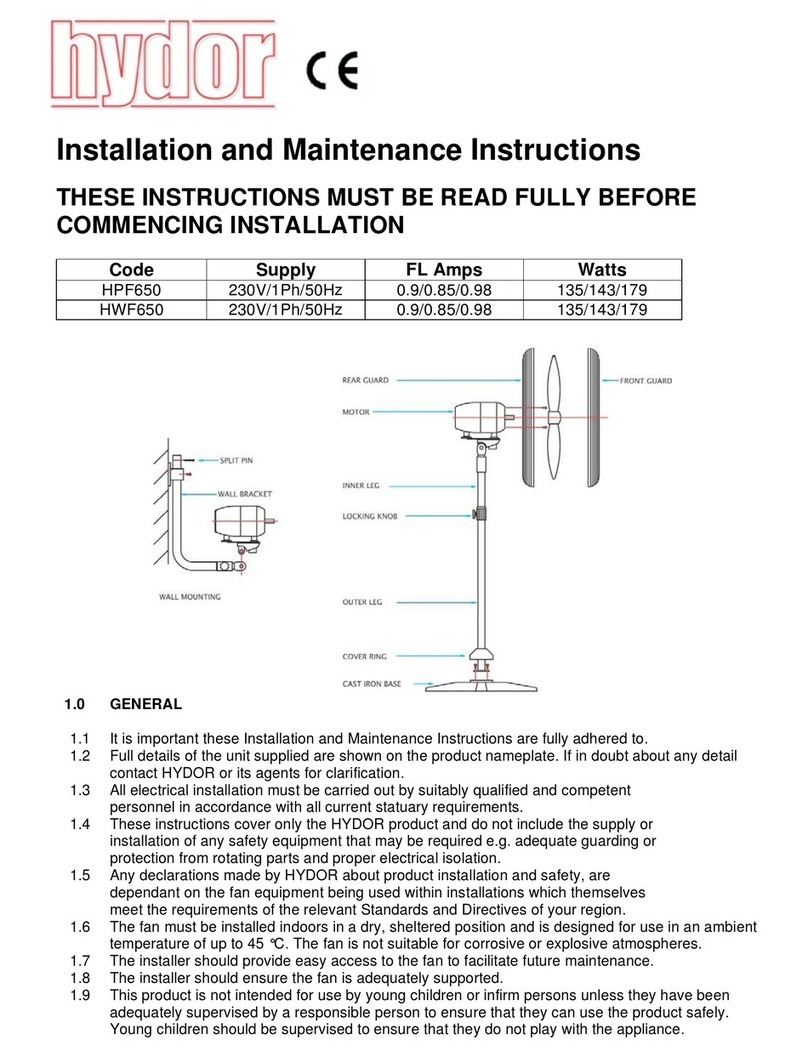
2.2 If the supply cord is damaged, it must be replaced by the manufacturer, its
service agent or similarly qualified persons in order to avoid a hazard.
2.3 If there are any queries concerning the fan equipment, Hydor Ltd should
be contacted prior to the installation.
2.4 The fan must be securely mounted in the desired position to suit the
application. A minimum of 1 meter of duct at least the same diameter as
the fan spigots diameter is to be fitted to the fan inlet and discharge
spigots.
2.5 Minimum 150mm clearance between the fan and the surrounding
structure should be reserved.
2.6 To install the fan: -
Remove the fan body from the spigots that are attached to the base by
releasing the four screws.
Mount the base in the desired position using the fasteners supplied.
Replace the fan body in-between the spigots and tighten the four screws.
2.7 Check the details on the rating plate to ensure that the correct power
supply (voltage, frequency and phase) is available. An incorrect power
supply will lead to permanent damage of the fan.
2.8 Refer to the appropriate wiring diagram.
2.9 Means for electrical disconnection must be incorporated in the wiring
installation in accordance with the relevant wiring and electrical
regulations. The disconnection may be achieved by having the plug
accessible or by incorporating a switch in the fixed wiring in accordance
with the wiring regulations.
2.10 Precaution must be taken to locate the exhaust discharge terminal so as
to avoid the backflow of gases into the room from the open flue of gas or
other fuel burning appliances.
2.11 Fans fitted with run-on timers have settings adjustable between 2 to 30
minutes.
3. Start-up
3.1 Before power is supplied to the unit, check that the wiring is correct as per
the fan connection diagram.
3.2 At initial start-up, check that impeller rotation and airflow direction is
correct.
3.3 Check that the motor amperage drawn does not exceed the nameplate
rating.
4. Fan Maintenance
4.1 Inspection of the fan at least once every 12 months is recommended to
ensure that the motor, fan blades, and supporting guards, are clean. Any
build-up of dust and deposit on the blades or guards should be removed
using a non-abrasive cleaner.
