manuals.online logo
Brands
  1. Home
  2. •
  3. Brands
  4. •
  5. Hydor
  6. •
  7. Fan
  8. •
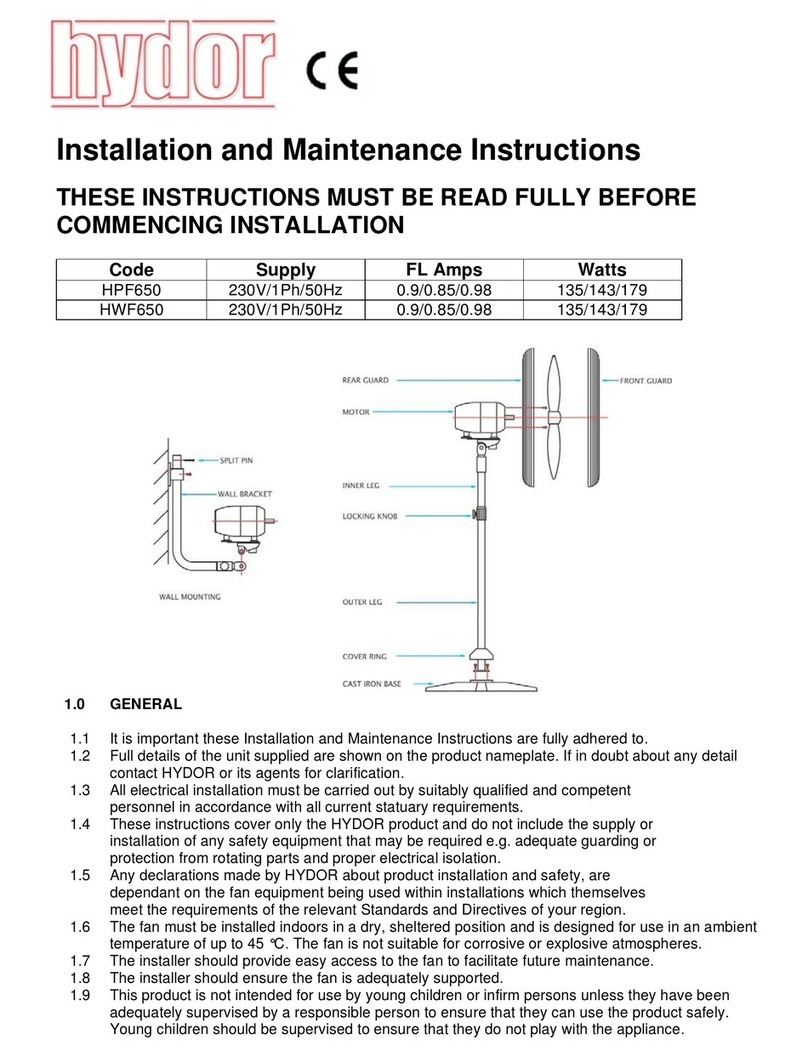
  9. Hydor HCF User manual

Hydor HCF User manual

HCF Inst Issue 5: 18.06.15
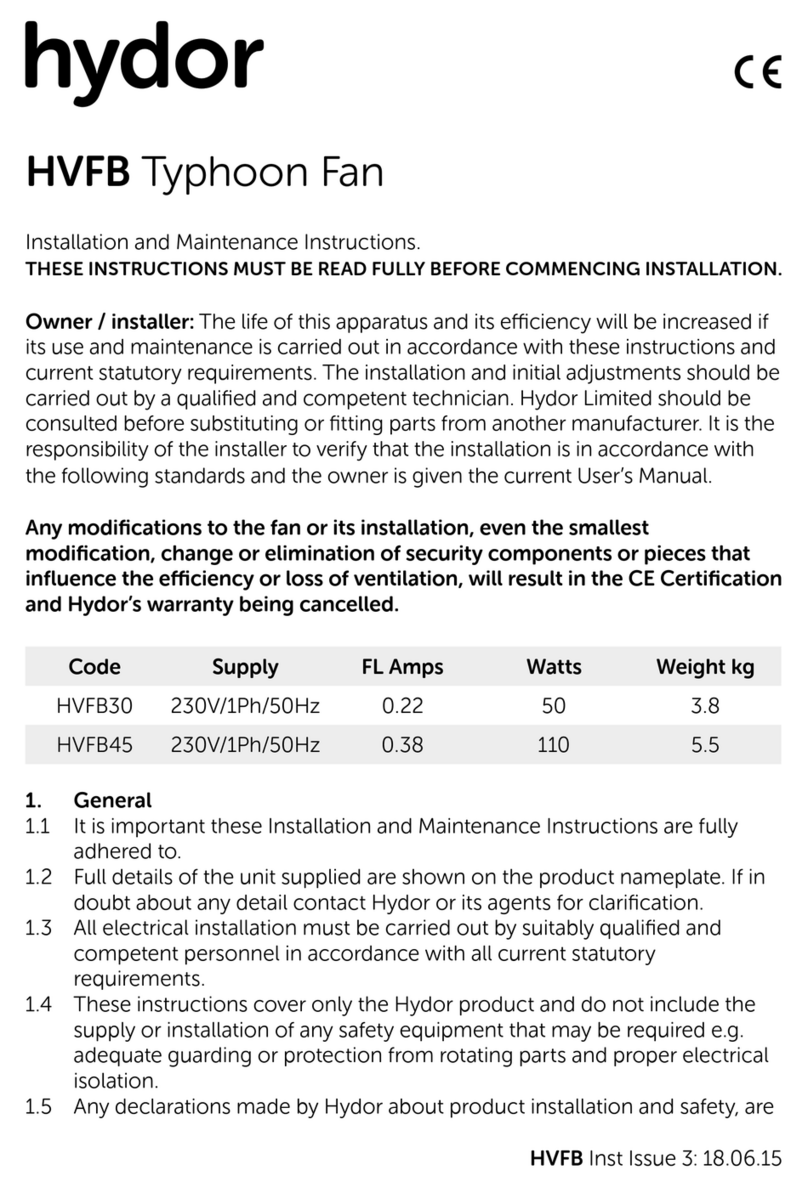
Installation and Maintenance Instructions.
THESE INSTRUCTIONS MUST BE READ FULLY BEFORE COMMENCING INSTALLATION.
Owner / installer: The life of this apparatus and its eciency will be increased if
its use and maintenance is carried out in accordance with these instructions and
current statutory requirements. The installation and initial adjustments should be
carried out by a qualified and competent technician. Hydor Limited should be
consulted before substituting or fitting parts from another manufacturer. It is the
responsibility of the installer to verify that the installation is in accordance with
the following standards and the owner is given the current User’s Manual.
Any modifications to the fan or its installation, even the smallest
modification, change or elimination of security components or pieces that
influence the eciency or loss of ventilation, will result in the CE Certification
and Hydor’s warranty being cancelled.
All sizes are supplied with 2 downrod lengths 400mm downrod fitted giving
610mm overall drop (from ceiling to base of motor body) 150mm downrod
supplied loose giving 360mm overall drop (from ceiling to base of motor body).
1. General
1.1 The fan must be sited and connected in accordance with current IEE
regulations (UK) or the appropriate standards in your country.
1.2 This appliance must be earthed.
1.3 The appliance is not intended for use by young children or infirm persons
without supervision.
1.4 Young children should be supervised to ensure that they do not play with
the appliance.
1.5 Check that the voltage and frequency on both the fan motor and
controller (if fitted) rating labels correspond with your electrical supply.
1.6 The installation must be provided with a double pole isolator switch
having a contact separation of not less than 3mm and protected with a
5 Amp fuse (UK).
1.7 Ensure that the safety wire is connected to the J-hook bracket before
operating the fan.
HCF Ceiling Fan
incorrect
correct, minimum height 5mm
HCF Inst Issue 5: 18.06.15HCF Inst Issue 5: 18.06.15
Fig
C
Fig
B
Fig
A
3. Instructions for changing to shorter 150mm downrod
Ensure that the mains supply is isolated before proceeding
3.1 Loosen the lower canopy screws and slide the canopy up the downrod.
3.2 Disconnect the Brown (LF), Red (LR) and Blue (N) wires, which run up
the downrod from the lower terminal block located just above fan
motor body.
3.3 Disconnect the Earth (Green/Yellow) wire from the lower mounting
bracket which also runs up inside the downrod.
3.4 Carefully remove the split pin and the downrod securing bolt.
3.5 Loosen the upper canopy screws and slide canopy down the downrod.
3.6 Carefully remove the split pin and downrod securing bolt and then
disconnect the Earth wire.
3.7 Carefully remove the existing downrod passing the disconnected feed
wires throughthe rod along with the safety wire.
3.8 Replace with the 150mm long downrod supplied.
3.9 Pass the feed wires through the new Rod along with the safety wire.
3.10 Replace the upper and lower downrod securing bolts and split pins.
3.11 The feed wires will need to be cut and stripped
to suit the shorter rod and then re-connected
to the lower terminal block Brown (LF), Red (LR)
and Blue (N).
3.12 Re-connect all Earth (Green/Yellow) wires.
3.13 Because the shorter downrod has been
required for our particular installation, it is
recommended that the safety wire is reduced in
length to protrude 75mm above the height of
the 150mm downrod. The loop for the safety
wire will need re-making by using a wire rope
grip or crimp (Supplied by others). It is essential
that the new safety wire loop will withstand
the weight of the fan in the event of it
falling.
Important
All fixings must be tight before operating the fan. It is advisable to check/
inspect all the fixings annually, and re-tighten as nexessary.
This fan is guaranteed for one year from the date of purchase against faulty
material or workmanship. In the event that any part is found to be defective
please contact your local supplier stating the nature of the fault and providing
evidence of the date and source of purchase.
2. Installation
Ensure that the mains supply is isolated before proceeding
2.1 Decide on the position the fan is to be sited; it must be a minimum of 2.3m
from the floor to the lowest point on the fan. (A shorter 150mm long
downrod is supplied with the fan if required. Refer to the section on
installing the shorter downrod).
2.2 Fix the ceiling J-hook (supplied) firmly to a timber joist or concrete ceiling
with the screws supplied (or similar). Ensure that the fixing bracket in the
ceiling is able to support a hanging weight of 15kg minimum. (Fig A)
2.3 Fit the three blades to the fan body. (Fig B)
2.4 Hang the fan on the hook with the safety wire, then hook up the fan on
the black rubber roller making sure that all wires are clear.
2.5 Connect supply wires to the fan using the terminal block at the top of the
downrod. (Fig C)
2.6. Secure upper canopy with screws fitted to cover the wiring connections.
2.7 Tighten all screws including the earth connections.
2.8 Switch on supply and check fan function.
HCF Inst Issue 5: 18.06.15
Hydor
Unit 8, Parkers Close, Downton Business Centre,
Downton, Salisbury, Wiltshire, SP5 3RB, UK
Tel: +44 (0) 1725 511422
Fax: +44 (0) 1725 512637
Email: info@hydor.co.uk
Web: www.hydor.co.uk
idealair group
Unit 1, Building 1, Sydney Corporate Park,
85 O’Riordan Street, Alexandria NSW 2015
Tel: +61 (02) 8073 3310
Fax: +61 (02) 8073 3320
Email: info@idealairgroup.com.au
AMS
11 Ingrid Road, Montague Gardens,
7442 Cape Town, Western Cape
Tel: +27 (0) 21 552 1077
Fax: +27 (0) 21 552 2797
Guarantee
Hydor or its agents will, within a period of one year from the date of dispatch
from their works, at its option, replace any goods, which are proven to have
defects as a result of defective materials or workmanship. The goods must be
inspected by a Hydor ocial and if necessary returned, with a Returns Note
Number, carriage paid, for further examination.
Hydor Ltd

Other Hydor Fan manuals

Hydor HPA250/2-1A Technical specifications

Hydor

Hydor HPA250/2-1A Technical specifications

Hydor HXSU450 User manual

Hydor

Hydor HXSU450 User manual

Hydor HV Series User manual

Hydor

Hydor HV Series User manual

Hydor HV800 User manual

Hydor

Hydor HV800 User manual

Hydor HV800 User manual

Hydor

Hydor HV800 User manual

Hydor HIMF100 User manual

Hydor

Hydor HIMF100 User manual

Hydor HEB Technical specifications

Hydor

Hydor HEB Technical specifications

Hydor HXP45041 User manual

Hydor

Hydor HXP45041 User manual

Hydor HVFB User manual

Hydor

Hydor HVFB User manual

Hydor HPF650 User manual

Hydor

Hydor HPF650 User manual

Hydor HDSF500/6/1/230 User manual

Hydor

Hydor HDSF500/6/1/230 User manual

Hydor HXP EC User manual

Hydor

Hydor HXP EC User manual

Hydor HVWC800 User manual

Hydor

Hydor HVWC800 User manual

Popular Fan manuals by other brands

Air Specialties Express VE Installation, operating and maintenance instructions

Air Specialties Express

Air Specialties Express VE Installation, operating and maintenance instructions

Duco DucoBox Reno installation guide

Duco

Duco DucoBox Reno installation guide

Kichler Lighting 52" Canfield Pro instruction manual

Kichler Lighting

Kichler Lighting 52" Canfield Pro instruction manual

Progress Lighting AirPro P2578 Installation guides

Progress Lighting

Progress Lighting AirPro P2578 Installation guides

EDM 33936 instruction manual

EDM

EDM 33936 instruction manual

Panasonic Whisper Value-Lite FV-08VSL1 installation instructions

Panasonic

Panasonic Whisper Value-Lite FV-08VSL1 installation instructions

Hunter 20415 Parts guide

Hunter

Hunter 20415 Parts guide

Airflow 7006A installation instructions

Airflow

Airflow 7006A installation instructions

NovingAIR PHANTOM Series Installation, use and maintenance manual

NovingAIR

NovingAIR PHANTOM Series Installation, use and maintenance manual

NOMA 043-7023-2 user manual

NOMA

NOMA 043-7023-2 user manual

Casablanca M6020-01 user manual

Casablanca

Casablanca M6020-01 user manual

NuAire Genie/tops 230 volt Installation and Maintenance

NuAire

NuAire Genie/tops 230 volt Installation and Maintenance

NuTone 8814R installation instructions

NuTone

NuTone 8814R installation instructions

Maico WS 160 Flat Installation, commissioning and maintenance instructions

Maico

Maico WS 160 Flat Installation, commissioning and maintenance instructions

AEG D-VL 5666 instruction manual

AEG

AEG D-VL 5666 instruction manual

Wind River Armand WR2056 Series instructions

Wind River

Wind River Armand WR2056 Series instructions

Inspire Bahamas M52021-XY-3L(WH) Assembly, Use, Maintenance Manual

Inspire

Inspire Bahamas M52021-XY-3L(WH) Assembly, Use, Maintenance Manual

Zehnder Rittling ComfoAir 155 WM installation instructions

Zehnder Rittling

Zehnder Rittling ComfoAir 155 WM installation instructions

manuals.online logo
manuals.online logoBrands
  • About & Mission
  • Contact us
  • Privacy Policy
  • Terms and Conditions

Copyright 2025 Manuals.Online. All Rights Reserved.