Cool Caddie User Manual
www.HydromistUSA.
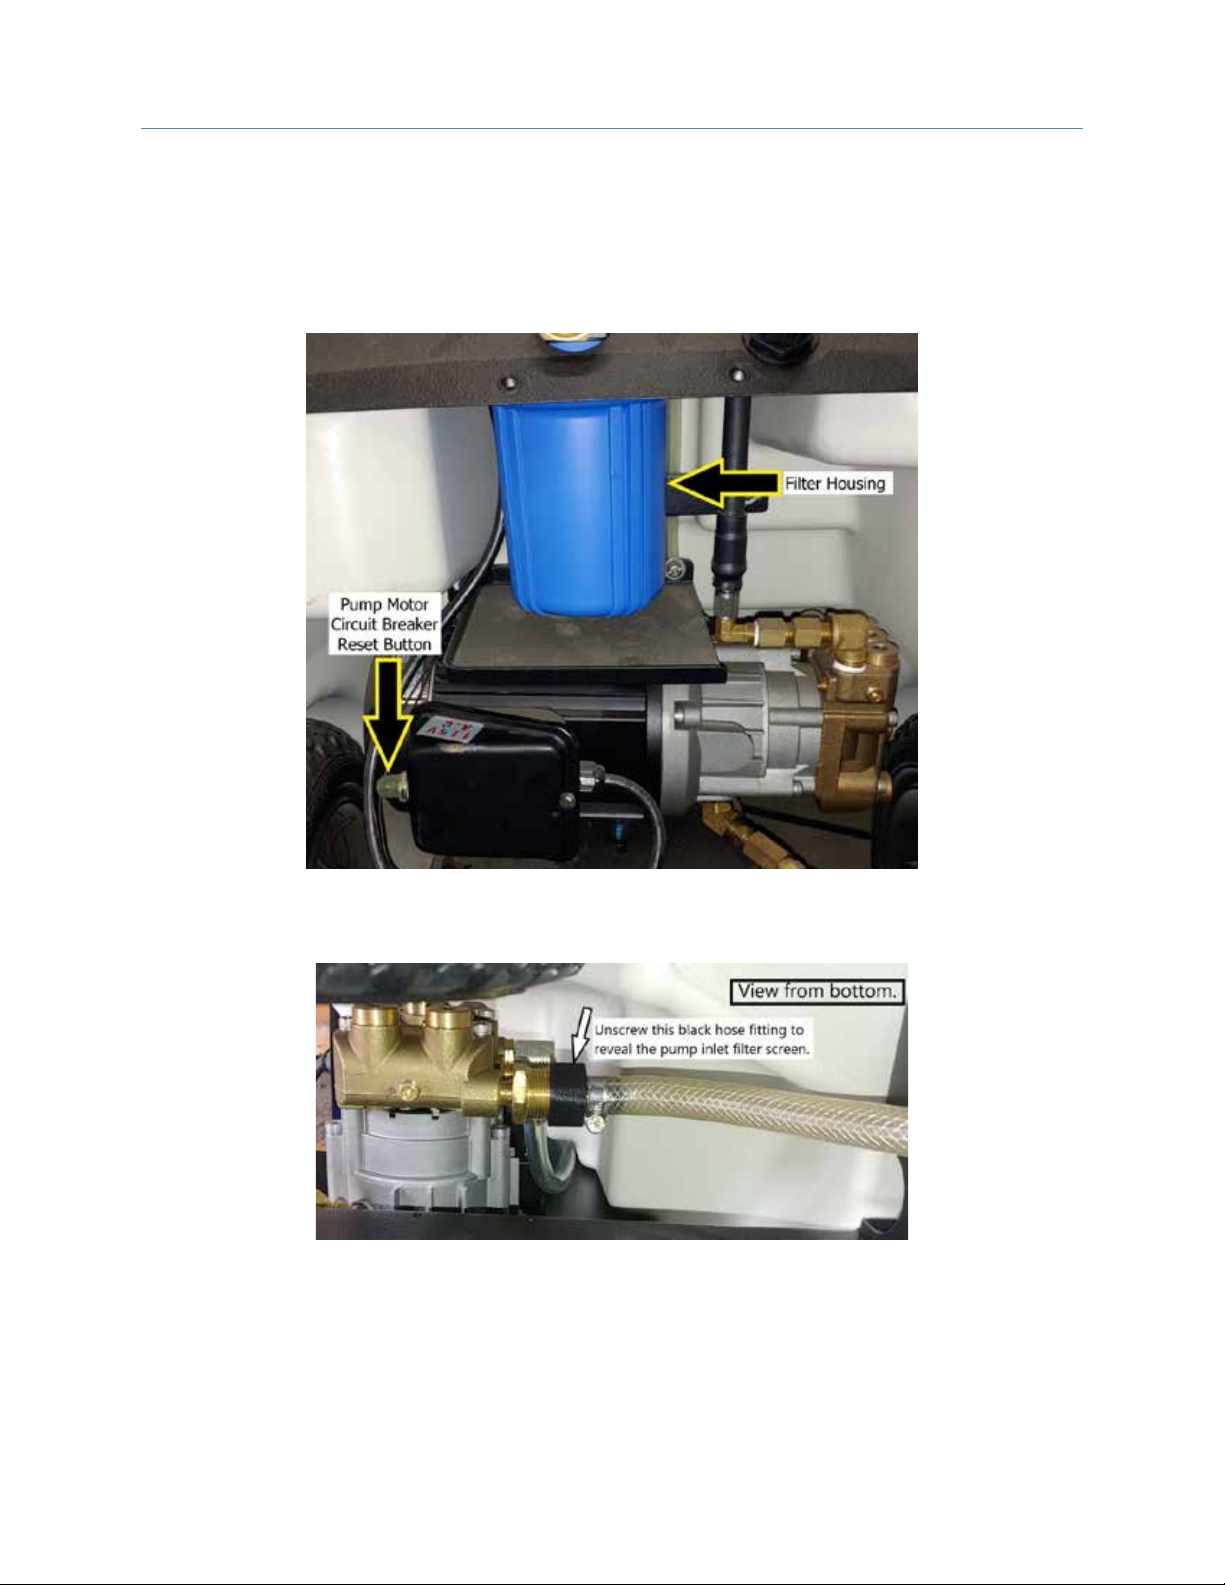
3.
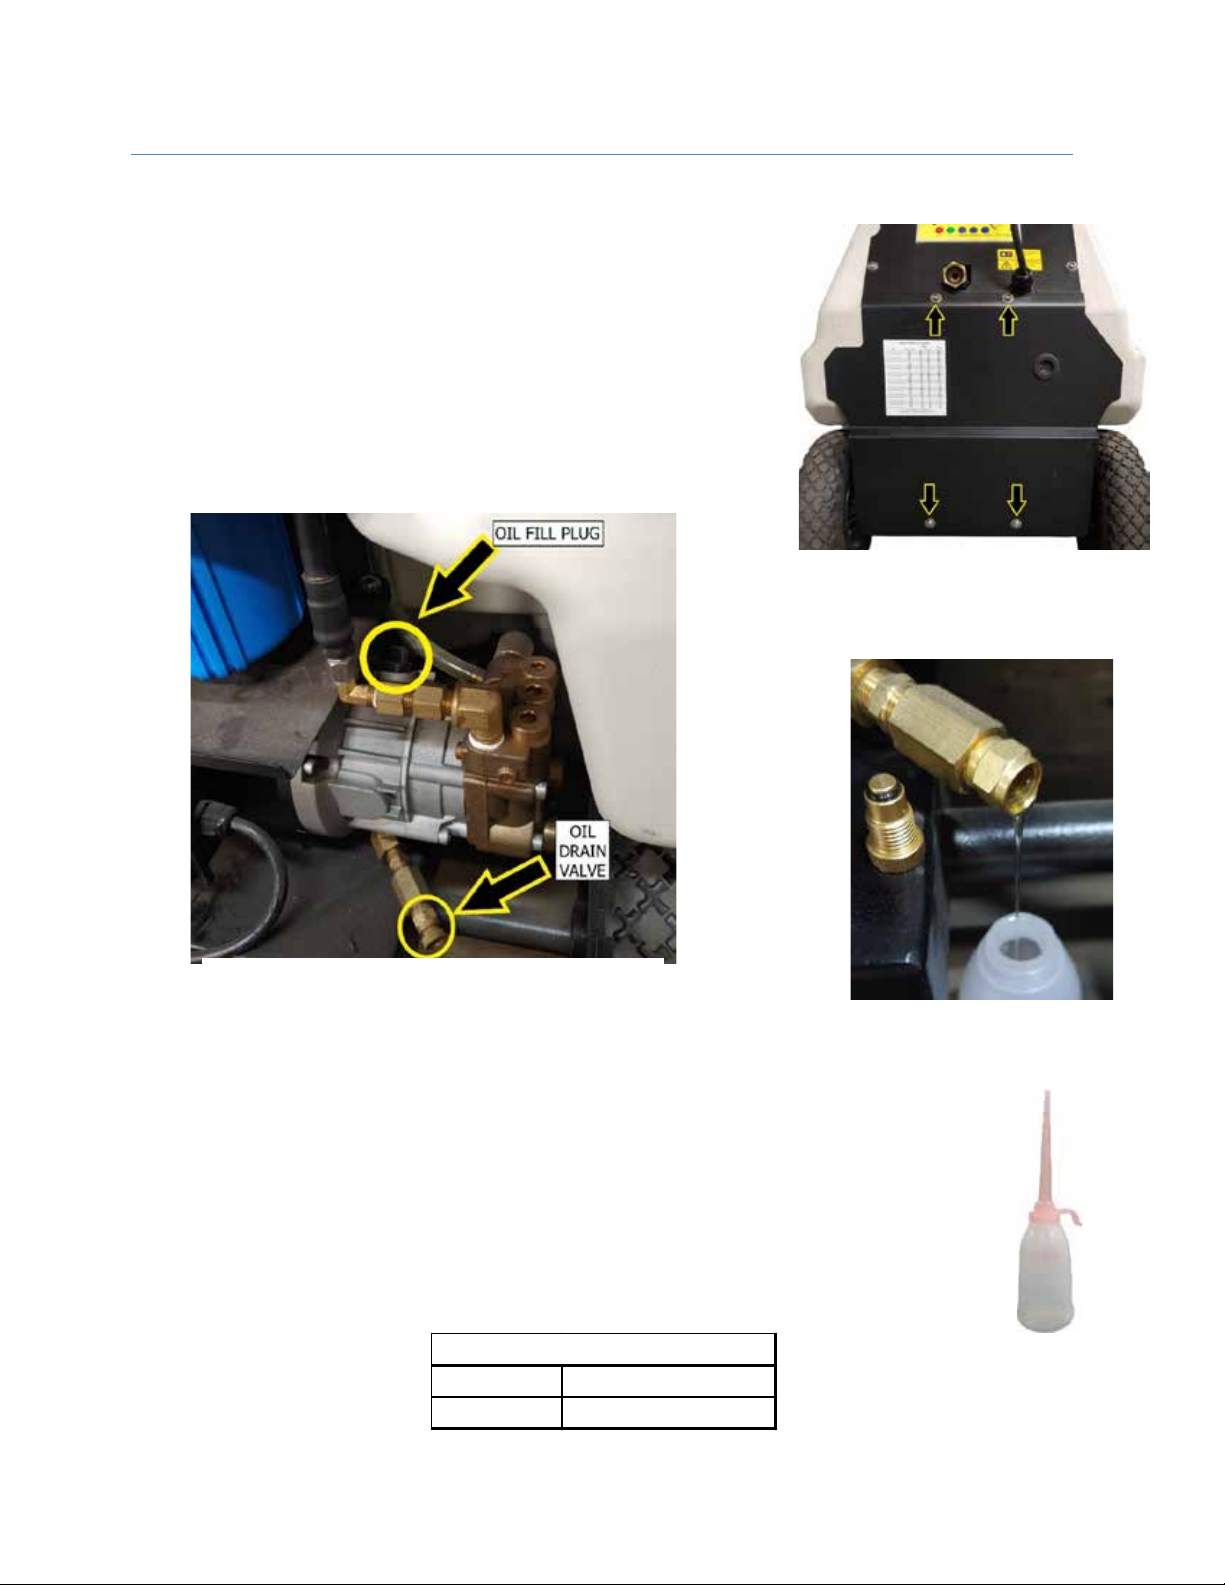
Connect to water supply or fill water tank.
Once the hose isconnected tothe inlet at the backof the tank, turnon the water supply and allow the
tank to begin filling. The unit may be operated with the water supply connected or disconnected. The
approximate run time is 3 – 4 hours, depending on the on/off cycle settings used.
If operating withthe water supply disconnected, wait for the tank to fill up and then turn off the water
supply and disconnect the garden hose. When the tank is full a float valve will automatically shut off
the water supply inlet, stopping the tank from being over filled. The inlet valve will open when the
tank water level drops below full, and if there is a water supply connected, the tank will continue tofill
until water level rises andthe float valve shutsoff the inlet again.
The water tank has an auxiliary fill cap on the top of the tank.This capcan be removedto fill the water
tank with the exception that any water added to the tank this way will not be filtered by the built-in
water filter. It is strongly recommended that the garden hose inlet at the back of the unit always be
used to fill the water tank. Impurities in municipal water supplies may not be visible, and over time
can cause premature clogging of nozzles.
4.
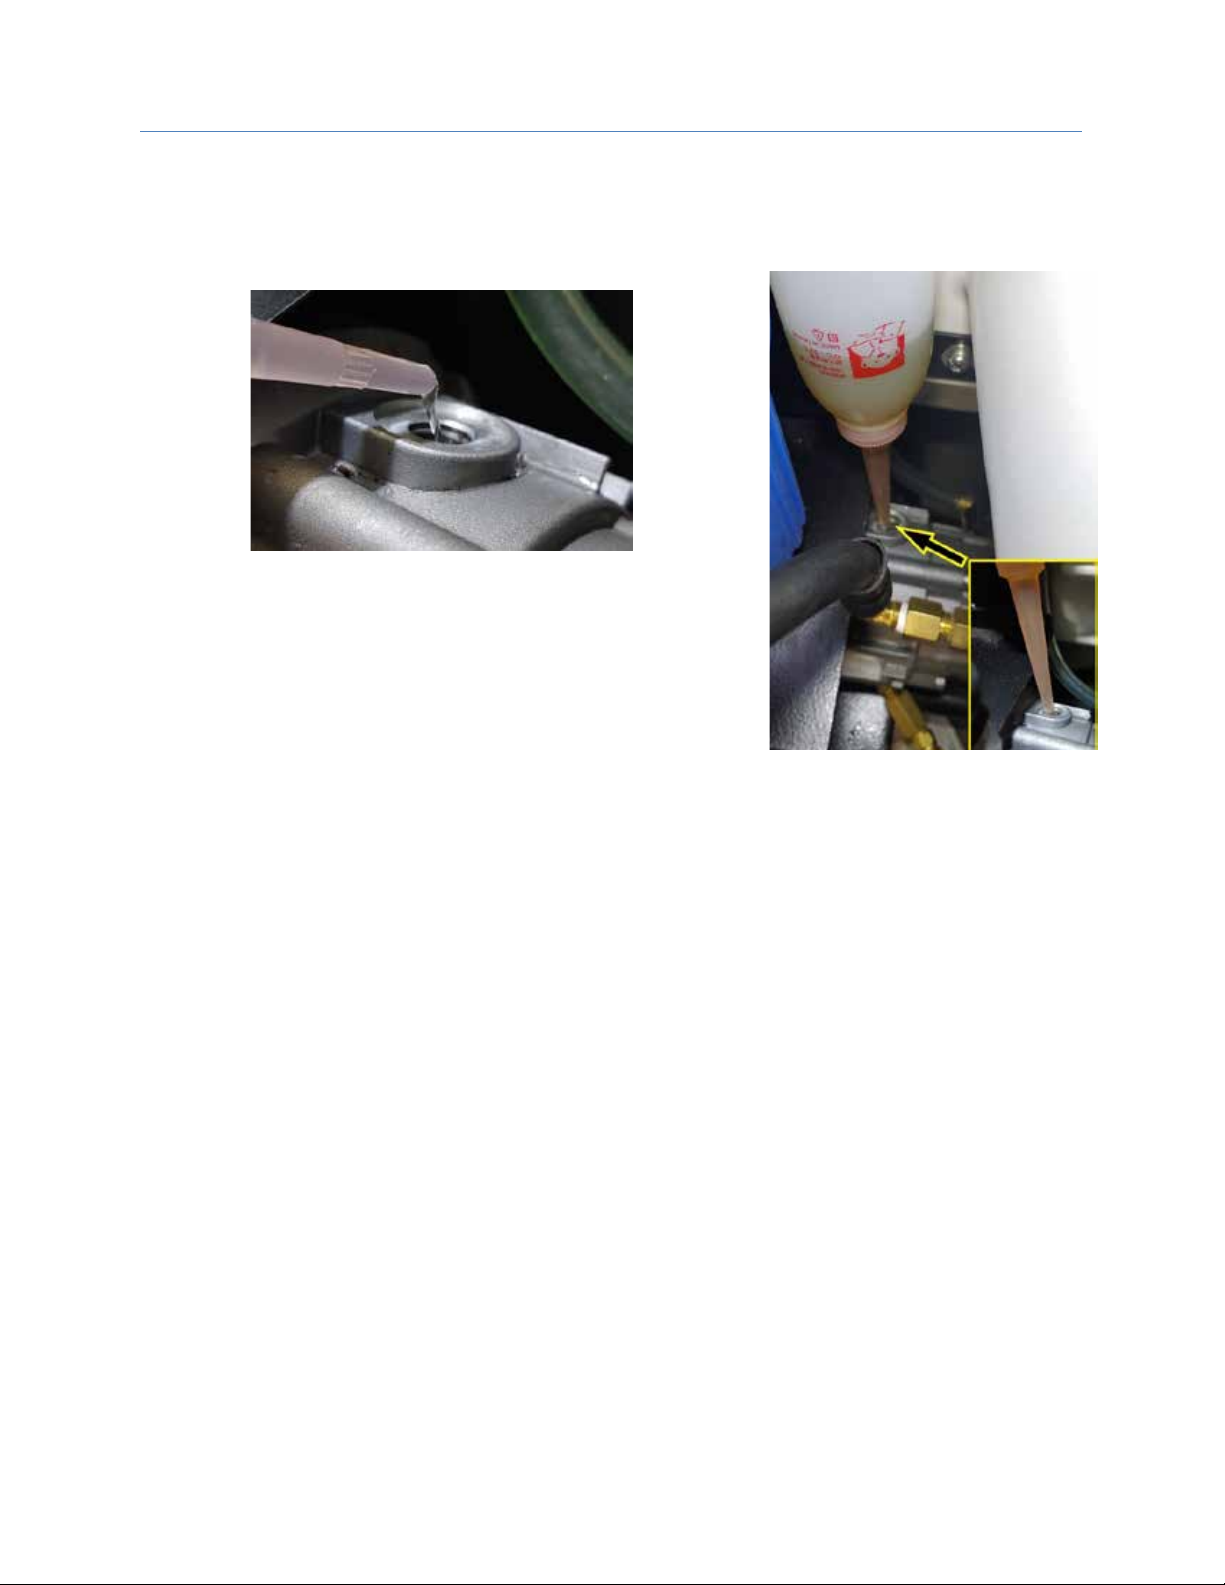
Purge air from the system.
During this process, a steady stream of water will exit from the misting ring, so besure to perform this
step in an area where water will not damage any property or goods.
Remove one misting nozzle from the top side of the misting ring. This will allow any air in the system
to be forced out and the system will fill with water. With the misting nozzle removed (and water in the
tank) activate the pump by pressing the “ON” button on the control panel. If the “Warning” light is on
you may need to reset the low water level indicator by pressing the “OFF” button. The red warning
light should go off and youcan now activate the pump. It will take approximately 30 seconds to purge
the air from theentire system. Once asteady stream of water is flowing from the misting ring, turnoff
the pump and install the misting nozzle back onto the misting ring. The misting system should now be
ready to operate. Test the system be turning on the pump and waiting a few seconds while pressure
builds up in the system. You will see the mist coming from the misting nozzles once the system is fully
pressurized. The mist should form a uniform cone shape when exiting the nozzle.If thecone is not
even, orif thenozzle appearsto be leaking, see the troubleshootingsection. Purging is typically only
needed during initial setup, and/or after extended periods of non-use.
5.
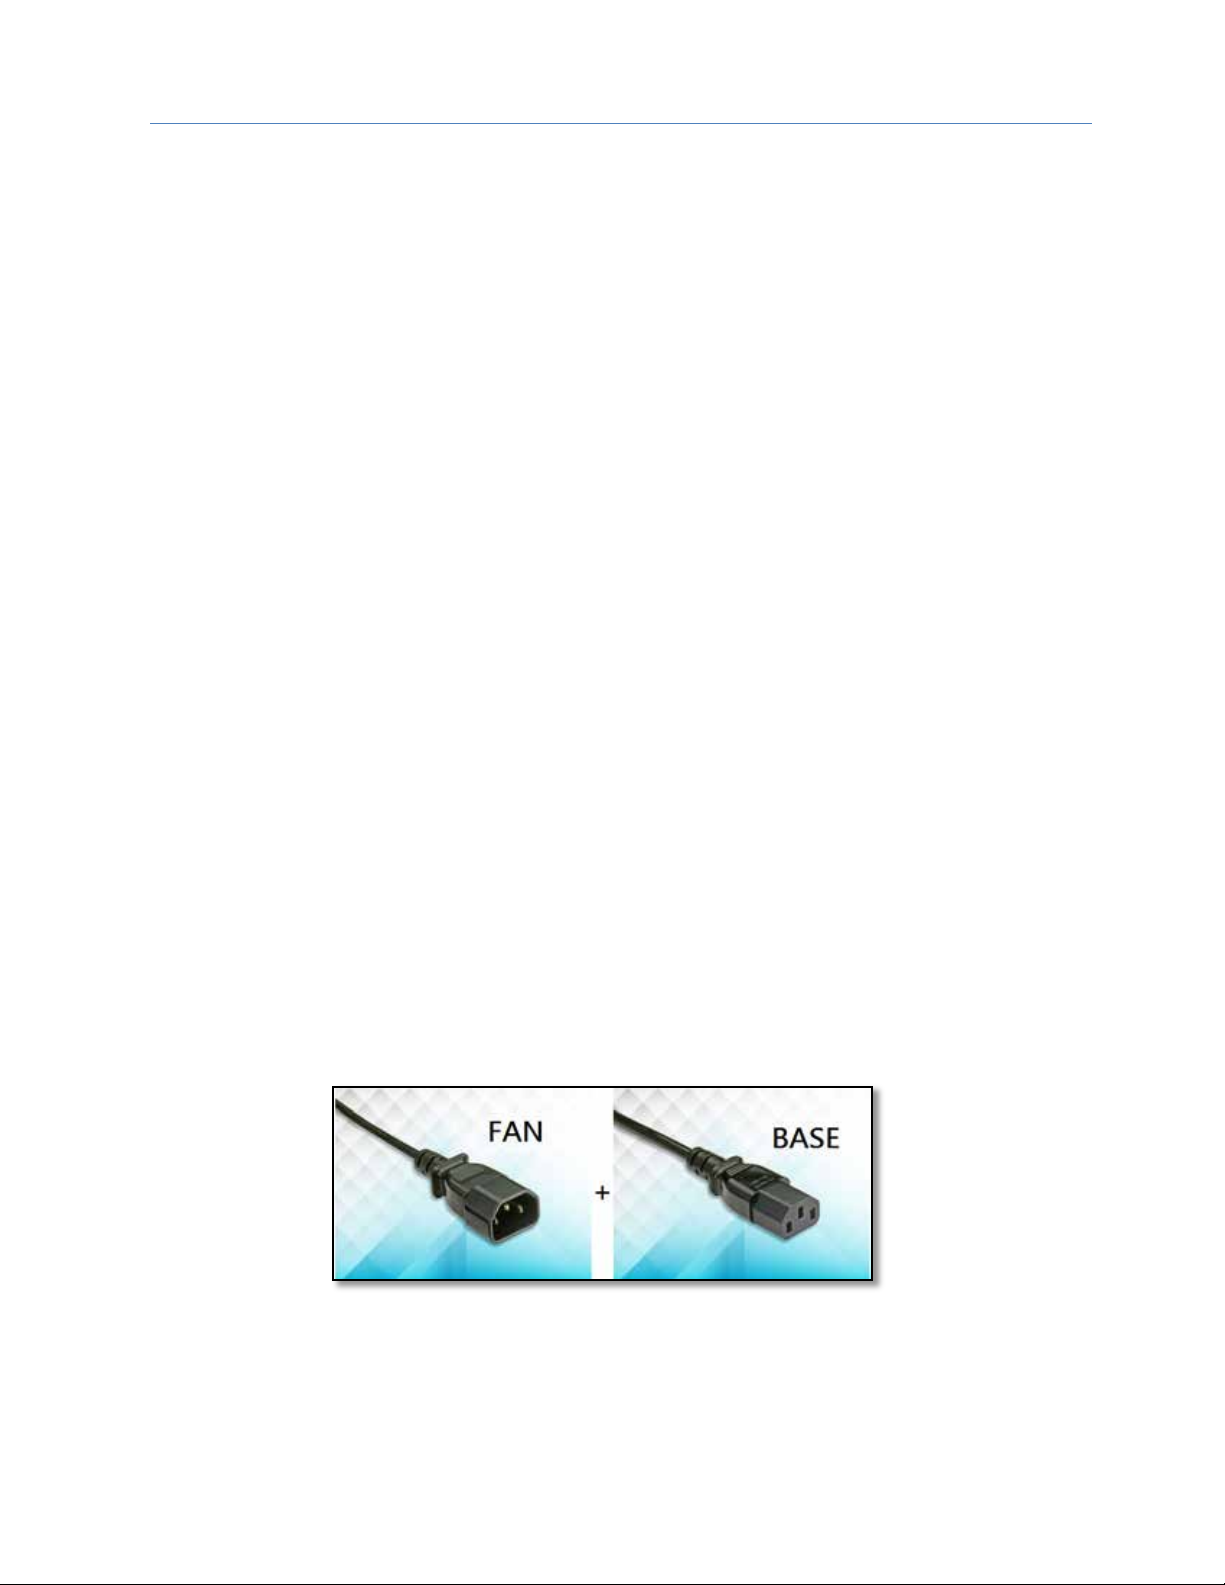
Turning on the Fan. Cool Caddie units have an integrated power cord to supply power to the fan.
The male and female ends of the plug must be connected for the fan to operate.
Figure 1 - The Fan plugs into the power cord attached at the base of the unit.
To begin operation of the fan, turn speed selection knob on the fan to your desired speed. Fans have
three different speeds and an oscillator that may be switched ON or OFF. Fan speed may also be
controlled by the control panel knob on the back of the tank. Place the misting system inthe desired
location and lock the wheelin place to prevent the unit from moving during operation.