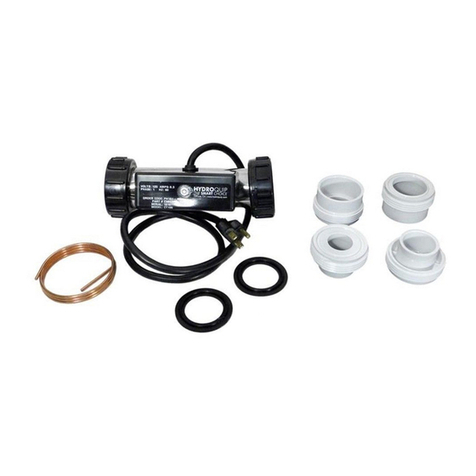
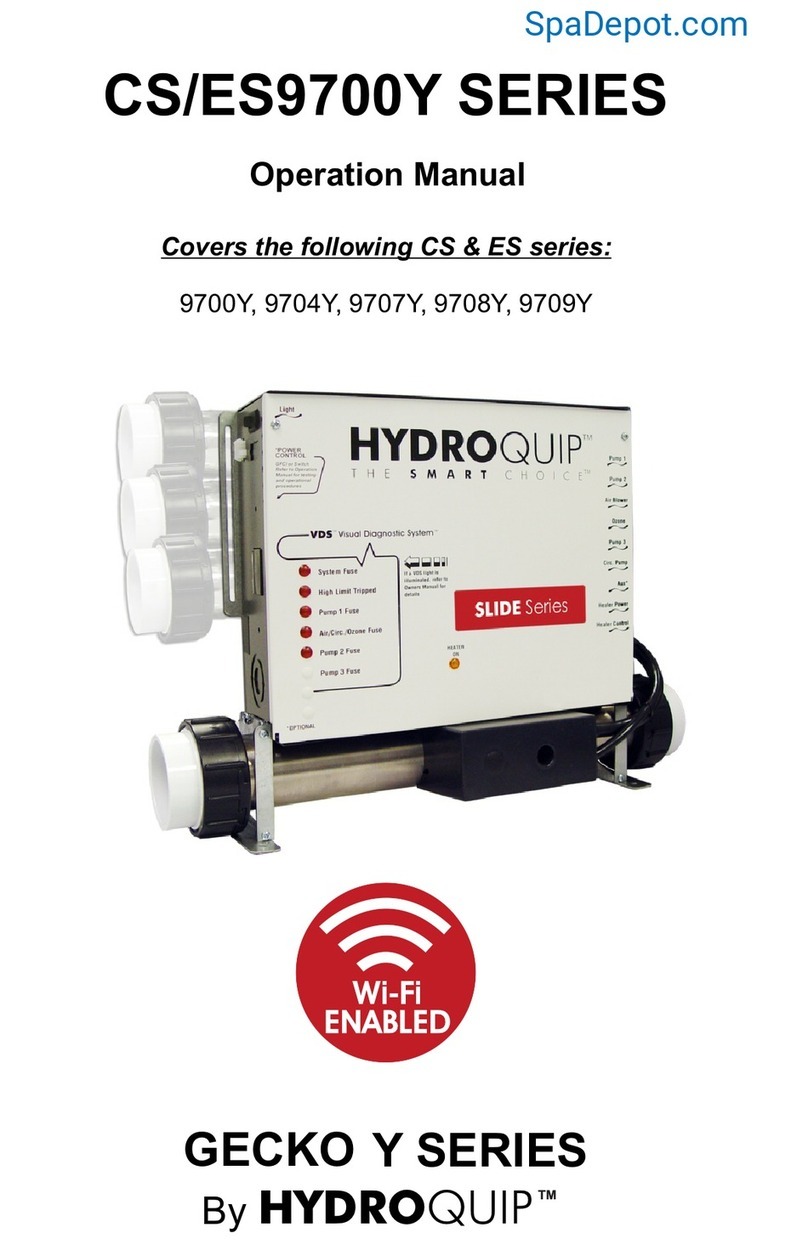
HydroQuip Therm Products 27-V310-7T-K User manual

Universial Vertical Low Flow Rite-Fit Heaters
Featuring: Titanium elements
High limit safety reset switch
Visual Diagnostic System lights "VDS”
Multiple sensor/press. switch locations
HEATER DATA CHART
Heater model
Kilowatts
240v/120v
Amps
240v/120
27-V310-7T-K
5.5kW
1.4kW
22.9a.
11.5a.
27-V310-6T-K
4.5kW
1.13kW
18.8a.
9.4a.
27-V310-5T-K
4.0kW
1.0kW
16.7a.
8.4a.
27-V310-4T-K
3.0kW
.75kW
12.5a.
6.3a.
27-V310-2T-K
2.0kW
230v only
8.4a
230v only
WARNING! This electrical heater should be installed by a qualified electrician or pool/spa technician
If you’re not qualified or do not have the technical experience to install this product
correctly STOP! and contact your heater provider
WARNING! Removing the product label, disassembling, altering, damaging or subjecting heater to a
wet or dry fire will void the product warranty
PRECHECK - APPLICATIONS
Read through these instructions completely, prior to performing work.
Inspect for shipping or other damage. Do Not attempt to install a heater that appears damaged or missing parts
Confirm this heater has the same or less Kilowatt (kW) rating as the one being removed. Use heater data labels to
compare kW ratings. Do Not install a heater with a higher kW rating, contact your heater supplier with questions.
This heater is intended for vertical mounting applications only and should never be placed on its side, mounted
upside-down, or in areas that may spray or collect water. This product is intended for indoor use only
Heater requires a minimum consistent water flow rate of 6 gallons per minute and will operate at 110-240v.
Confirm proper operation of the electronic sensors and circ. pump being reused prior to installation
SAVE A COPY OF THESE INSTRUCTION
SpaDepot.com

STEPS FOR A SUCCESFULL INSTALLATION
1. Set spa temperature to off and turn off spas circuit breaker. Using a voltmeter, confirm the electrical power has been
disconnected to the spa before performing this service.
HELPFUL HINT: Before removing the existing heater, we recommend you take photos and notes of the heater
position, sensor locations and plumbing connections for reference. Installation errors can cause operational
problems and/or damage the new heater voiding the product warranty
2. Carefully disconnect cords, high limit sensor, bonding wire and plumbing from the existing heater. Remove heater
from the spa and clean the surface of the equipment base
3. Items to review, install and adjust before placing the new heater. Use DIA #1 for visual reference
a. Untighten the sensor cover clamp and position the cover in the best location for installing sensors for access.
Re-Install electronic style sensors under foam insulated cover and clamp securely with wingnut
b. Untighten the large plastic nut and point the tailpiece barb toward the heater outlet tubing and re-tighten
c. To install a pressure switch, select and remove the threaded plug from the housing with a slot screwdriver and
install the switch hand tight using thread sealant
Optional control mounting bracket kit (39-0010-B-K not included) allows the heater to be mounted off the
floor and onto the sidewall of the control system to help with plumbing alignment. Reference DIA #2
Optional pressure switches, cover kits and cords are available. Use DIA #1 for product view and contact your
heater provider for product options and availability
4. Place new heater in position by either mounting to the equipment floor using the 4 provided screws, or affix to
cabinet using the sidewall mounting bracket kit. It’s important to secure the heater so it will not vibrate or fall over
NOTE: The heater base can be removed and turned 90 degrees to improved access for screw locations
5. Reconnect plumbing lines using steel clamps and inspect tubing for kinks. A barb adaptor kit is provided to reduce
connection size to ¾”if required (Ref DIA #1)
IMPORTANT: This heater was designed for water flow entering the bottom and exiting the top only. Flow
switches, ozone injectors and bypass connections must be located on the heater outlet side (Placed in the
plumbing after water has passed through the heater) Refer to diagram #1 for flow direction and proper location
6. Plug main power cord into the heater’s power receptacle until latched. Confirm the pressure/flow switch power cord
is re-connected
7. Re-attach bare copper bonding wire to external bonding lug
8. When all installation steps are complete, fill spa and restore spa power at the breaker. This is a good time to clean or
replace your filters, as clogged or dirty filters can reduce water flow and prevent proper heater circuit operation.
9. Turn on pump(s) and confirm water flow. Inspect for leaks at the heater inlet/outlet connections and gasket seal
10.Program spa heat setting to a desired temperature, then verify the system and heater operate properly together.
Use the “VDS”Amber light to confirm operation with spa controls (follow operation testing instructions)


OPERATION - TROUBLESHOOTING - TERMINOLOGY
Amber light is “ON”
Indicates heater is operating with power being supplied to the element. This Amber light should be on when the spa
control makes a heat call. (Ref. What Is a Heat Call?) Test the spa control and heater operation by raising and lowering
the temperature, making sure the Amber light only comes on when there is a heat call.
Amber light is “ON” but water is not warming up
It takes a while for water to warm, but if there is no temperature rise after 3 hours (240v.) or 5 hours (120v.) during
continuous operation, there is most likely an element problem. Contact your heater provider with your serial number for
troubleshooting information and element replacements
Amber light goes on/off intermittently during heat call
a. Symptom of low water flow, or air pockets/bubbles in heater (Ref. Causes of Low Water Flow)
b. Circulation pump is going off/on or has not primed
c. Pressure switch requires adjustment (Ref. Adjusting Pressure Switch setting- option #1)
d. Flow switch not sized correctly. Flow switches are preset and are not adjustable, test for switch action.
Amber light is “OFF”when system makes a heat call and pump is running
You may also see a “FLO” or other icon on the topside indicating the pressure/flow switch is not closing when it should
a. If the VDS Red heater light is on (Ref. subject Red Light is “On”)
b. Power or pressure/flow switch cord is not connected to system circuit board
c. Low or no water flow (Ref. Causes of Low Water Flow)
d. Pressure switch requires adjustment. (Ref. Adjusting Pressure Switch Setting -option #1)
e. Flow switch not sized correctly for pump flow. Contact your heater provider for solutions
Amber light is “ON” when spa control is not calling for heat or when pump is not running
Spa control system has a stuck heater relay or contactor. Switch off the main breaker to the spa immediately and
contact a local pool/ spa service agent.
Red light is “ON”
Indicates the heater has overheated and the integral Thermal Cut Off device “TCO” has tripped and disconnected power
to the element. The TCO can be reactivated by pushing the “reset” button located at the front of the heater after the
water inside has cooled off. Ref. Causes of Low Water Flow to identify reasons the TCO has tripped
Spas topside display has a pressure/flow switch error code (i.e.“FLC”, light or other water flow icon)
Review the spa owner’s manual but typically a number code, “FLC”, light or icon will appear on the topside when the
pressure/flow switch is “closed” and the circ. pump is not running. In this case the pressure switch may require
adjustment to a higher pressure setting. (Ref. adjusting pressure switch setting option #2) or the flow switch can be
stuck closed with debris, improperly installed or is faulty
Causes of low water flow
One or more of the following conditions can reduce the circulation pumps water flow below 6gpm
a. Low spa water level or air in the filter can cause the pump to suck in air bubbles and loose prime
b. Dirty spa filter, kinks or obstruction in the plumbing hose, clogged ozone injector, valve closed etc.
c. Circulation pump is going on/off, or pump impeller is clogged

Adjusting pressure switch setting option #1 and #2
Tools required 5/6” Allen wrench (T25 TORX) or slot screwdriver
Option #1 –Lower pressure switch setting
If there is a heat call and the pump flow is greater than 6gpm and the Amber light does not come on, the
pressure switch may need adjustment to a lower pressure setting. Adjustments can be made during operation
by slowly turning the pressure switch adjustment screw counter-clockwise until the switch “closes”and the
Amber light comes on. Check for correct adjustment by confirming the Amber light only comes on during a heat
call and when the pump is running and at no other time
Option #2 –Raise pressure switch setting
Slowly turn the adjustment screw clockwise until the “FLC” or other error code goes away. Check for correct
adjustment by confirming the Amber light only comes on during a heat call and when the pump is running and at
no other time
Leaking heater
Confirm clamps are tight on barb connections. Nut must be screwed firmly onto tailpiece. Inspect for dirty or broken
gasket. The pressure switch can be further threaded in clockwise to achieve a leak free seal. If water is coming from the
electrical box, turn off breaker and remove bottom for inspection
GFCI breaker tripping when heater goes on
Inspect electrical plugs for moisture or corrosion. Leaking or wet heaters will need to dry before restarting. If the heater
is dry and GFCI breaker continues to trip, contact your heater provider for assistance with troubleshooting
What is a heat call?
When there is a demand for a higher water temperature, the term is making a “heat call”. Your spa owner’s manual will
explain the topside light or icon that will appear, confirming power is being supplied to the heater.
What are VDS lights?
VDS stands for the Visual Diagnostic System invented by HydroQuip to make troubleshooting fast and easy. The colored
light system will confirm heater operation or display trouble without having to use a multi-meter
What is a “closed”pressure/flow switch?
A running circ. pumps will close the pressure/flow switch’s electrical contact points together, allowing electrical power
to pass through the switch and complete a circuit. The correct terminology for a connected electrical circuit is “closed”
Note the pressure/flow switch circuit should always be “open”when the circ. pump is off
IMPORTANT! The heater should never be allowed to operate without proper water flow. Heaters damaged from low
or no water flow causing Wet or Dry Fire damage will not be covered under warranty
WARRANTY GUIDELINES
All warranty claims and product returns must be handled through your heater provider (no exceptions)
Data label contains information important to identification and warranty DO NOT REMOVE PRODUCT LABEL! Product
returns determined to have shipping damaged, alterations, signs of chemical corrosion, wet/dry fire, abused, out of
warranty or missing the data label will not be considered for warranty

NOTES

My Heater Serial # __________________________________________________________
Date Purchased ____________________________________________________________
__________________________________________________________________________________________________
__________________________________________________________________________________________________
__________________________________________________________________________________________________
__________________________________________________________________________________________________
__________________________________________________________________________________________________
__________________________________________________________________________________________________
__________________________________________________________________________________________________
__________________________________________________________________________________________________
__________________________________________________________________________________________________
__________________________________________________________________________________________________
__________________________________________________________________________________________________
__________________________________________________________________________________________________
__________________________________________________________________________________________________
__________________________________________________________________________________________________
__________________________________________________________________________________________________
__________________________________________________________________________________________________
__________________________________________________________________________________________________
__________________________________________________________________________________________________
__________________________________________________________________________________________________
__________________________________________________________________________________________________
__________________________________________________________________________________________________
__________________________________________________________________________________________________

85-0124S Rev.02 11/18
This manual suits for next models
4
Table of contents
Other HydroQuip Heater manuals
Popular Heater manuals by other brands

DeLonghi
DeLonghi TRD40615T-6A Instructions for use

BN Thermic
BN Thermic RH-20 manual

AENO
AENO GH1S Installation and operation manual

DeLonghi
DeLonghi HFX65V15CA Instructions for use

Intertec Data Systems
Intertec Data Systems SL QUADRATHERM DE.A operating instructions

Oceanic
Oceanic OCEAISHGB1000W2 Instruction booklet