manuals.online logo
Brands
  1. Home
  2. •
  3. Brands
  4. •
  5. HydroTherm
  6. •
  7. Bathroom Fixture
  8. •
  9. HydroTherm SWIVEL Series User manual

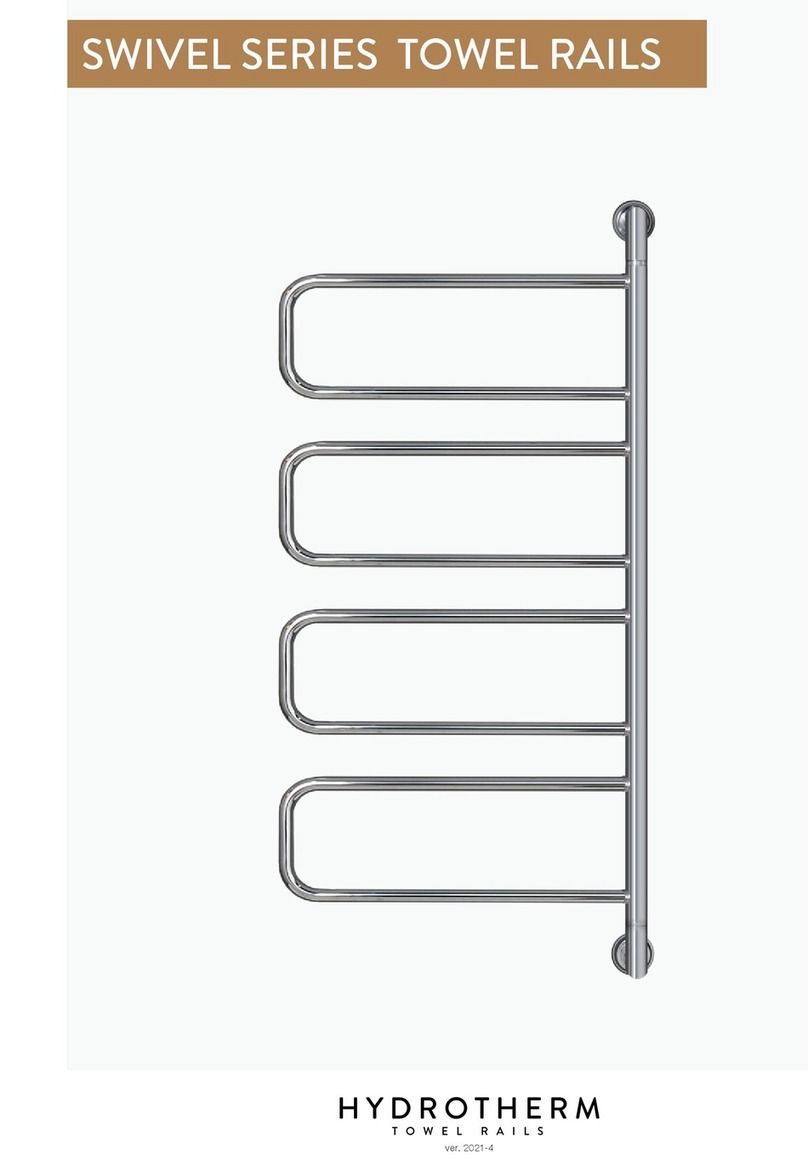
HydroTherm SWIVEL Series User manual

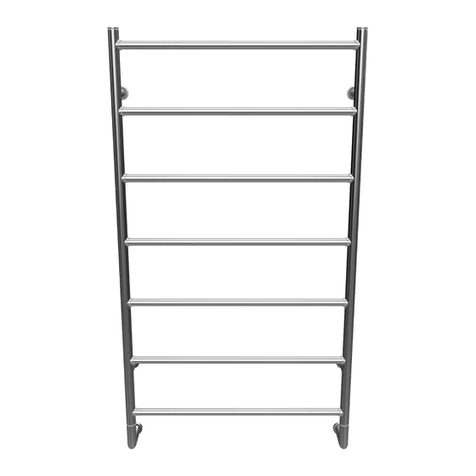
HEATED SWIVEL TOWEL RAIL
SPECIFICATIONS
Model Electric / Non- Electric
Materials Made entirely from Copper Tube with Brass
Fittings
Element Low wattage, replaceable water element
Power Cable Bottom of unit through wall bracket only
Safety rating IPX5 (allows for installtion in zone 1 & 2 of
bathroom)
Finish High Polish Chrome Plate
Standards AS/NZS:3350
FEATURES
Replaceable Element Heating element easily replaced
Space Maximising Swivel element allows for maximum space
utilisation
Copper Tube Ensures ultimate thermal conductivity and
radiation.
Note: arms do not move independently
Local Product 100% Australian owned and manufactured
The cord extension set must be positioned so that it is not subject to splashing or ingress of moisture .
The supply shall have means for disconnection with an air gap in all active conductors incorporated in the xed
wiring according to the Wiring Rules in AS/NZS 3000:2000
CAUTION
Warning:
Caution:
This appliance is not intended for use by young children or infirm persons without supervision.
Young children should be supervised to ensure they do not play with this appliance
HEIGHT: 960mm
WIDTH: 400mm
FINISH: Chrome / Powder Coat
WATTAGE: 70 - Watt
TUBE DIAMETER: 25mm / 19mm
HEIGHT: 1170mm
WIDTHS: 400mm
FINISH: Chrome / Powder Coat
WATTAGE: 100 - Watt
TUBE DIAMETER: 25mm / 19mm
HEIGHT: 750mm
WIDTHS: 400mm
FINISH: Chrome / Powder Coat
WATTAGE: 40 - Watt
TUBE DIAMETER: 25mm / 19mm
HSW - 3 Model
960
HSW - 4 Model
400
70
140
1170
HSW - 5 Model
400
750
400
TOWEL RAILS MUSTALWAYS BE INSTALLEDWITHTHE ELEMENT PLACED AT THE BOOTTOM FOR CORRECT HEAT TRANSFER
INSTALLING SWIVEL BRACKETS
INSTALLATION
• Slide Towel Rail (4) into Wall Bracket (1) and
Hold unit in postion, with a pencil outline both
brackets and remove from wall.
• Feed existing wall cable through bottom Wall
Bracket (1),using a pencil and Wall Bracket (1) mark the
centre of each screw hole and cross if it for accuracy
• Drill a hole for the Screws(3)and insert nylon plug into tiled wall
(if applicable). Installer may choose to use alternative screws
to suit the application. Installer MUST use a DIAMOND HEAD
drill bit.
A QUALIFIED ELECTRICIAN MUST THEN CONNECT TOWEL
RAIL ELEMENT TO EXISTING WALL CABLE.
• Using a pencil and the Top Wall Bracket (1) mar aak
centrefor each screw hole, and cross for accuracy. Drill holes for
the screws (3), & insert nylon plugs into tiled wall (if applicable).
DO NOT OVERTIGHTEN SCREW - LEAVE SLIGHT
ADJUSTMENT OF THE FLANGE (SLACK) TO ENABLE
MOVEMENT WHEN THE TOWEL RAIL IS POSITIONED.
• When the Top Wall Bracket (1) is in place, slide the
Towel Rail (4) into position towards the wall.
• Insert Grub Screw (5) into Wall Brackets (1)
• With the Allen Key provided, tighten the Grub Screw
until tight to ensure that towel rail stays in position.
WARNING
TOWEL RAILS MUST ALWAYS BE INSTALLED WITH THE
ELEMENT PLACED AT THE BOTTOM FOR CORRECT HEAT
TRANSFER.
Please ensure that the measurements are taken
accurately and that the screw is in a stud or noggin to
provide support. Do not overtighten screws.
Please ensure a DIAMOND HEAD drill bit is used to drill
screw and cord holes into tiled wall.
Hydrotherm take pride in the fact that all rails are
individually hand made. Due to this fact some
measurements may not be exact. PLEASE READ
INSTRUCTIONS CAREFULLY and do not force towel rail
into bracket if position of wall ange is not accurate.
WARNING:
This appliance is not intended for use by young children or in rm persons
without supervision.
CAUTION:
The cord extension set must be positioned so that it is not subject to splashing or
ingress of moisture. The supply shall have means for disconnection with an air gap in all active
conductors incorporated in the xed wiring according to the Wiring Rules in AS/NZS 3000:2000.
1 Wall Bracket x 2
2
3
Bracket Arm
4
Wall Screw**
5
Hydrotherm Towel Rail
6 Cover Plate
Allen Key & Grub Screw
**INSTALLER MAY CHOOSE NOT TO USE SCREW IF NOT
SUITABLE FOR APPLICATION
Hydrotherm will not accept
responsibility for incorrectly
installed brackets. Please read
instructions carefully.
WARNING
40mm
50mm
Bottom Bracket With Cable
WALL
Screw
Approx.
1
4
2
3
5
Screw
Cord
3
TOP Bracket
Screw
Screw
WALL WALL
40mm
3
3
5
1
4
2
6
6
•Push down on cover plate (6)and secure in place.
REPLACING ELEMENT
HARD WIRING
Replacing the electric heating element is quite a simple process
There are Four Basic Steps:
1. Remove towel rail from brackets (Qualied electrician must be used to disconnect rail). Remove Hard Wire Attachment
2. Turn the towel rail upside down and with a spanner loosen the hex nut of the electric element. When the element
is loose, unscrew it by hand.
3. Replace with new element and screw in postion.
4. Turn the towel rail the right way up and position back into brackets, refit grub screws to secure.
Please note:
Hydrotherm advise that the unit be removed from the wall and turned upside down to ensure that water does not spill.
It is essential to ensure that the towel rail is always installed with the element at the bottom of the unit.
1. 2. 3. 4.
Turn rail
upside down
Uncsrew old element
Element at base
of towel rail Screw in new element
Turn rail
correct side up.
Ready for reconnection
- Hard Wire Attachment
- Electric Heating Element
A qualied electrician can now be used to re-connect heated towel rail.
Hydrotherm recommends that all hard-wired heated towel rails be connected to a light switch
or timer.
Connecting hard-wired heated towel rails to a light switch or timer will prolong the life of the
electric element and reduce energy consumption.
Hydrotherm recommend the brand HPM and the model XLP770TRT, this particular unit is
designed specically for heated towel rails that is incorprated into a light switch panel.
At Hydrotherm we pride ourselves on the highest quality standards of design and
manufacturing.
All Hydrotherm products come with a 10 year manufactures warranty on the construction
and finish of our towel rails.
All electric heating elements are also covered by a 3 year manufactures warranty.
100% Australian Made and Owned
Construction & Finish
Manufacturers Warranty
year
Electric Element
Manufacturers Warranty
10 3
year
THE HYDROTHERM WARRANTY
CARE DETAILS
This bathroom product should not be cleaned with abrasive
materials eg. steel wool/scourers. Do not use any corrosive or
abrasive cleaning agents containing acids or scouring agents.
Bleaches can also discolour products and therefore should not
be used. Damage caused by any improper treatment is not
covered by the product warranty.
Disclaimer: Products in this specication manual must by regulation be installed by licensed and registered
trade people. The manufacturer/distributor reserves the right to vary specications or delete models from
their range without prior notication. Dimensions are nominal measurements only. Dimensions and set-outs
listed are correct at time of publication however the manufacturer/distributor takes no responsibility for
printing errors.

Other manuals for SWIVEL Series

1

This manual suits for next models

3

Other HydroTherm Bathroom Fixture manuals

HydroTherm SWIVEL Series User manual

HydroTherm

HydroTherm SWIVEL Series User manual

HydroTherm HR Series User manual

HydroTherm

HydroTherm HR Series User manual

HydroTherm TR Series User manual

HydroTherm

HydroTherm TR Series User manual

HydroTherm H Series User manual

HydroTherm

HydroTherm H Series User manual

HydroTherm TR Series User manual

HydroTherm

HydroTherm TR Series User manual

HydroTherm B Series User manual

HydroTherm

HydroTherm B Series User manual

HydroTherm B Series User manual

HydroTherm

HydroTherm B Series User manual

HydroTherm HF Series User manual

HydroTherm

HydroTherm HF Series User manual

HydroTherm FC/500 User manual

HydroTherm

HydroTherm FC/500 User manual

Popular Bathroom Fixture manuals by other brands

Delta Victorian 754LF-RB-R quick start guide

Delta

Delta Victorian 754LF-RB-R quick start guide

Ro-Man V8BV13 instruction manual

Ro-Man

Ro-Man V8BV13 instruction manual

VanMarcke SF 100x80 manual

VanMarcke

VanMarcke SF 100x80 manual

PierDeco AQUAMASSAGE PD-840 owner's manual

PierDeco

PierDeco AQUAMASSAGE PD-840 owner's manual

Delta Arzo 26076 quick start guide

Delta

Delta Arzo 26076 quick start guide

VIGO Farmhouse VGR3320C manual

VIGO

VIGO Farmhouse VGR3320C manual

Winsome house WHIF385 instruction manual

Winsome house

Winsome house WHIF385 instruction manual

Kohler K-792-N1 Homeowner's guide

Kohler

Kohler K-792-N1 Homeowner's guide

brondell Swash SE600 owner's manual

brondell

brondell Swash SE600 owner's manual

Adesso MILA II DSHSKCSR2 installation guide

Adesso

Adesso MILA II DSHSKCSR2 installation guide

Twyford GEO-6 manual

Twyford

Twyford GEO-6 manual

Axor AXOR Edge 46430001 Installation/User Instructions/Warranty

Axor

Axor AXOR Edge 46430001 Installation/User Instructions/Warranty

Symmons 229-TP Operation & maintenance manual

Symmons

Symmons 229-TP Operation & maintenance manual

Uspa UB-2210 Operating instructions manual

Uspa

Uspa UB-2210 Operating instructions manual

EUROM SANI 400 WiFi Instruction booklet

EUROM

EUROM SANI 400 WiFi Instruction booklet

iDo PORSGRUND Seven D Image 1600 Operating and maintenance instructions

iDo

iDo PORSGRUND Seven D Image 1600 Operating and maintenance instructions

Helvex H-3007 installation guide

Helvex

Helvex H-3007 installation guide

AREBOS AR-HE-SD58B user manual

AREBOS

AREBOS AR-HE-SD58B user manual

manuals.online logo
manuals.online logoBrands
  • About & Mission
  • Contact us
  • Privacy Policy
  • Terms and Conditions

Copyright 2025 Manuals.Online. All Rights Reserved.