Hylio Agrodrone (AG-110) Maintenance Manual
©2020 Hylio Inc. All Rights Reserved 9
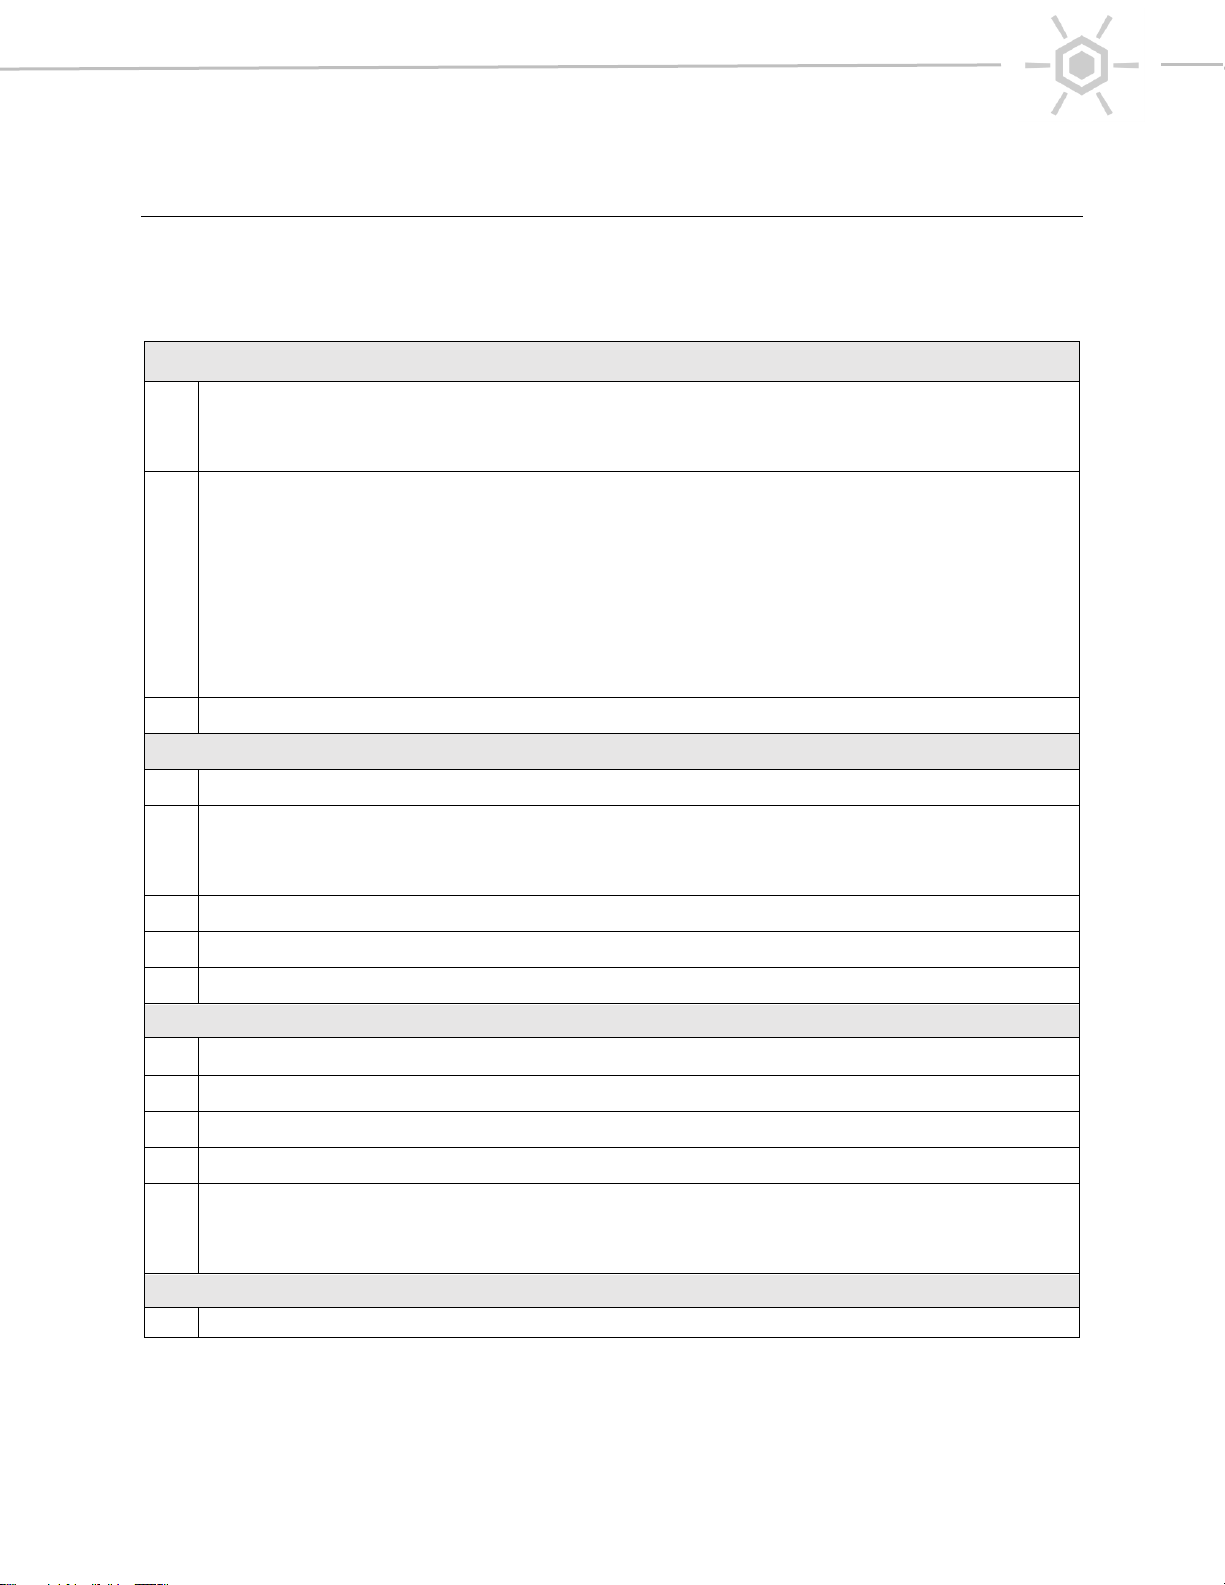
Flight Testing
When to Flight Test
Follow ground testing checklist after any of the following events:
- Crash
- Unknown issue stops user from flying
- At every 10-hour routine maintenance check
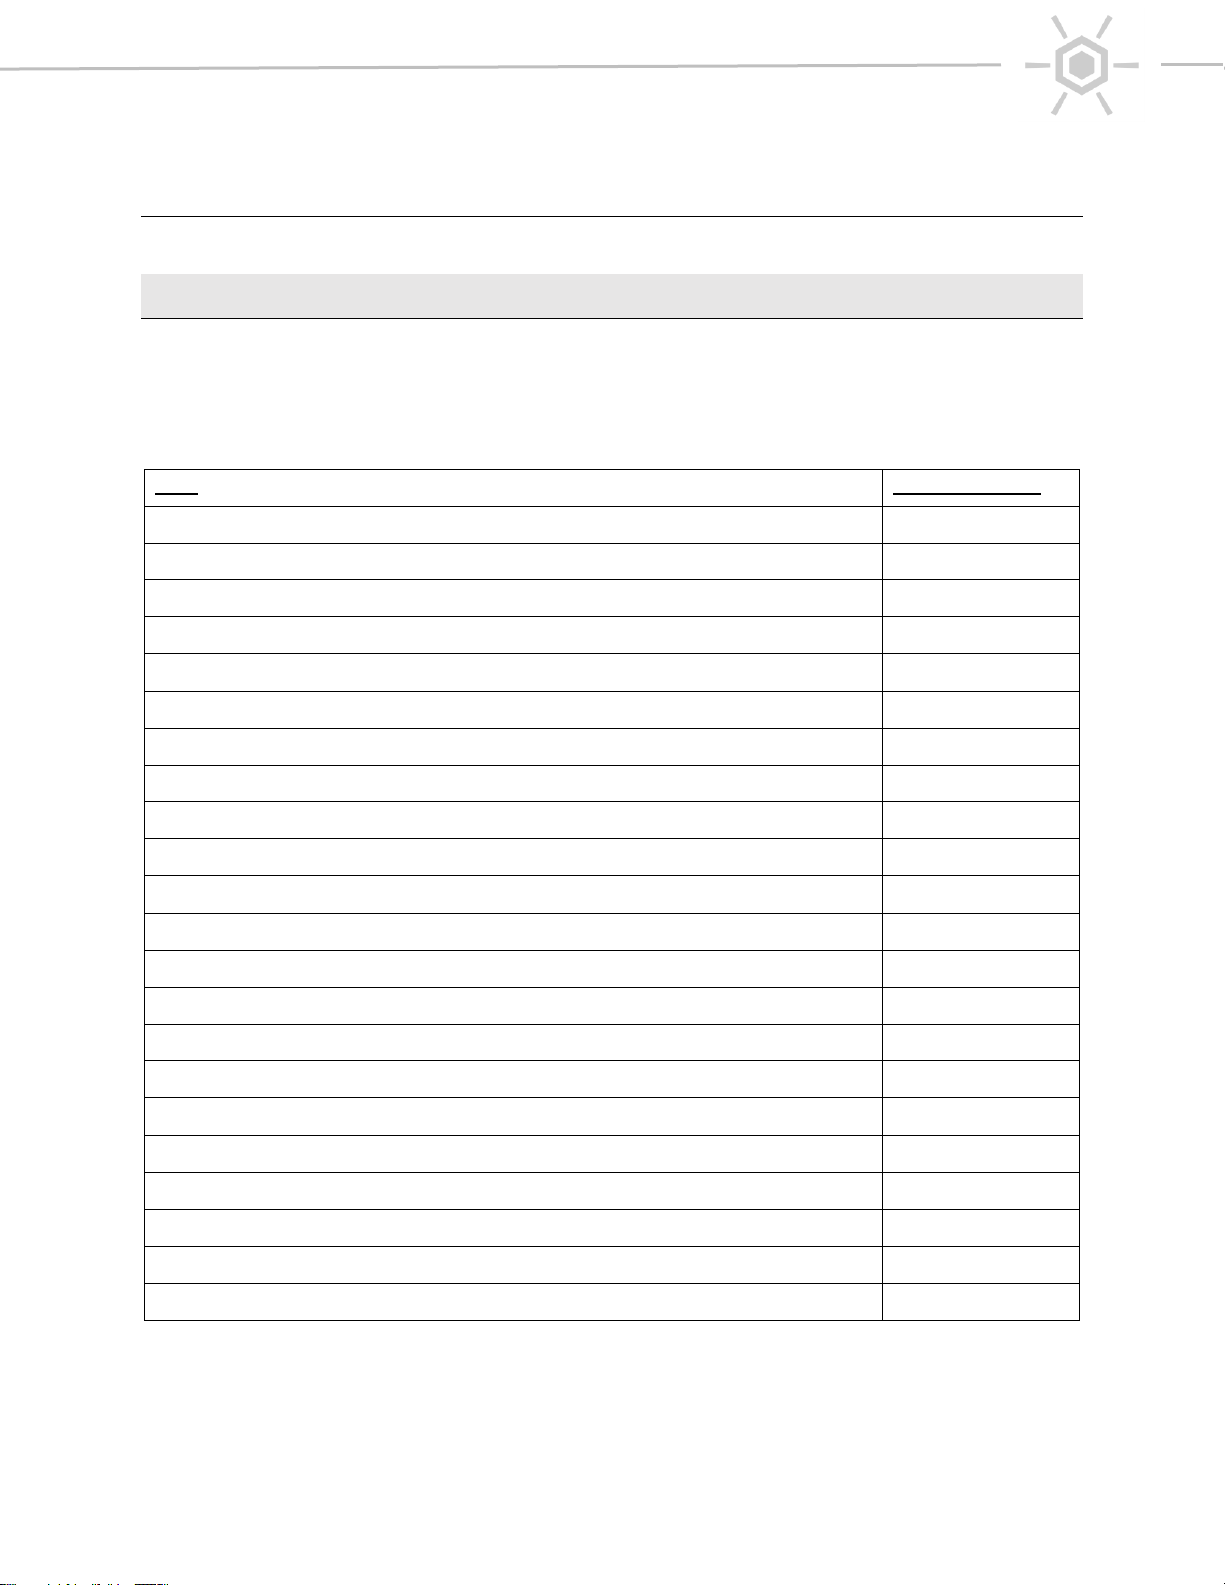
Flight Test Steps and Checks
1) Take drone outside to a safe and open testing field
2) Perform accelerometer, compass and level calibrations. Check that all calibrations are
able to be completed
3) Upload a safe standard testing mission. This mission should be verified safe and low
altitude by flights on another drone that is confirmed to fly well. This mission should be
no more than an acre. Ensure the RTL altitude and spray altitude are separated by at
least 10 ft. Upload mission with 0 pump power. Check that the mission uploads on the
first try. Check that the mission appears in the operations tab as uploaded
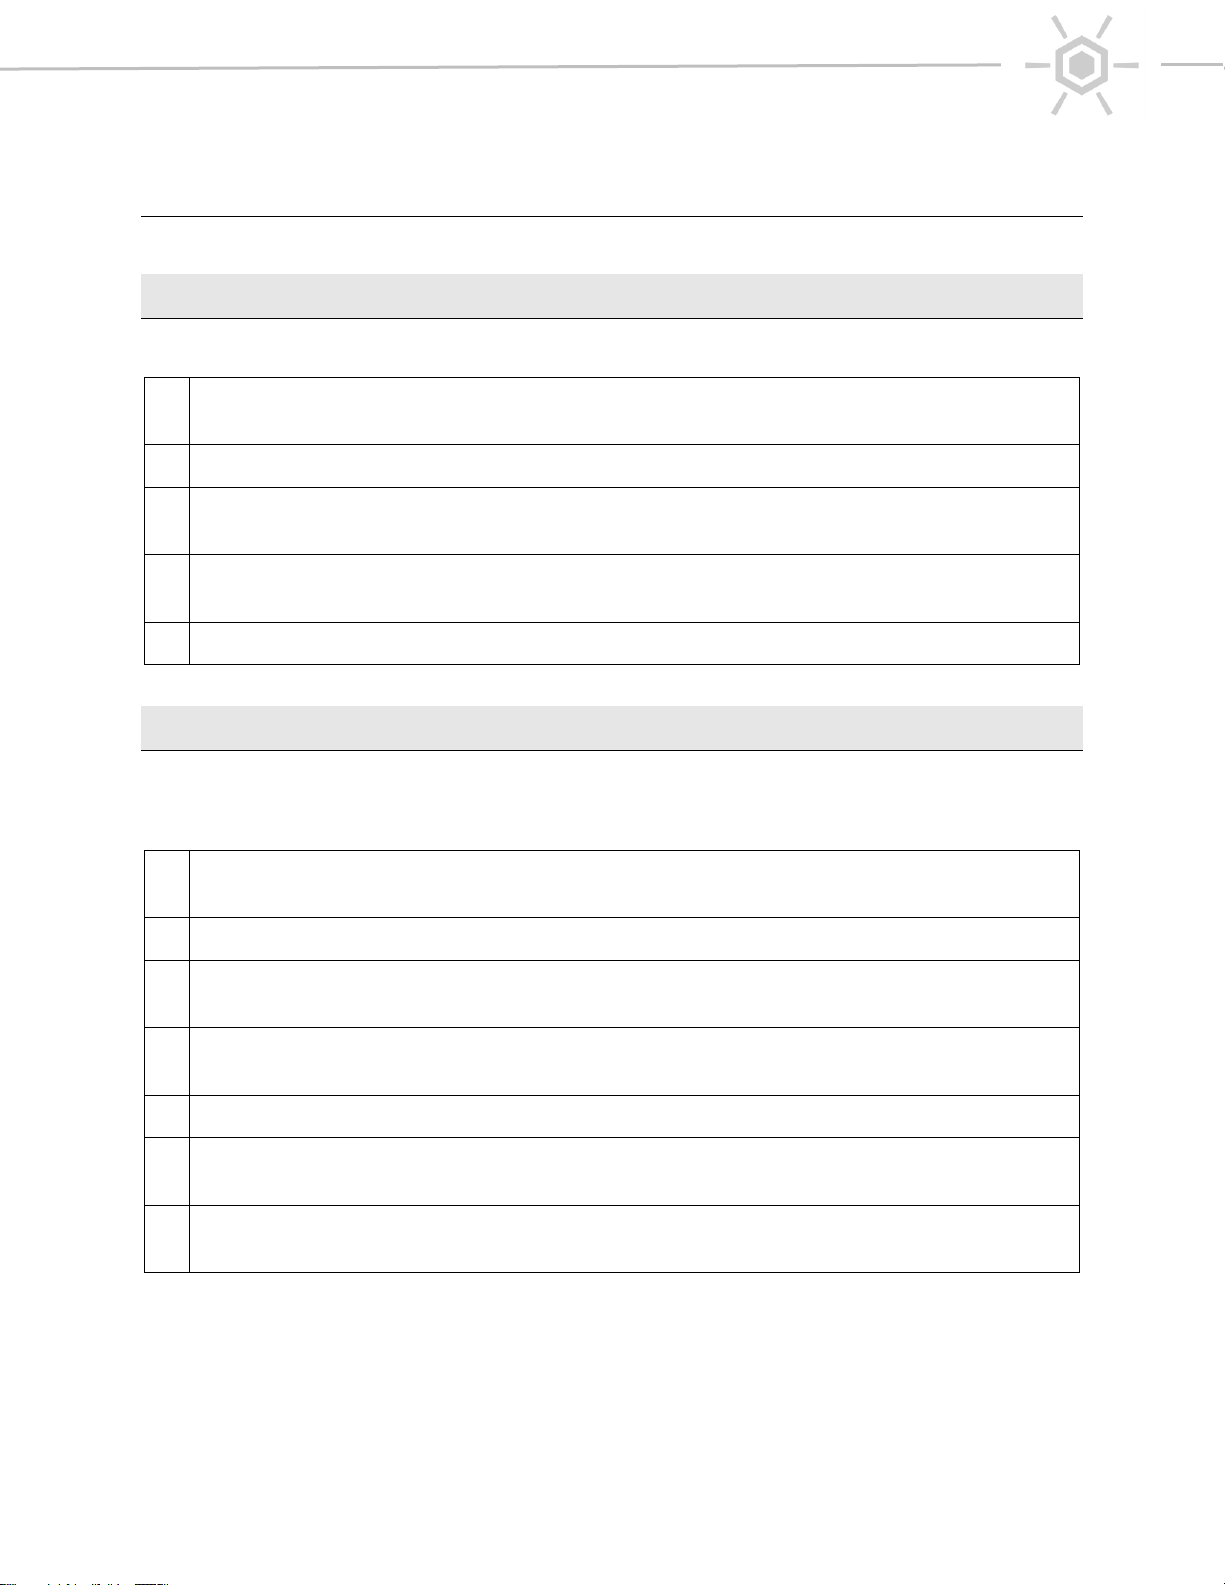
4) STRICTLY FOLLOW PREFLIGHT CHECKLIST
5) Arm motors. Check that all 6 motors spin up in the right CW/CCW direction
6) Take off. Check that drone takes off to correct RTL altitude. Check the motors are not
making any unusual noises. Check the drone appears to fly stable
7) As the drone descends to the mission area, check that it yaws to face the mission line
direction within acceptable error, (recalibrate compass if not)
8) Check that the drone flies stable during the spray section of the mission, check the
drone reaches speeds as set on the spray mission.
9) Pause drone. Check that pause and click to fly work. Resume mission. Check that
resume mission works. RTL mission. Check that RTL works
10)When the drone returns to descend for land, check that the land looks stable and
controlled.
11)Fill the tank with 2 gallons of fluid. Upload a mission using dynamic flowrate that will
spray 1.5 gallons over the entire mission. Follow steps 4-7 again.
12)Let the drone finish the mission, and measure the remaining volume in the tank.
Recalibrate flowmeter if off by more than 5%
13)Perform one final flight with a full tank. Adjust the mission dynamic flowrate to spray the
full tank over the mission area AND RUN EMPTY. Turn on empty tank RTL. Use the
Toolbox calculator to ensure a slow enough speed is selected. Follow steps 4-7 again.
14)Verify the drone RTL when the tank is empty. Verify the total volume sprayed in AgroSol
matches what was sprayed.