HypnoSquare Instructions v 1.3, May 2009
- 2 -
Introduction
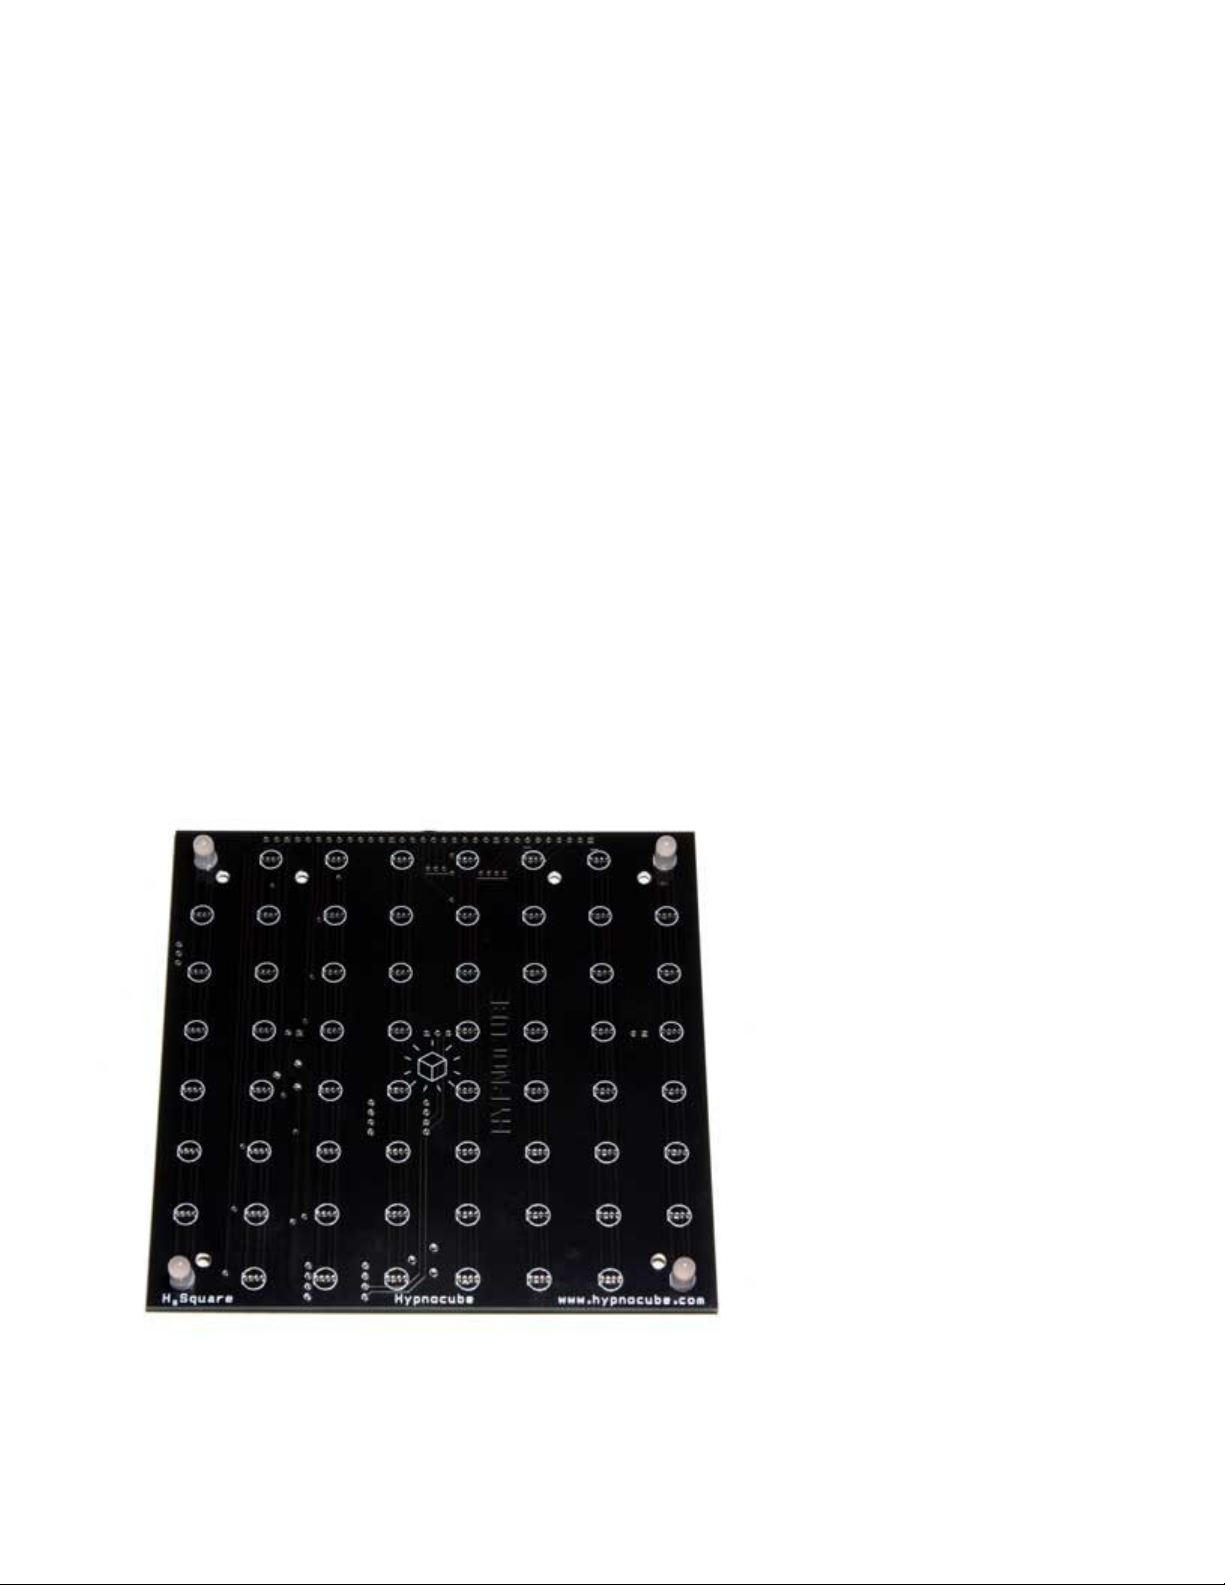
This is the first part of the instructions for building the 8×8 “8Square” kit.
The three main parts are titled “The Good”, “The Bad” and “The Ugly”.
In “The Good” we will construct the controller board.
In “The Bad” we will construct the LED board.
Finally, in “The Ugly” we will assemble the two halves, test, and finally put it all together in the frame.
Tools
You will need the following minimum set of tools:
1. Soldering iron.
2. Solder.
3. Snips.
4. Small Phillips screwdriver.
Disclaimers!
Before you begin, some items to note:
1. READ EVERYTHING IN THE INSTRUCTIONS BEFORE YOU START! You will make a much
nicer square by knowing where steps are leading before constructing items. The instructions attempt to
make the kit foolproof, but we all know that is impossible :) Don‟t become a FAQ entry.
2. One good idea is to print out the instructions and cross off each paragraph as you finish it, to ensure you
don‟t miss a sentence or instruction step. This can save you trouble later.
3. This kit assumes you have built electronic kits before, and are proficient at soldering items to a circuit
board. Chips and other parts can be damaged from too much heat, so be careful and don‟t hold the iron
on the leads too long. Make sure all solder joints connect well.
4. Many of the parts in this kit require correct orientation (rotation). When mentioned there is a right way
and a wrong way to connect something, both of which look similar. Be sure to have them correctly
positioned before soldering.
5. Plan on spending some time constructing the kit. While this kit is not as complicated as the 4Cube kit,
soldering the LEDs can still be tricky. Actual assembly time will vary widely from person to person, but
plan on setting aside at least 3 –8 hours
For a look at the finished square see Figure 44.
Good luck :)