HyQuest Solutions Pty Ltd
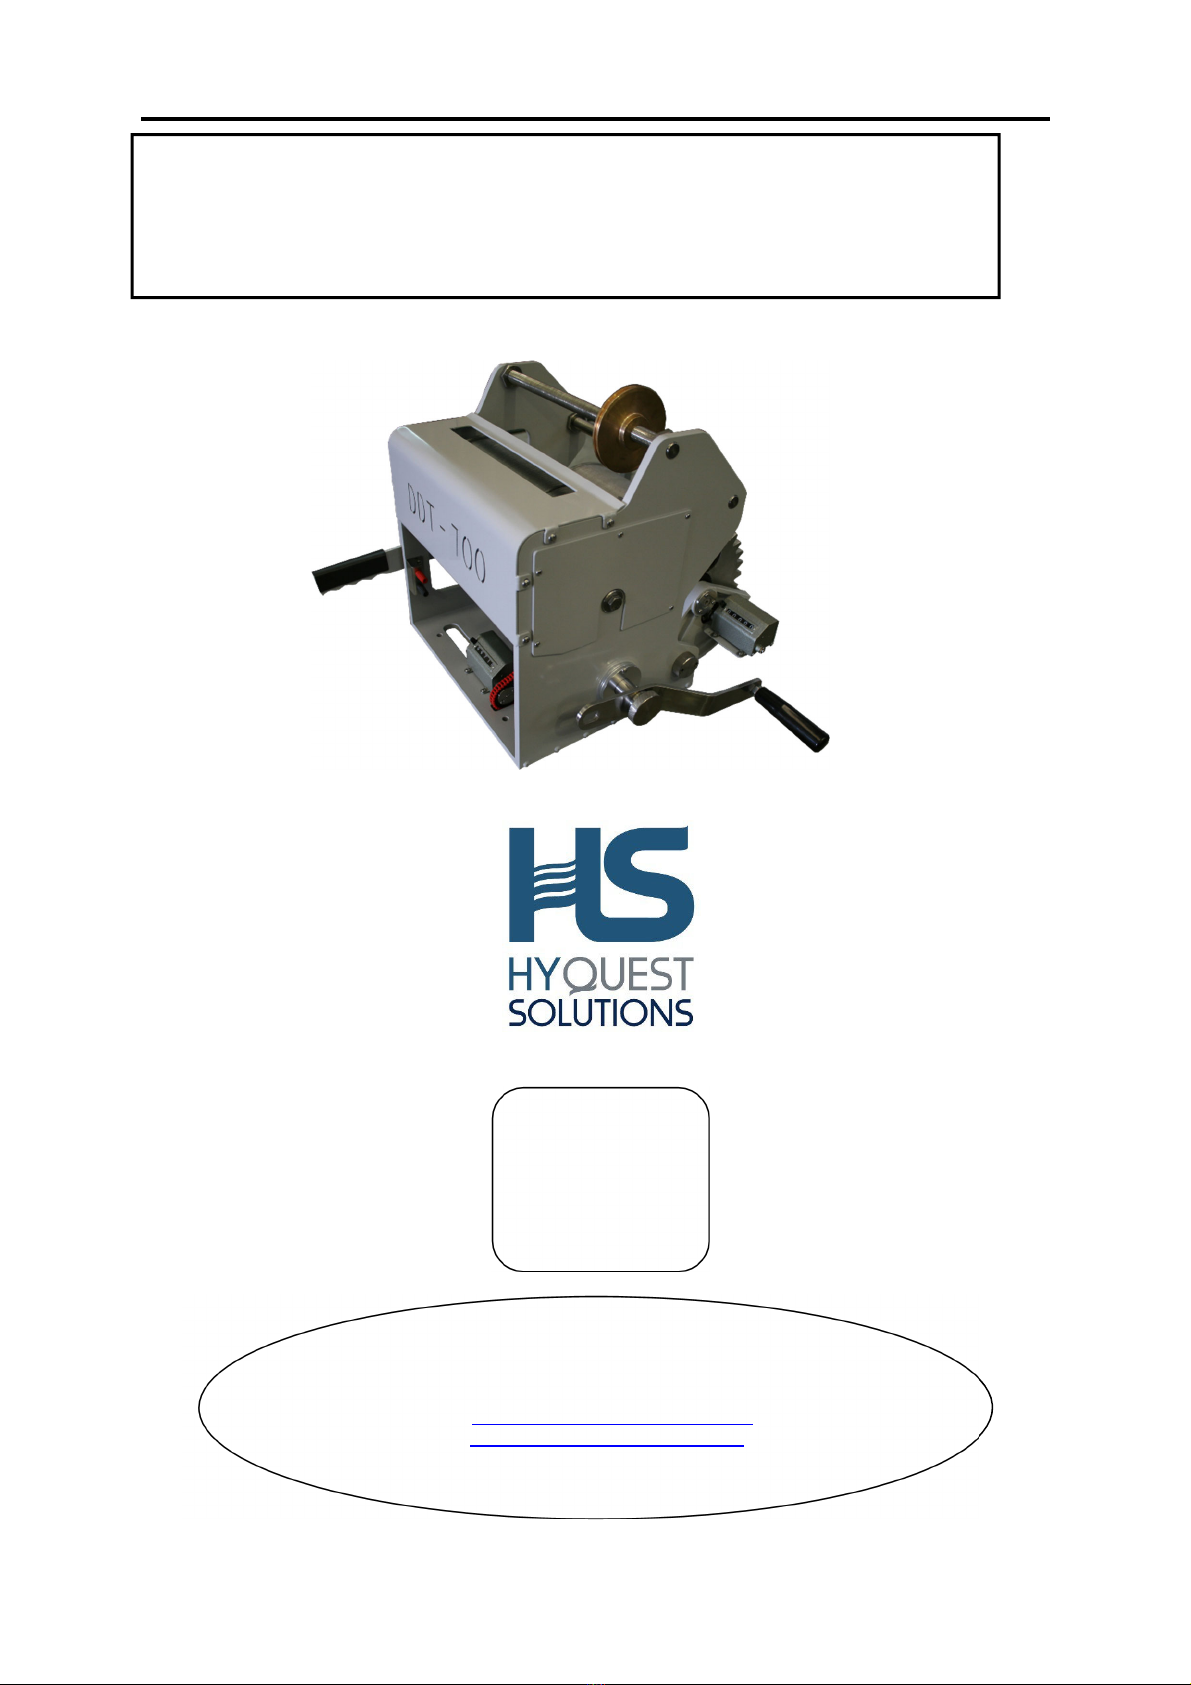
DDT700
© Copyright
Page 2 of 15 ISSUE 6: March 20
CONTENTS
Contents
CONTENTS...................................................................................................................................................................2
INTRODUCTION .........................................................................................................................................................3
OPERATION.................................................................................................................................................................3
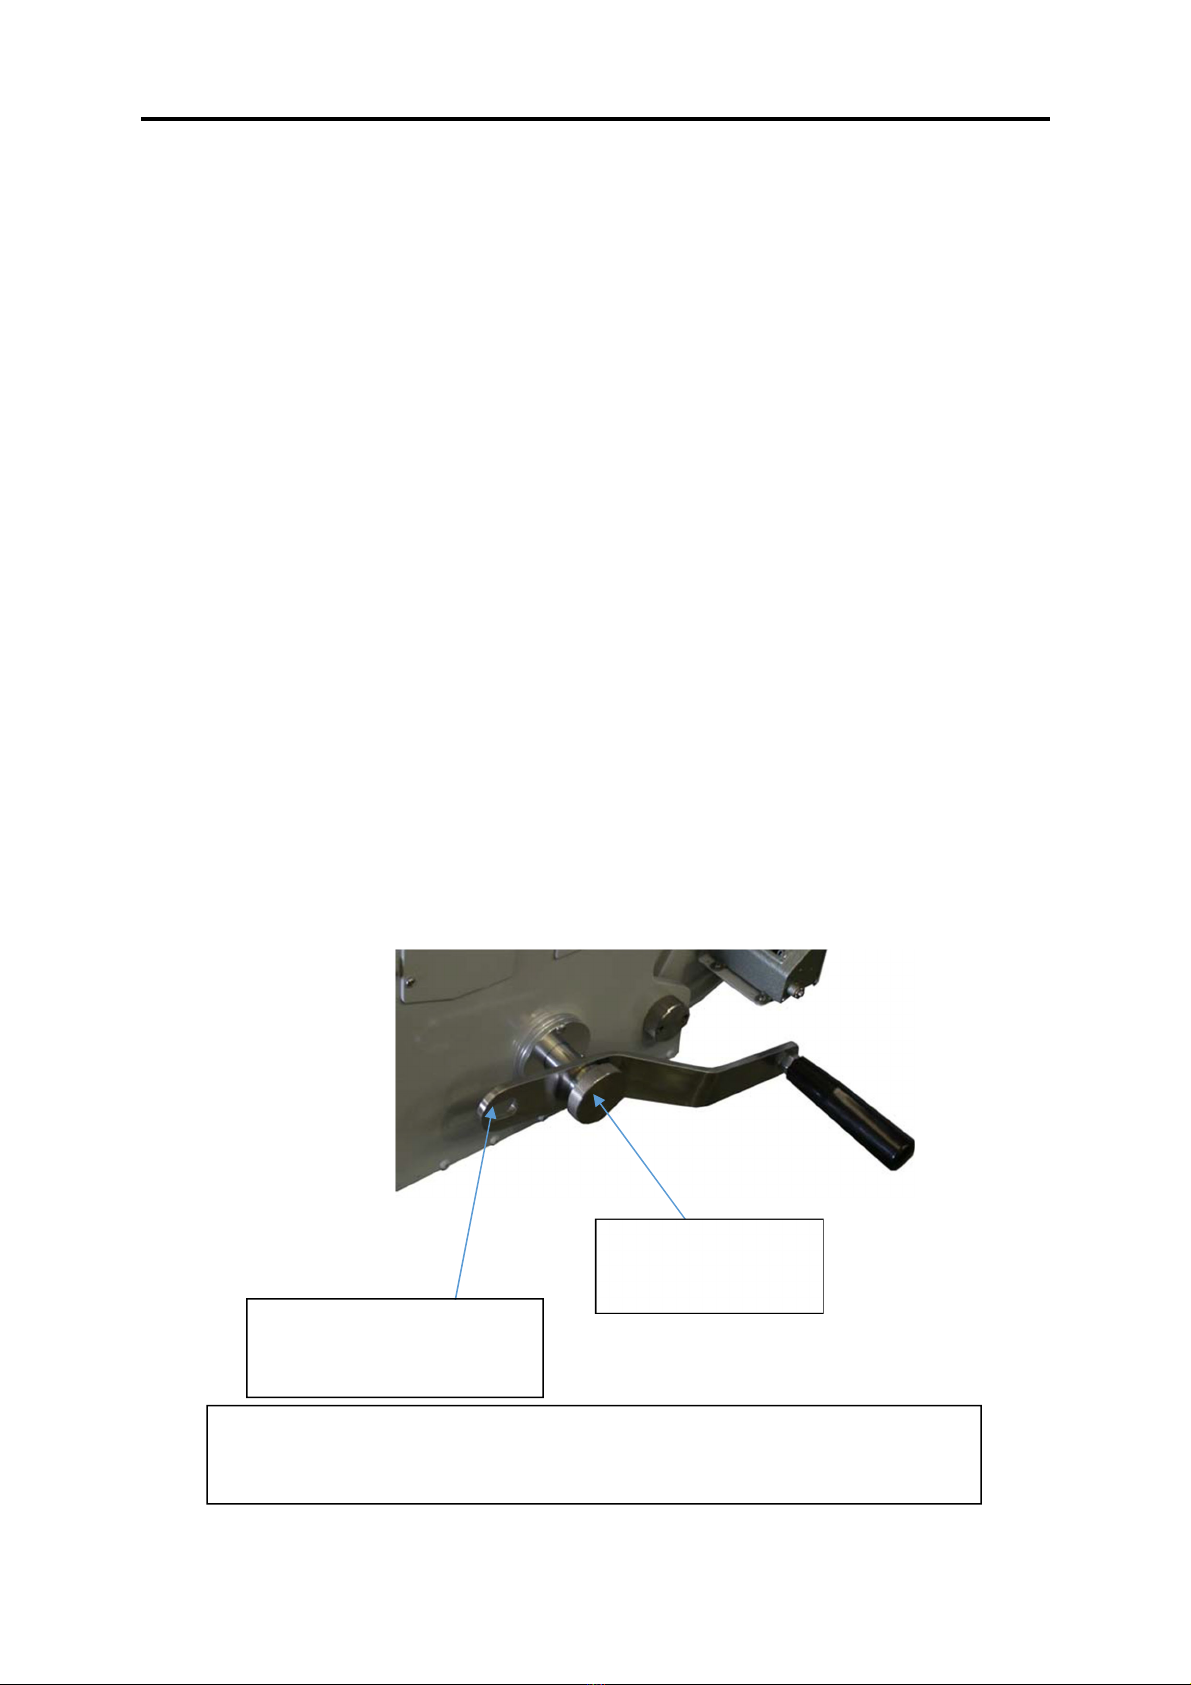
Initial set up & Operational Procedure: ...................................................................................................................3
Dismantling Procedure: ...........................................................................................................................................5
Winch Mode: ...........................................................................................................................................................5
Traversing Mode: ....................................................................................................................................................6
COUNTERS ............................................................................................................................................................7
MAINTENANCE .......................................................................................................................................................... 7
Lubrication ..............................................................................................................................................................7
Weston Brake ..........................................................................................................................................................7
INSPECTION..........................................................................................................................................................8
Electrical System .....................................................................................................................................................8
FAULT FINDING .........................................................................................................................................................9
SPECIFICATIONS...................................................................................................................................................... 10
FITTING C1 CONNECTOR TO AMERGRAPH CABLE......................................................................................... 11
FITTING ANGLE PLUG TO AMERGRAPH CABLE.............................................................................................. 12
Angle Plug Assembly AP02.......................................................................................................................................13
FITTING TEE PLUG TO AMERGRAPH CABLE.................................................................................................... 14
Angle Plug Assembly TP02 .......................................................................................................................................14
APPENDIX A ............................................................................................................................................................ 15
INSTALLATION....................................................................................................................................................... 15